To celebrate the launch of my new PDF ebook ‘101 Tips for Travel Photography’ and because July and August are top travel months worldwide, I’ll post 10 tips from the book over the months of July and August. This sixth tip comes from Chapter 4, which is all about photographing people.
SAVE US$20 ON THE DELUXE EDITION
Save 33% on the Deluxe Edition. No discount code needed. Now only US$39.95 instead of US$59.95 for the 252 page PDF ebook + a 3 hour video tutorial detailing how I photographed and edited 10 of my favourite images from the book.


Beyond the classic close-up portrait
Give environmental portraiture a try
Everyone knows the typical travel portraits of beautiful character faces that you encounter on a trip. You can find several of them in this book. The recipe for such portraits is quite simple: a bit of soft light (whether or not you made it yourself with a flash) and a fast portrait lens, such as an 85 mm f/1.8 on a full frame or a 50 to 60 mm on an APS-C camera. By using that lens at it’s fastest aperture (lowest f-stop number), you can blur even the ugliest background into oblivion. If your subject is a bit photogenic, and you can focus on the eye closest to the camera, you’re going to have to try really hard to screw up a shot like that.
But… portraits like those have one drawback: they offer very little context. For example, I think the photo of the man on the right is quite a nice portrait that completely follows the recipe I listed above. Of course you don’t pass up on such an interesting character face. I photographed it with Fujifilm’s 110 mm portrait lens for the GFX. This lens has a large maximum aperture of f/2, comparable to an 85 mm f/1.4 on full frame. The only thing is... you have to take my word for it that it was made in Ethiopia, because you don’t see anything of the environment. It might just as well have been made in New York or in Brussels. That is why you should also try an environmental portrait: a portrait in which you photograph someone in their natural surroundings.
With those portraits you usually use a much wider lens (like a 24 mm on full-frame format). Make sure that you get close enough to your subject – otherwise they will be too small in the image frame – but not too close either, because then you risk getting distortion. Also make sure that you include enough interesting context, but not too much clutter.
“I’d like to add one tip to the 101 tips: buy this book!”
Did you like this tip? In my new ‘101 Tips for Travel Photography’ you can find 100 more! This PDF ebook is available in two editions: with the Standard Edition, you get the 252 page PDF ebook as a download but 90% of buyers opt for the Deluxe Edition. The Deluxe Edition is currently on sale (US$39.95 instead of US$59.95). So, for only US$ 10 more than the Standard Edition (US$29.95), you’ll also receive access to a 3 hour video tutorial in which I show you how I photographed and edited 10 of my favourite images from the book.
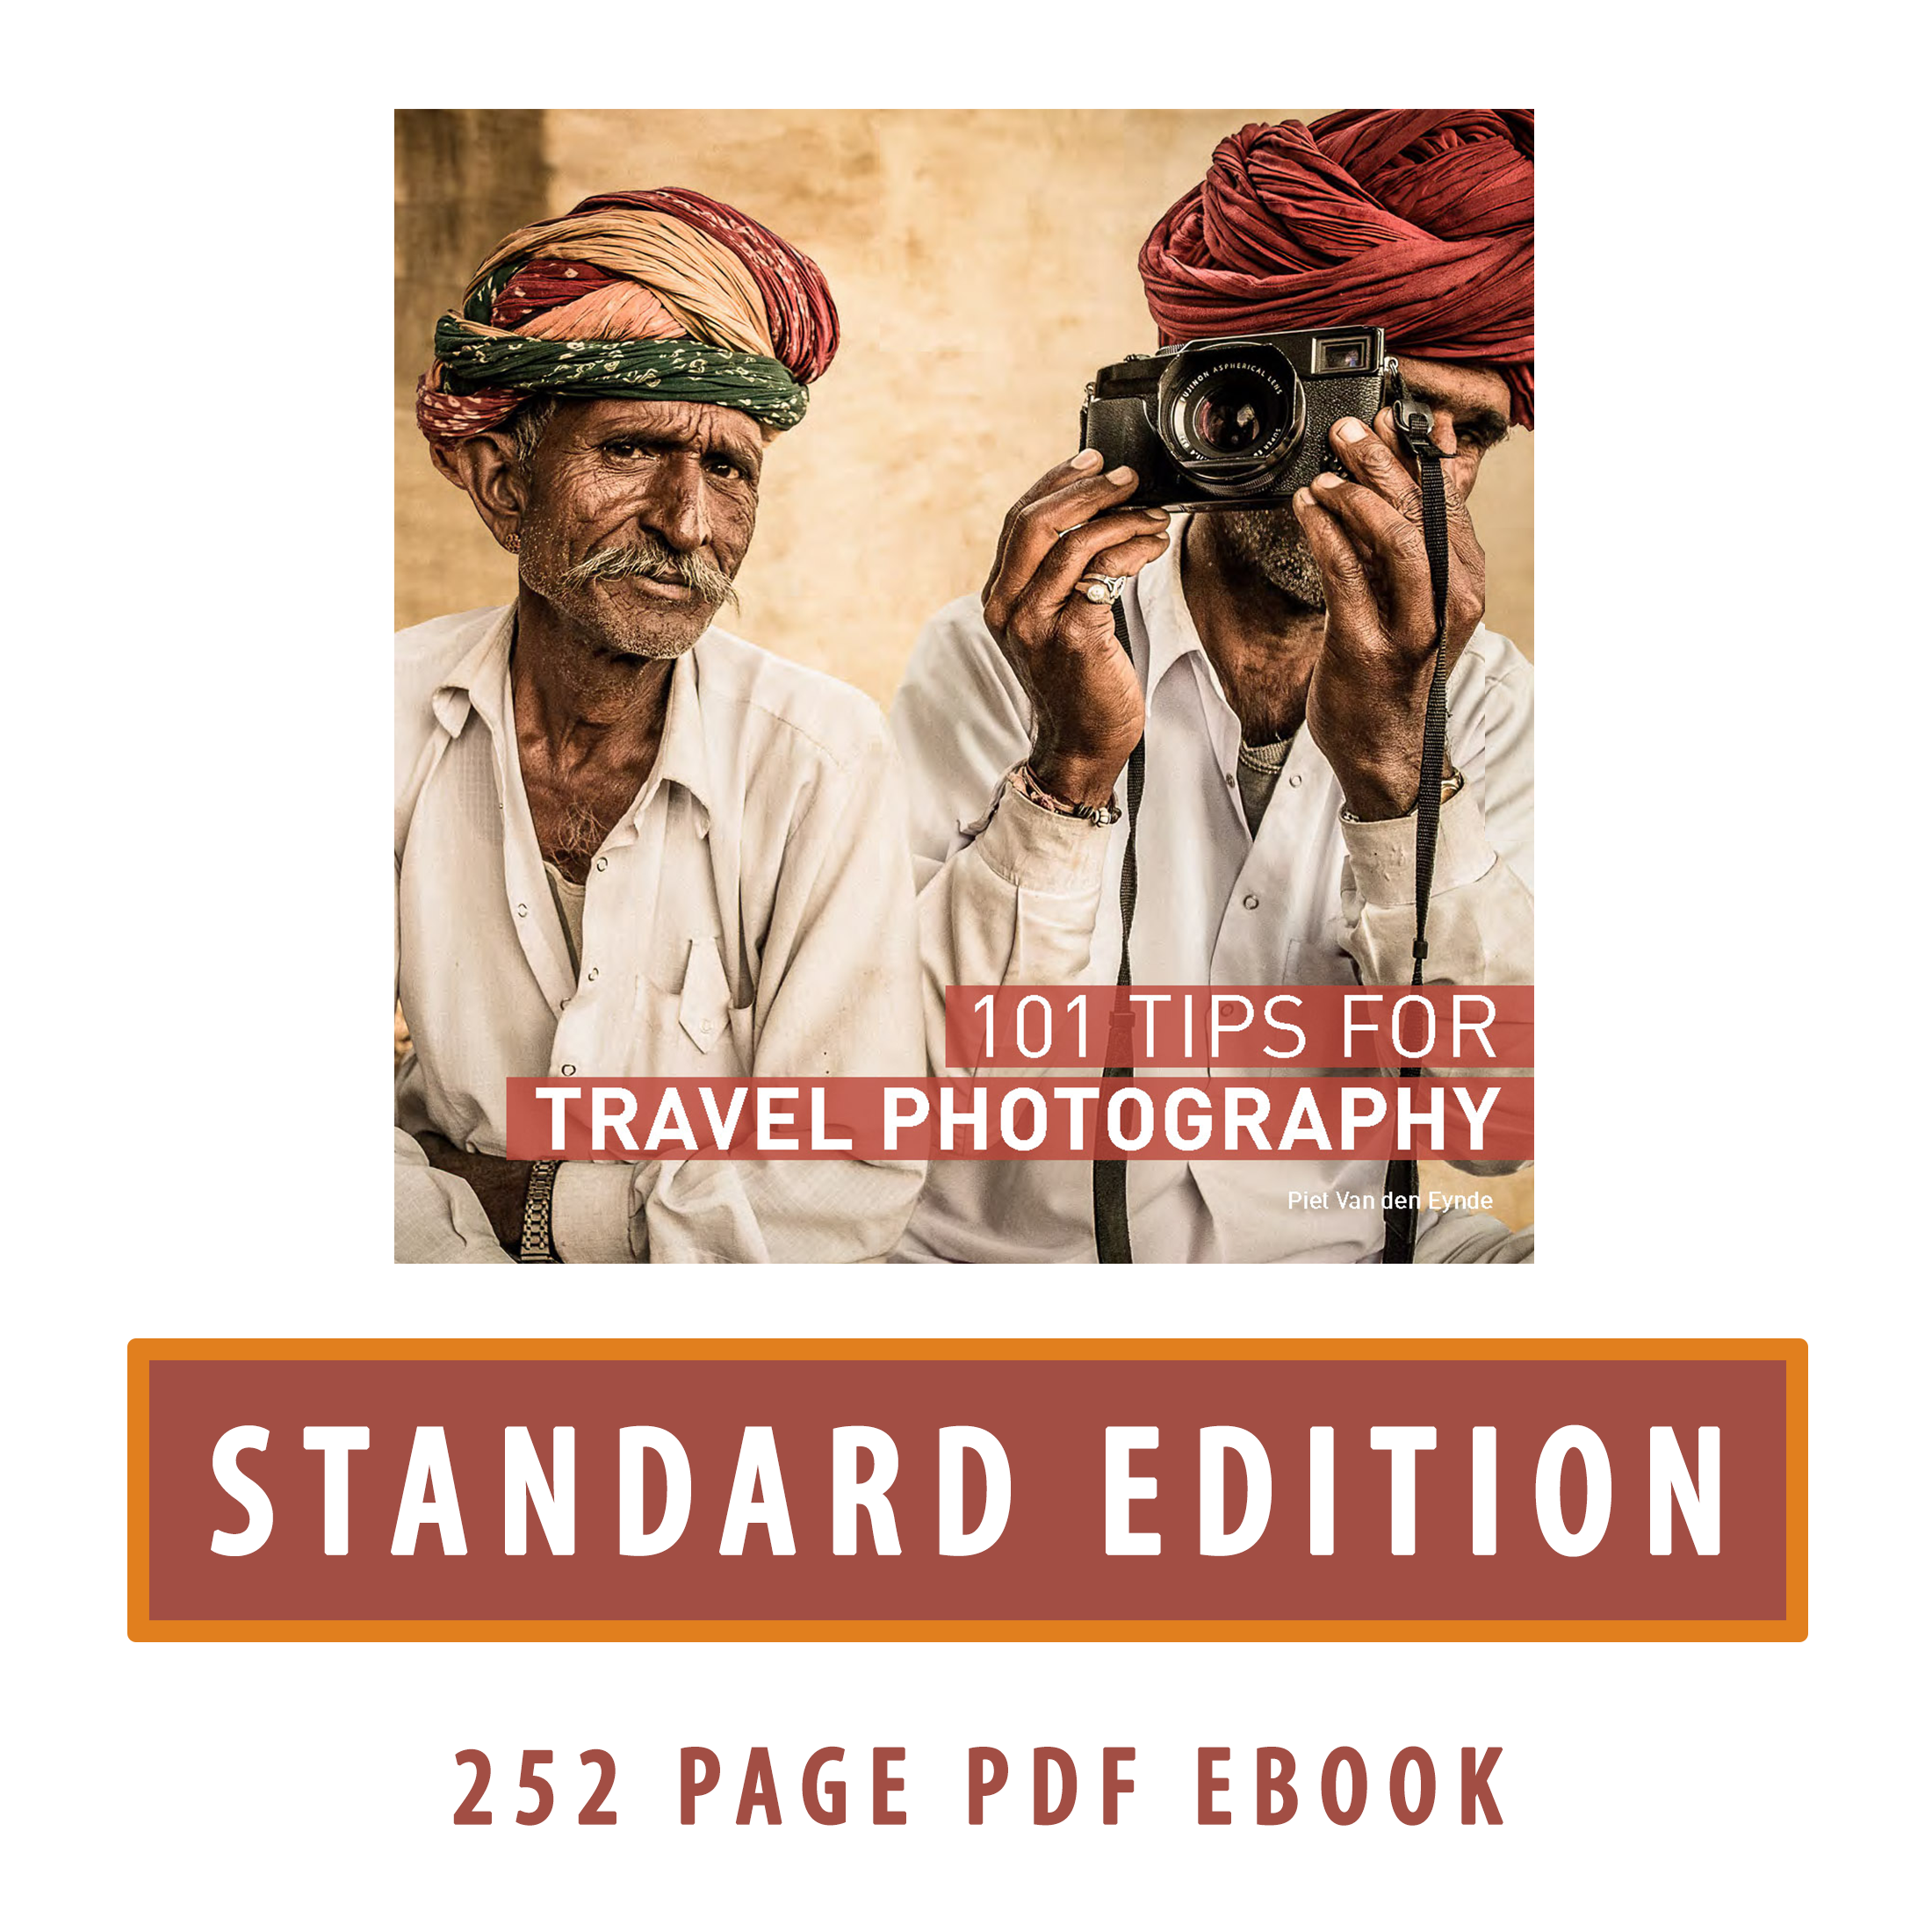

Here’s a sampler of the layout and the contents of this 252 page PDF ebook.

Included in the Deluxe Edition is this three hour video tutorial in which I explain my approach to and the editing of 10 of my favourite images from the book.