I’m connected to a lot of photographers on Facebook from all over the world. And as much as I like these virtual interactions, I like it even more when I get the chance to meet one of these Facebook friends in real life. This happened last week with David. David’s a Belgian photographer who lives in Thailand most of the year. He’s an amazing travel photographer and he popped over to Belgium for a couple of weeks. So we decided to go on a shoot together. I like doing these kinds of spontaneous, last-minute freestyle shoots with other photographers because I think we can all learn from each other.
Steampunk @ the factory
I love shooting in abandoned factories and lately, I’ve been into photographing steampunkers, too. These two subjects are a match made in heaven. So I called up Major TC Theodoricus, one of Belgium’s most passionate steampunkers and we all met up in an old paper factory about an hour’s drive from where I live. Another friend, Frank, came along to make some BTS shots.
Gear-wise, I brought the Fujifilm GFX 50S, the GF 110 mm, GF 32-64 mm and the GF 23 mm. As for lights, I packed my three trusted Godox AD600B flashes, my SMDV Alpha 110 gridded softbox and my two Nicefoto strip lights, which have become an essential part of my lighting kit. Last noteworthy item was my Scotty II portable smoke machine. No steampunk shoot should happen without a smoke machine :-)
I was immediately struck by the vast hall with the cast iron pillars and thought they’d make great compositional elements in the frame. Now I’m a slow shooter and I prefer to get a couple of images that I’m really happy with.
In total, I got seven images I like in about five hours of shooting.
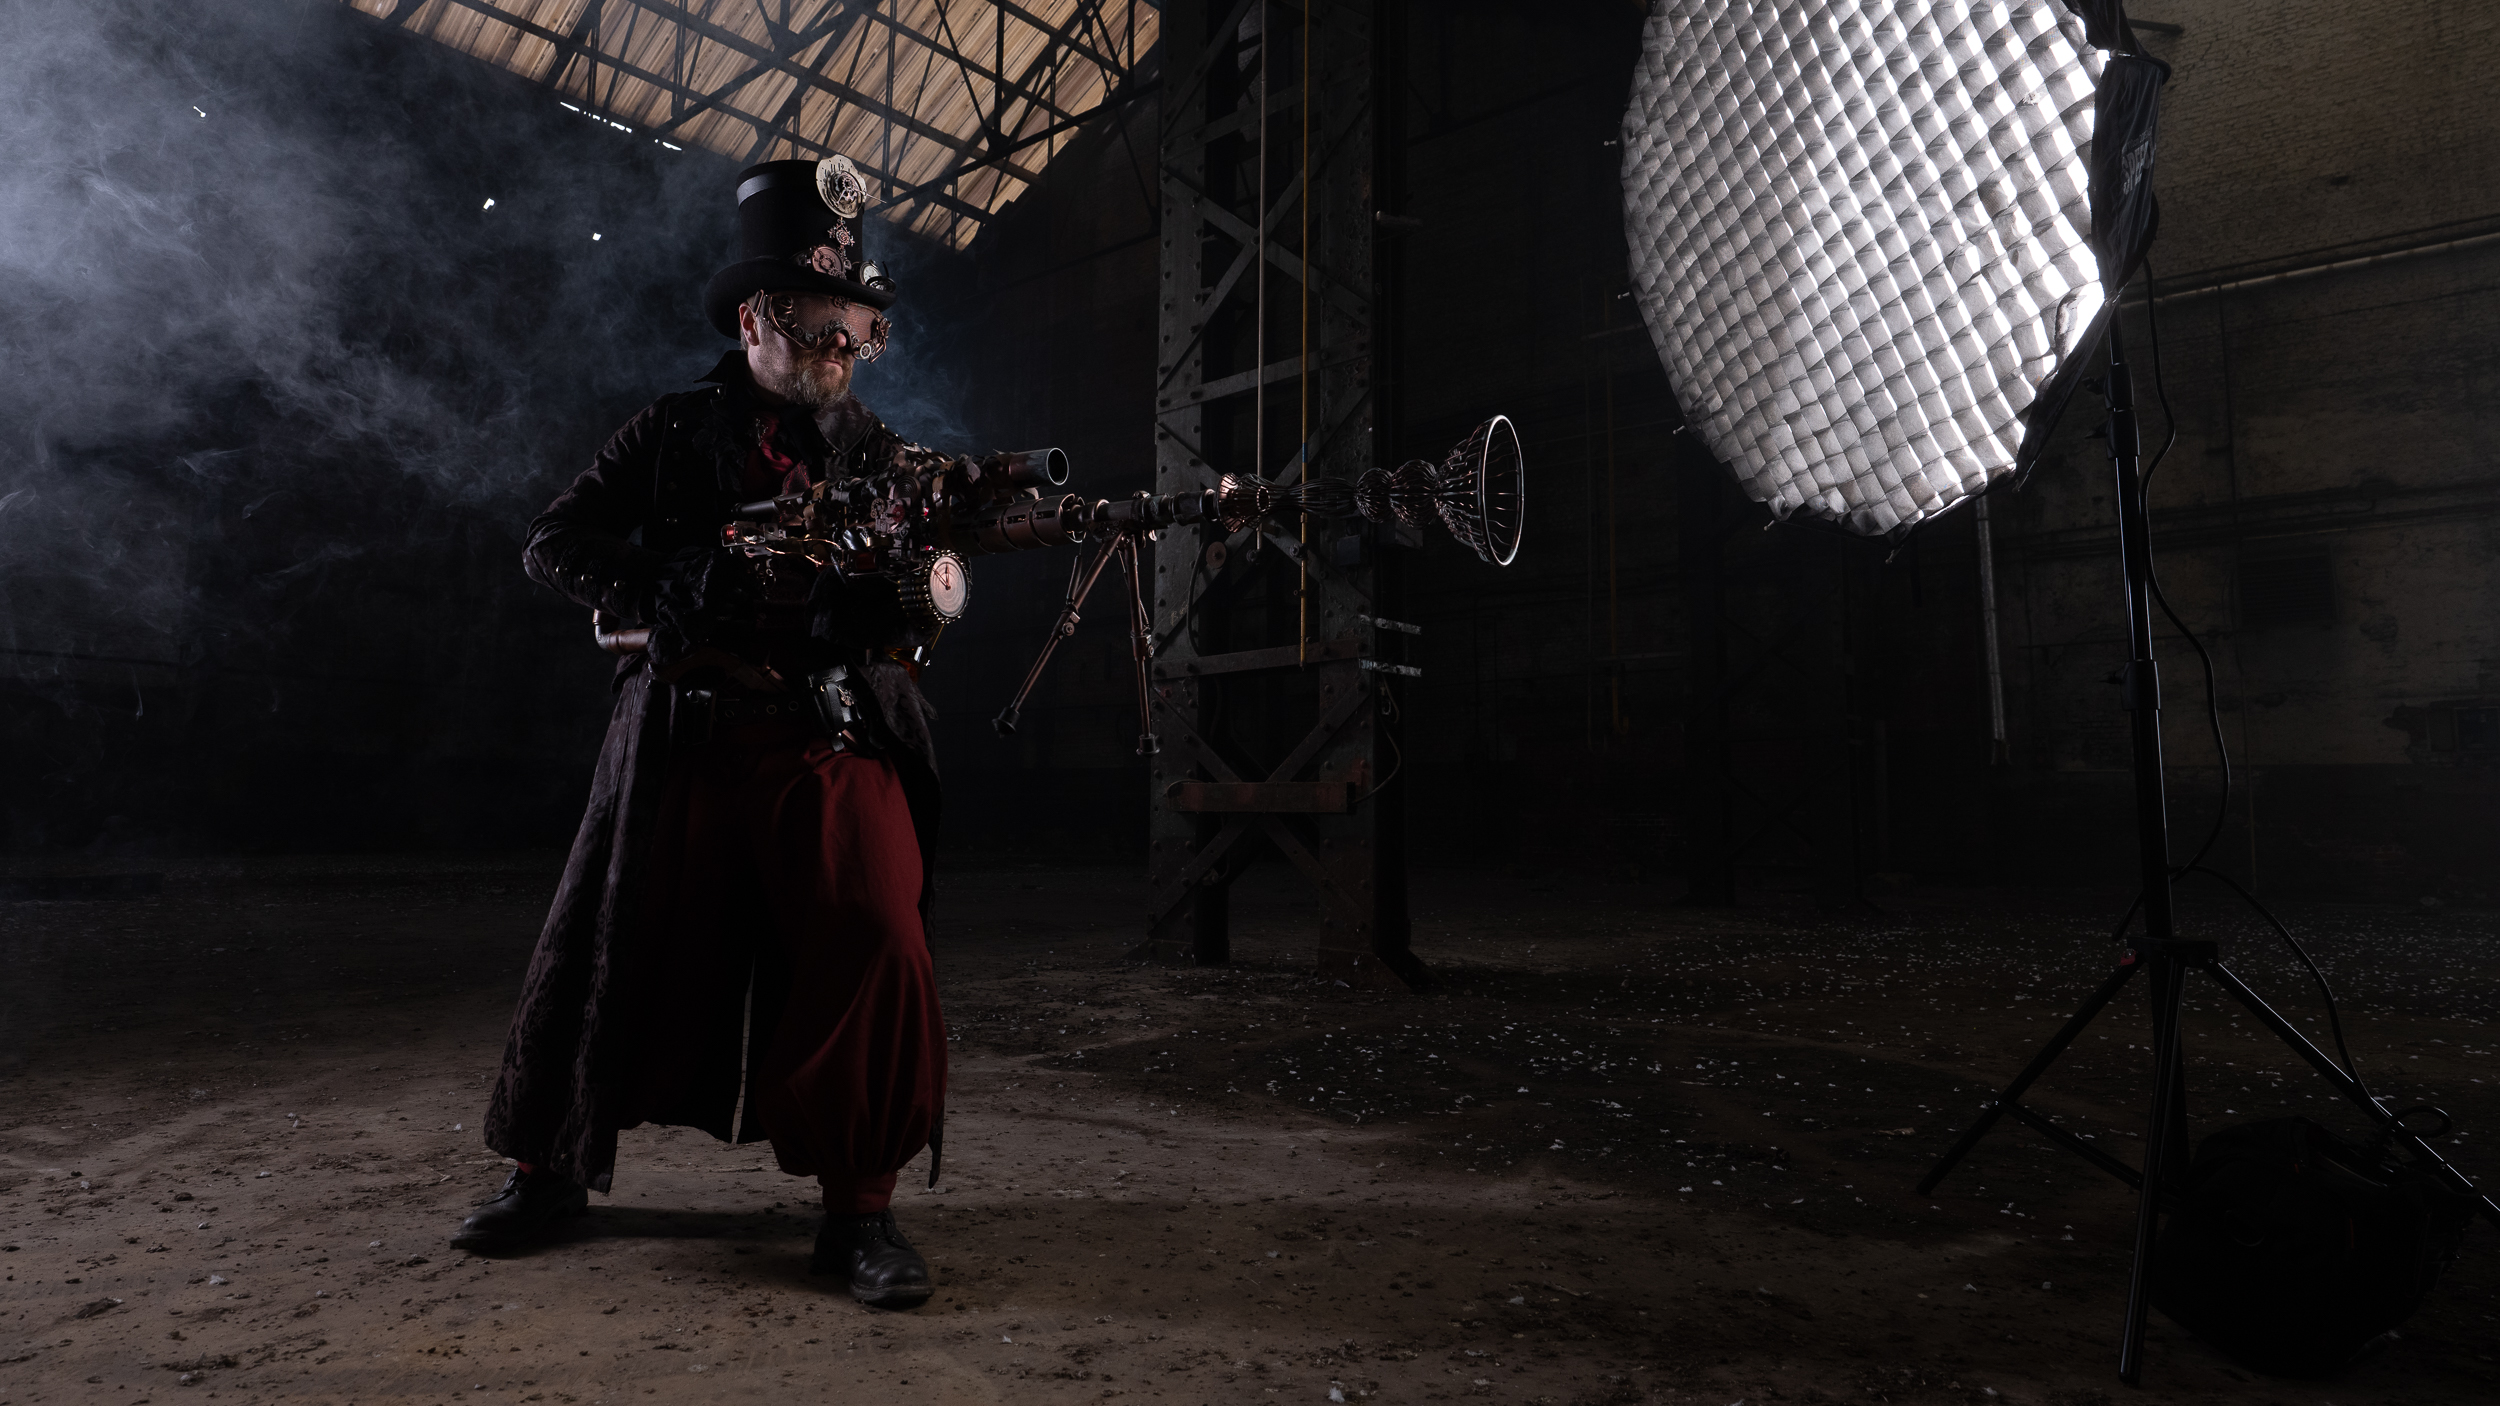
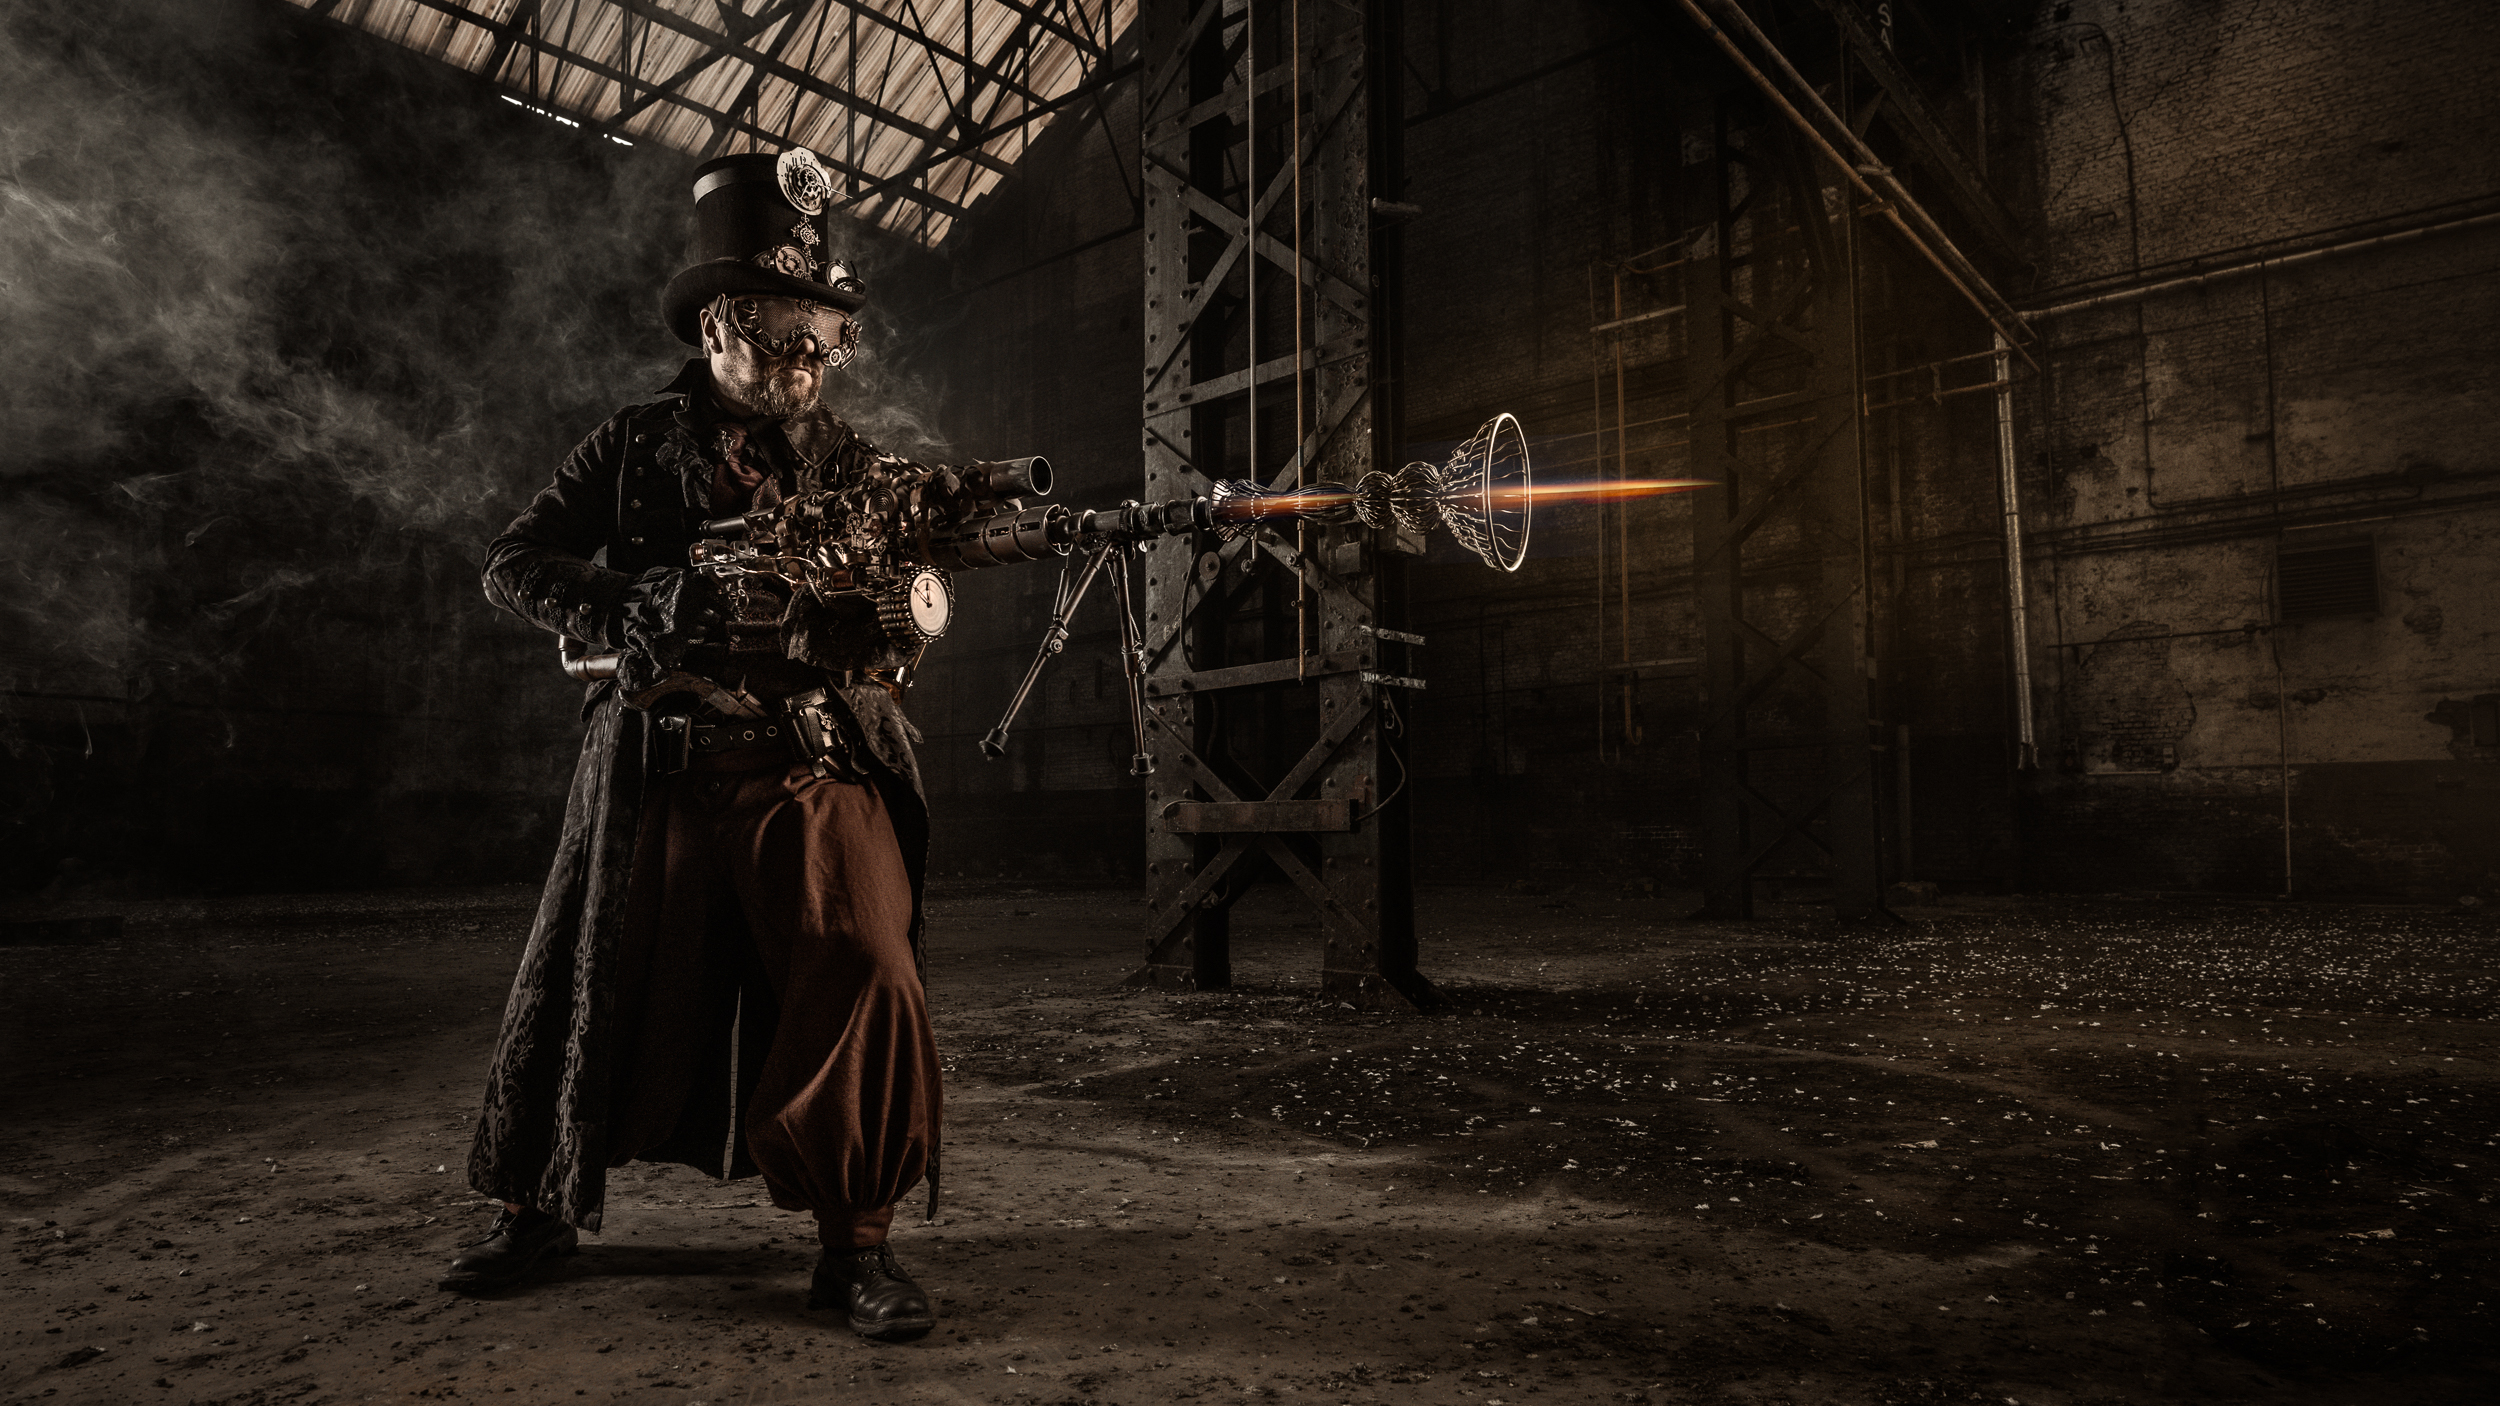
That’s actually a nice harvest for me. Here’s the first two in this blog post. With a dramatic subject and a dramatic backdrop like this, I think the lighting and the postprocessing needs to be dramatic, too. So I used a cross lighting setup and I positioned my main light in a way that The Major would be short-lit. I also wanted a moody, atmosphere so although I could have made the entire scene a lot brighter (I was only at 1/32nd power on the flashes), I went for a low-key look.
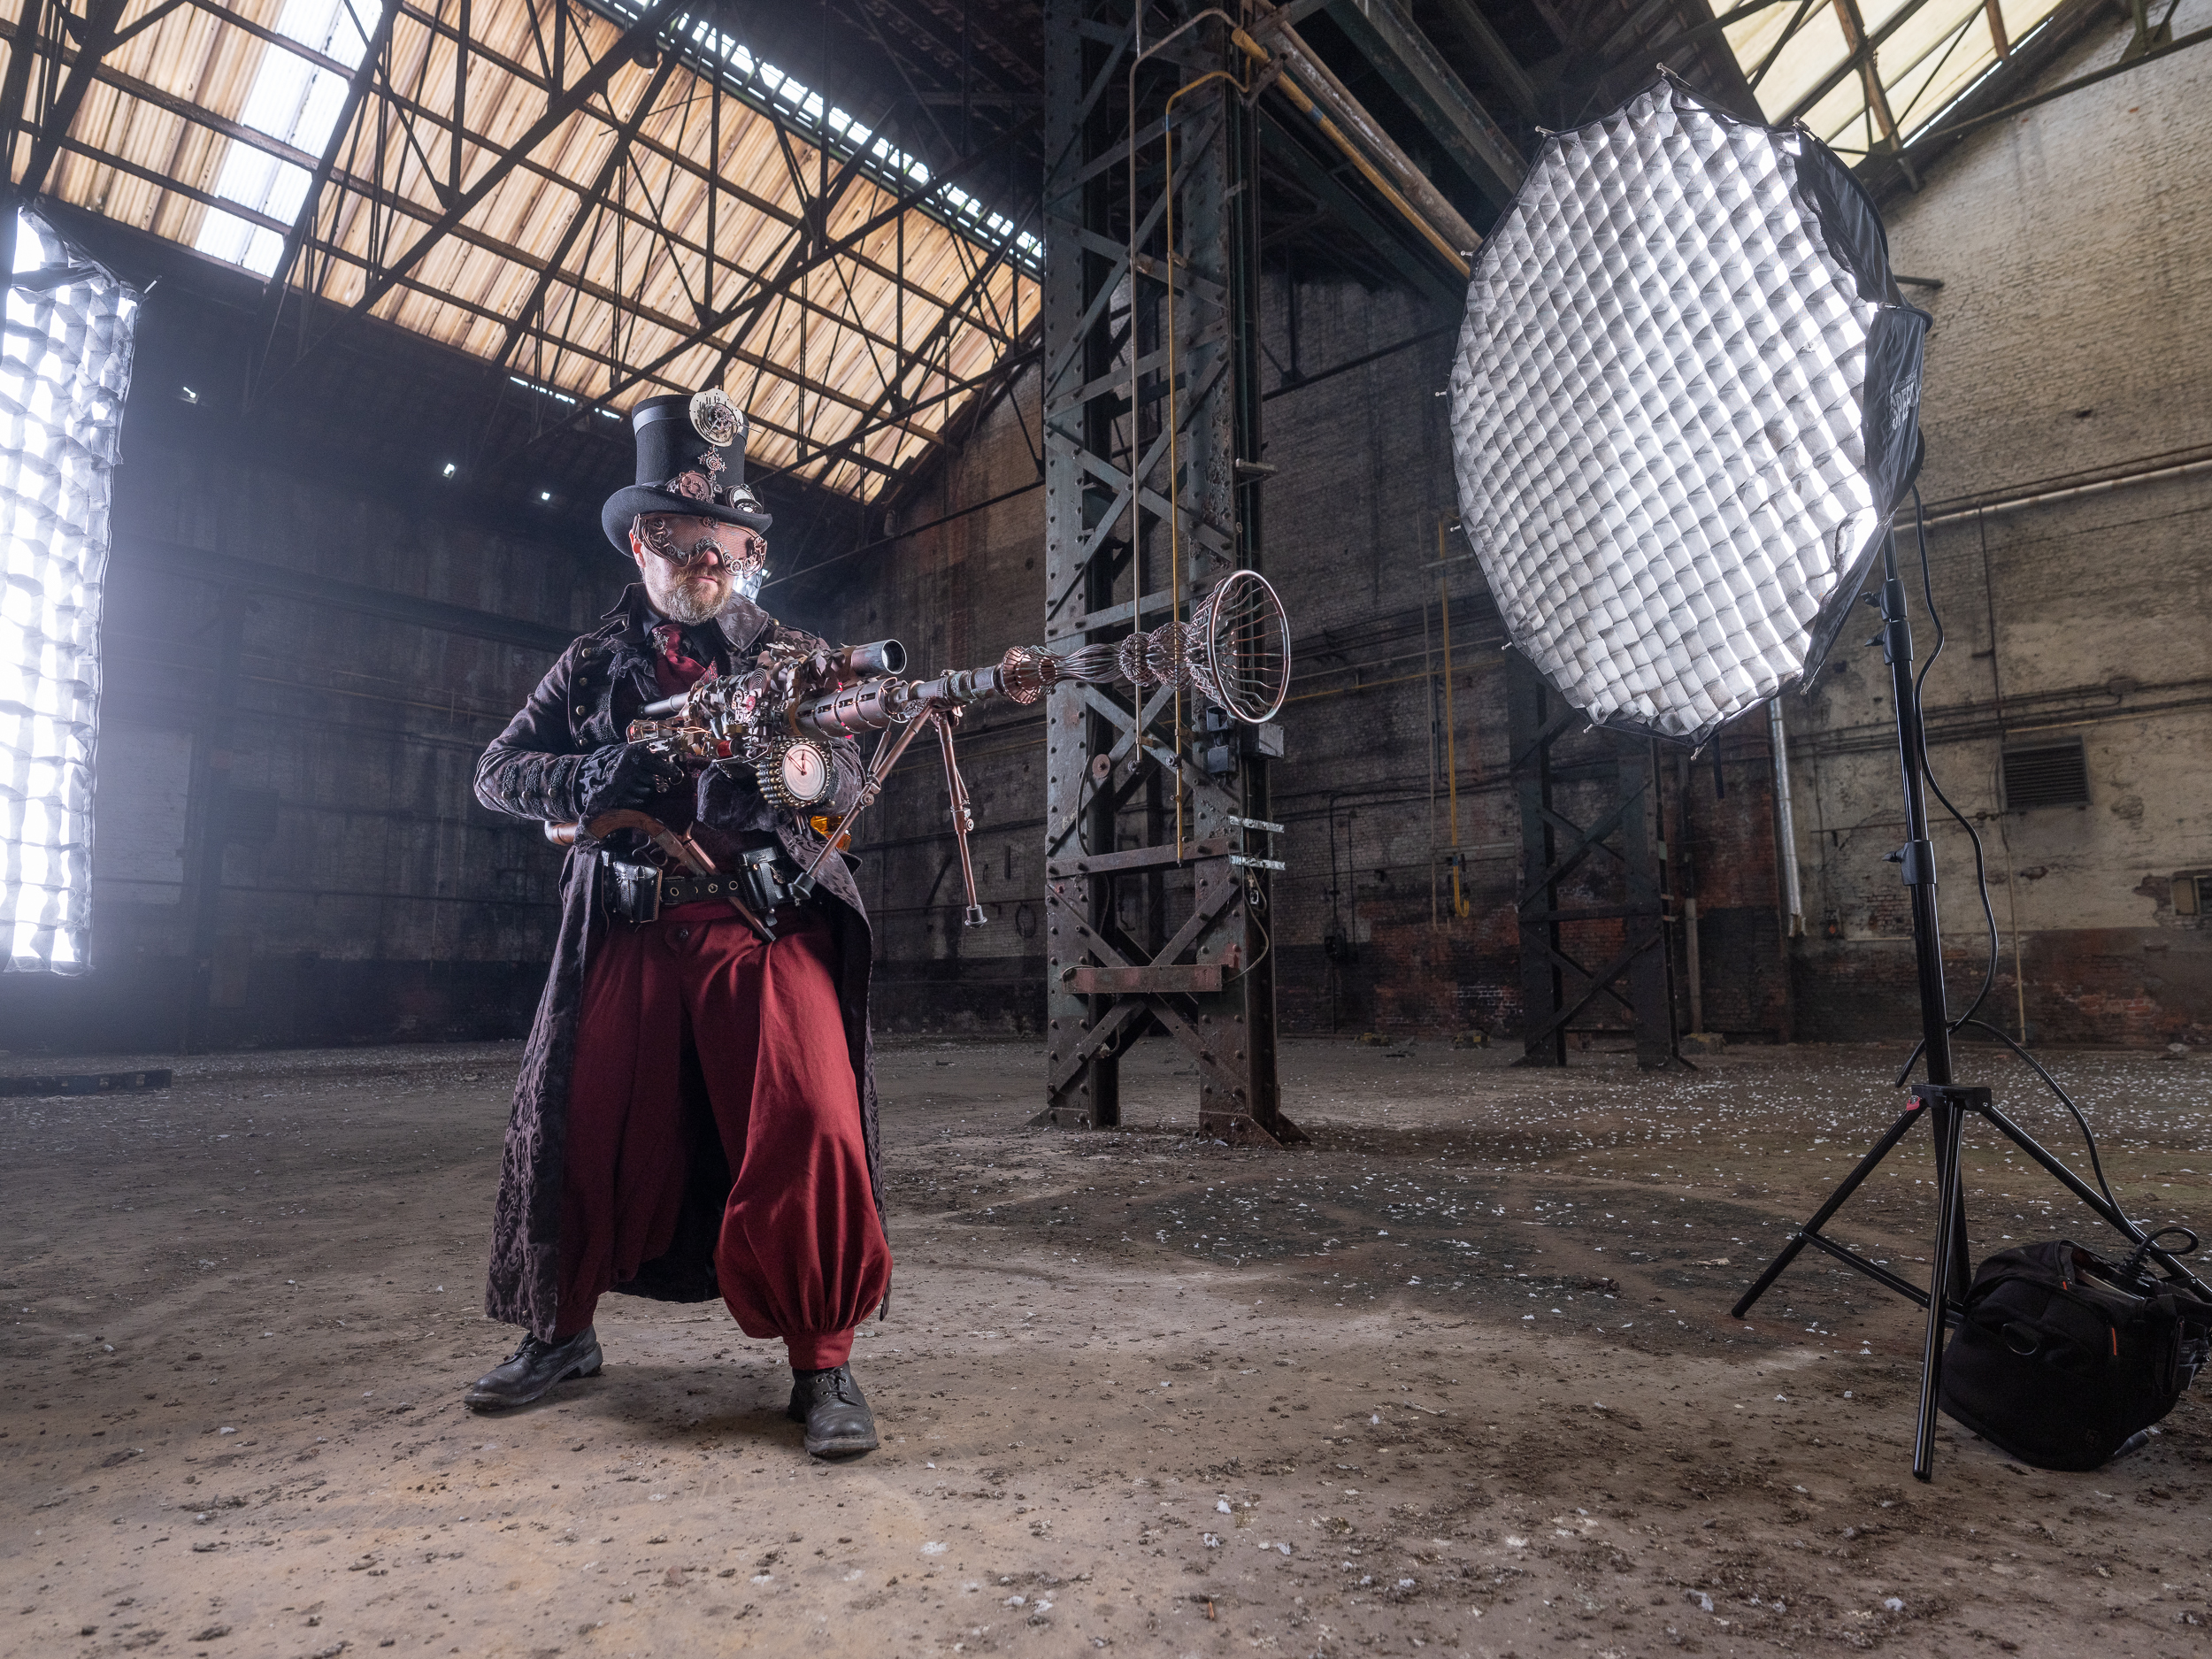
As you can see from this setup shot, there are two more lights in this shot: one strip light to the left of The Major, just out of frame and a second one behind him, pointed at the steel pillar. I did that to make the lighting more coherent. Apart from editing out the softbox on the right and adding the flame coming out of the gun in Photoshop, the complete styling and color-grading was done in Lightroom, using the profiles in my Creative Profiles Starter Pack.
The Fujifilm GFX, the ideal camera for this sort of work
Two things I love most about the GFX are the incredible dynamic range, which lets me do quite nice things in postproduction as you can see from the before & after above, and the resolution. In fact, this is a 16:9 crop from the 4:3 original and it is still over 36 megapixel! Having more flexibility in choosing your aspect after the fact is also one of the reasons I’m secretly already lusting for the GFX 100S…
Here’s a 1:1 crop in Lightroom. The detail of the GFX is simply amazing. I just love that camera.
Smoking gun
I personally like the version with the understated gunfire best, but I also played around with a more extreme version, as you can see below. Adding fire like that is simpler than you might think. I used an image from Adobe Stock. If the fire’s been photographed on a black background, in Photoshop, just change the blending mode of the layer to Screen, and you’re good. If you still see some artefacts around the fire, that’s a telltale sign that the background isn’t pure black. Just add a Levels adjustment and click with the black eyedropper on the black of the flame’s background to turn it completely black and in the Screen blending mode, the black will magically vanish!
The image above was shot with the 23 mm, which corresponds to an 18 mm on a fullframe camera. That’s a super wide lens so it takes in a lot of the environment. However, because of it being so wide, and having a relatively slow maximum aperture of f/4, it’s difficult to use shallow depth of field to separate your subject from the background. That’s why I also brought the 110, the bokeh monster of the GF lens lineup.
In the image below, I stitched a couple of vertical shots I took with the GF 110 wide open at f/2 into a panorama using Photoshop. I then colorgraded the image in Lightroom. If you’re on a fullframe camera system, try using an 85 mm 1.4 or 1.8. If you’re on a crop camera, try something like a 50 mm 1.4 or, in the case of Fujifilm, the 56 1.2.
With the GFX, I tend to underexpose more than I used to because there’s so much leeway in bringing up shadow detail.
The result is an image with a wide angle of view but at the same time the super shallow depth of field of a portrait lens. And as a bonus, you get an even crazier resolution. The image below is a whopping 10.860 x 8.145 pixels! That’s almost the resolution of the upcoming GFX 100S!
Fujifilm GFX 50S | GF110mmF2 R LM WR @ 110 mm | 1/125 sec. @ f/2 | ISO 250
Again, other than the merging of the panorama which I had to do in Photoshop because it offers more control, the entire look of the image was created in Lightroom. Below is a 1:1 screenshot.
The controlled lighting and the super shallow depth of field really make the subject stand out from the background.
That’s it for this blog post. If you live in or near Belgium, speak Dutch and you’d like to photograph The Major yourself, you might be interested in the next edition of the Epic Steampunk Workshop, which is held on March 8, 2019. More information here (in Dutch). Ticket sales start January 31, 8 PM Brussels time. Below’s a 90 second impression of that workshop.
Also, don’t forget that until the end of January, you can save 25% on my brand new ‘Learn Lightroom Classic in 2.5 hours’ video course. Check it out here.

