From short lighting with a big softbox...
[Recommended soundtrack while reading this blog post: Stepping Out by Joe Jackson :-) ]
People are creatures of habit. So are photographers, at least this photographer is. There are areas where we feel more comfortable than others. For me, lighting wise, my comfort zone is flash. I love using flash. I know a lot of you find it complicated but I don't - at least not anymore. [Shameless plug: if you find flash intimidating, I've written a book that will help you overcome your fears. It's available here in English and here in Dutch - end of shameless plug].
The fact that I can reach into my gear bag and whip out my own portable sun is very reassuring to me. Comforting. Within that broad comfort zone of using flash, I have one technique I am more comfortable with than others. If flash is my house, then this technique is my sofa, so to speak... I could perform it on my slippers. In fact, I already have :-)
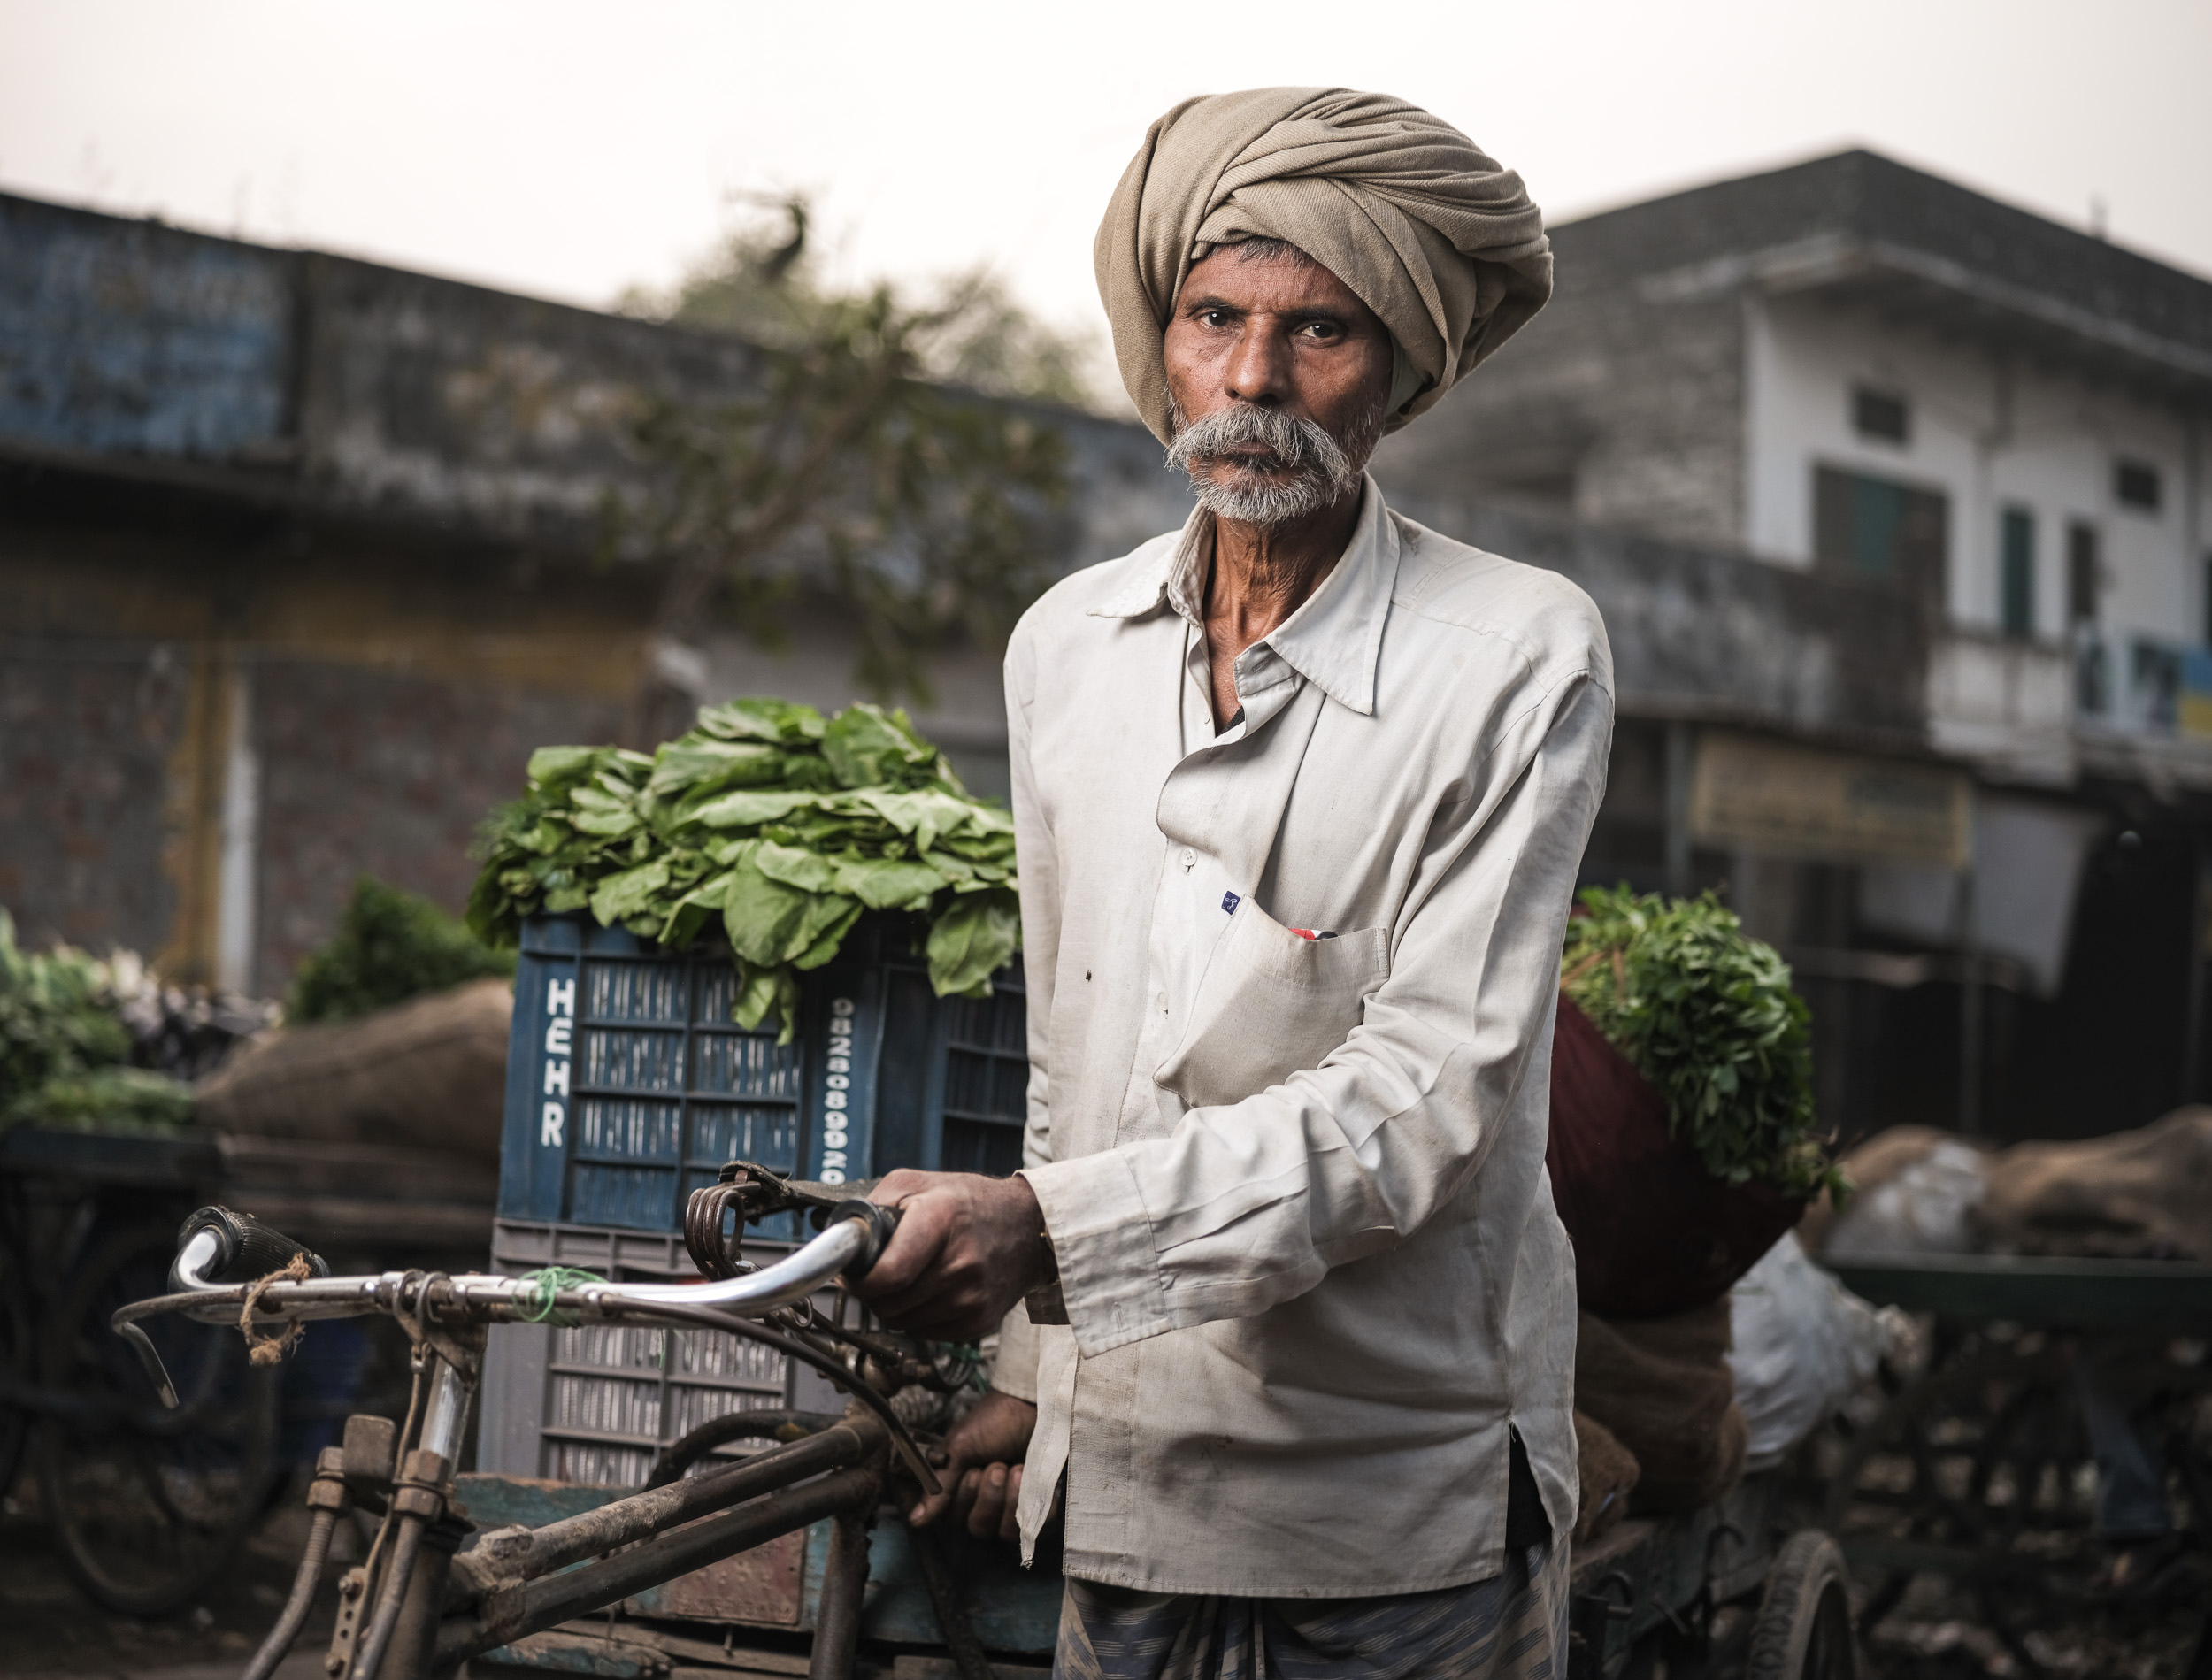
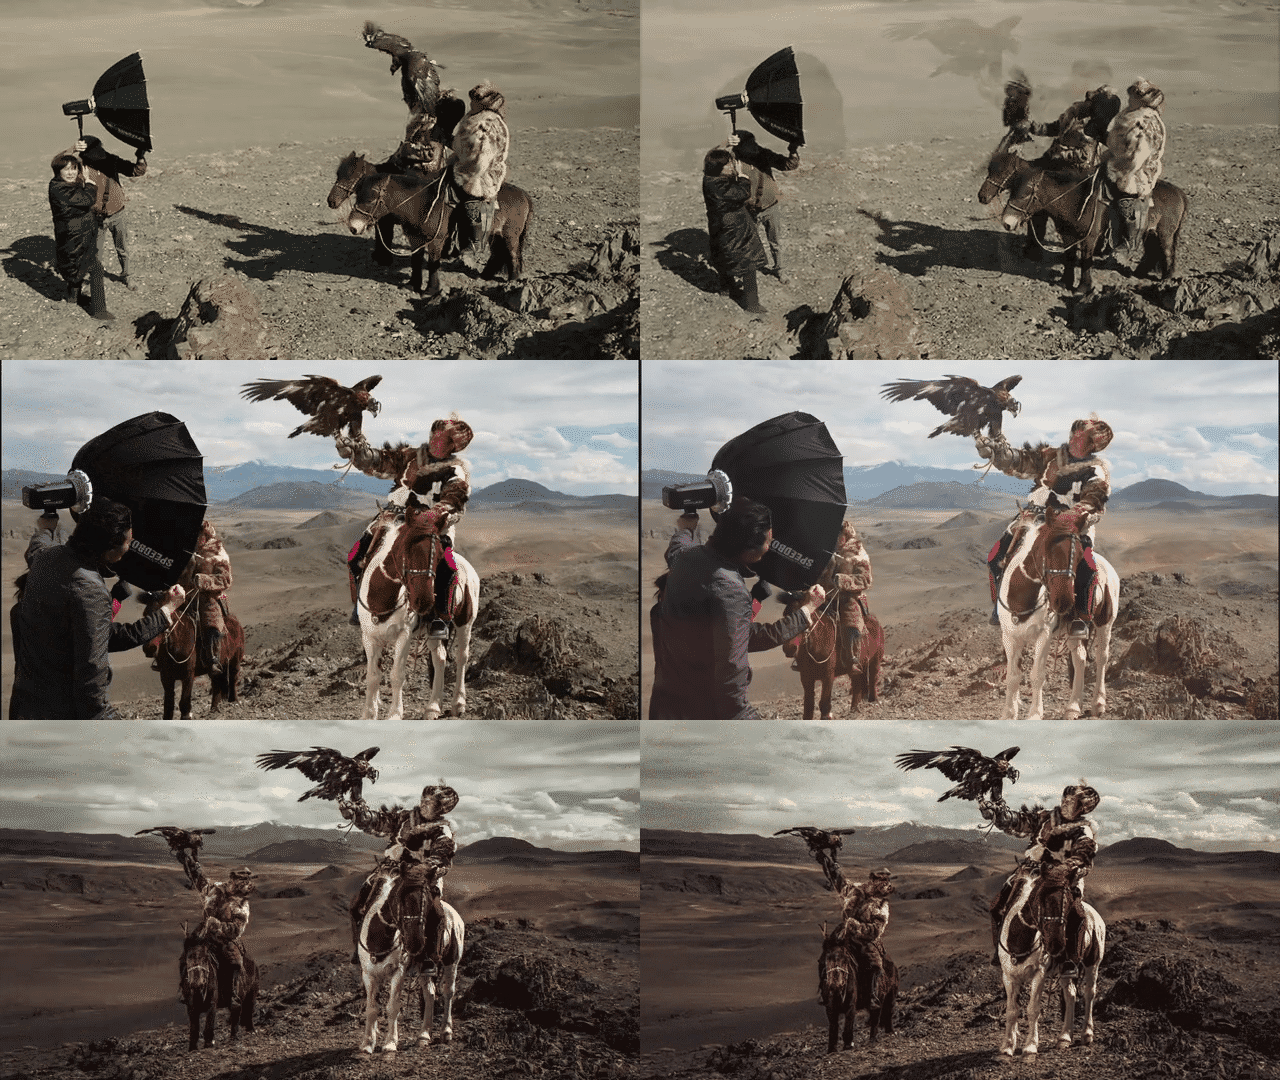
That go-to technique is the one you see in the image below: it's short-lighting with a relatively big softbox, combined with natural rim-light from the sun. My preferred softboxes are the SMDV Alpha 110 (this thing sets up in less than 15 seconds and breaks down in less than 2) and the Elinchrom Rotalux 175 cm. Generally, I'll be working with a standard to wide angle lens fairly wide open. In this image, the softbox was camera left, almost at a 90 degree angle to the camera. Because the subject has his face slightly turned to his right, the softbox predominantly lights the side of the face that's turned away from the camera, leaving a - in my opinion at least - beautiful Rembrandt triangle on the side of the face that's closest to the camera.
By putting my subject with the back to the sun, I kill two birds with one stone. First of all, I avoid squinting in the eyes and second, the sun gives me a free rim light, which helps to separate him from the background: do you see the narrow white line around the turban (camera right) and his shirt? That's the sun. I'll slightly underexpose the background and then I'll bring my subject back to the desired light level with the flash... I've done a zillion of these photographs and I'll probably do a zillion more, because I just like the look...
FUJIFILM GFX 50S | GX63mmF2.8 R WR @ 63 mm | 1-125 sec. @ f - 2,8 | ISO 500 - Flash was an SMDV BRiHT 360 in an SMDV 85 cm Speedbox
... Over short-lighting with a harsh light source...
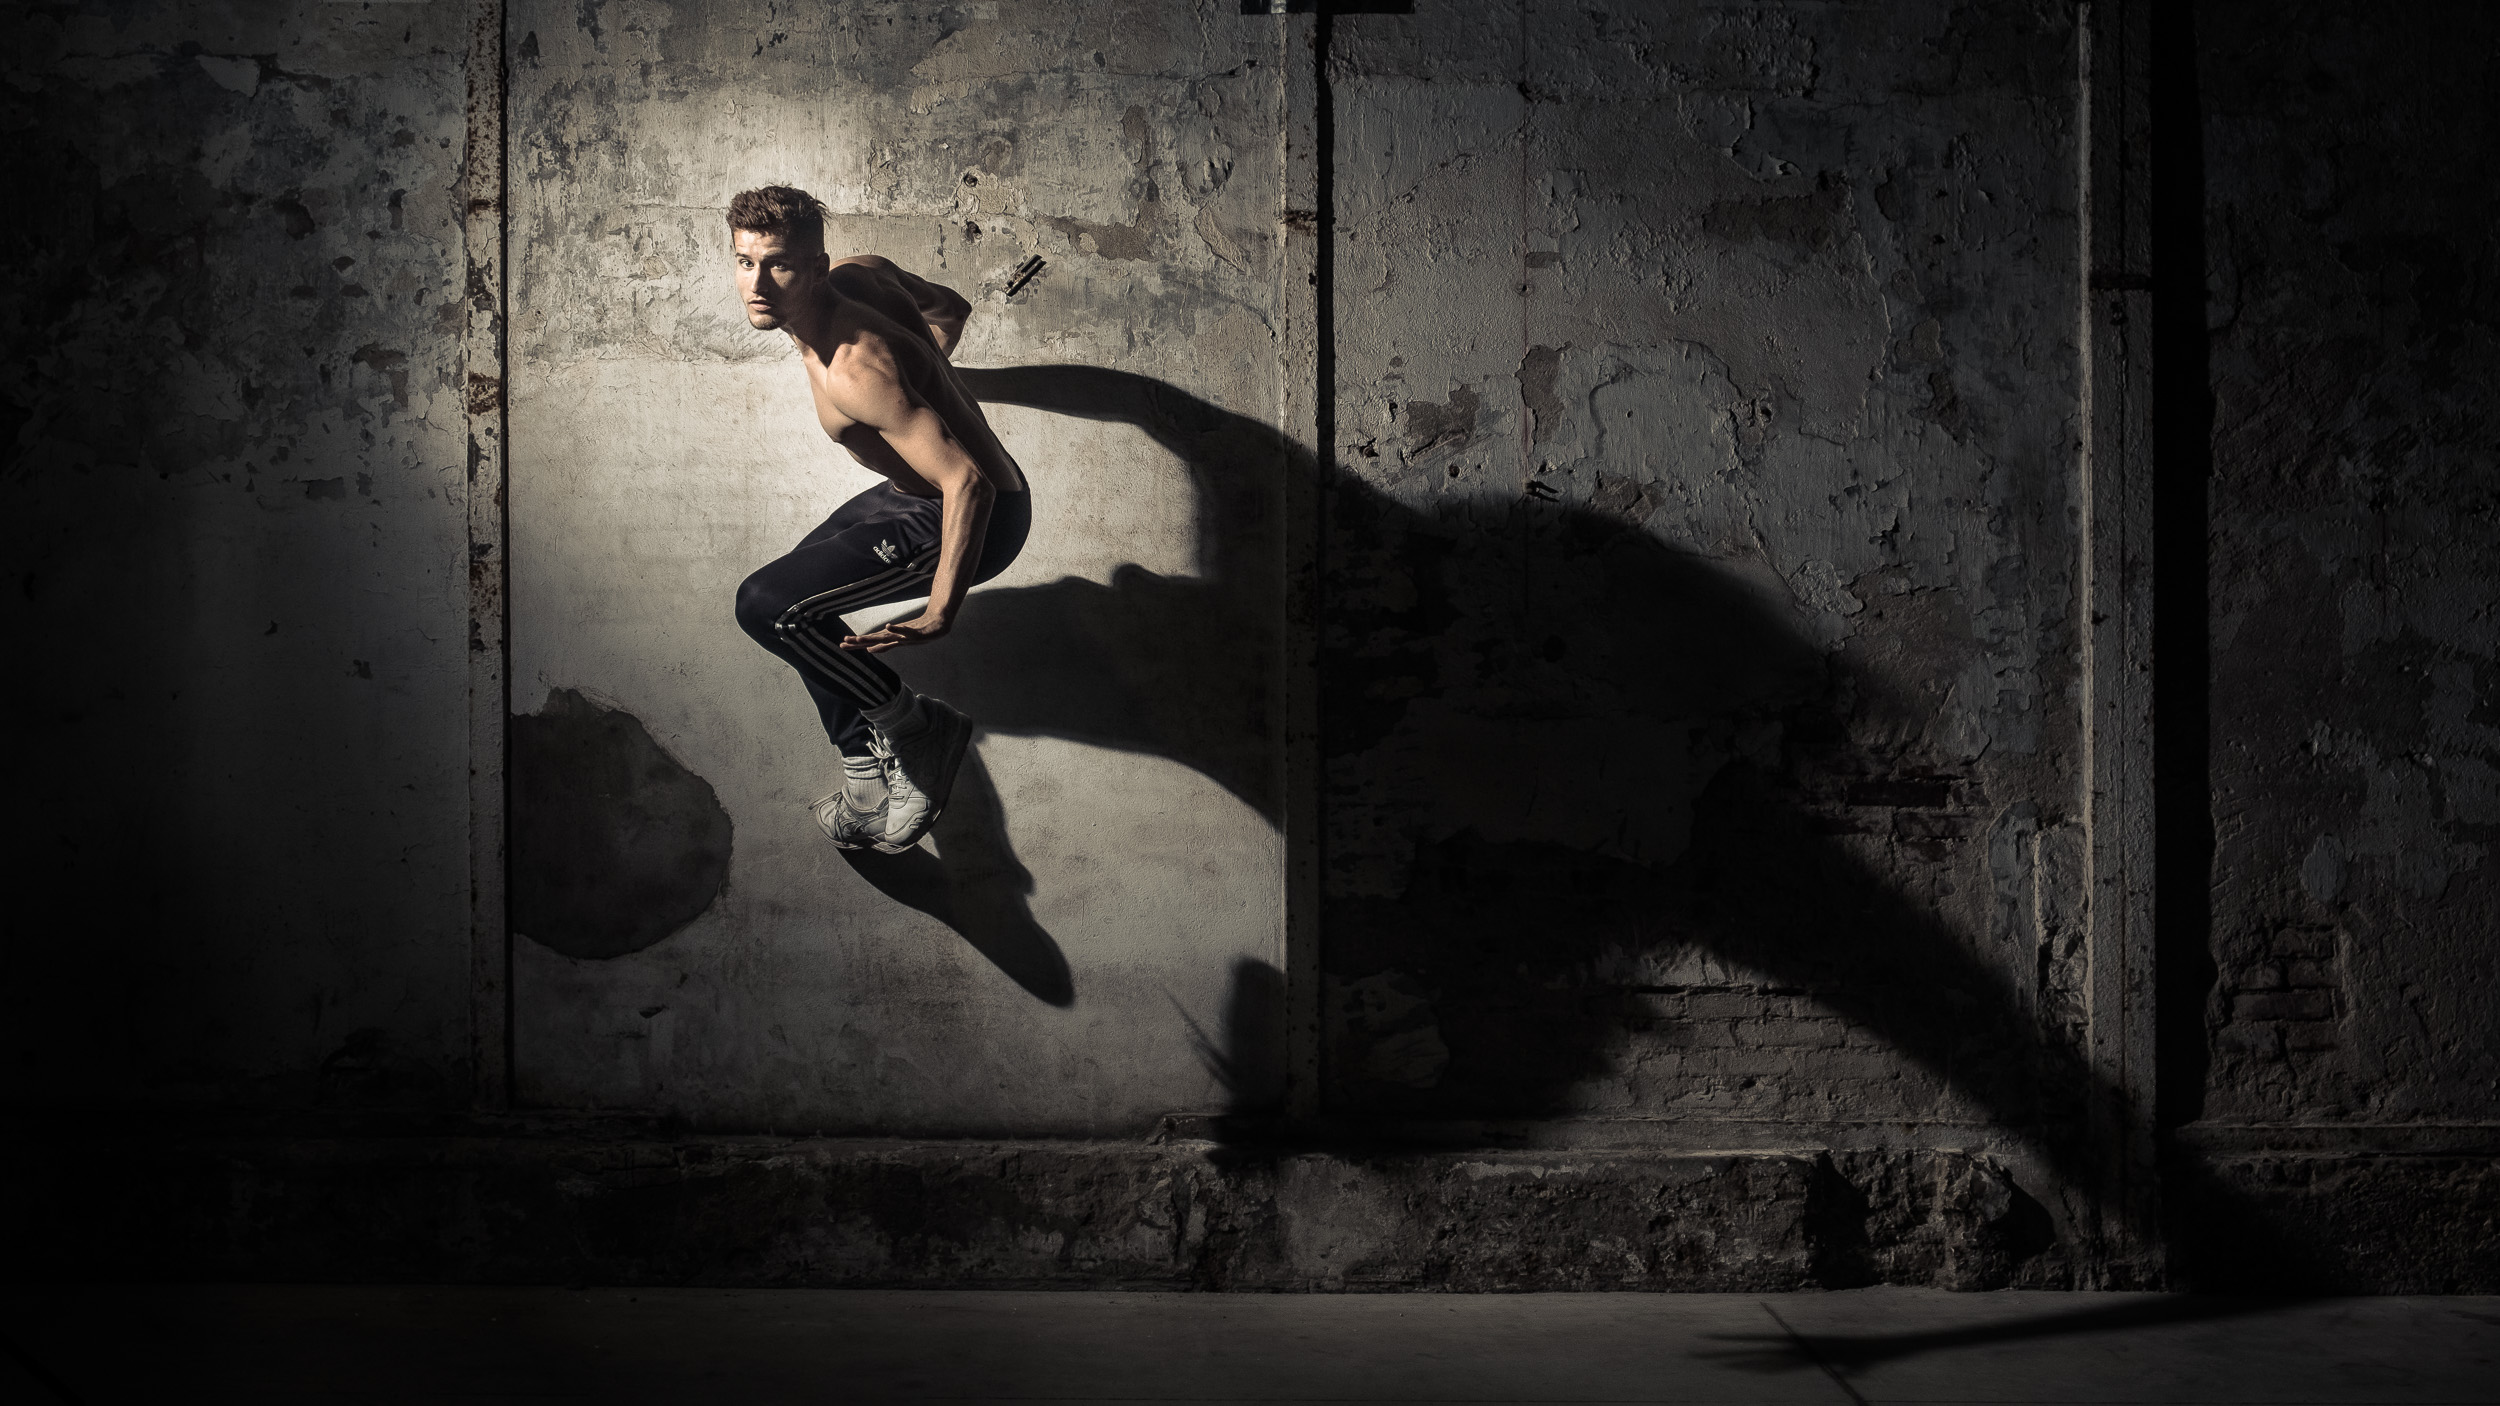
The danger of having a preferred style like this, is that you'll use it always and everywhere and that you no longer even consider alternatives that might be better. You might get a nice, safe shot, but not necessarily the one that fits the subject or the situation best. For the shot below, for example, I decided to break my usual routine. The big softbox I normally use, creates soft shadows, but here I wanted the shadow to be a part of the image, probably even the most important part. So I switched out the softbox for a standard reflector in this portrait of dancer Bradley. That's one step away from my comfort zone... But I did keep the short lighting look... We're going to get rid of that, too, in the next image...
FUJIFILM X-T2 | XF18-55mmF2.8-4 R LM OIS @ 31.5 mm | 1-160 sec. @ f - 7,1 | ISO 200 - Flash was a Godox AD200
... Over rim-lighting with a flash...
In this shoot of Barre, a BMX Flatland Rider (www.barrebmx.com) in an abandoned cooling tower, I started out in my comfort zone: two lights. For lack of sun, I used a second flash as a rim light. Both were Godox AD600 flashes. In this blog post, I explain why I am so fond of the Godox eco-system. This setup gave me a decent enough image. With that in my pocket, it was time to step out of the comfort zone.
FUJIFILM GFX 50S | GF32-64mmF4 R LM WR @ 32 mm | 1-60 sec. @ f - 8,0 | ISO 800 - Flashes used: 2 x Godox AD600
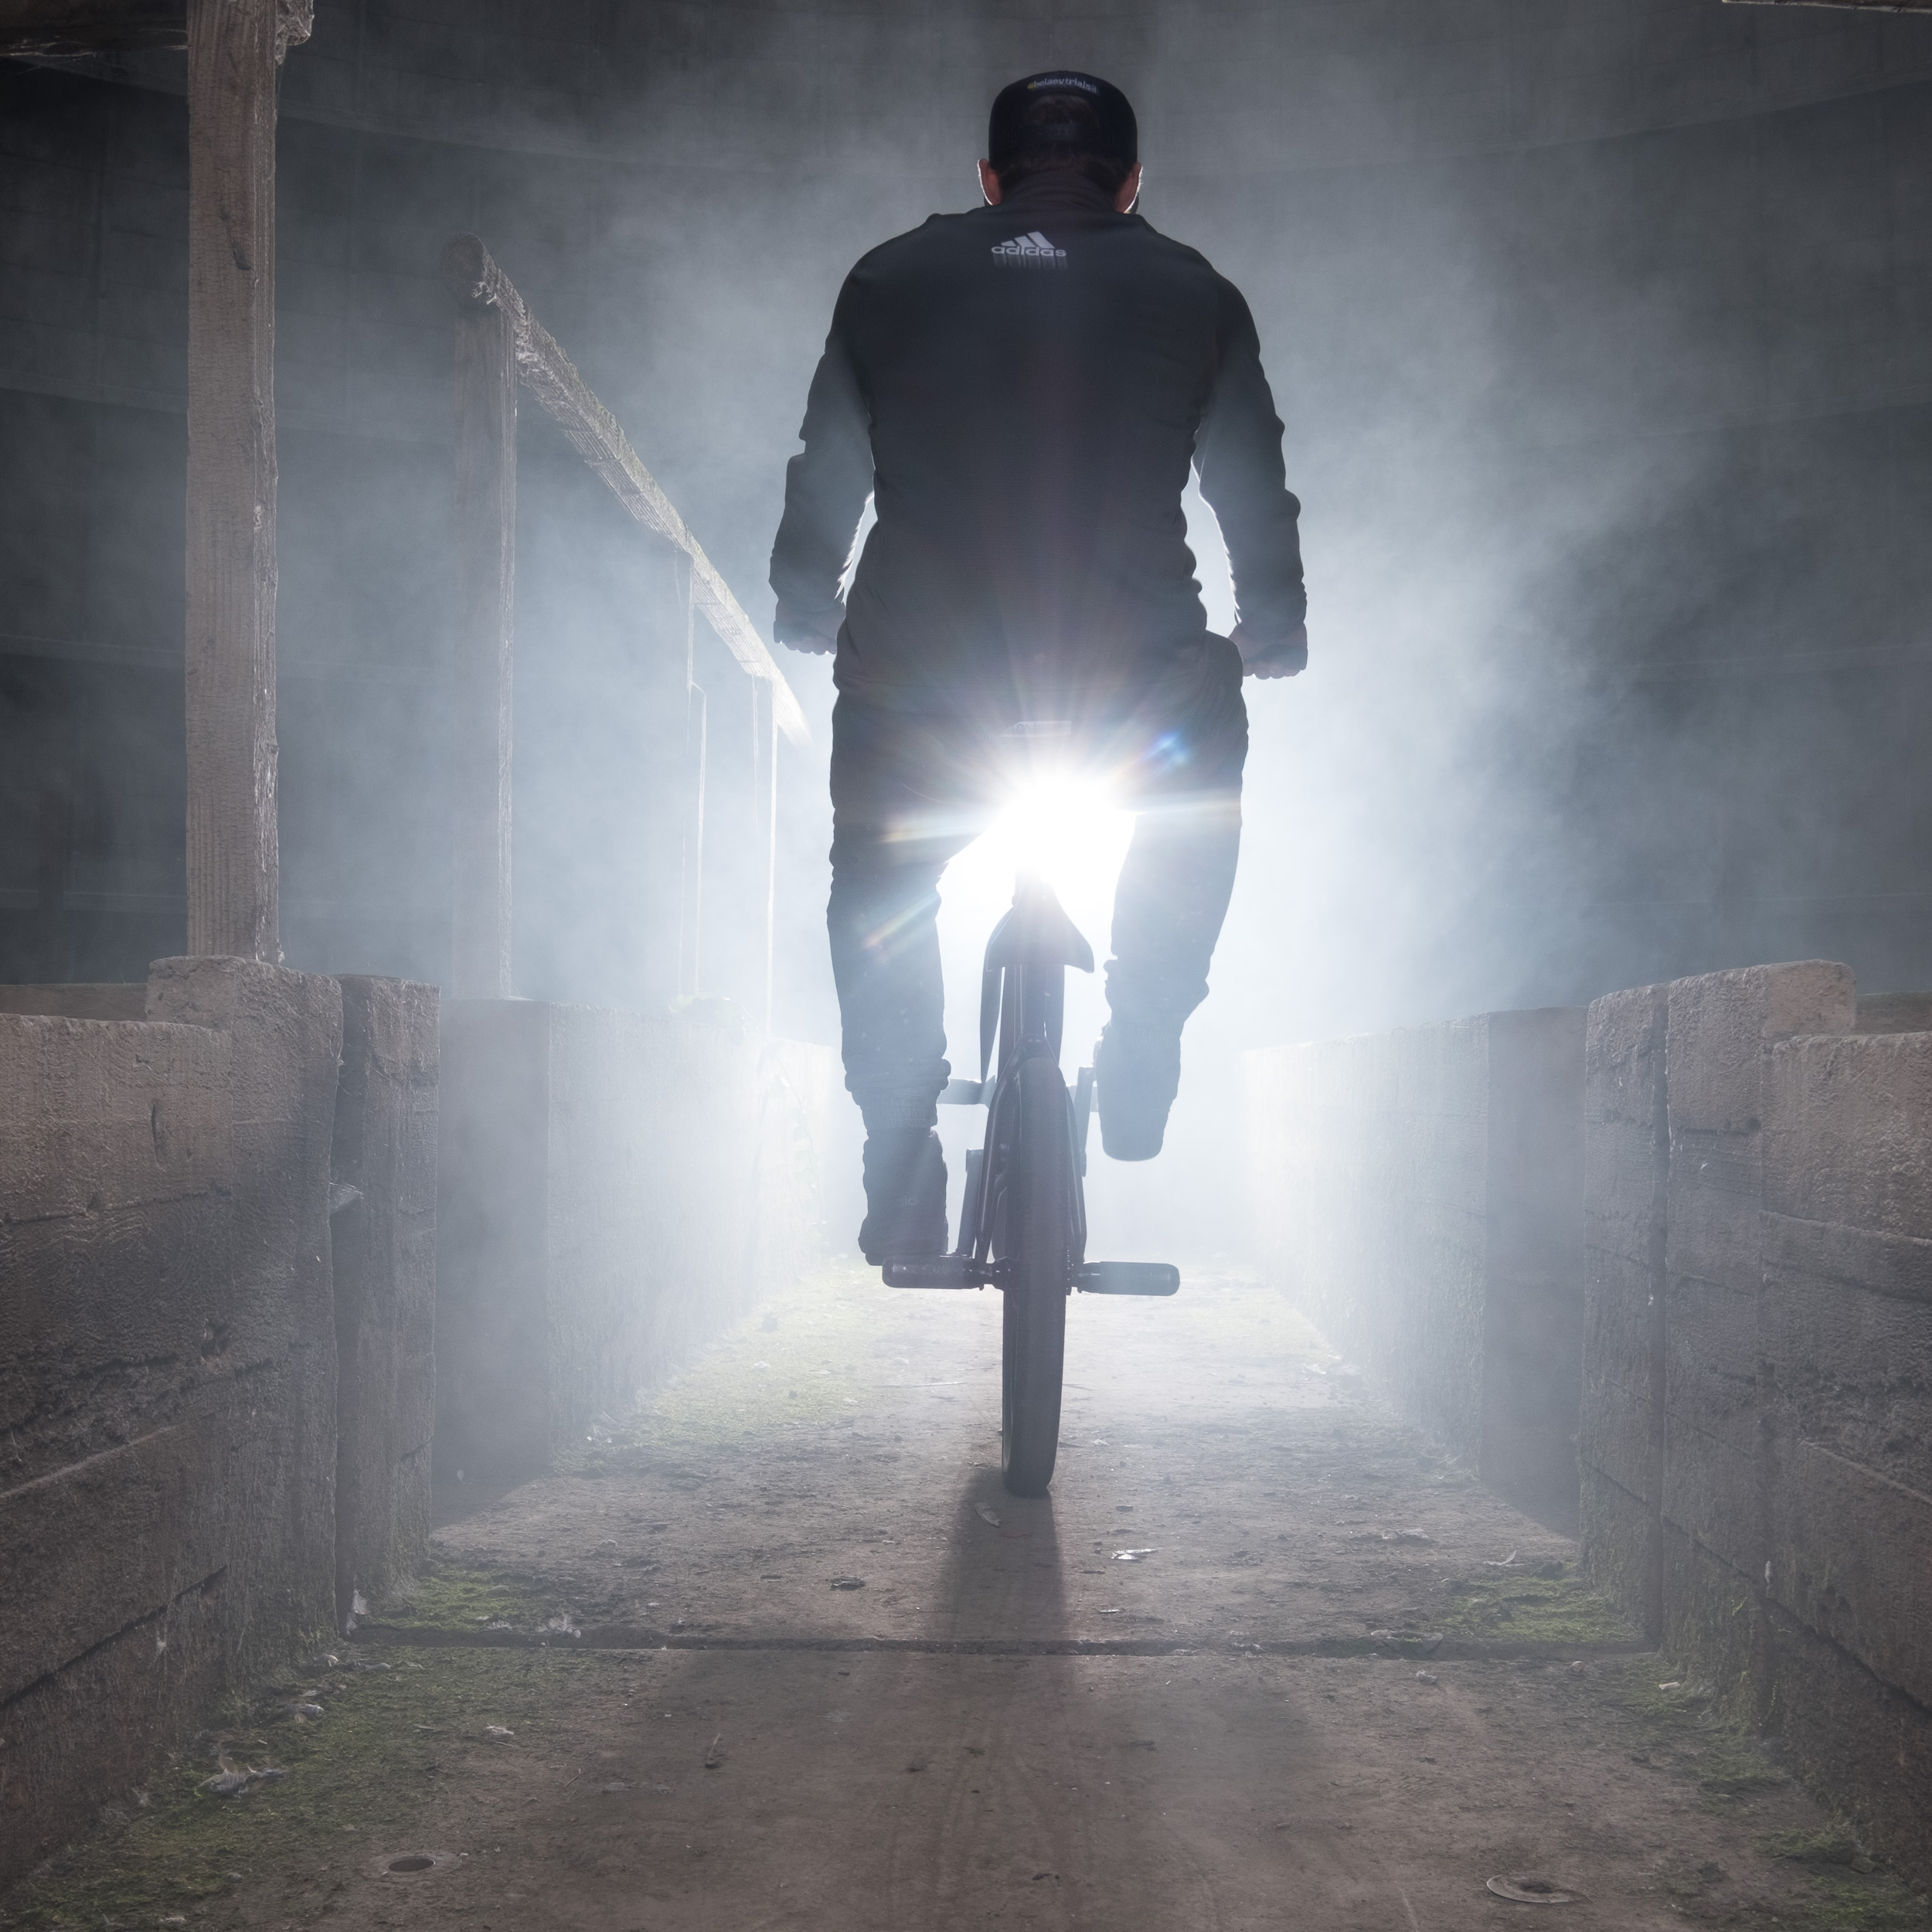
I love backlight, I love smoke and I looooove backlit smoke! To that effect, I'll often lug around my Scotty II, a portable, battery powered smoke machine. It's a totally different shot. Not better or worse, just different. But what matters is that it's a shot that I wouldn't have had if I had stayed in my comfort zone.
FUJIFILM X-T2 | XF18-55mmF2.8-4 R LM OIS @ 31.5 mm | 1-160 sec. bij f - 7,1 | ISO 200
To using natural light only...
One way to get out of your comfort zone in a ... comfortable way, is to team up with a model and another photographer for a TFCD shoot. There's no stress to deliver, so you're free to do what you want and you can learn from the other photographer's handling of light. For this shoot, my buddy and fellow Fujifilm Ambassador Ioannis Tsouloulis (as far as names go, that's not a comfort zone!) and I got to work with Mila, a very talented young model who also happens to be a keen ballet danser. I did my usual wide-angle-big-softbox shot that you can see below.
FUJIFILM GFX 50S | GF23mmF4 R LM WR @ 23 mm | 1-500 sec. bij f - 8,0 | ISO 100-2
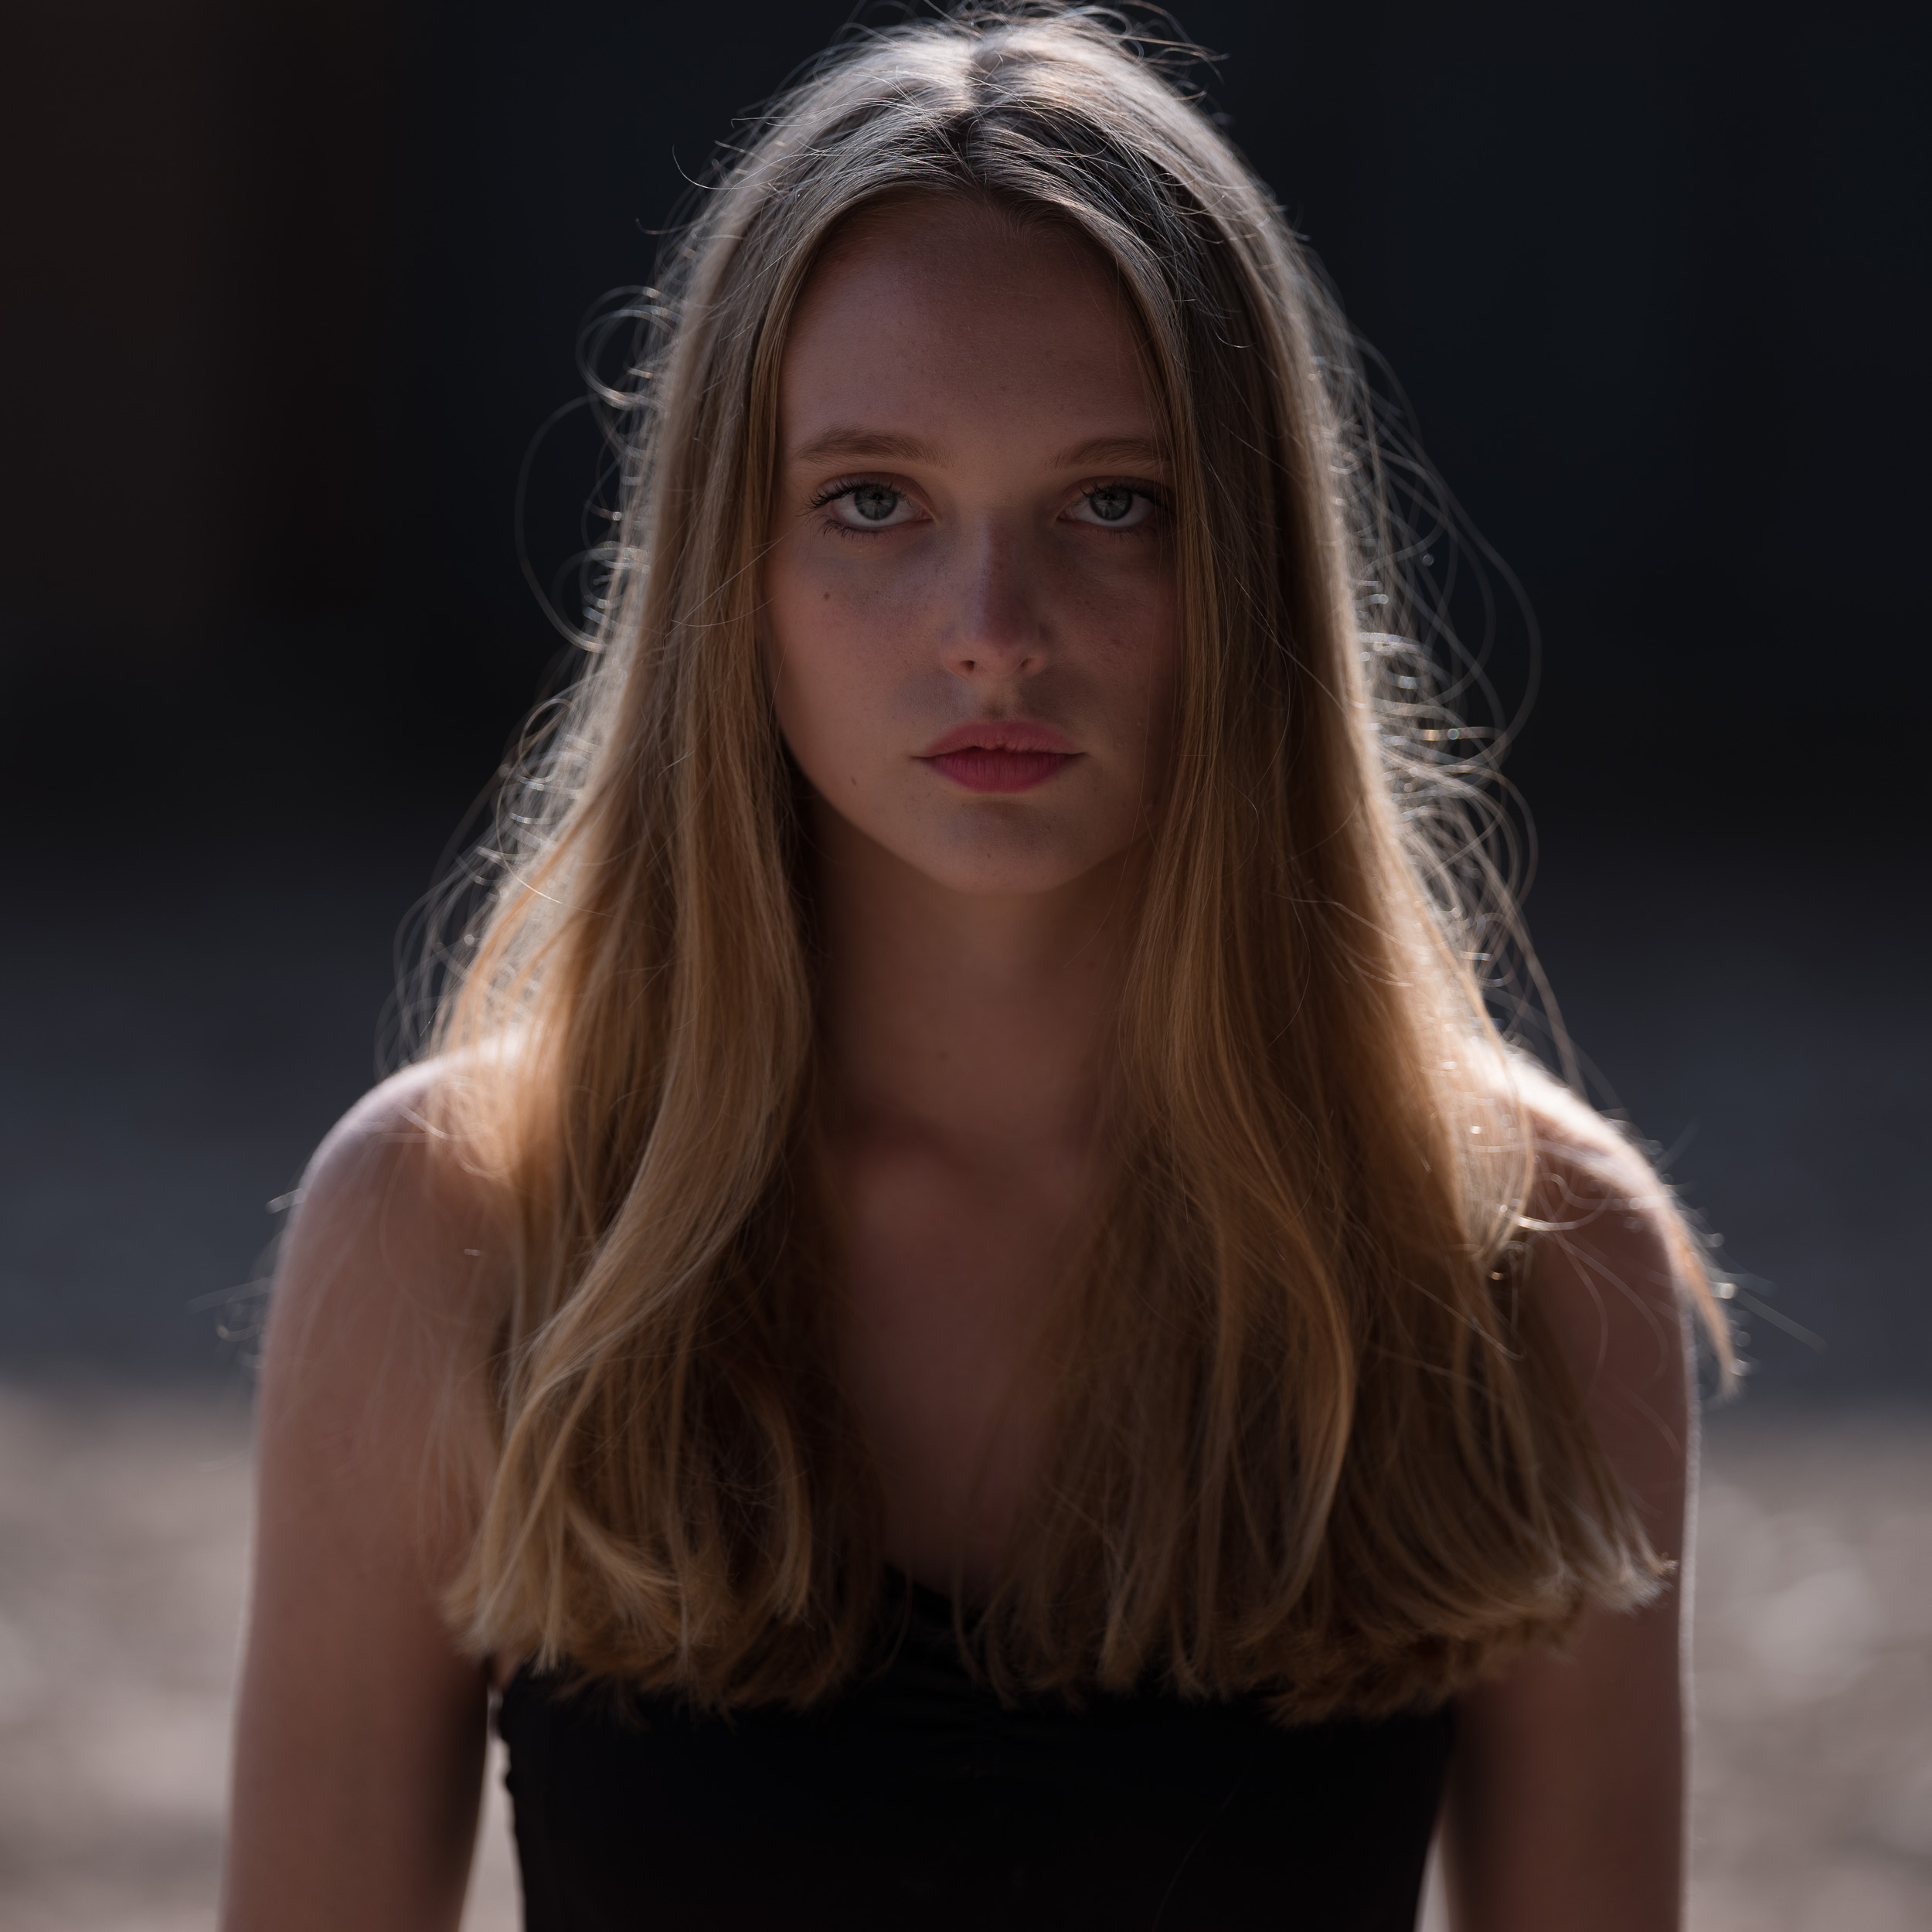
And then Ioannis challenged me to work with natural light only, and a reflector. I hate using reflectors (that would be another blog post entirely) and I'm not a big fan of using typical portrait lenses either, but I got one of the best shots from the day by stepping out of my comfort zone.
It also helps to have a stunning model, obviously. Mila probably would still look great with an on-camera flash and a toy camera, I think...
Postprocessing
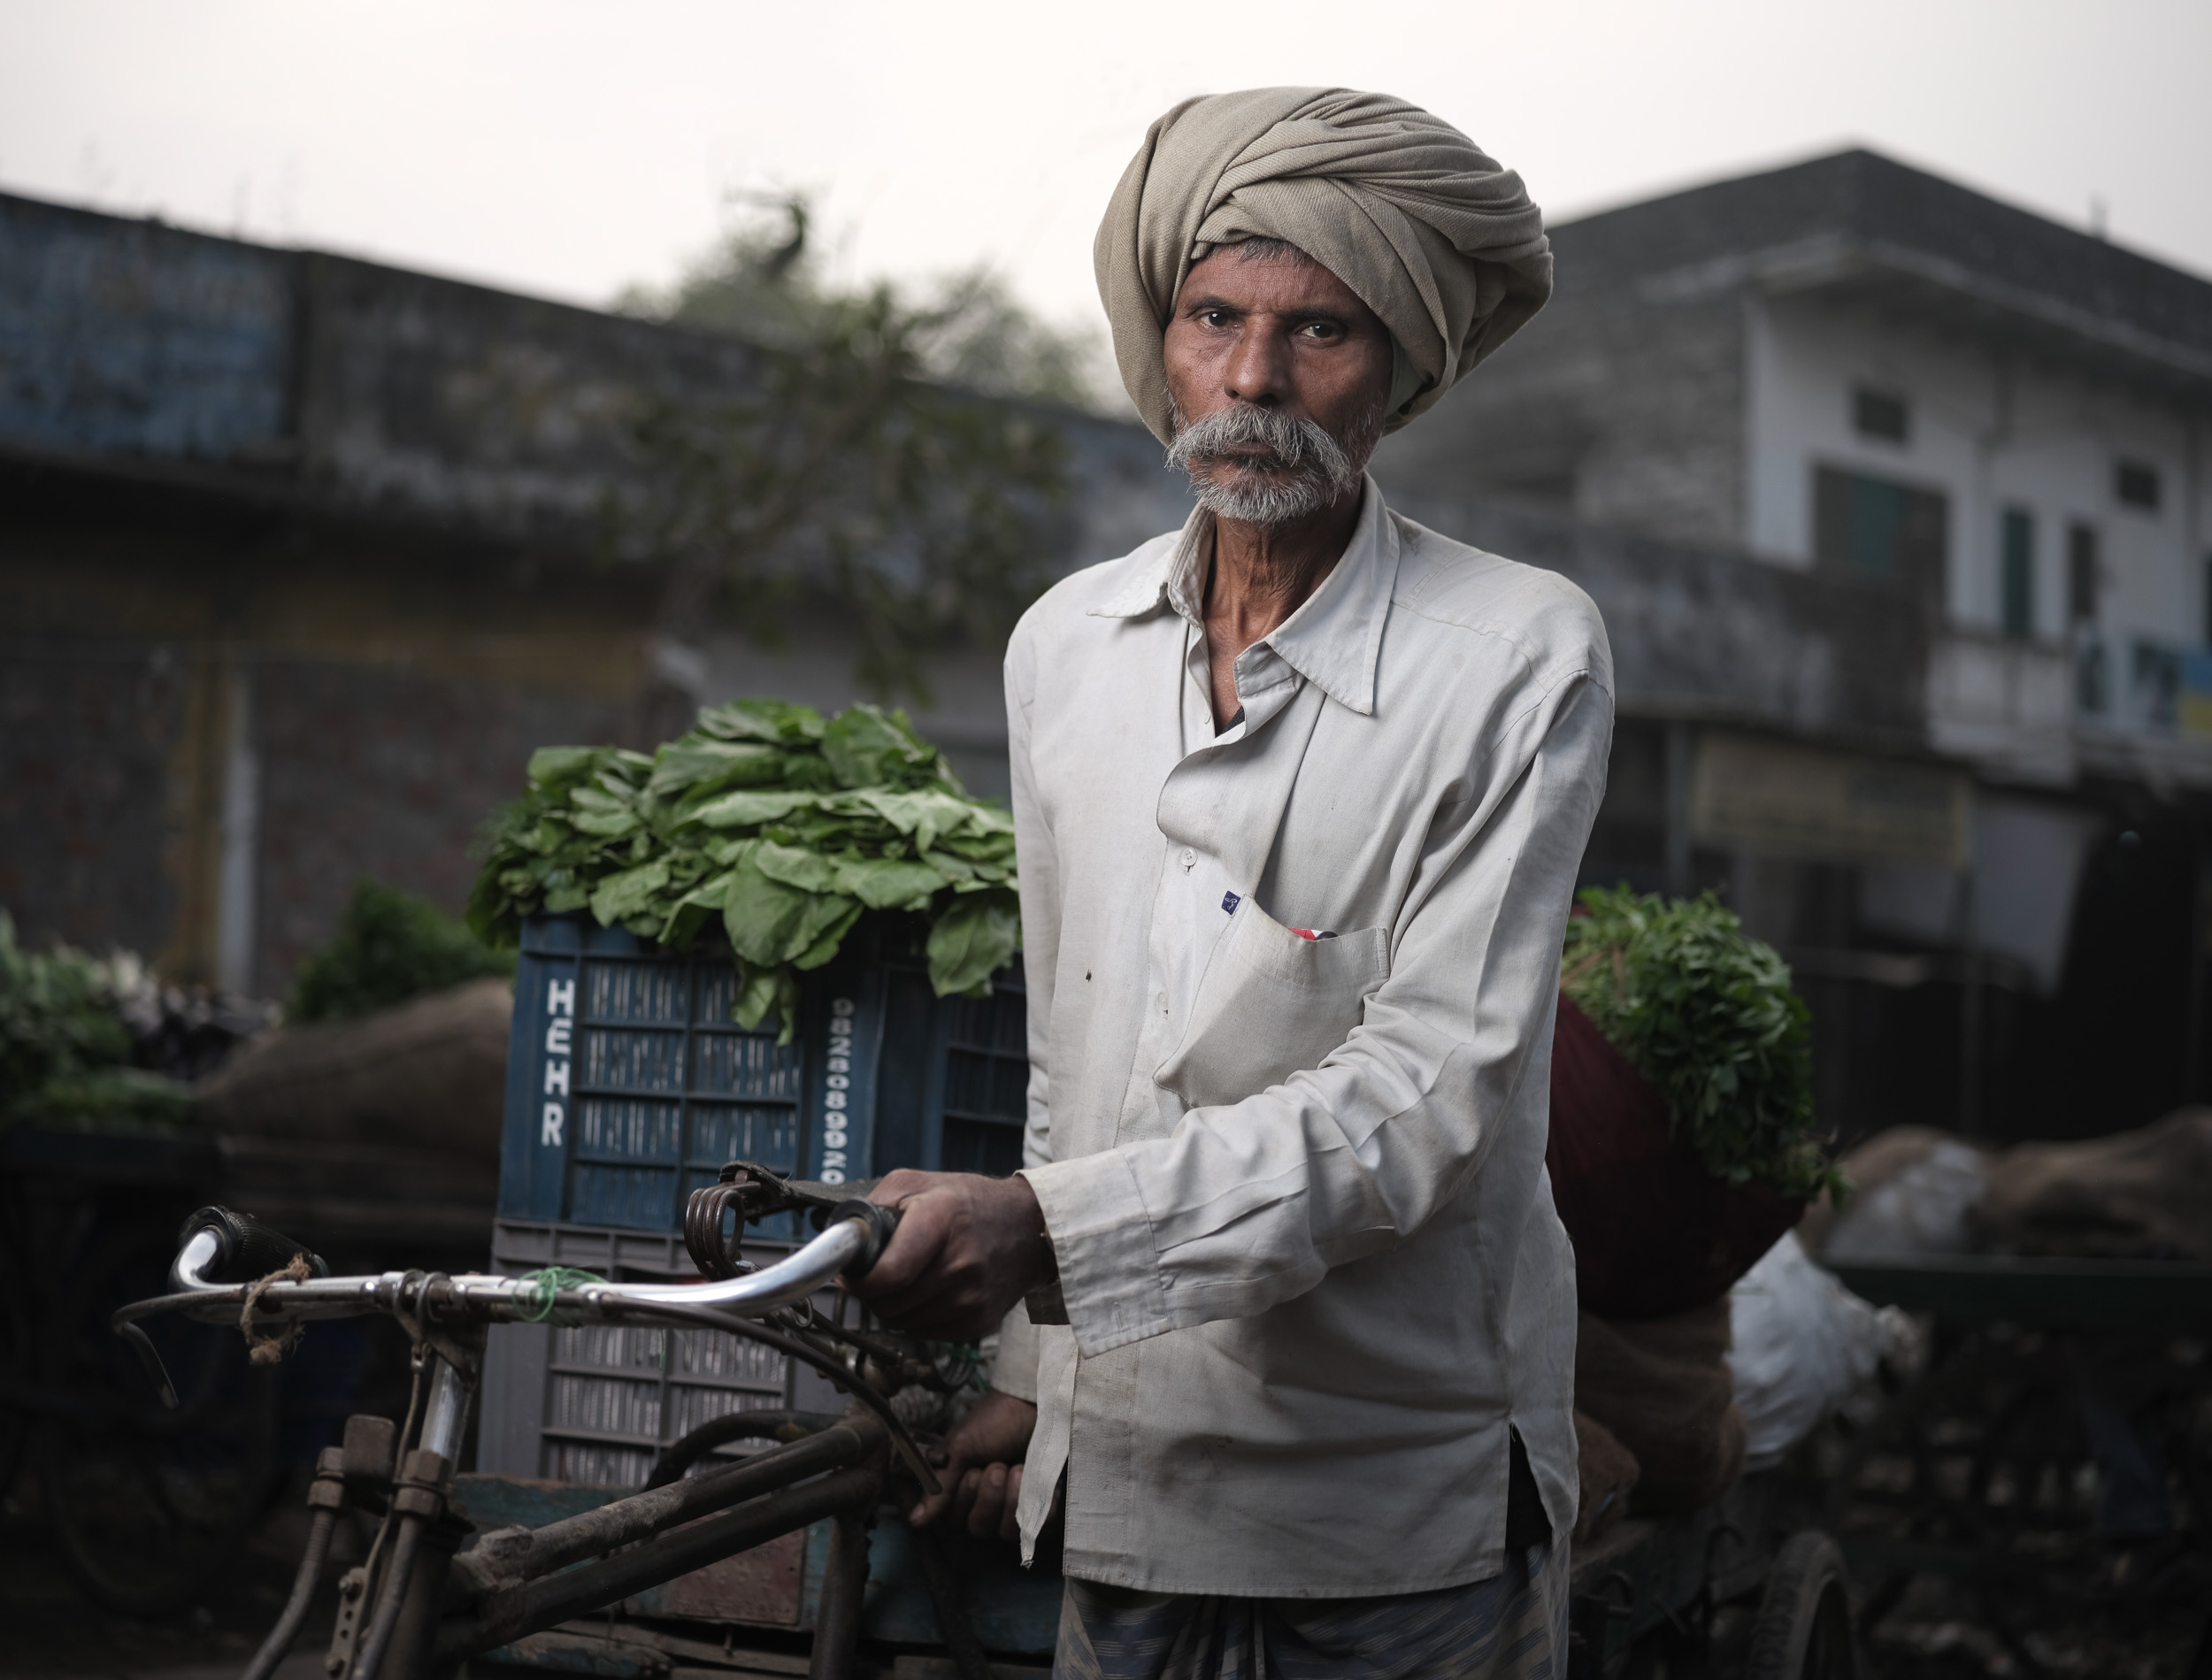
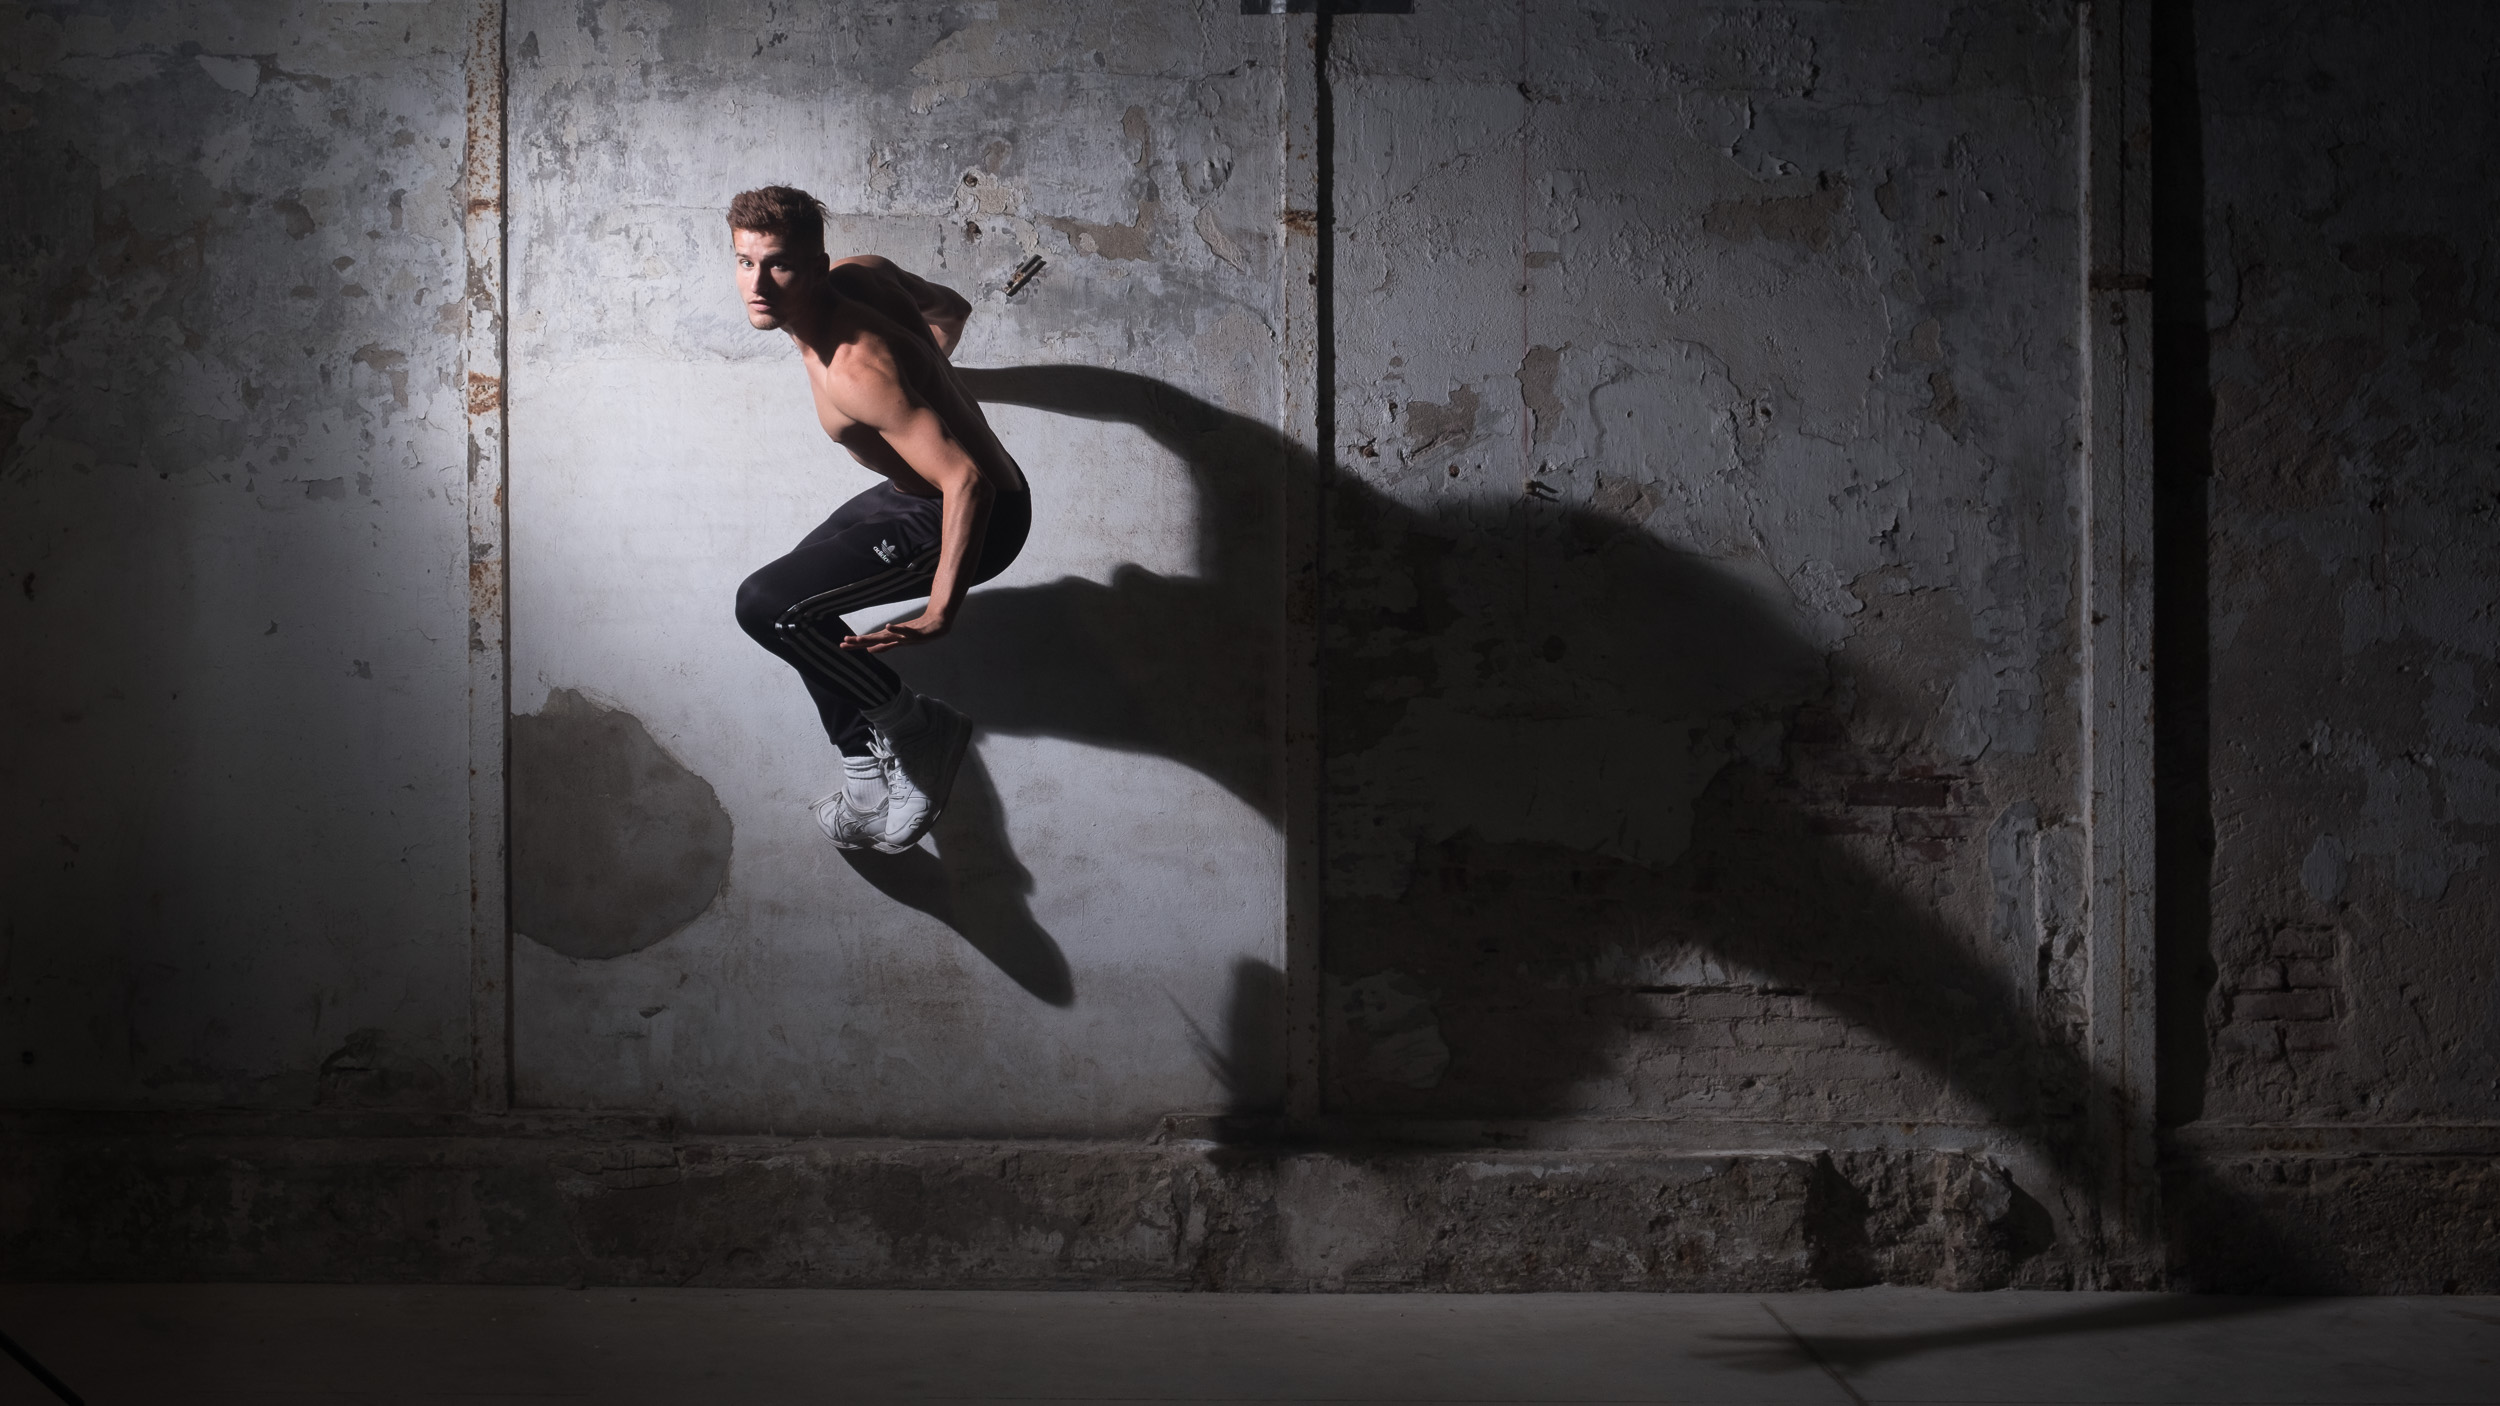
In case you're wondering, the images above don't come rolling out of the camera like this. At least not out of my camera. There's always some degree of styling and retouching going on. That's not a shame or a bad thing, on the contrary, it can be an equally important part of your style as the actual photography. I do try to get my images more or less right in terms of overall exposure and composition, but then comes the fun part: the postproduction. Unlike many photographers I know, I really love this phase. Especially since I've started shooting with the Fujifilm GFX. Man, those pixels can take a digital beating! Below are some before and after comparisons. My edits are mainly done in Lightroom, using one of my Lightroom preset packs.
I just warmed up this image slightly and gave it a slightly more crispy look with a preset from 'Piet's Power Preset Pack, Vol. I'
I thought the dramatic light would go well with a more dramatic postprocessing that gave a gritty, urban feel to the image. This look was achieved by using one of my favorite presets (I've named it after my son, go figure!) Noah, which you can find in my Colorific Colour Grading bundle.
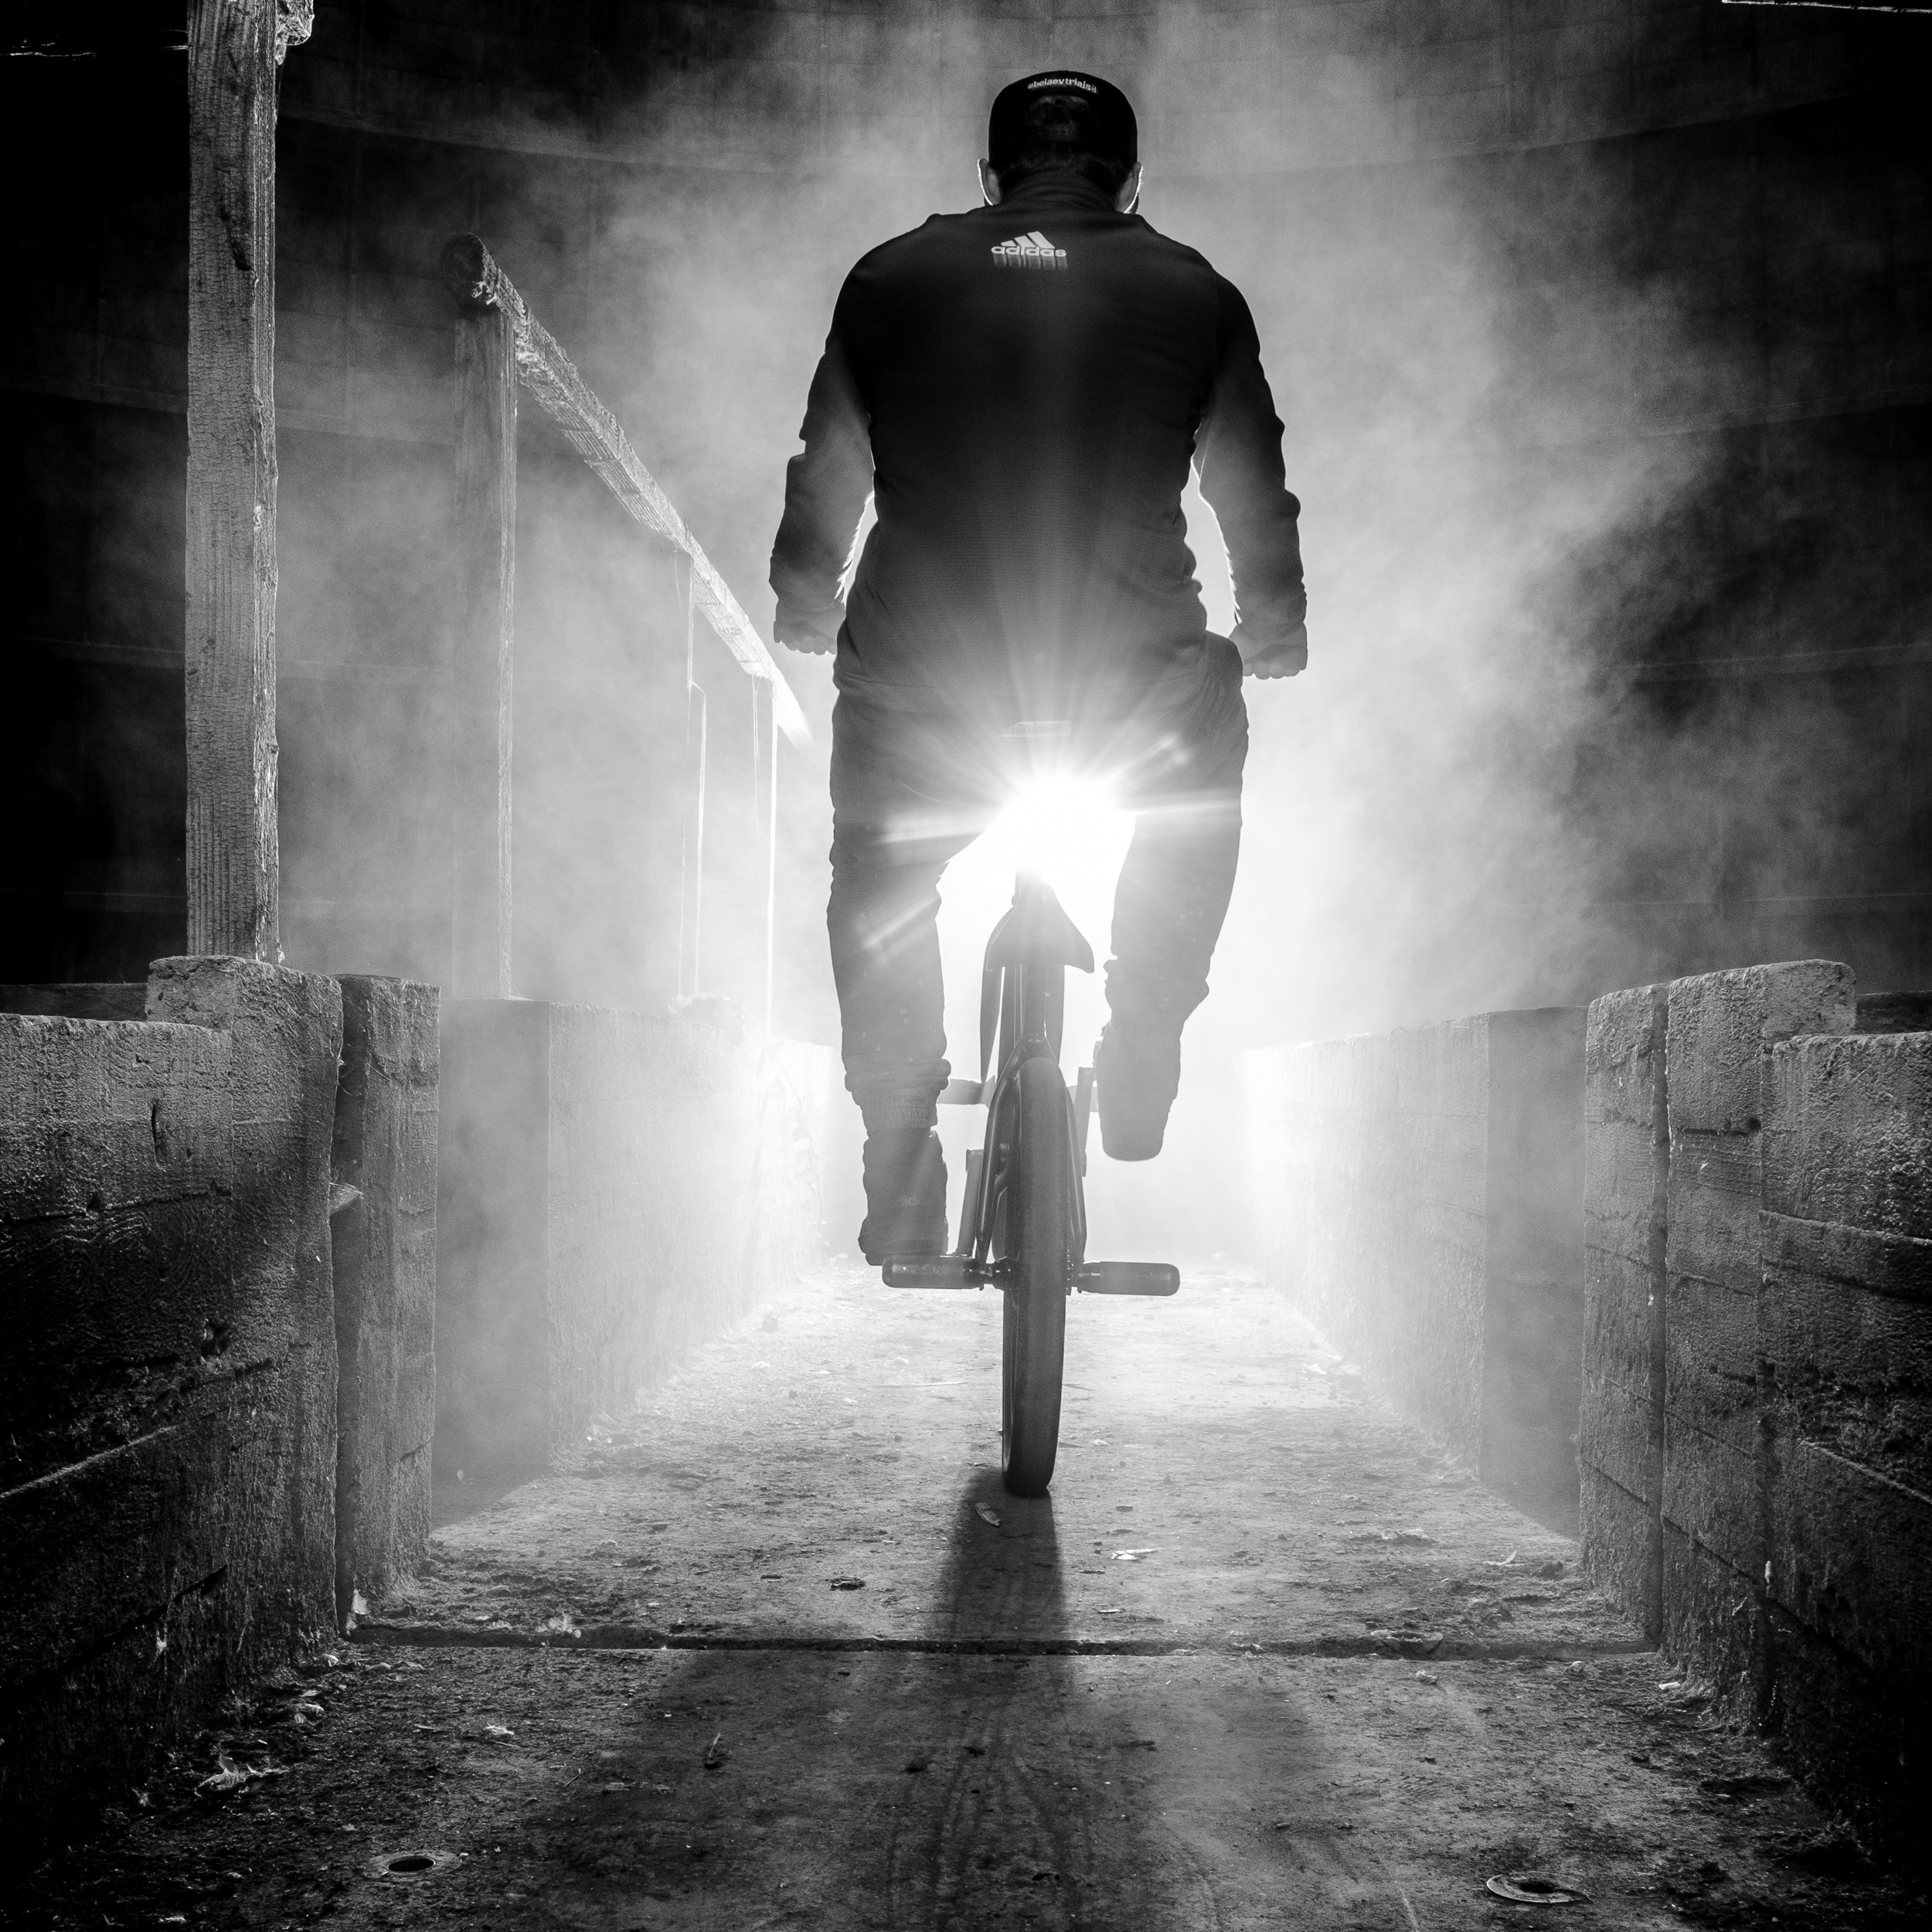
As Barre was already wearing black and there wasn't much colour in the background either, black and white was a logical choice to process this image. All it took was one click on one of my 'Piet Van den Eynde's Black and White Develop Presets for Lightroom'
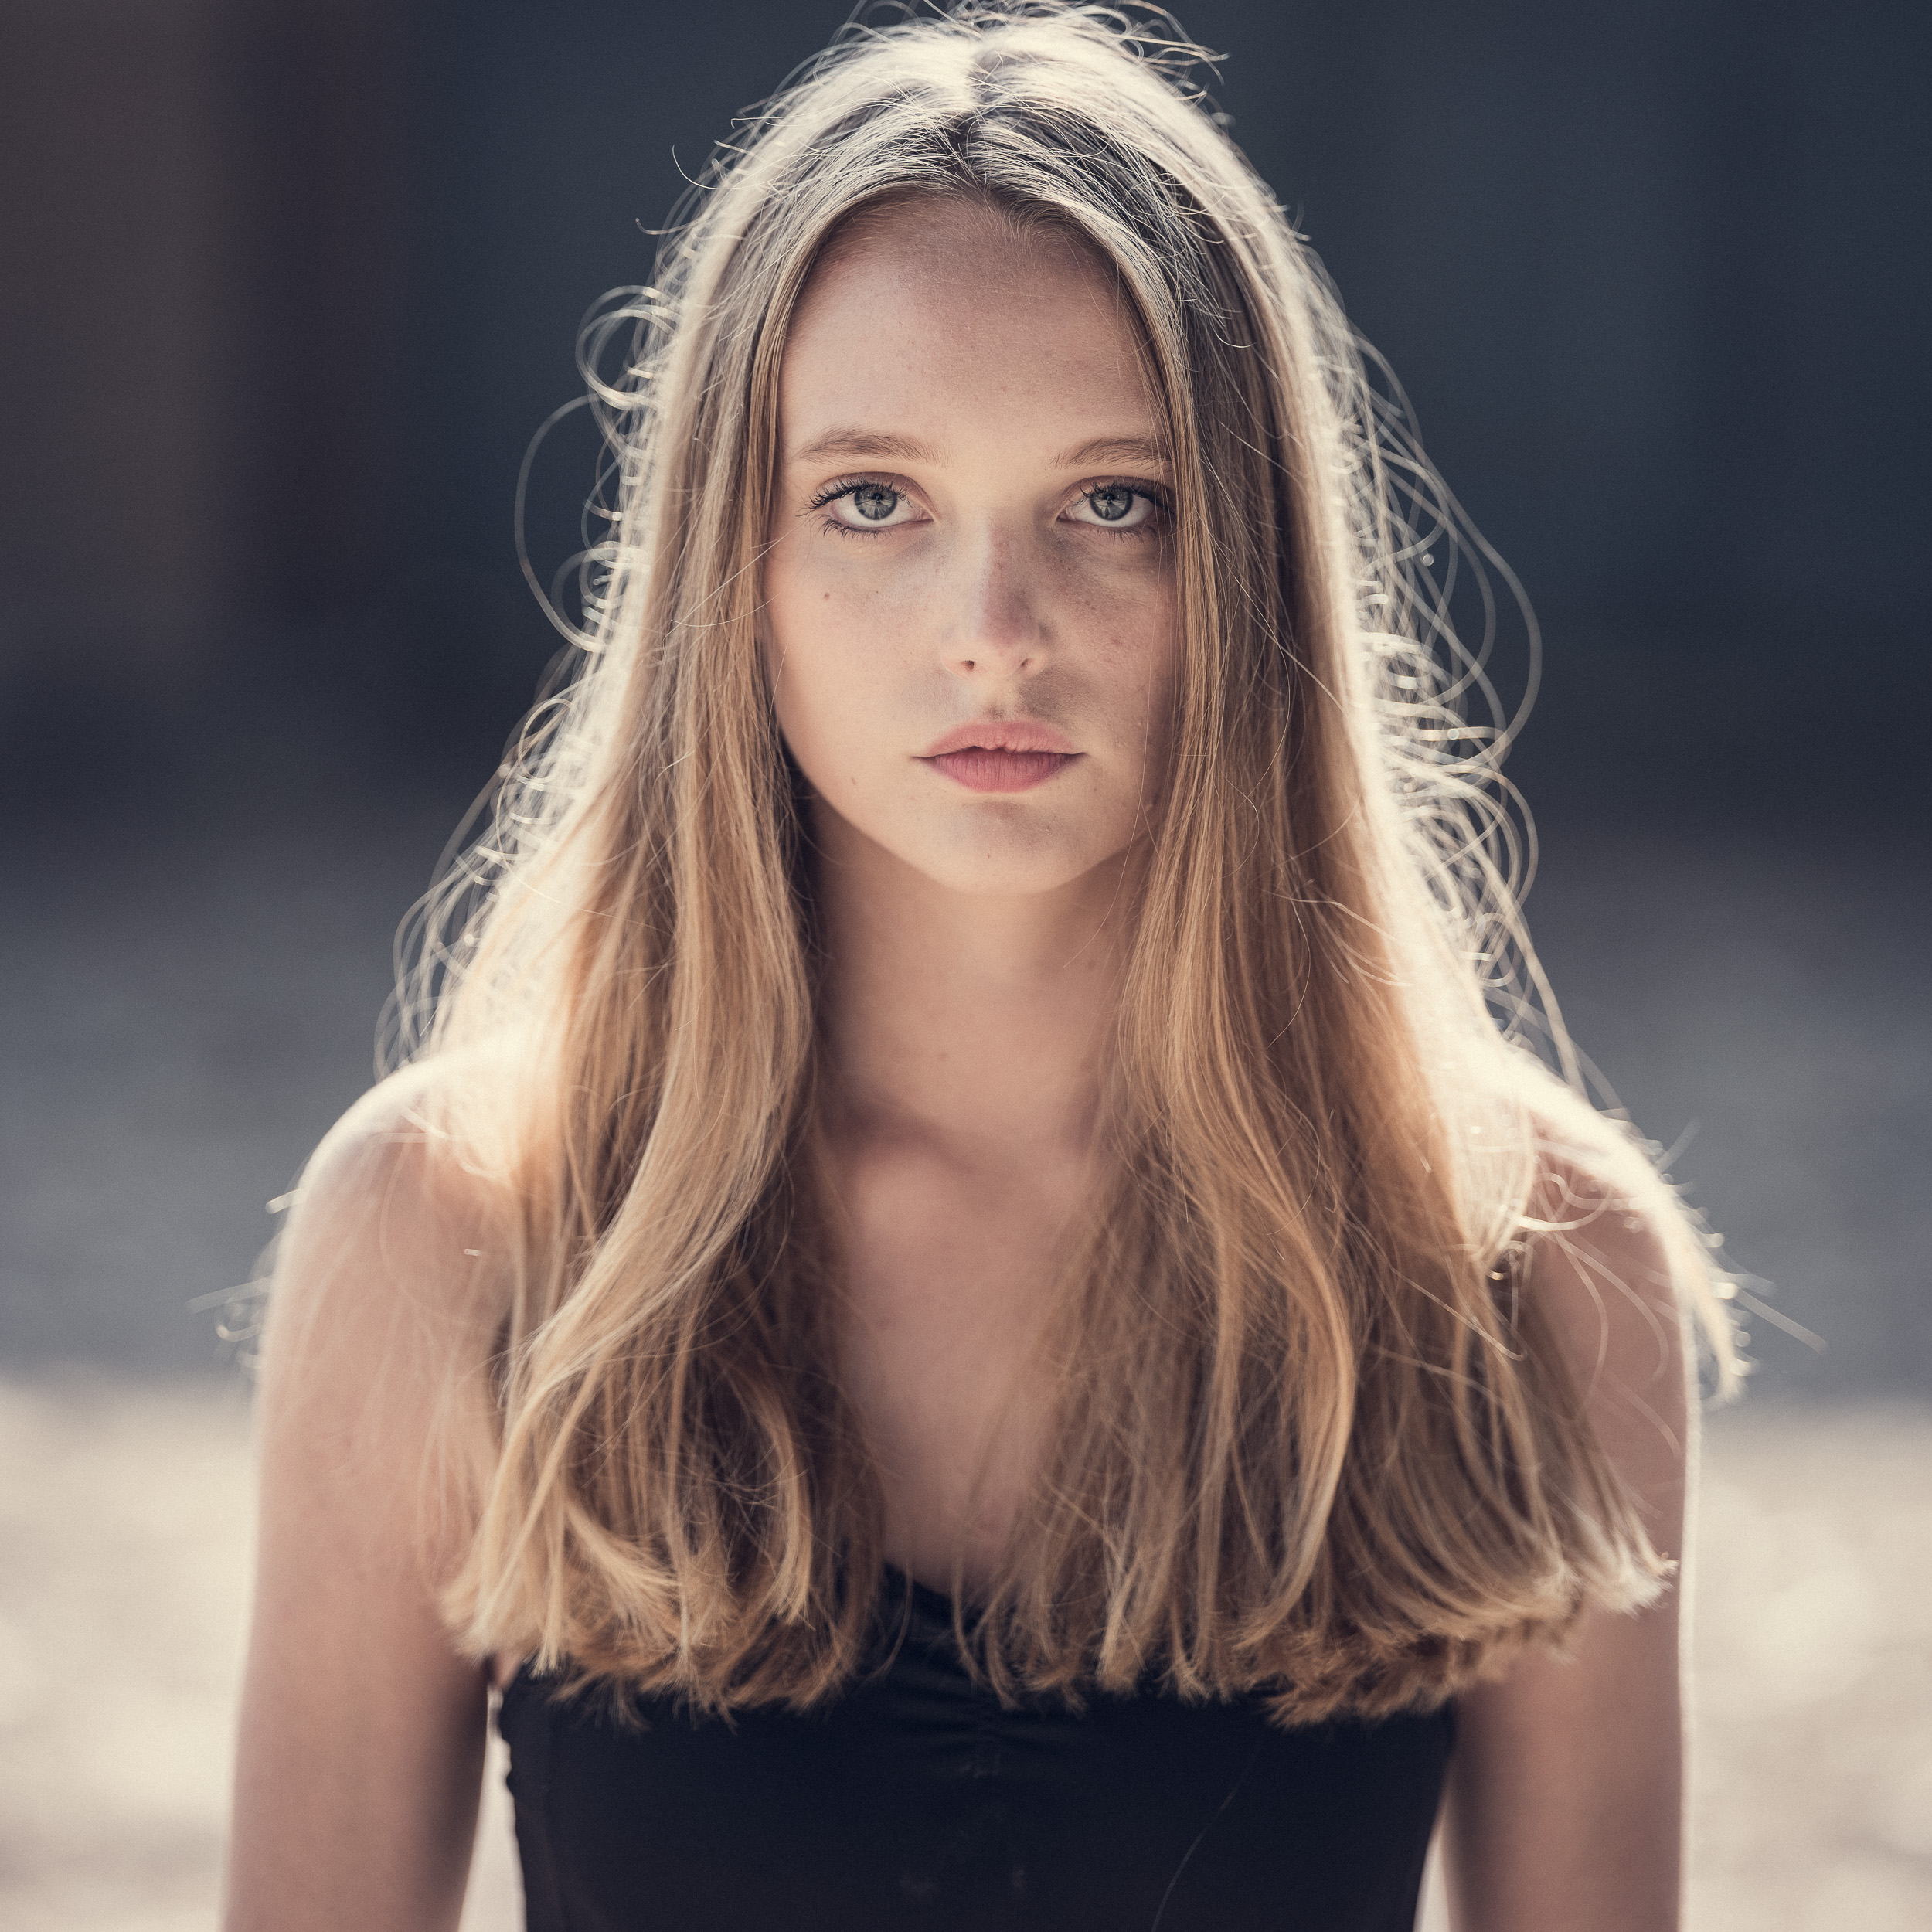
I wanted the image to radiate with warmth, so I chose a warming preset from my Power Preset Pack and increased the Exposure some more.


