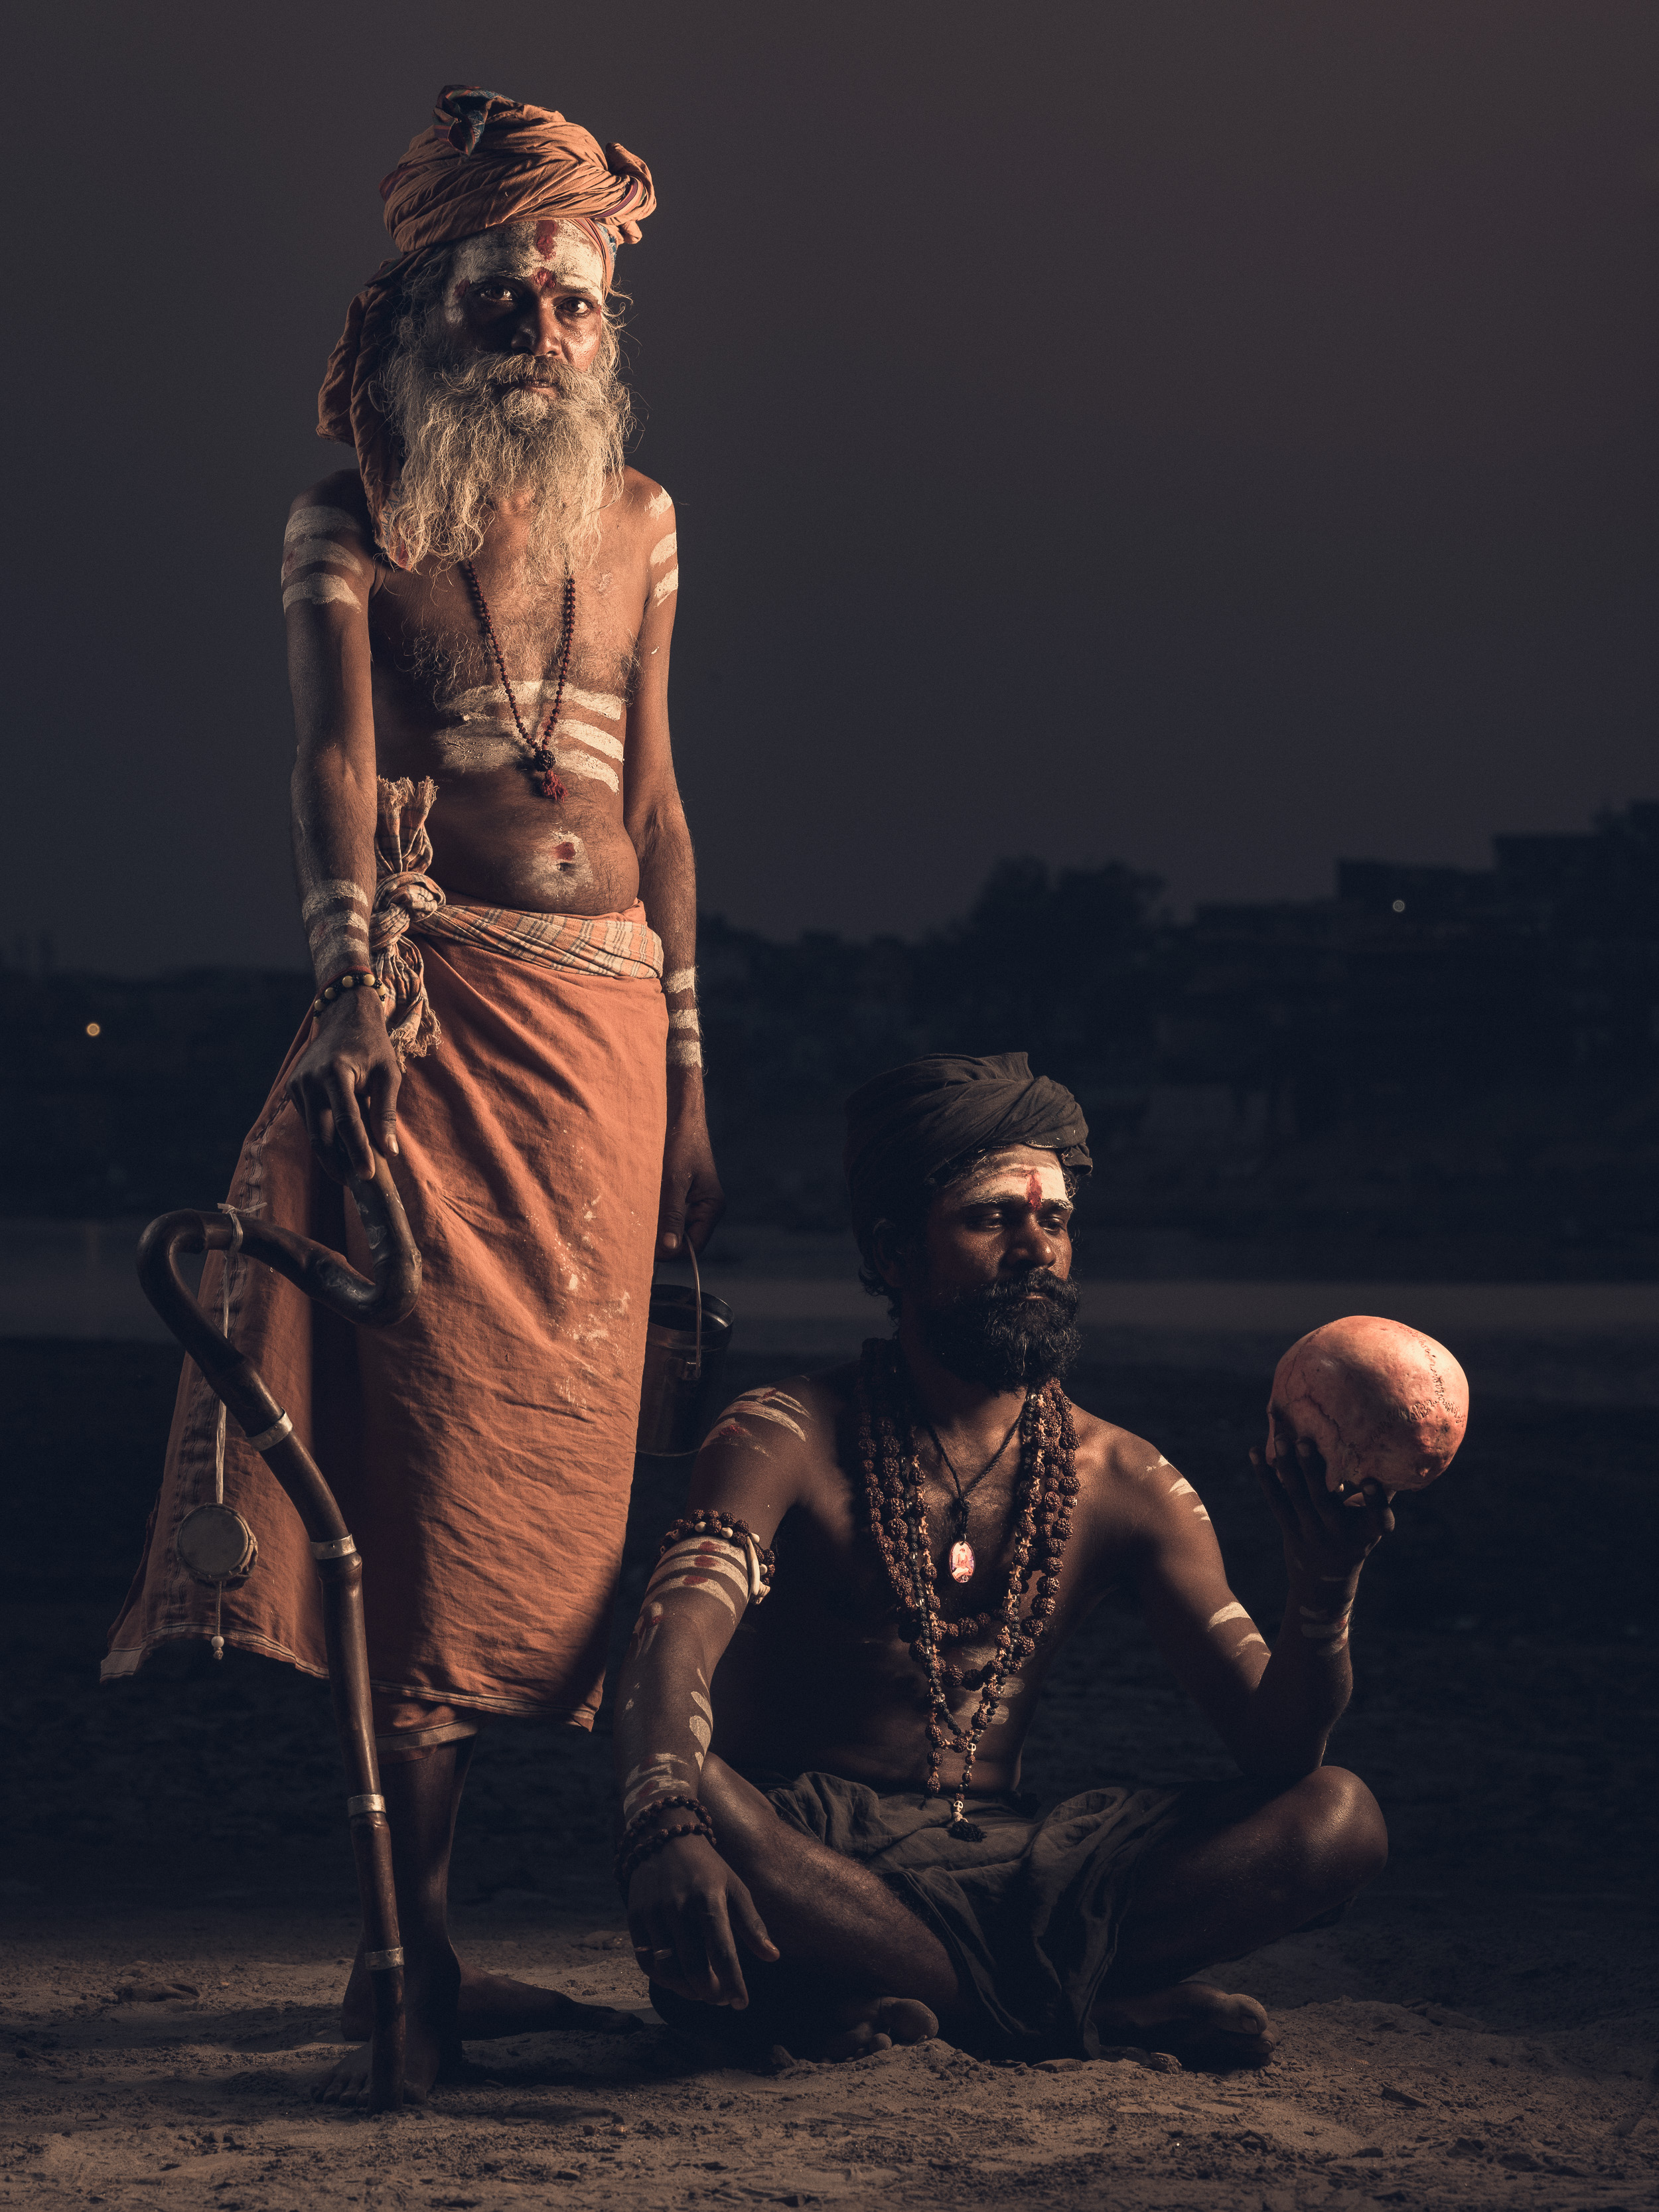
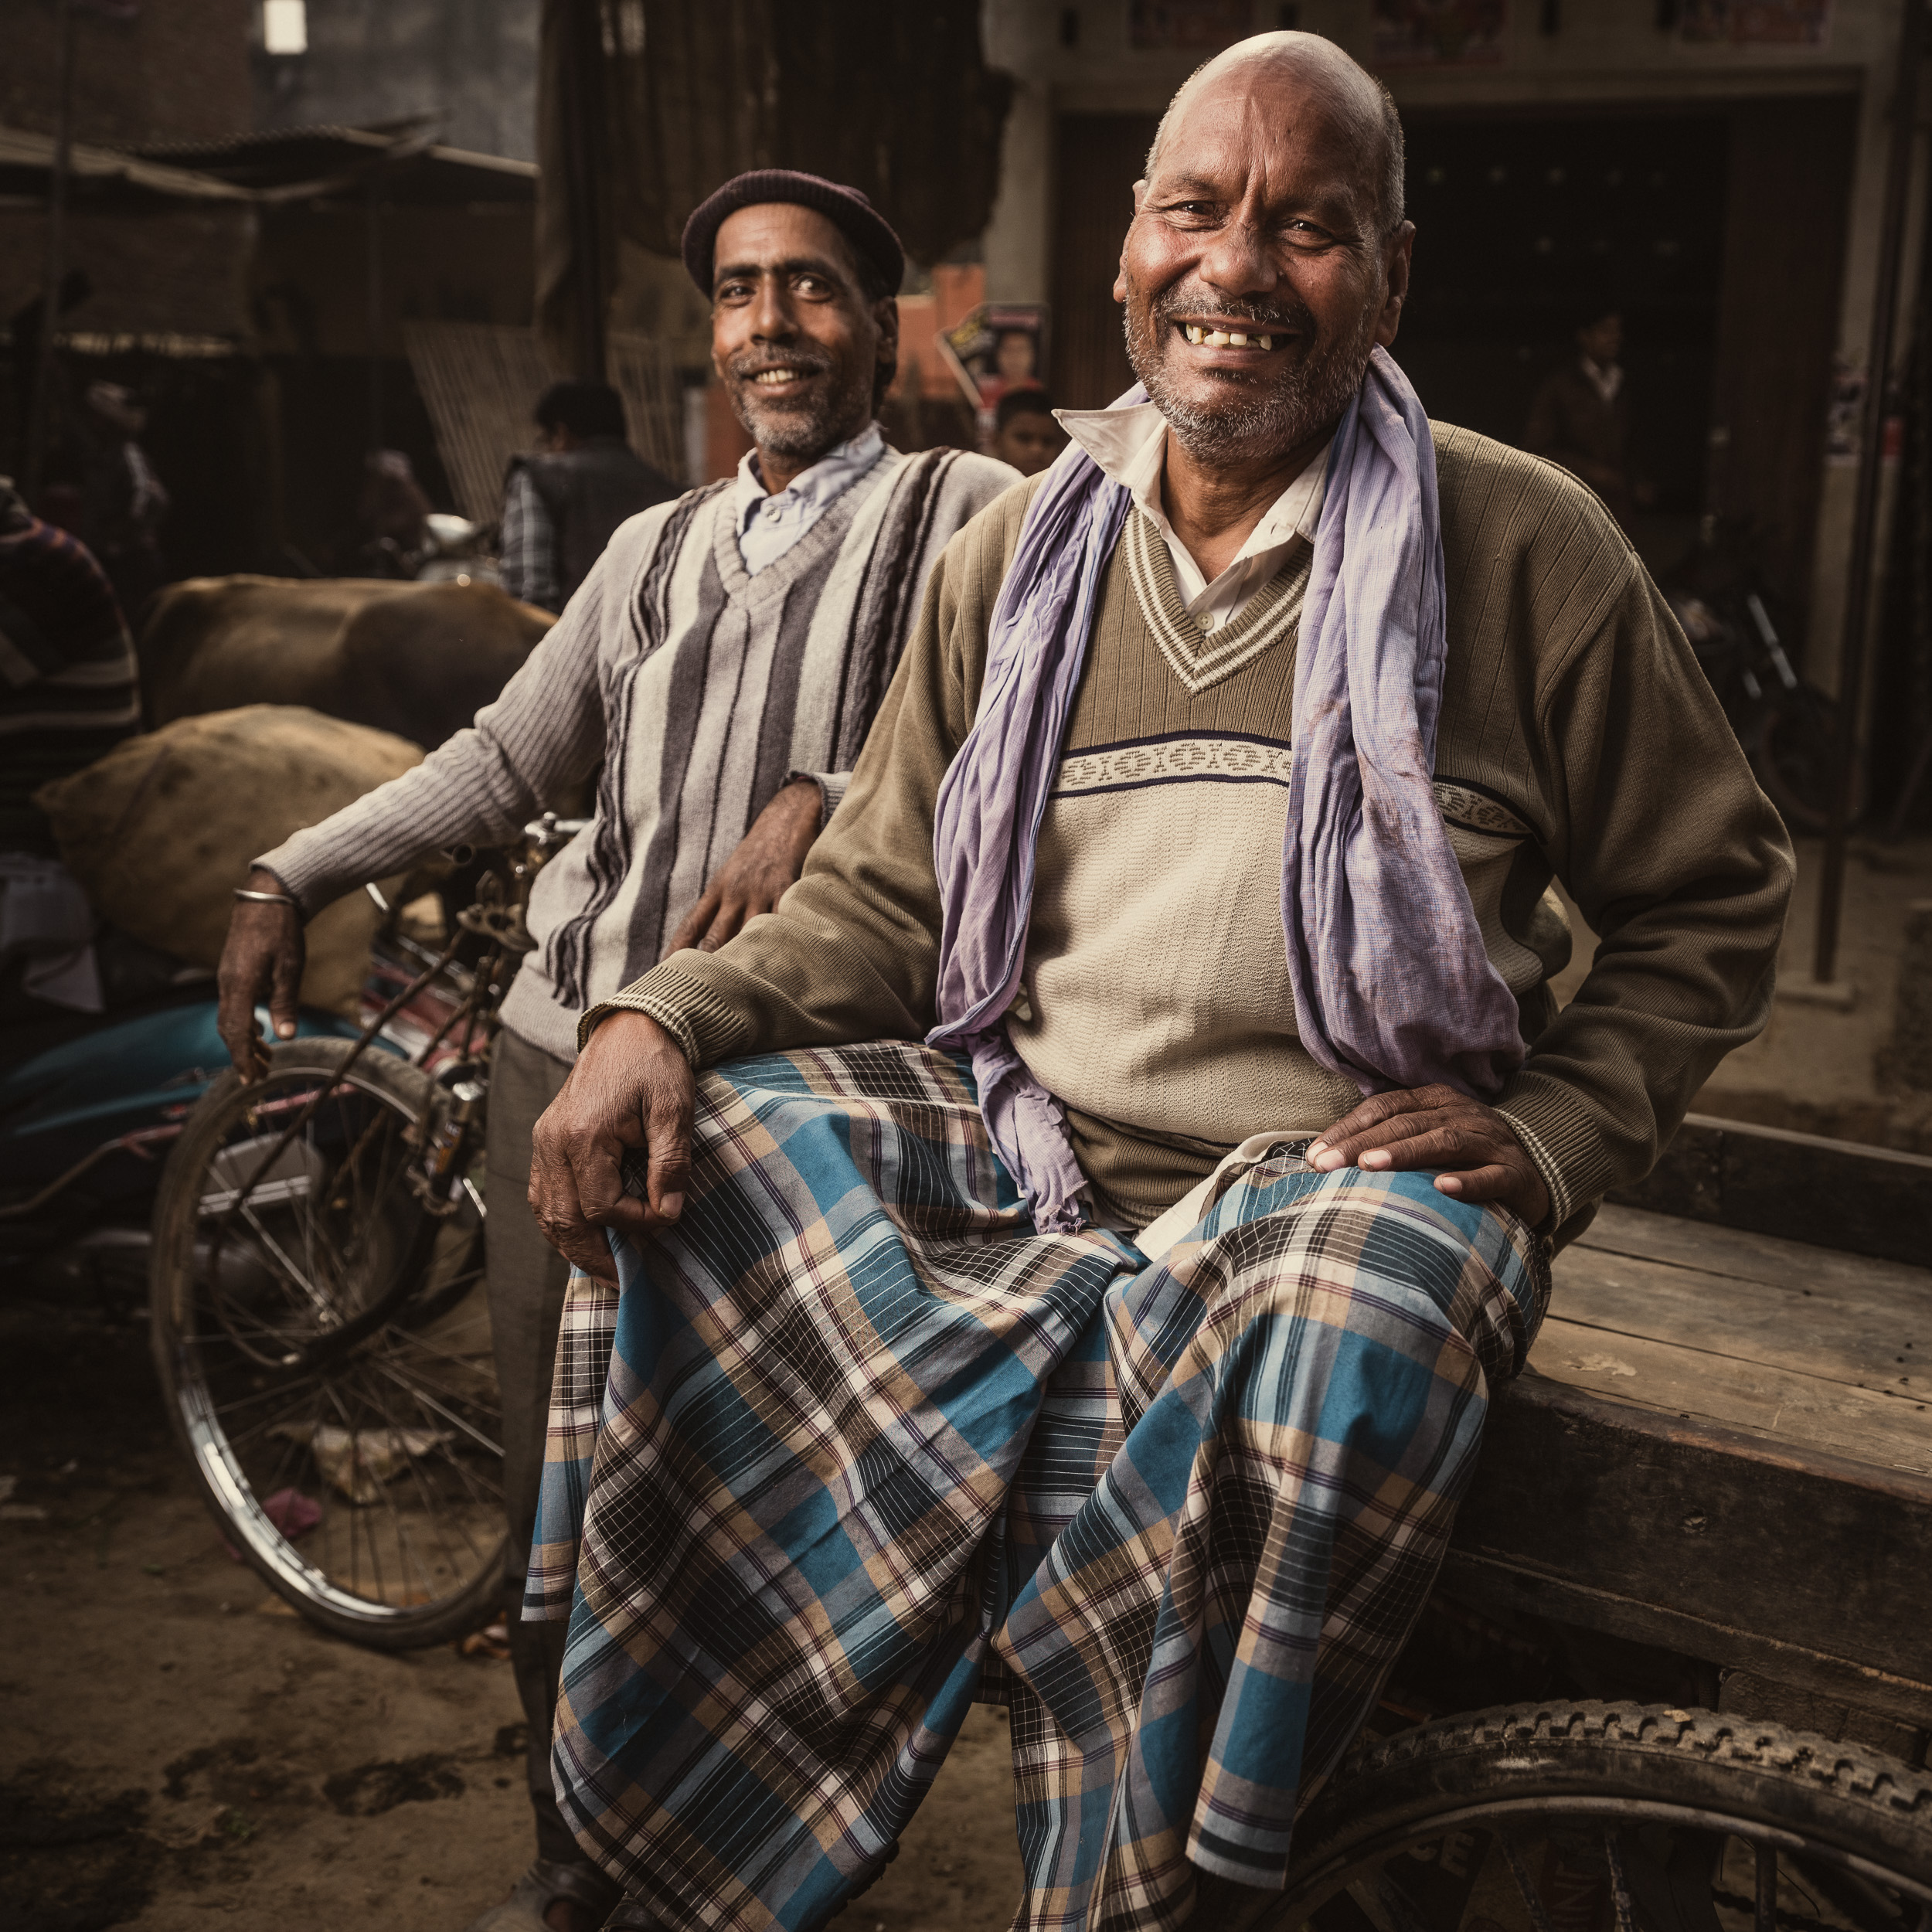
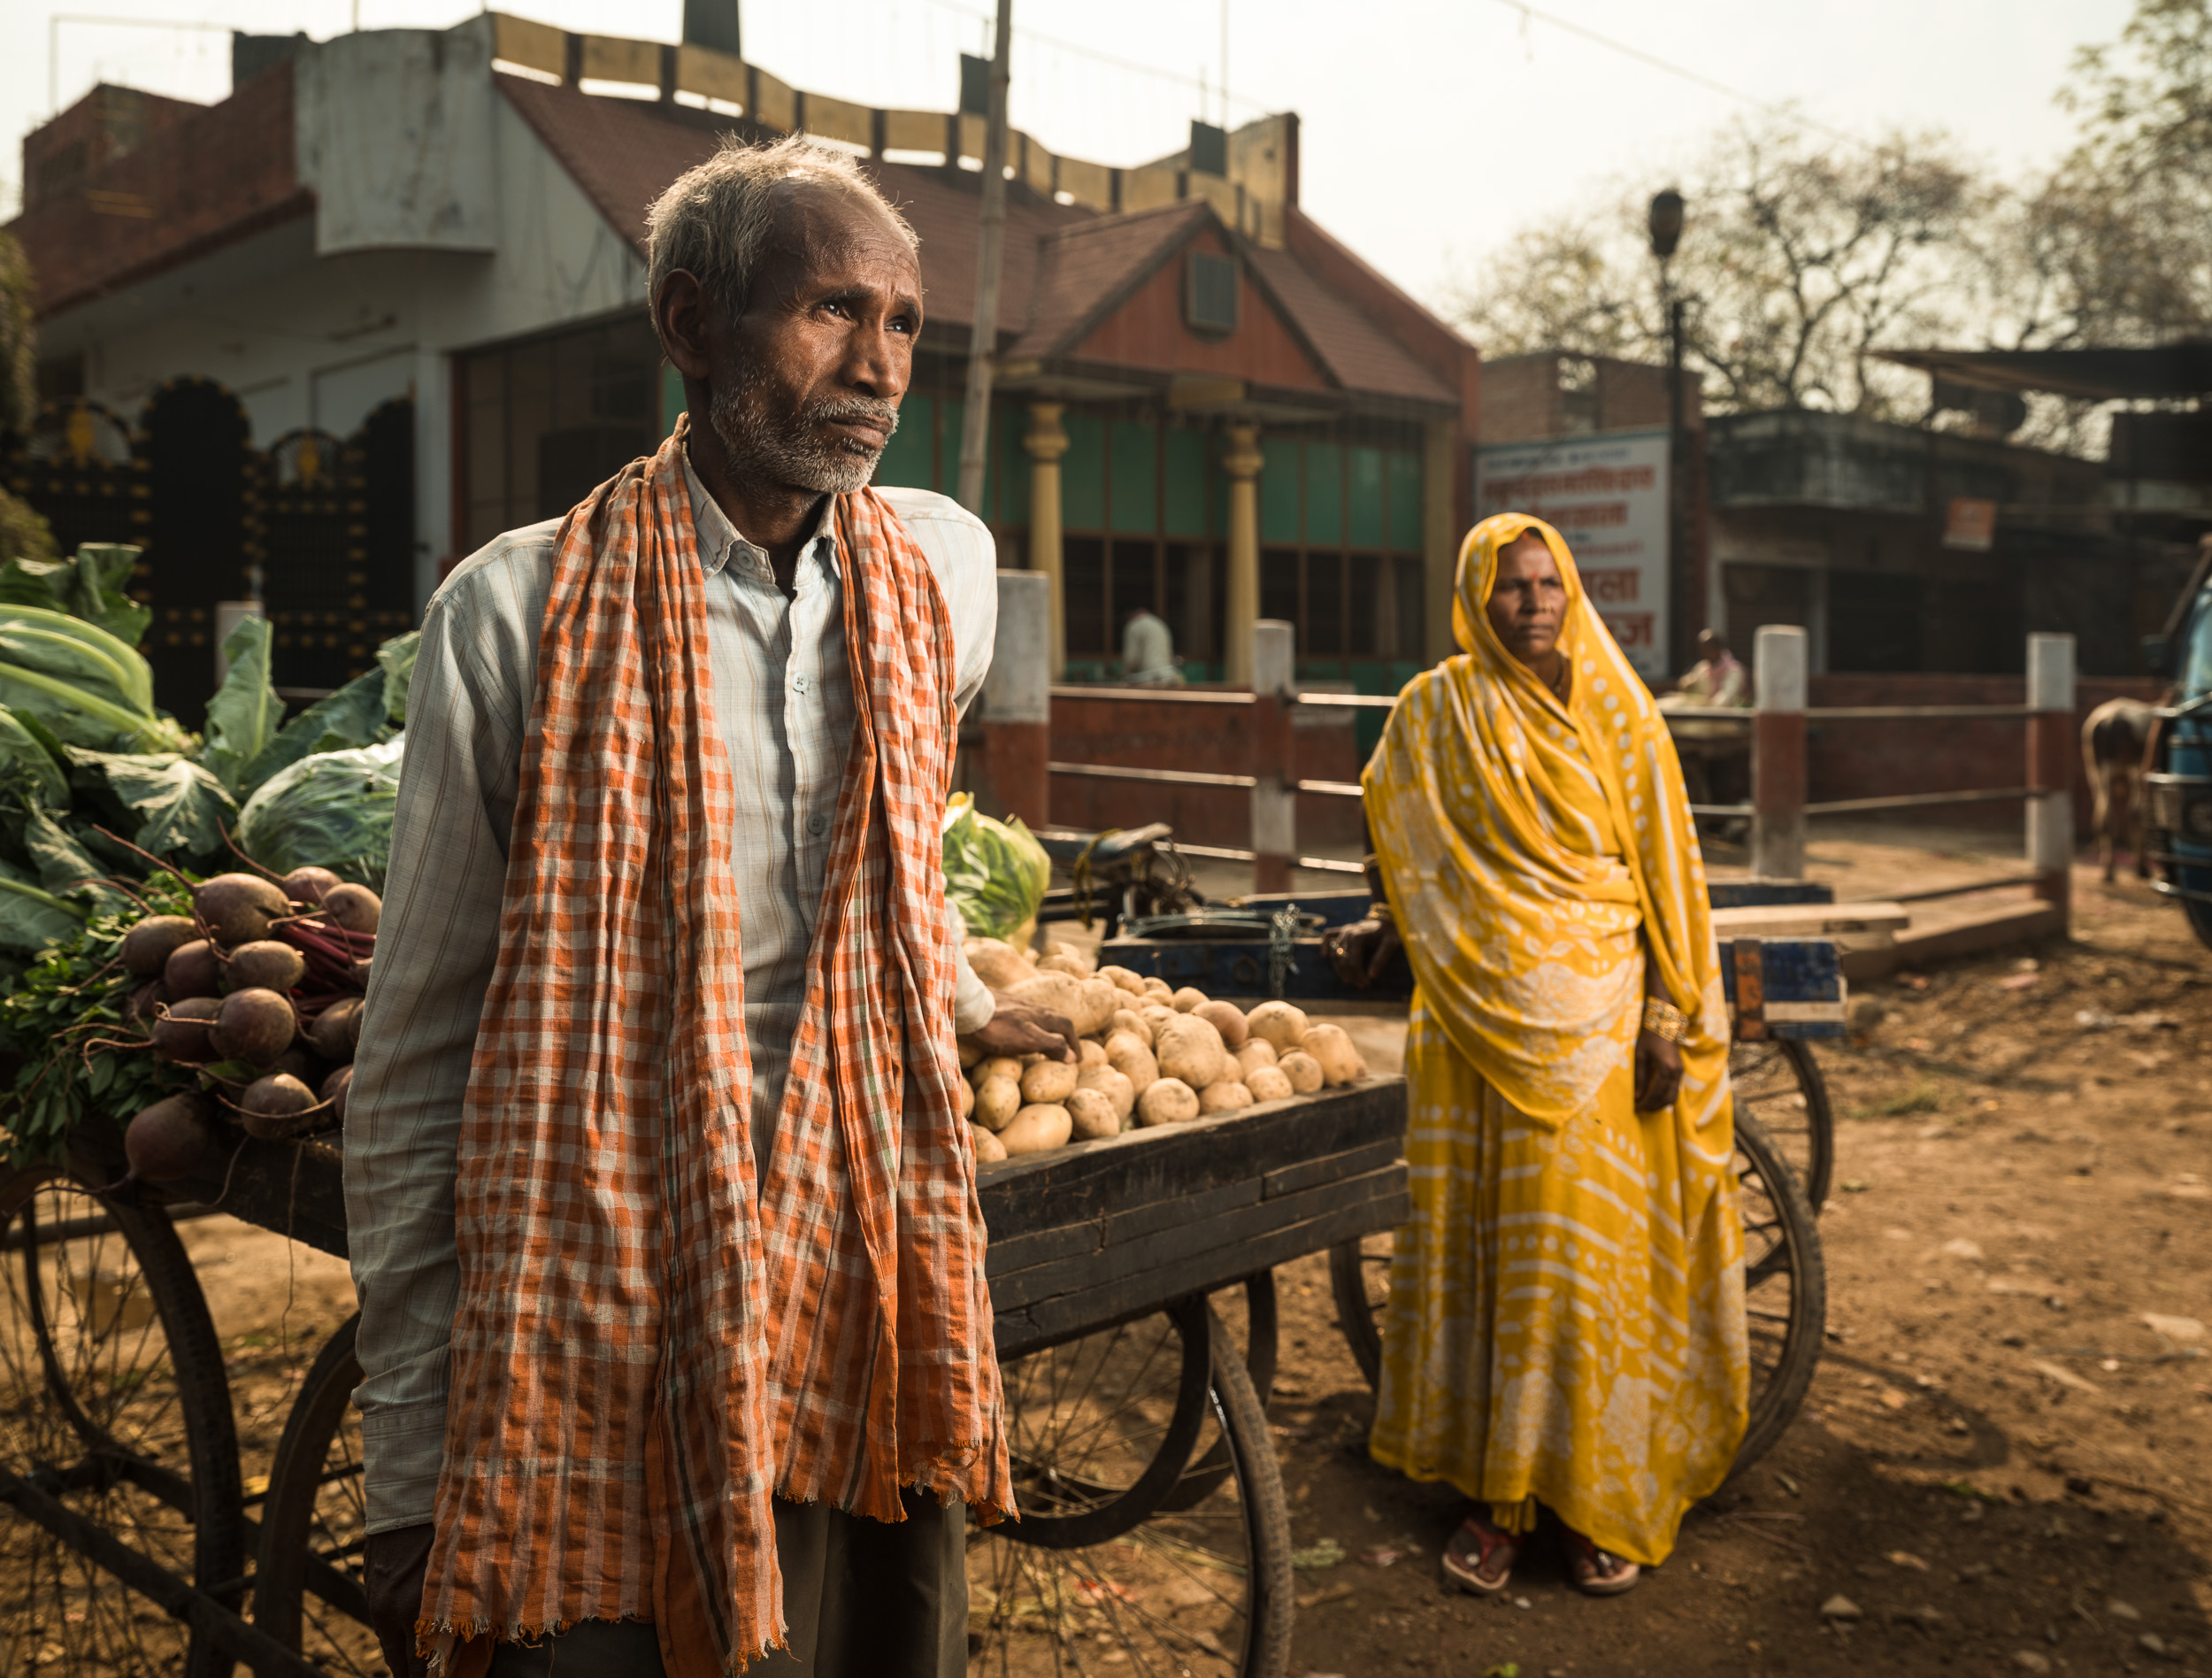
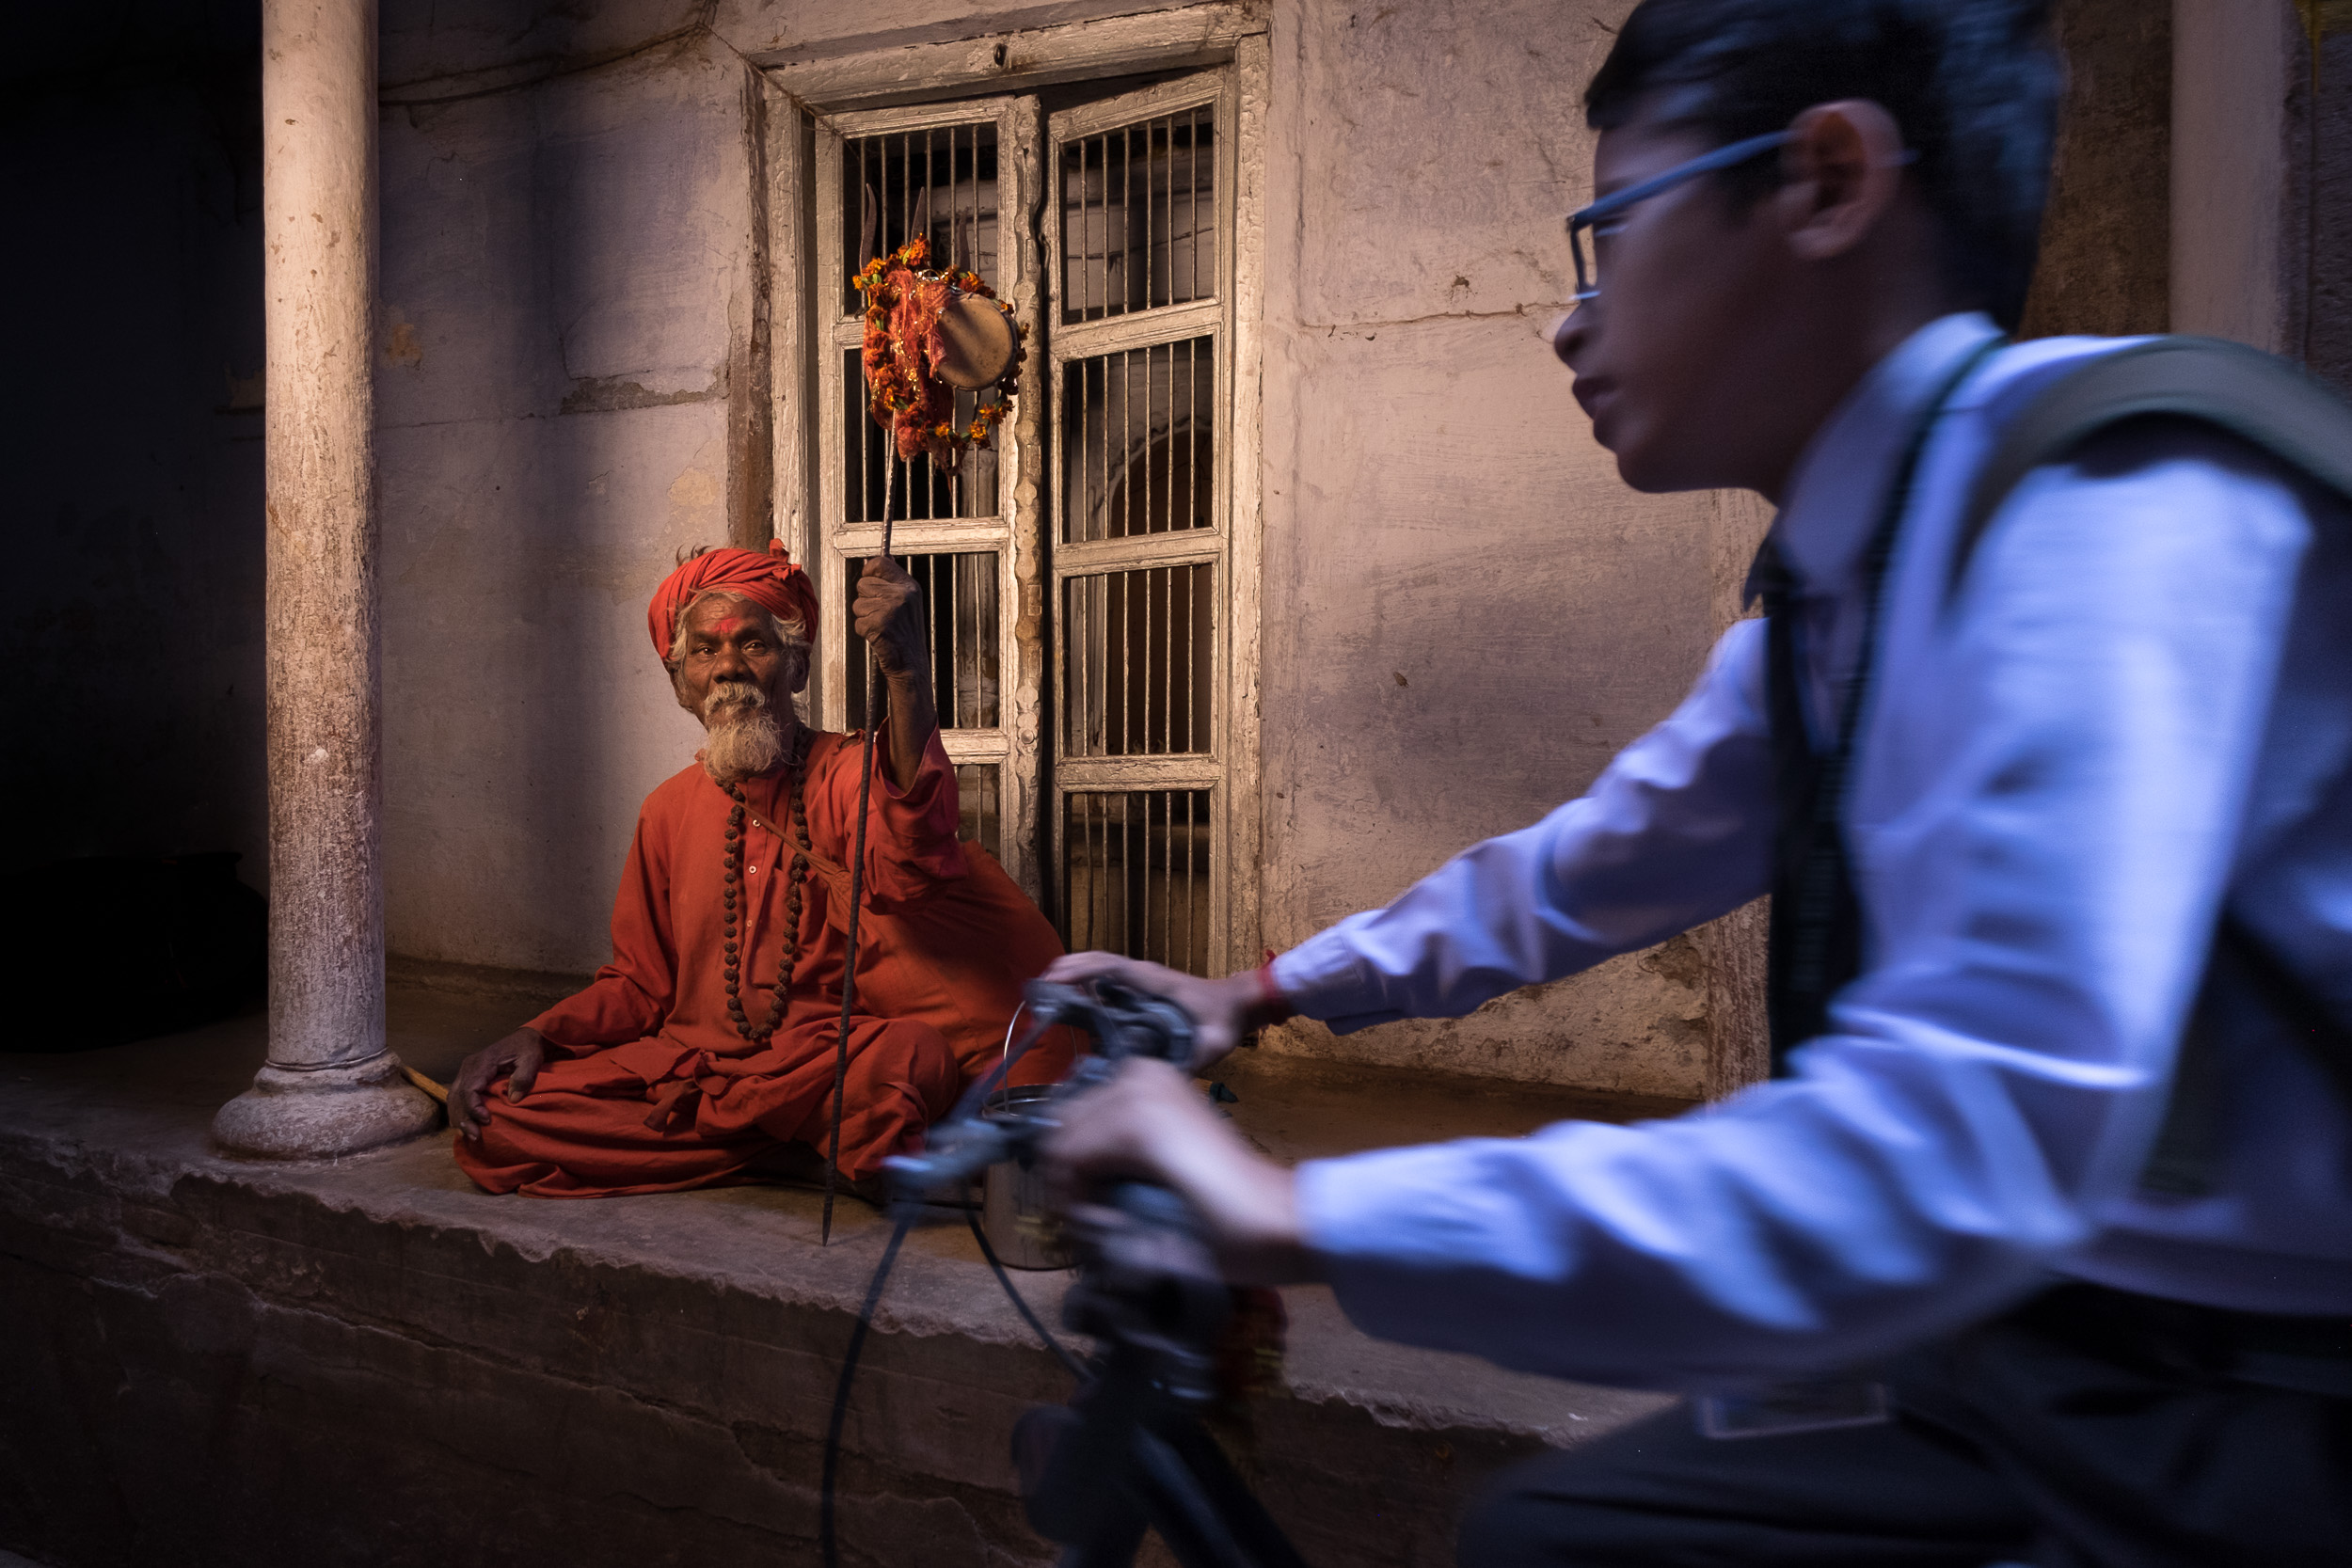
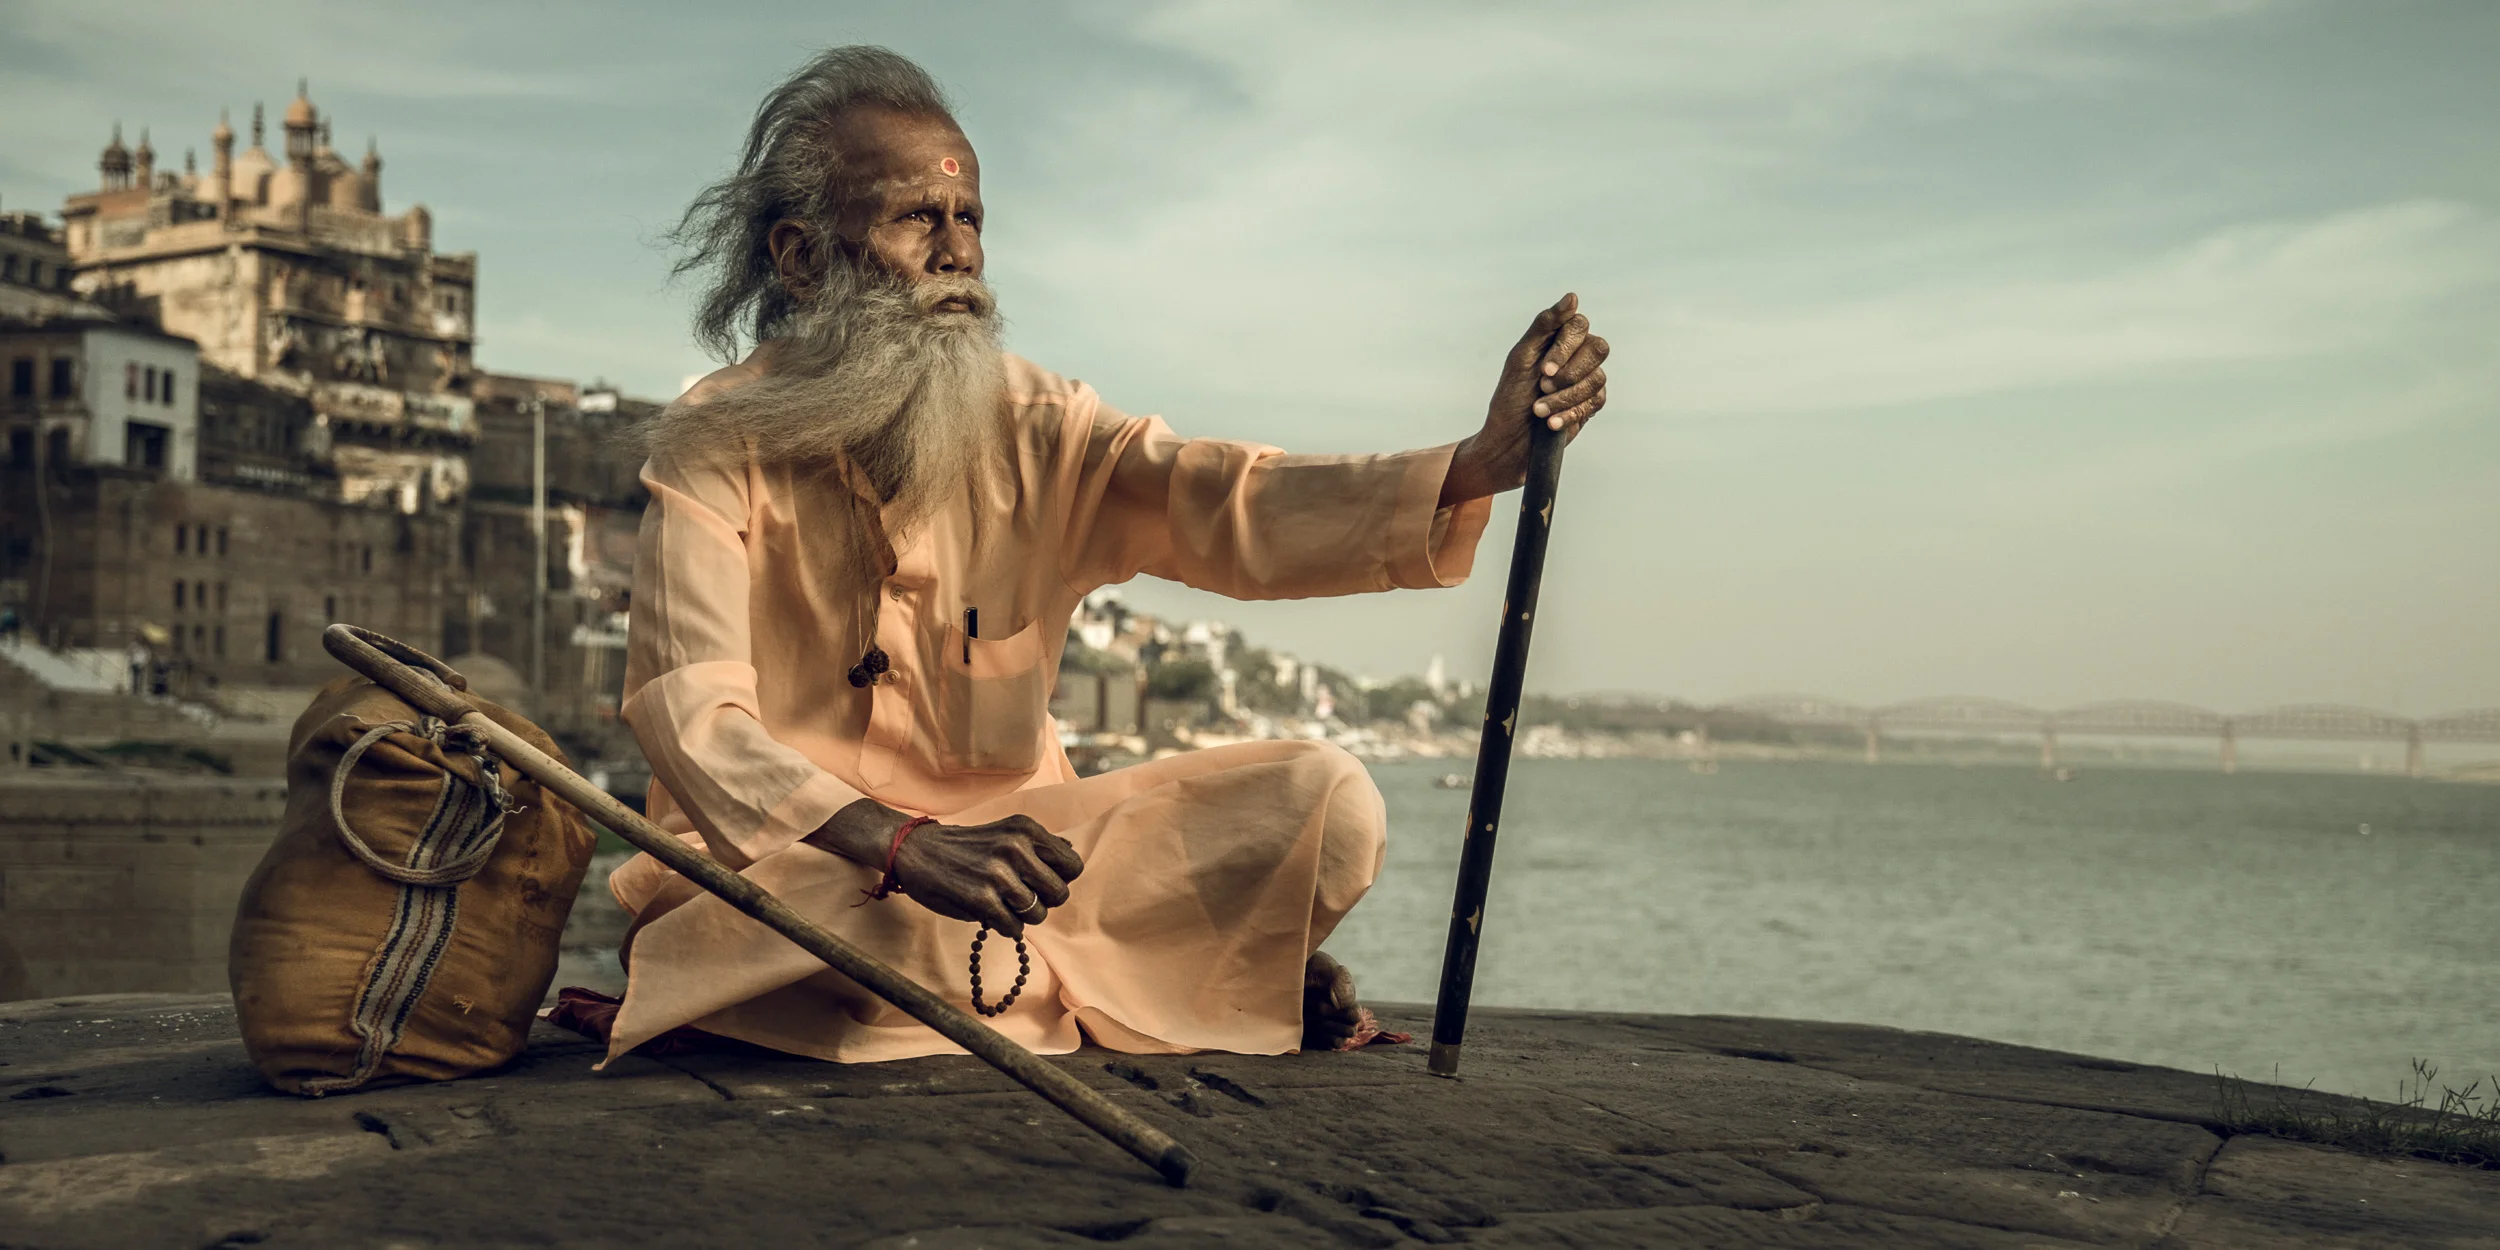
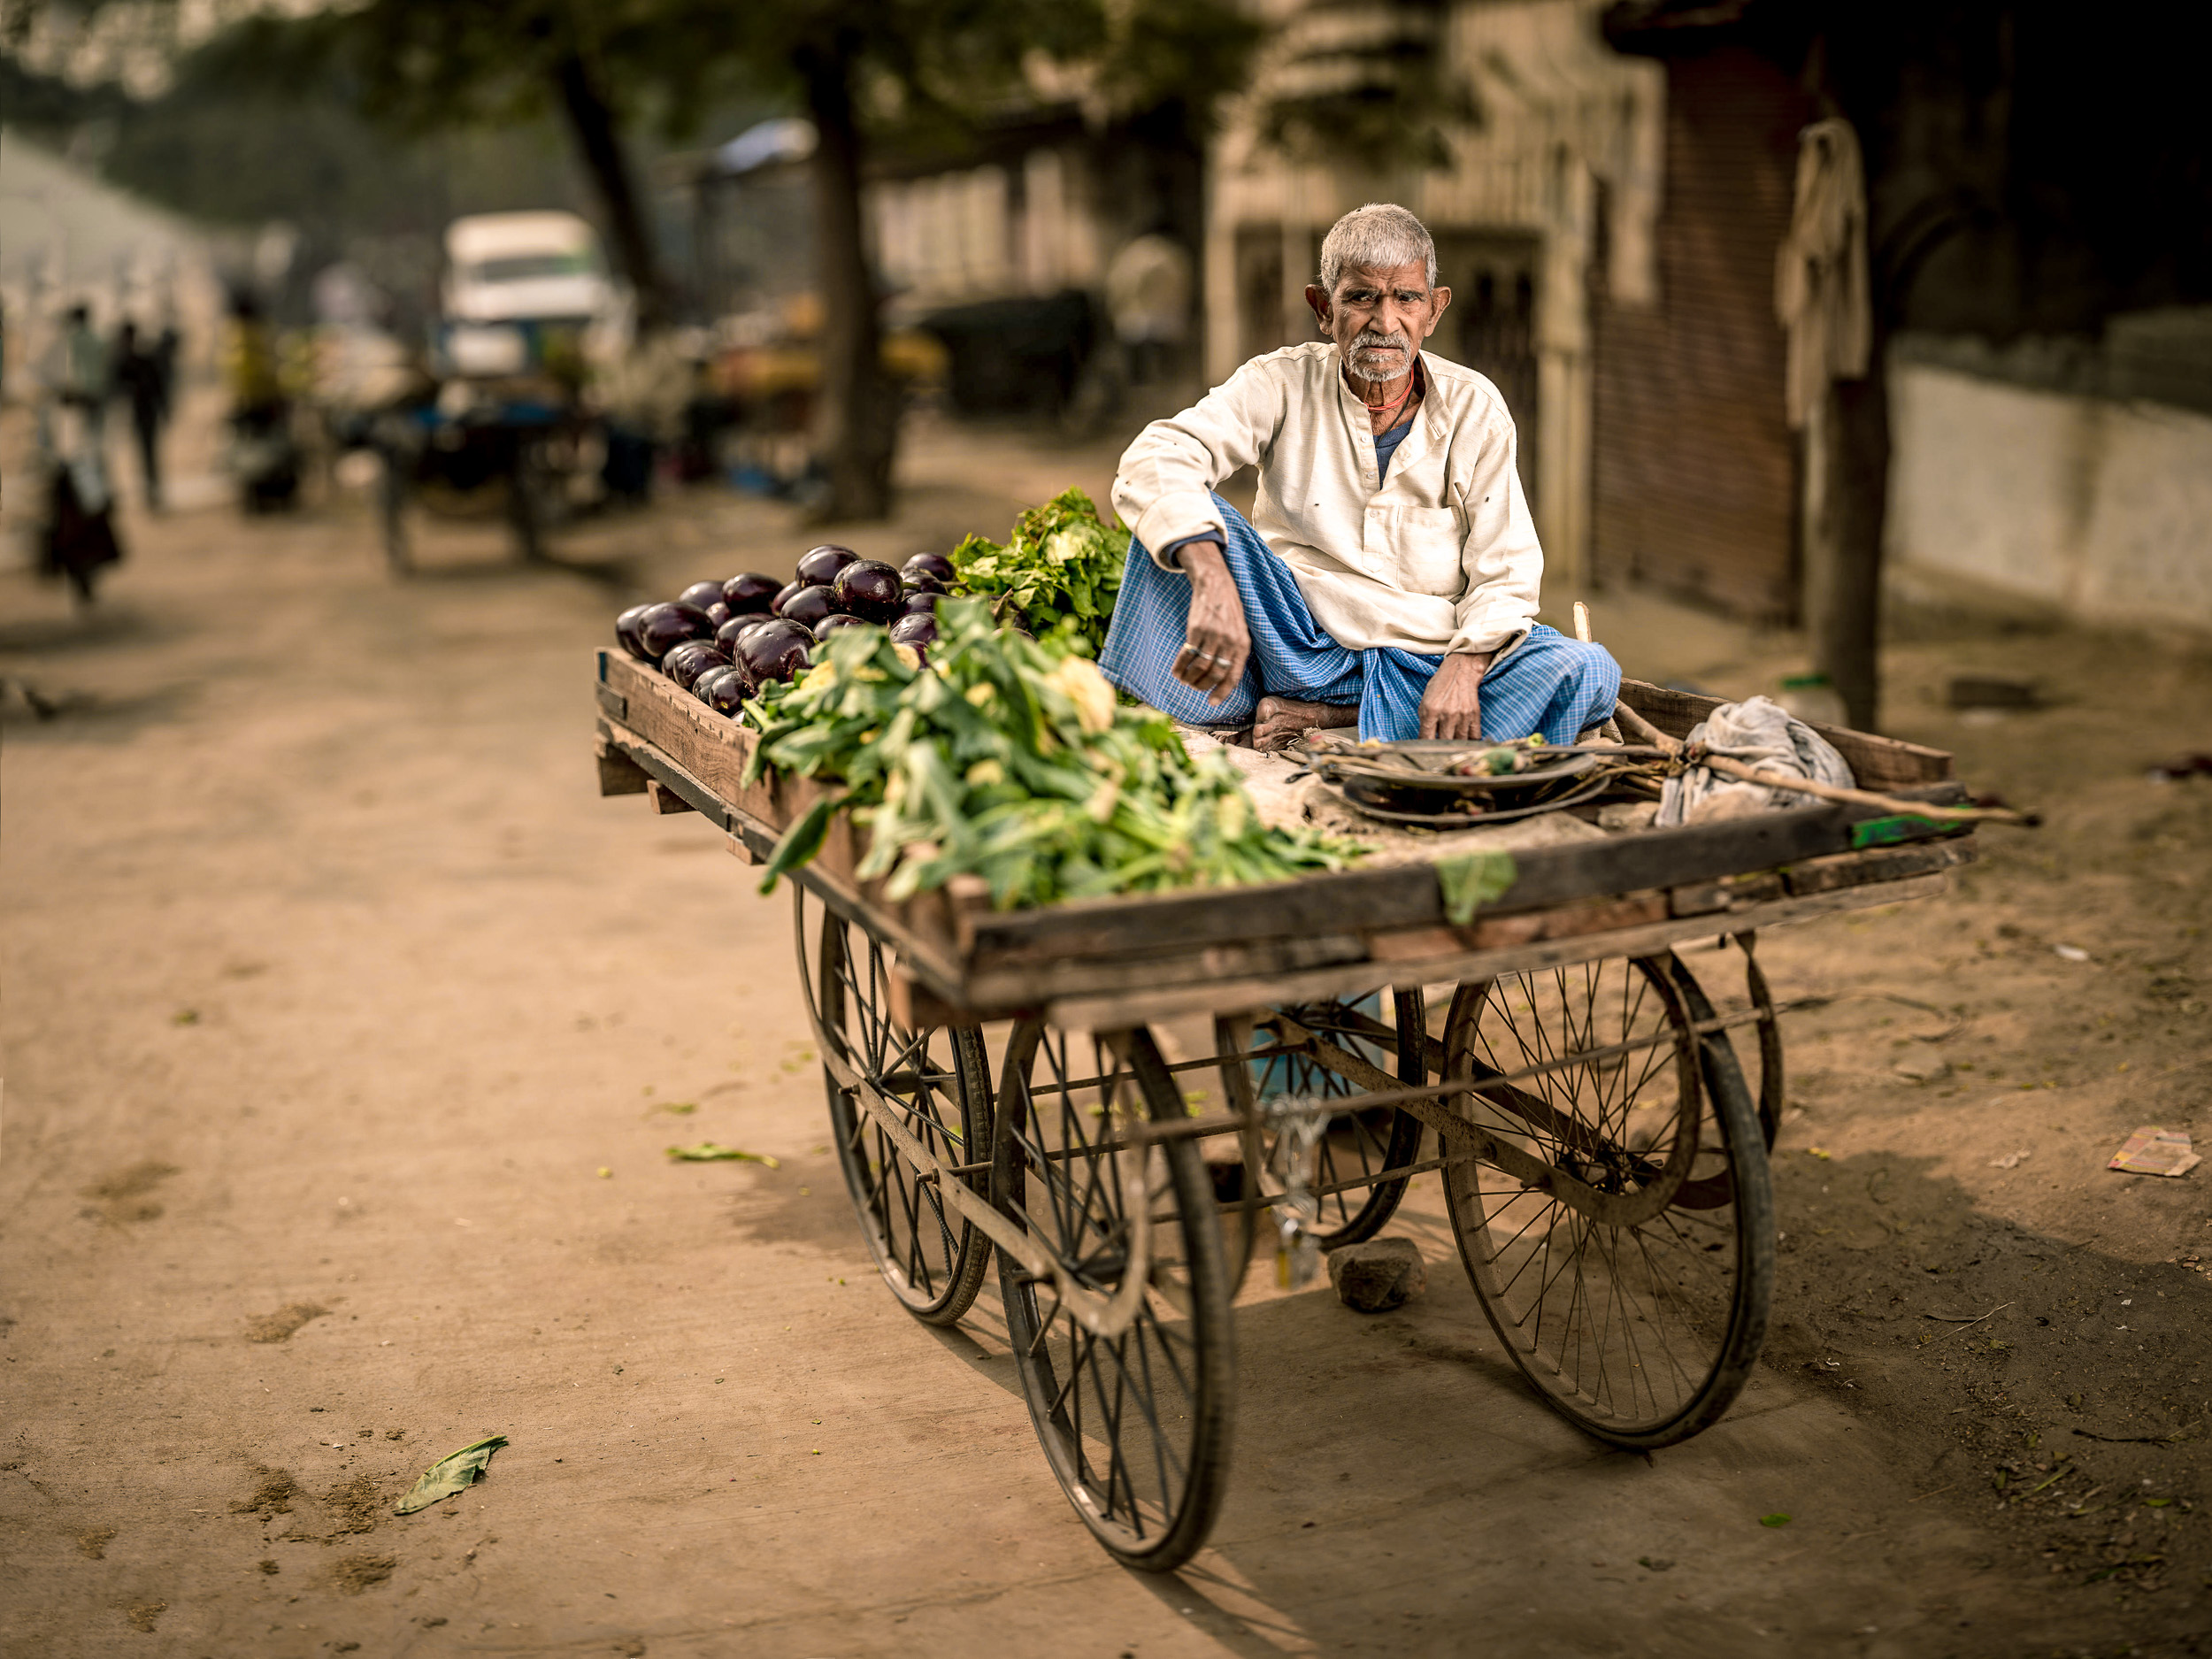
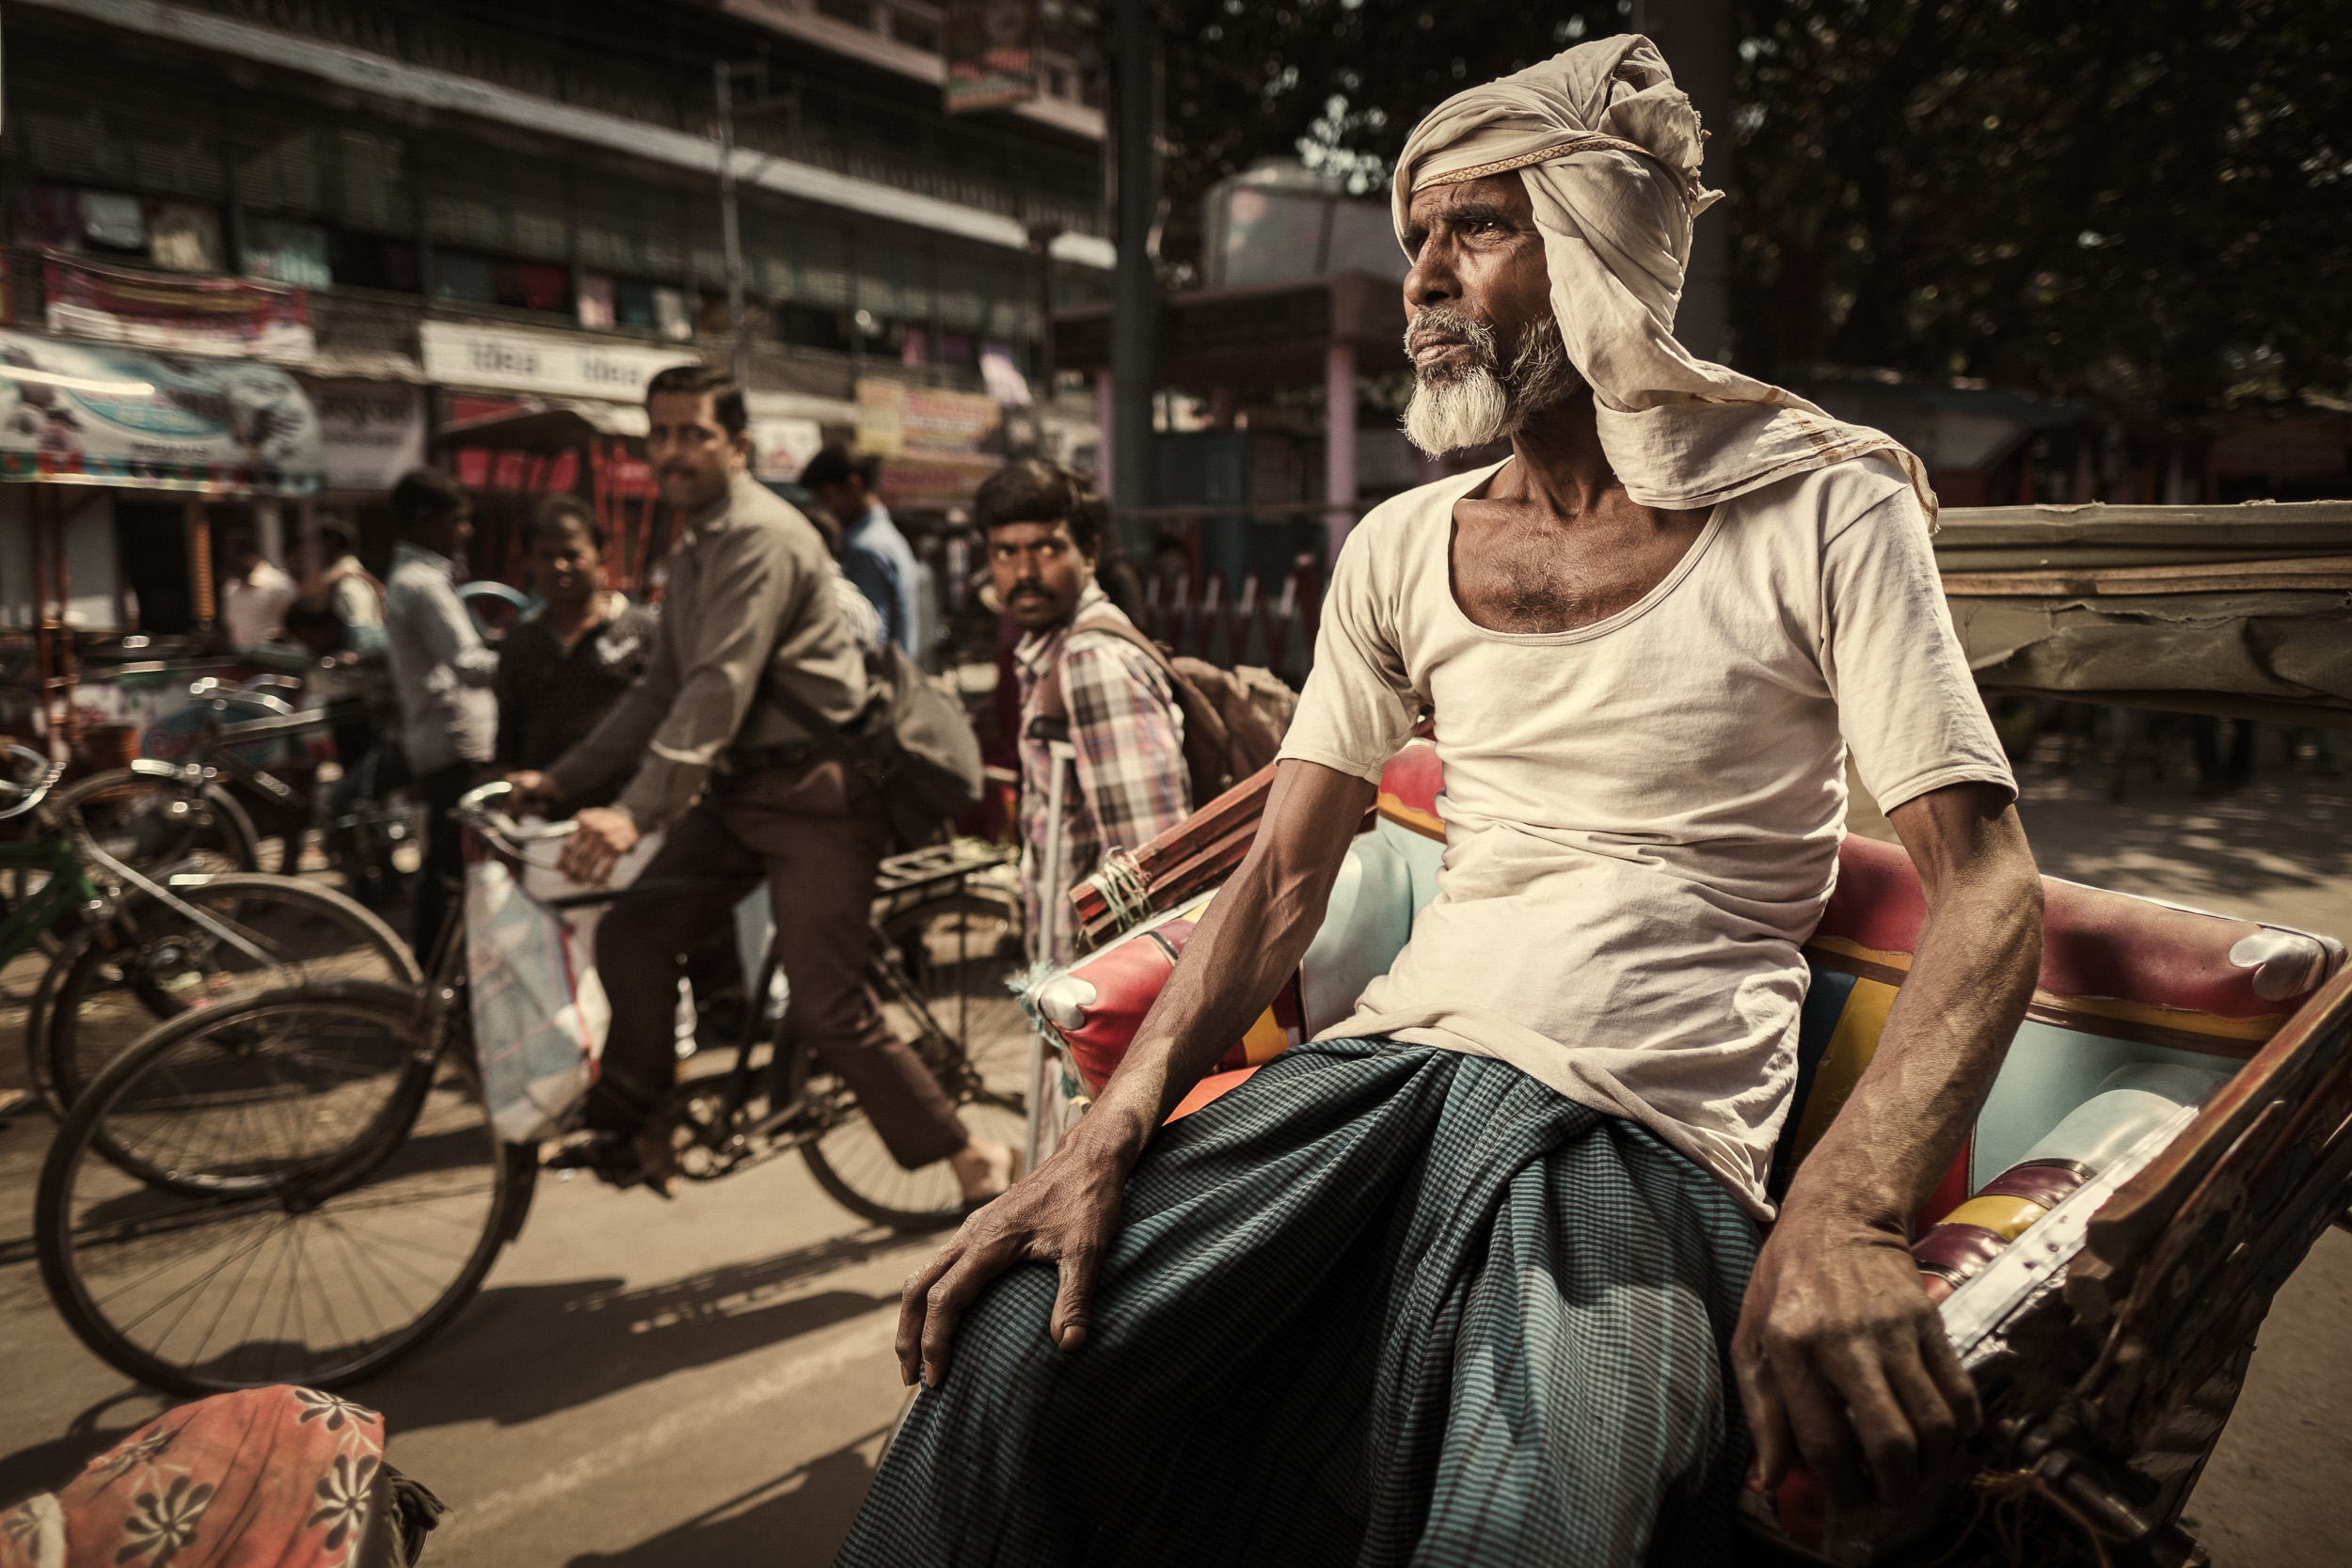
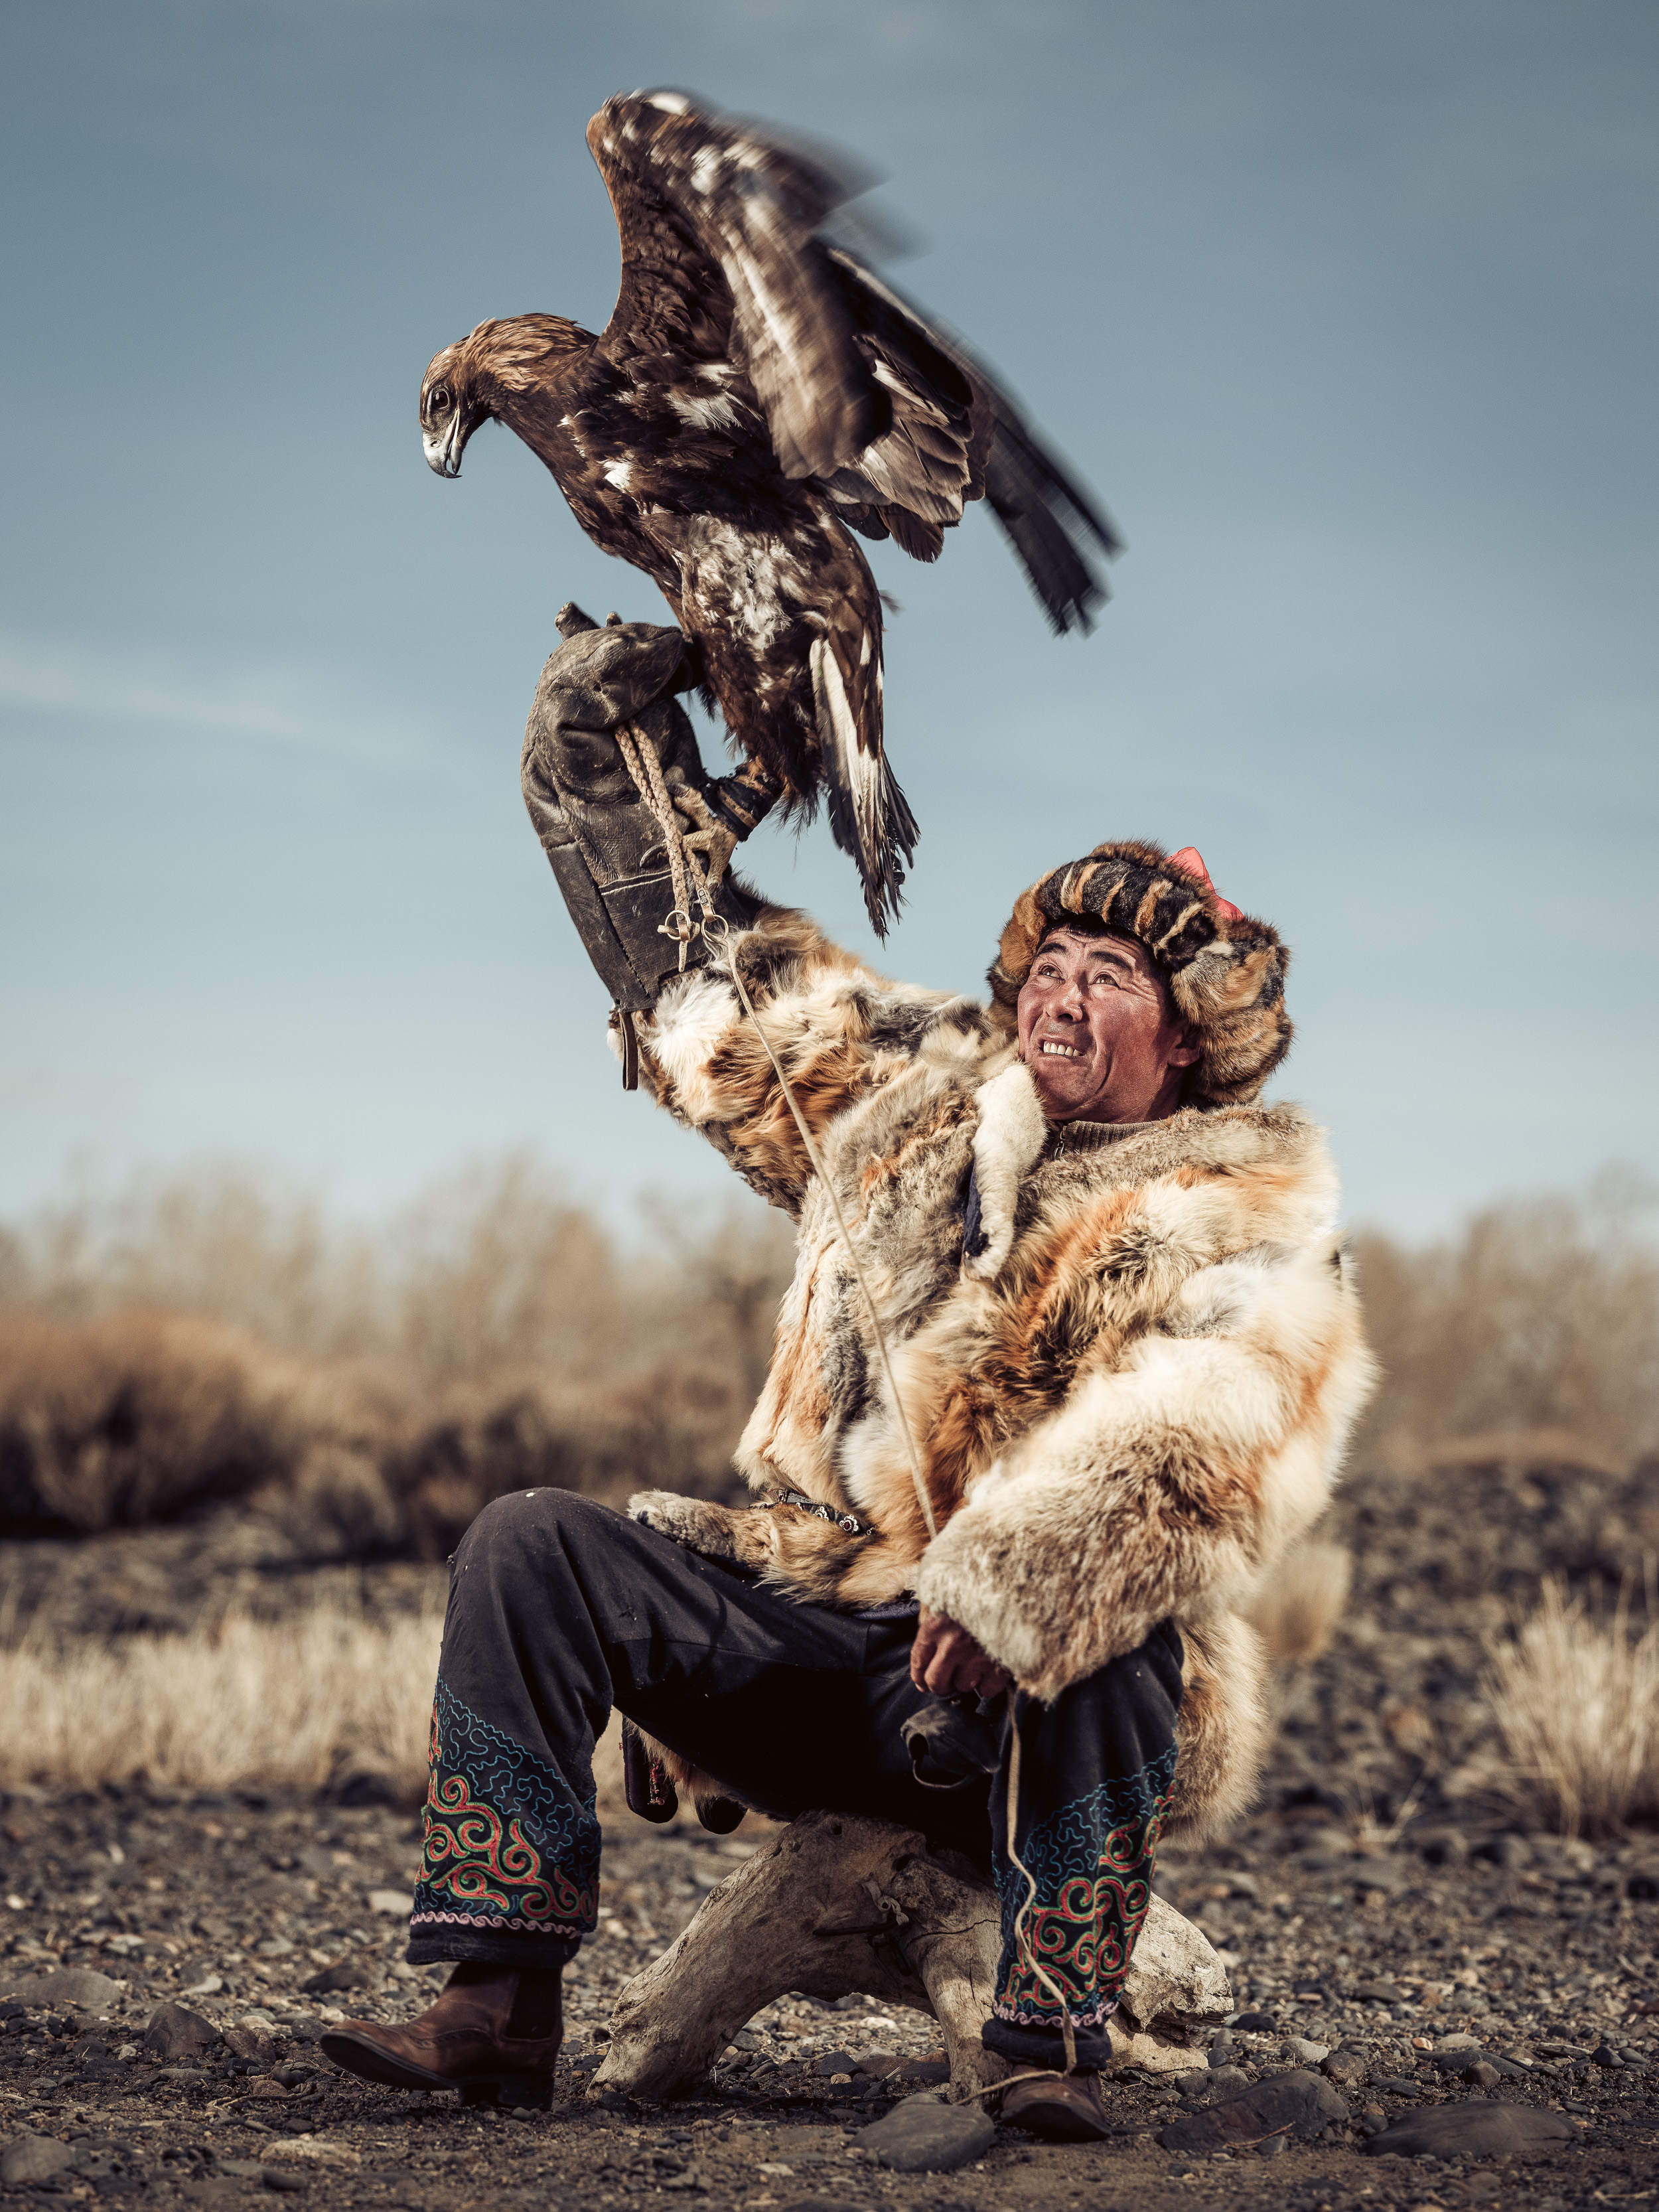
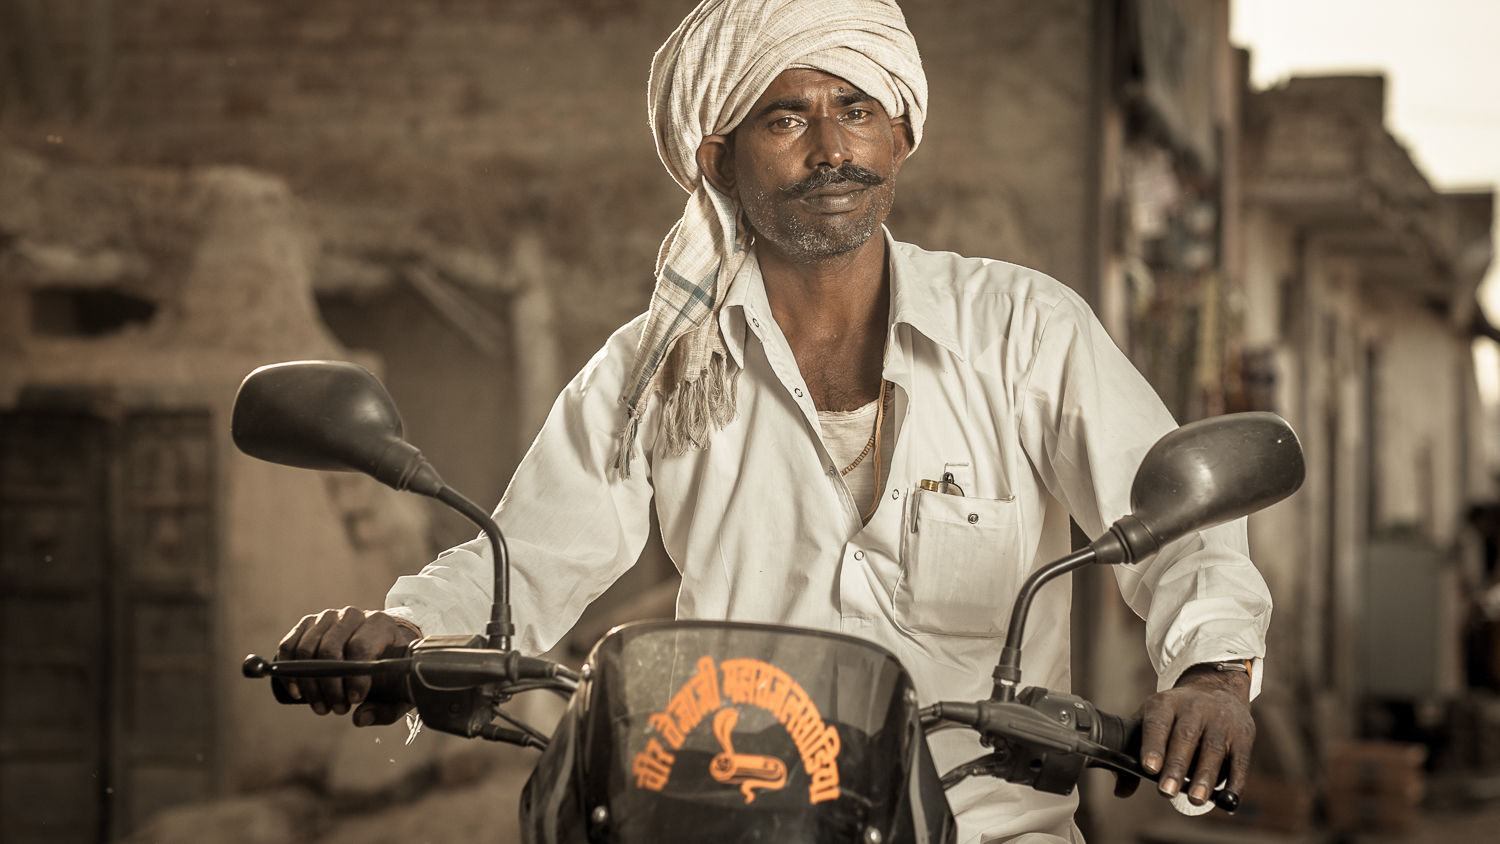
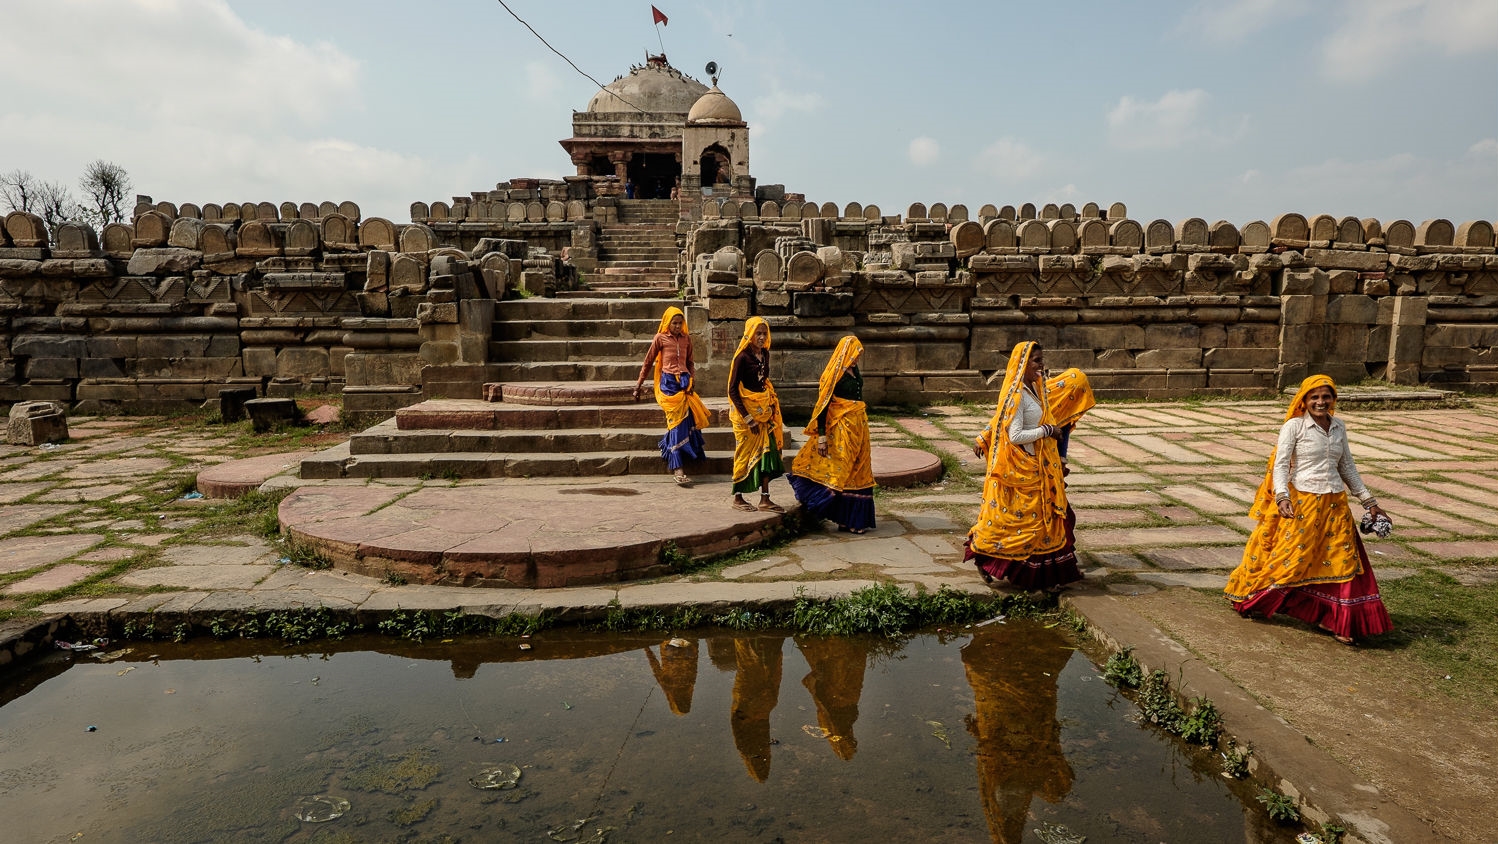
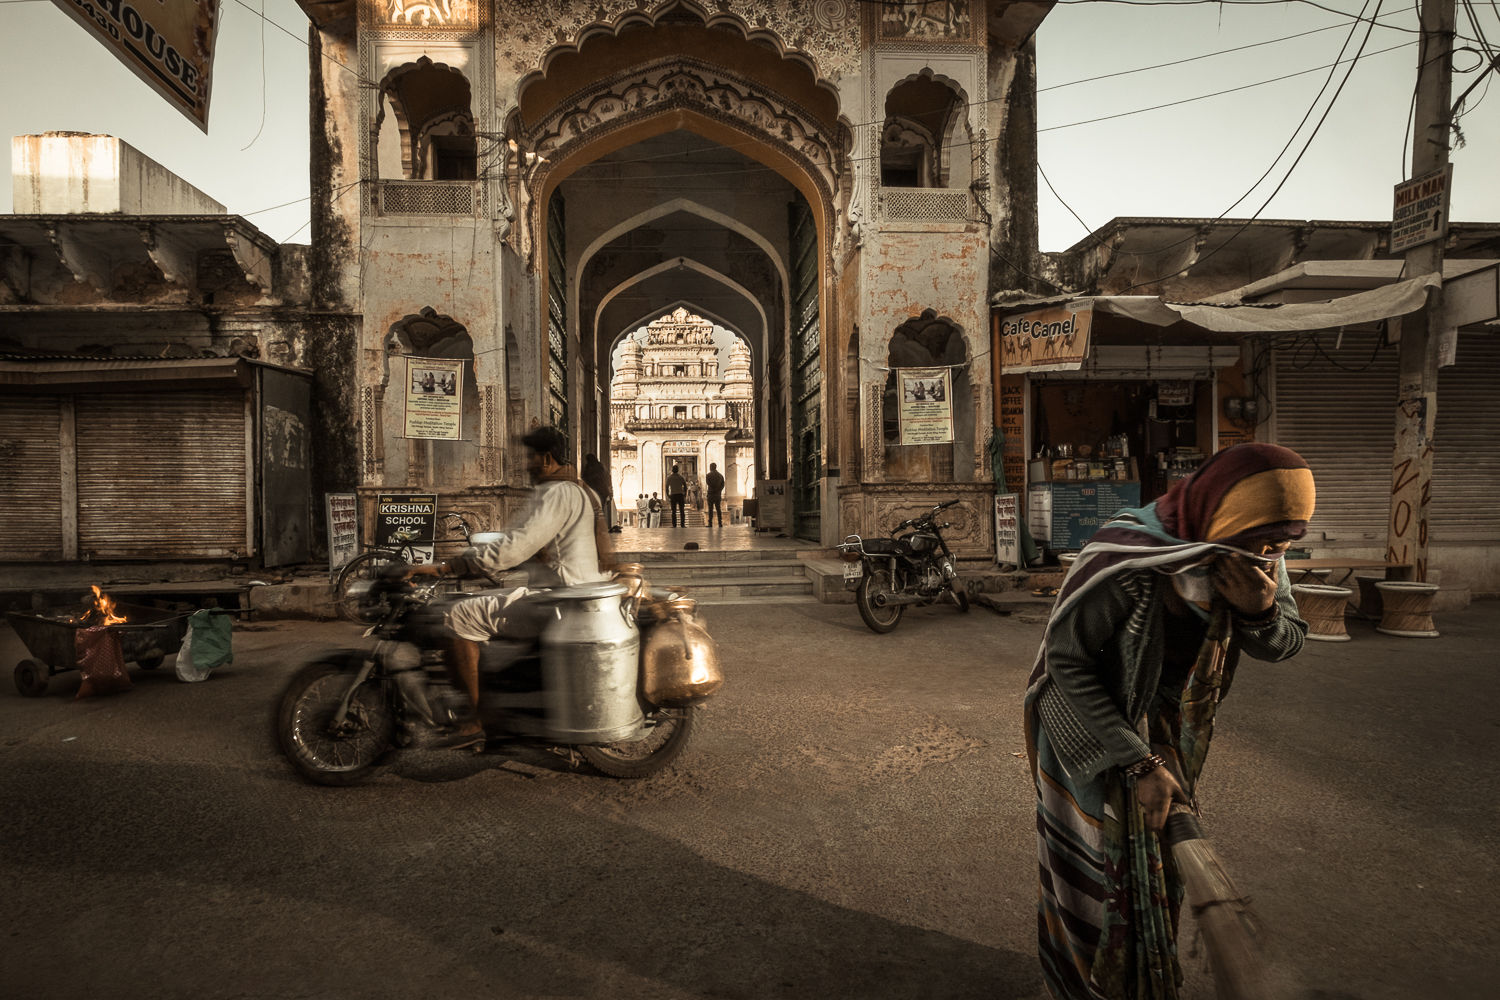
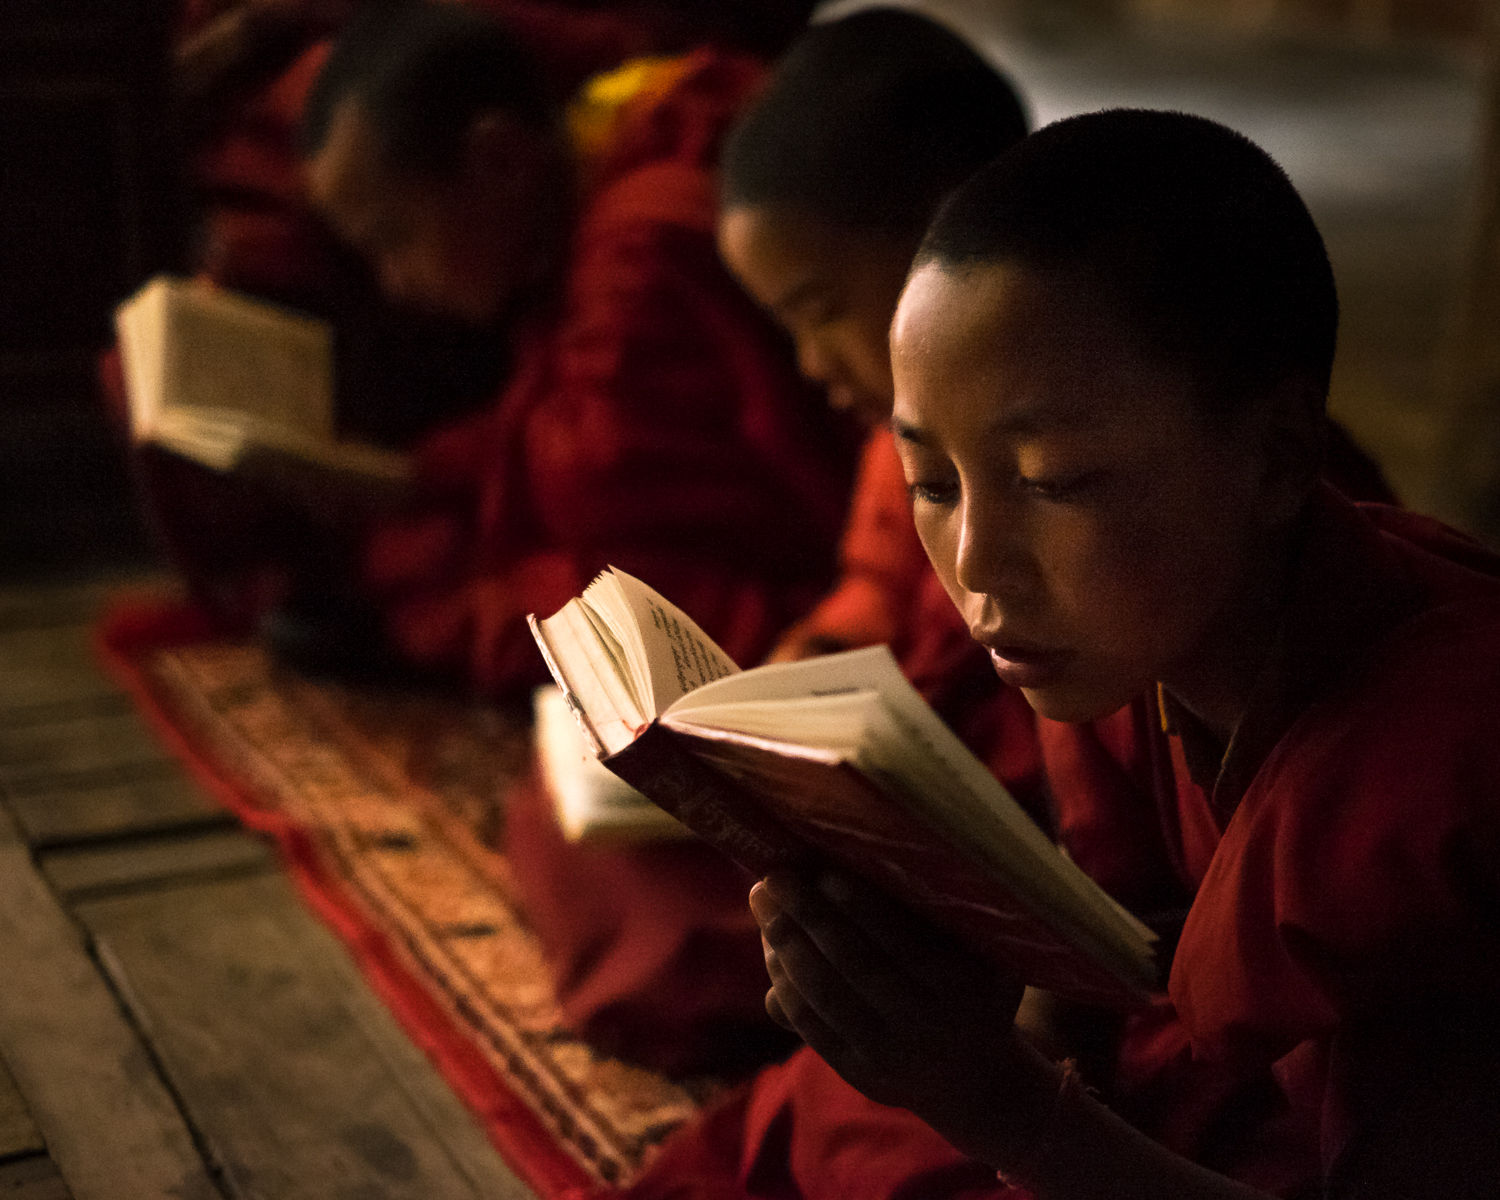
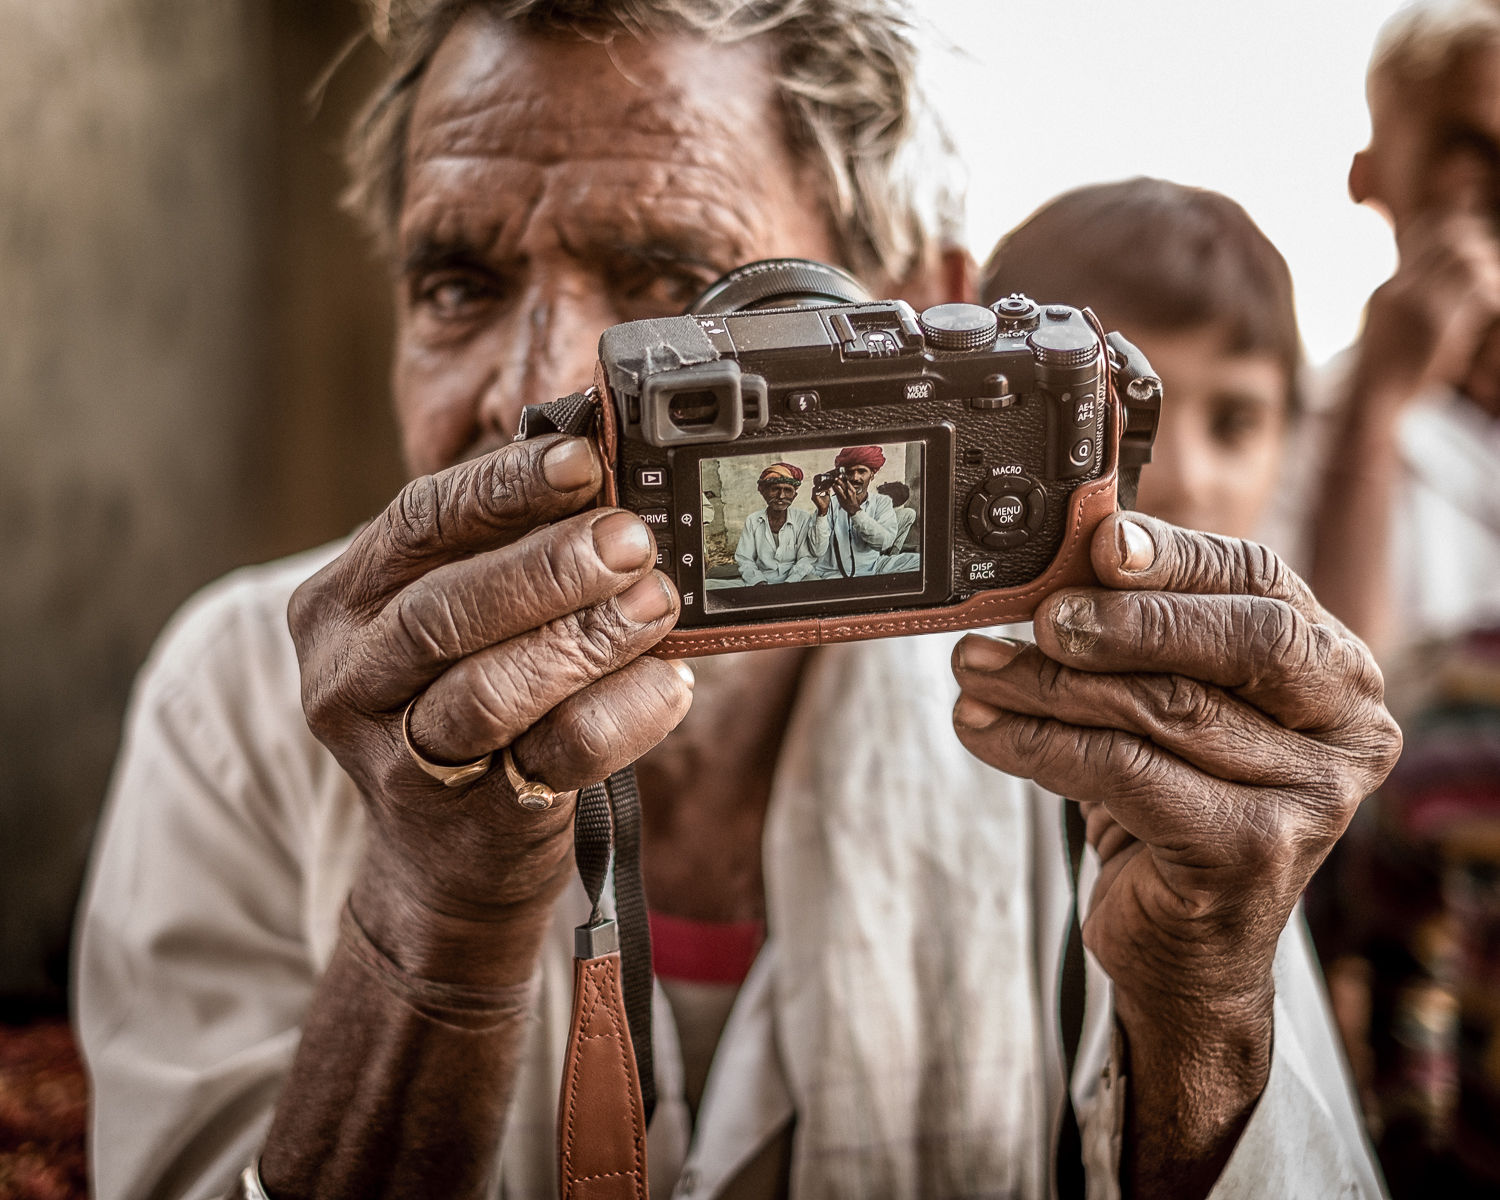
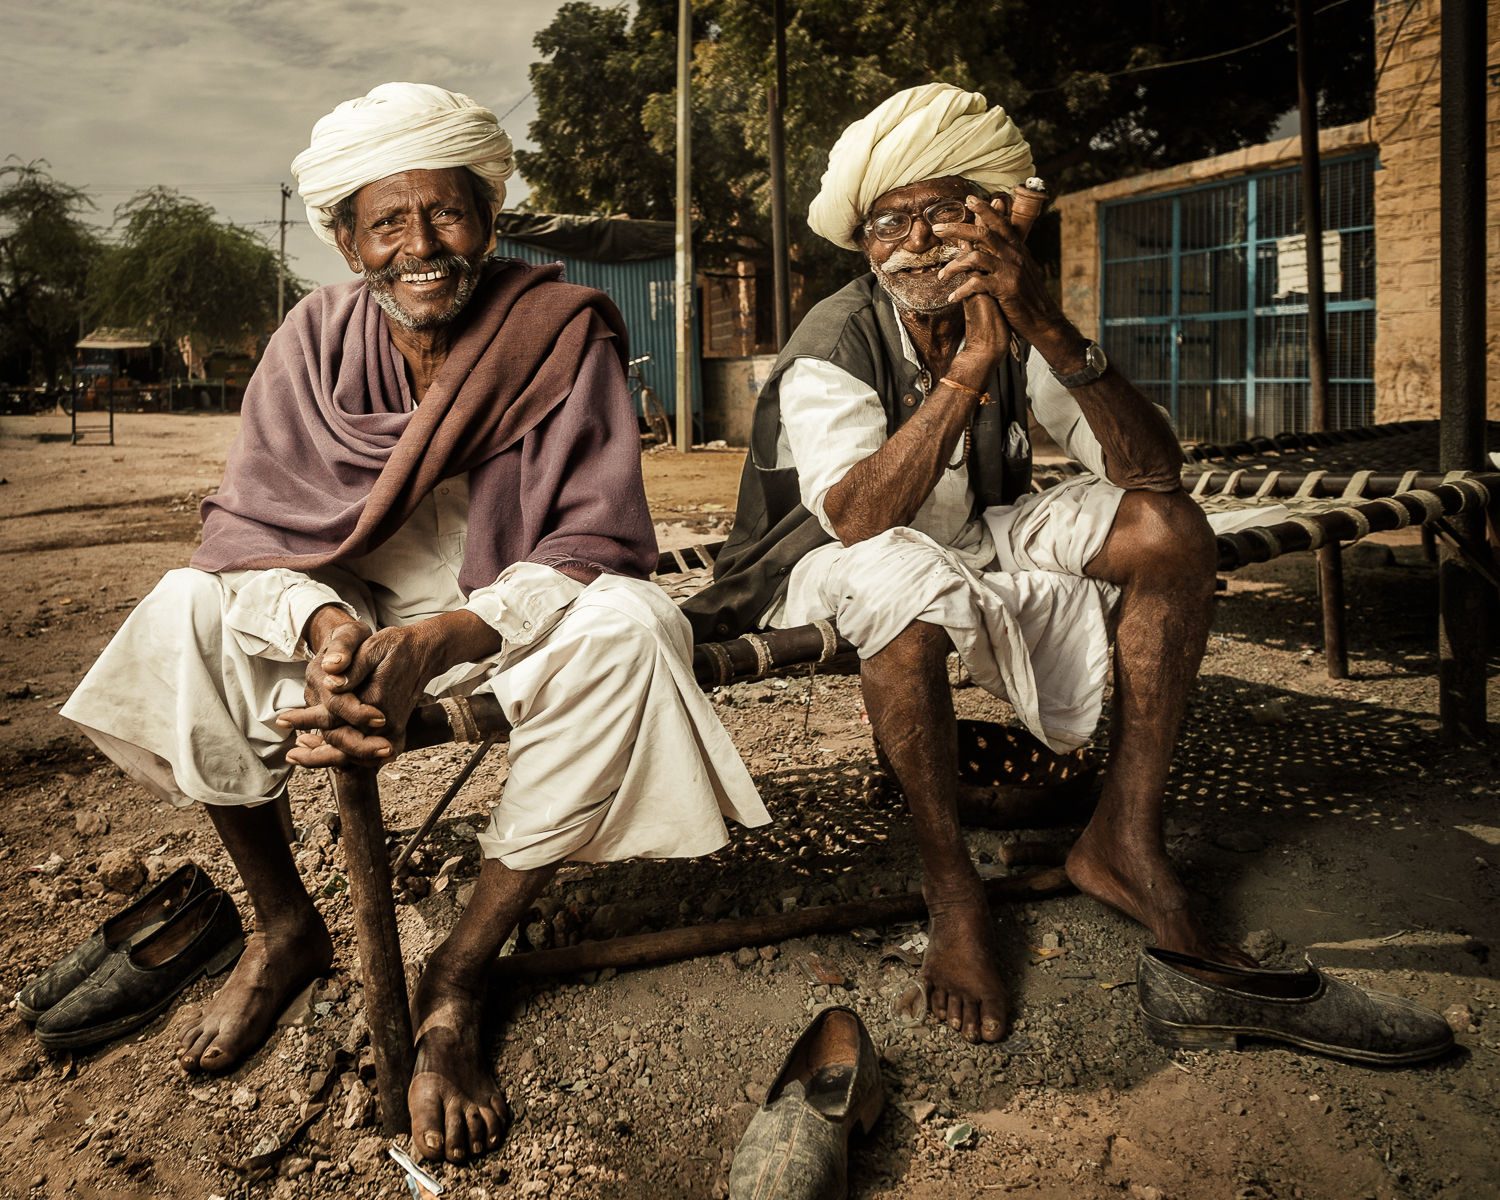
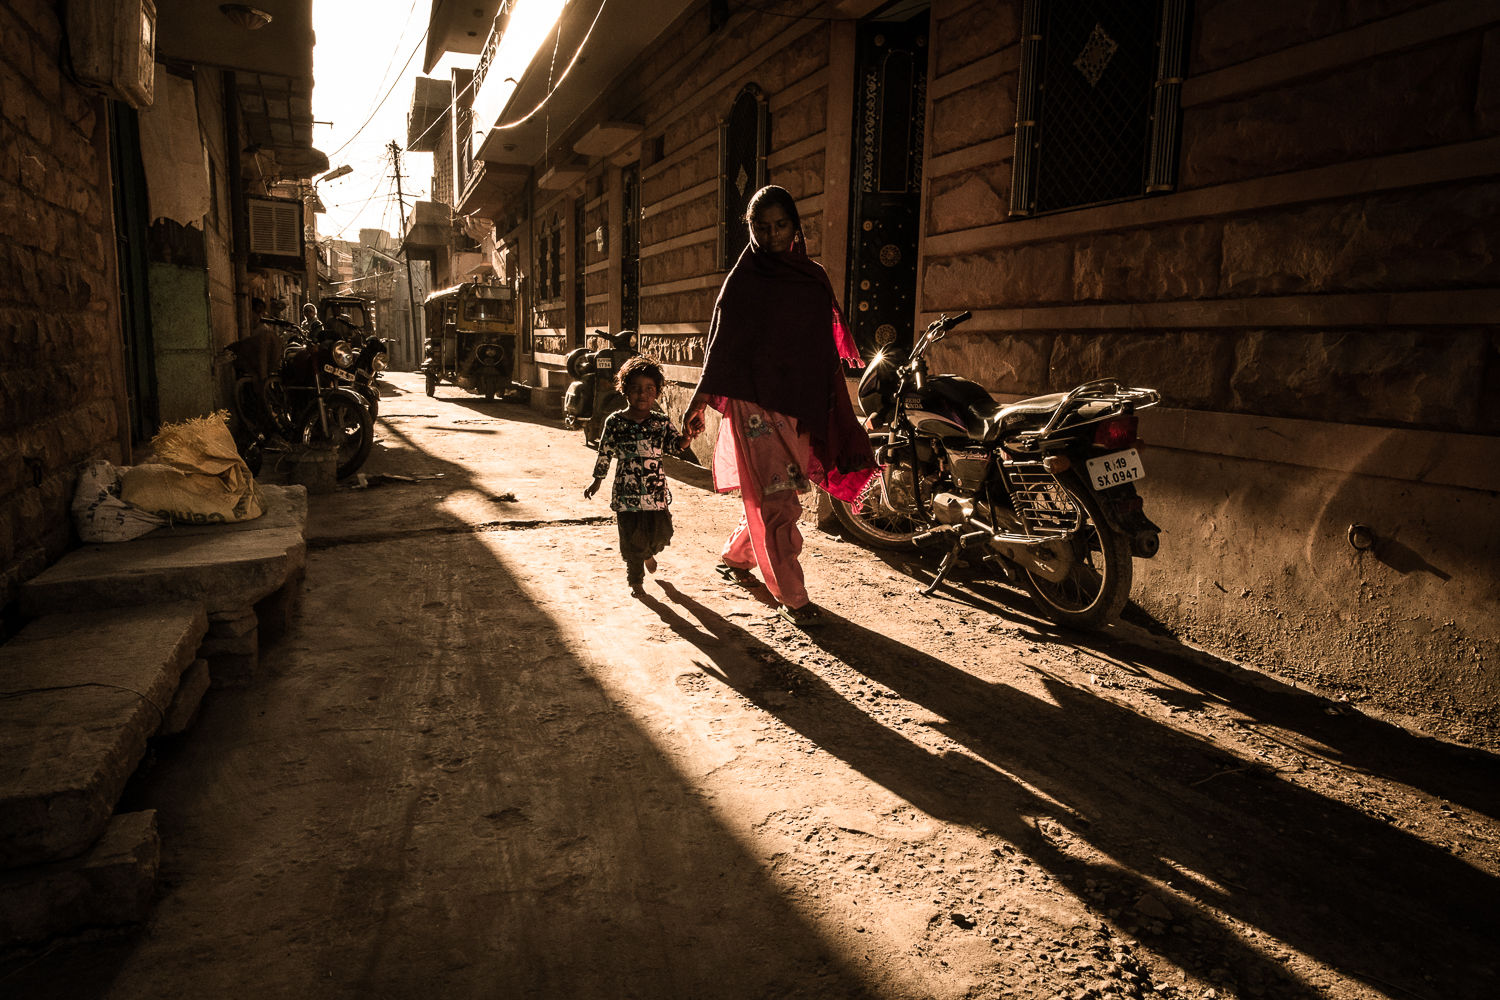
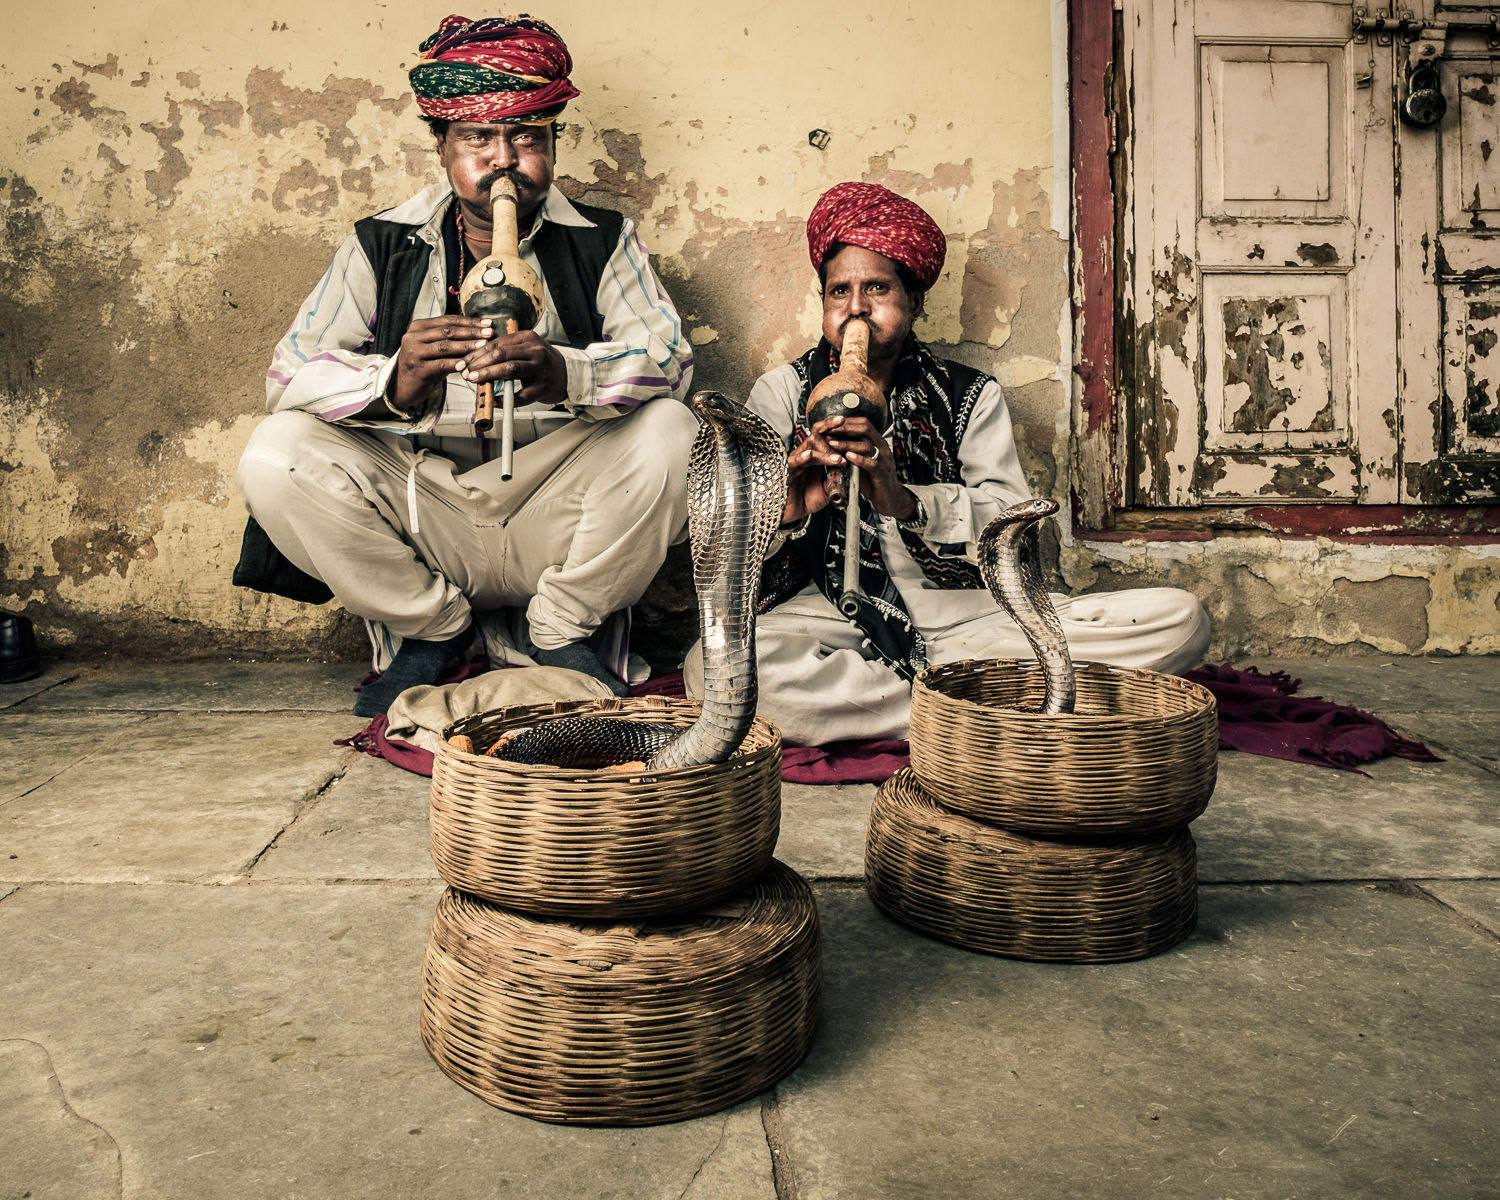
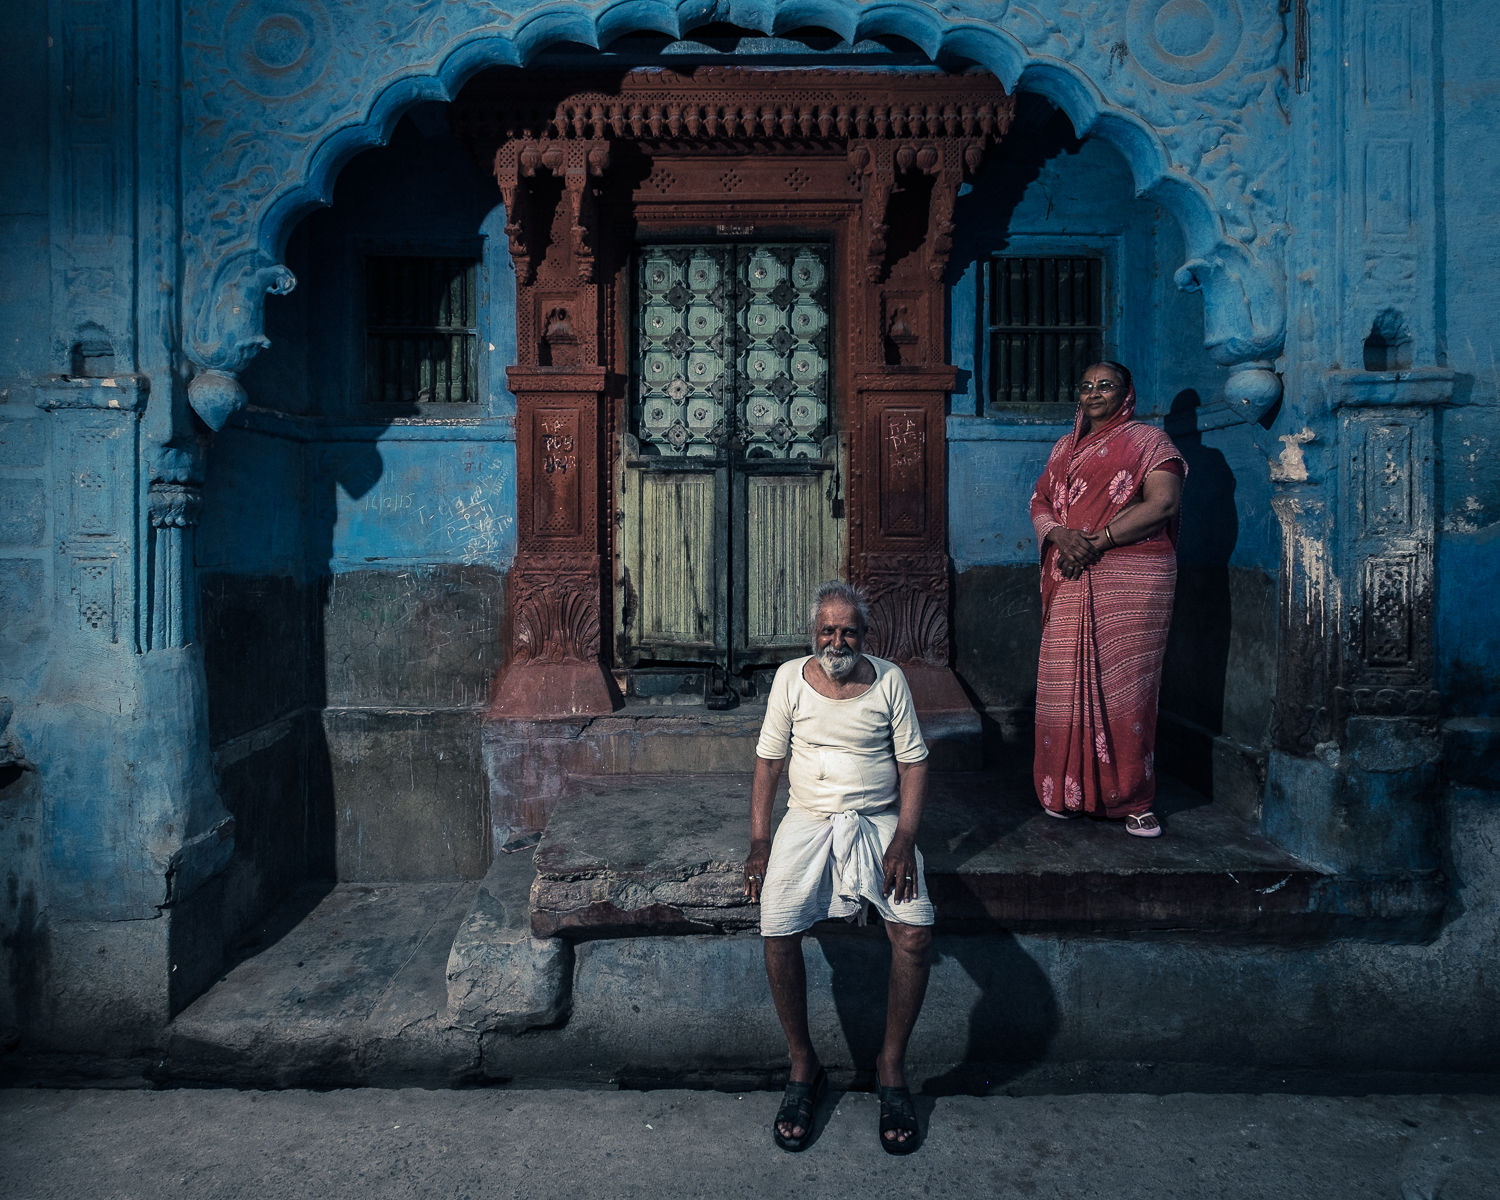
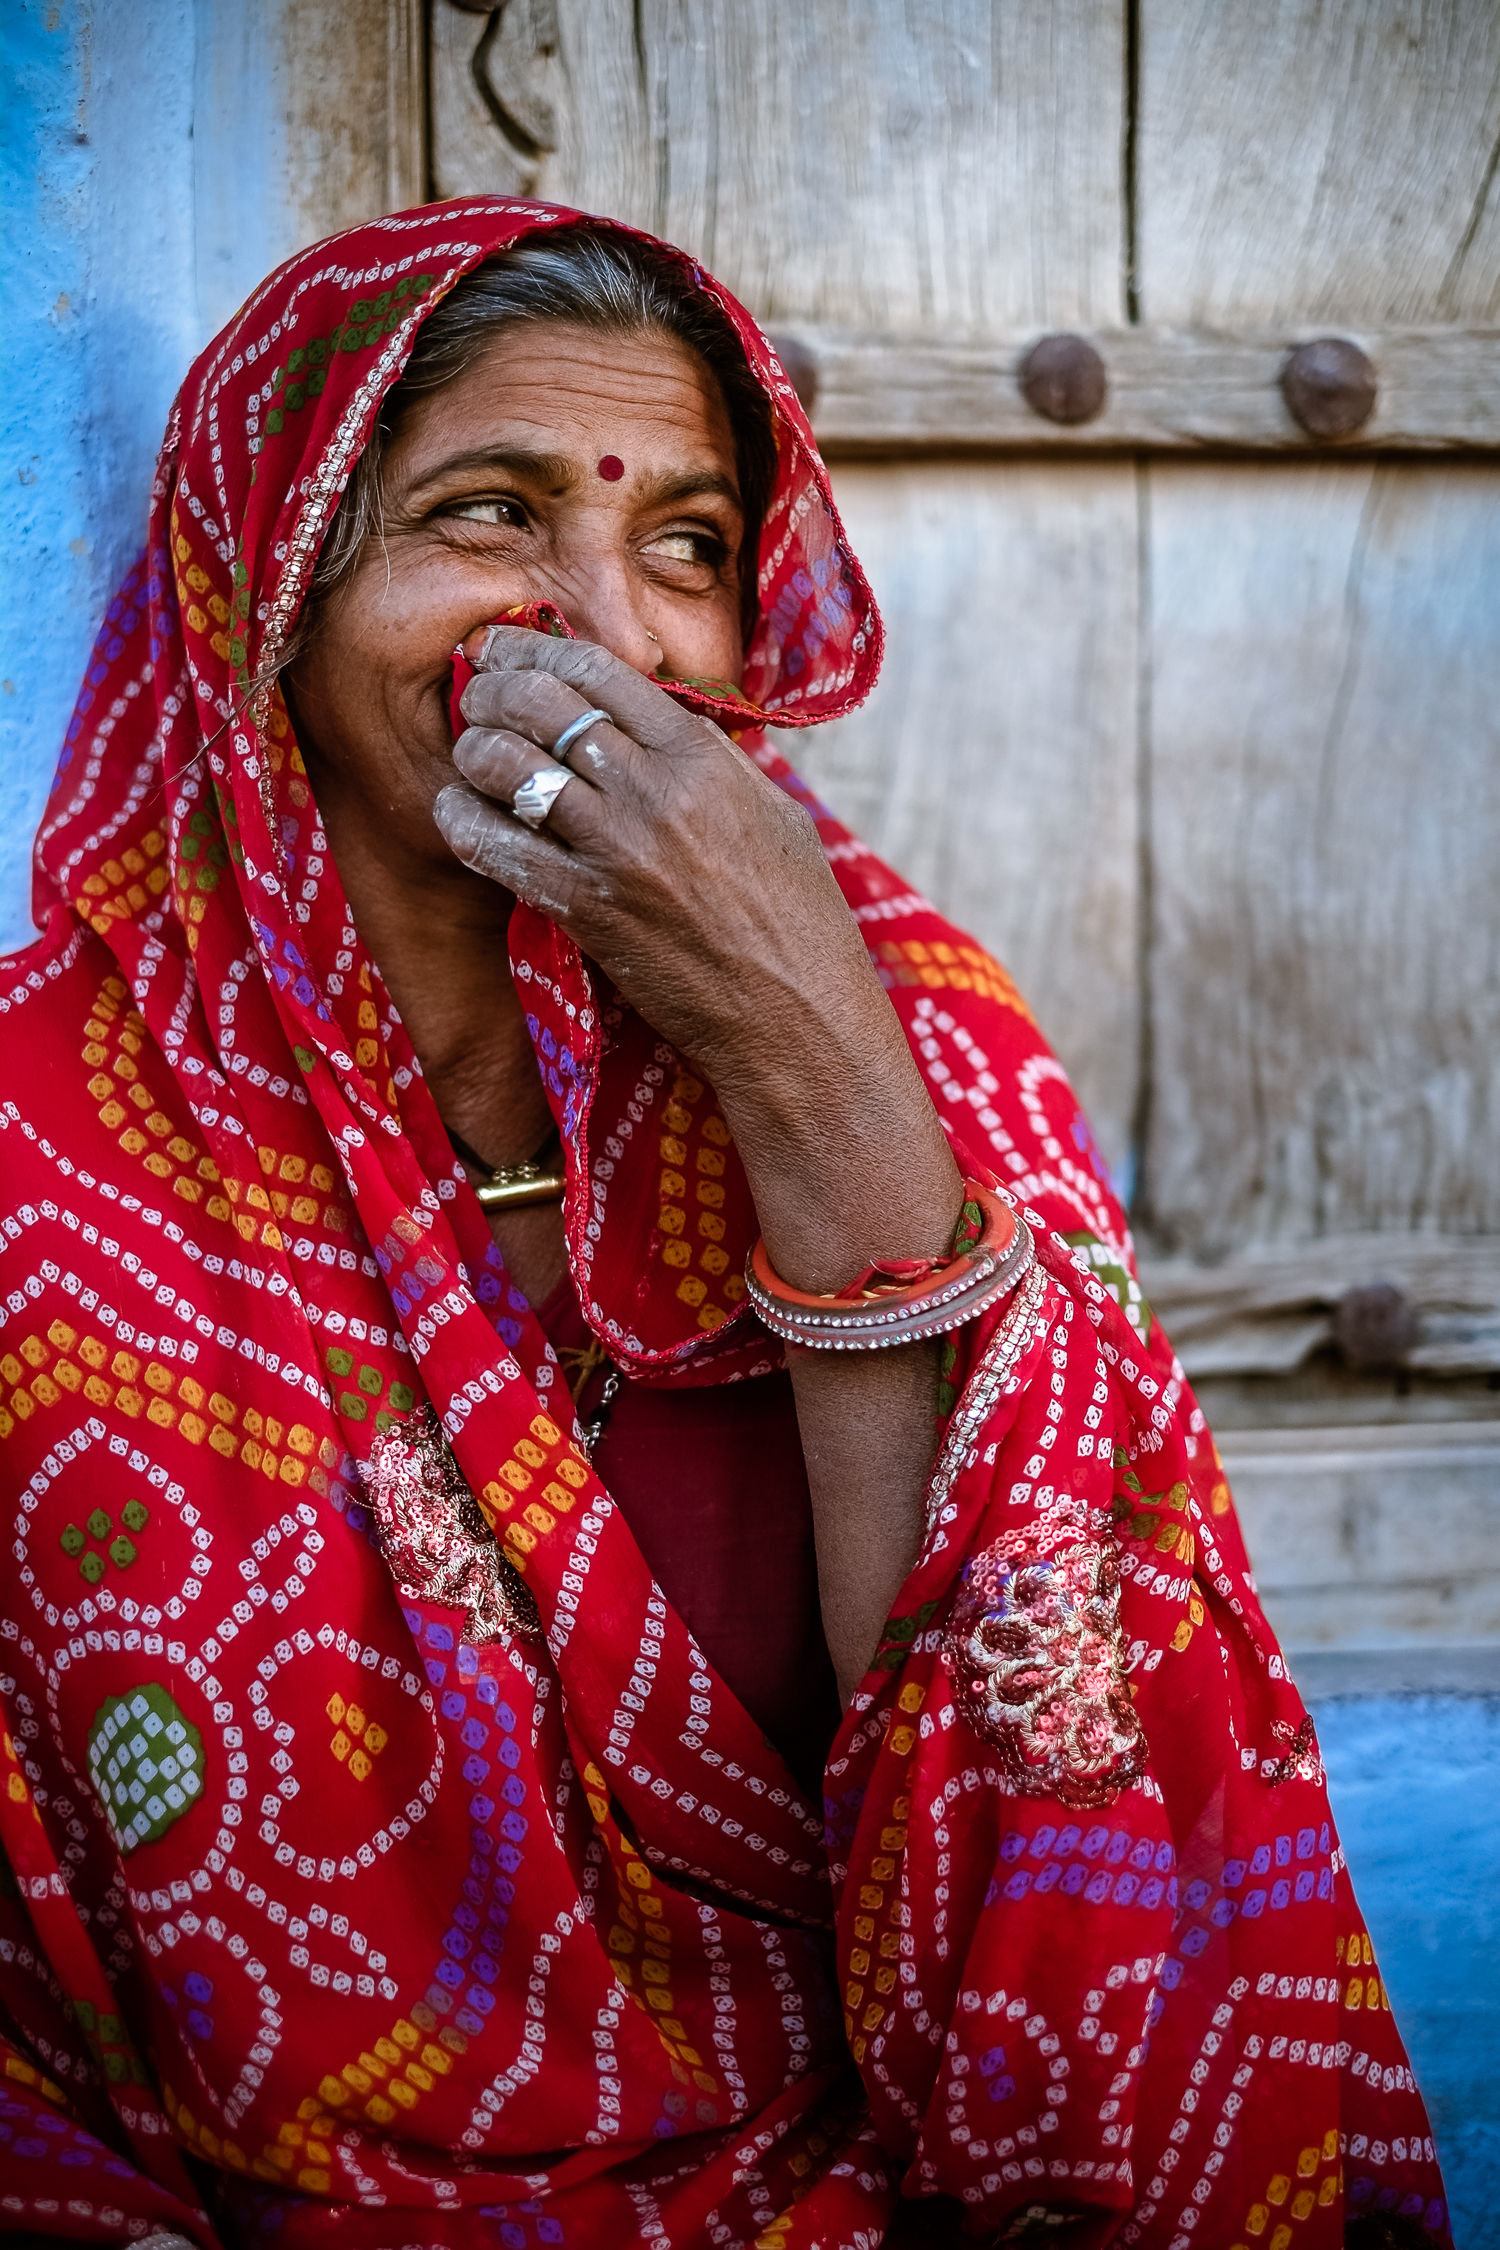
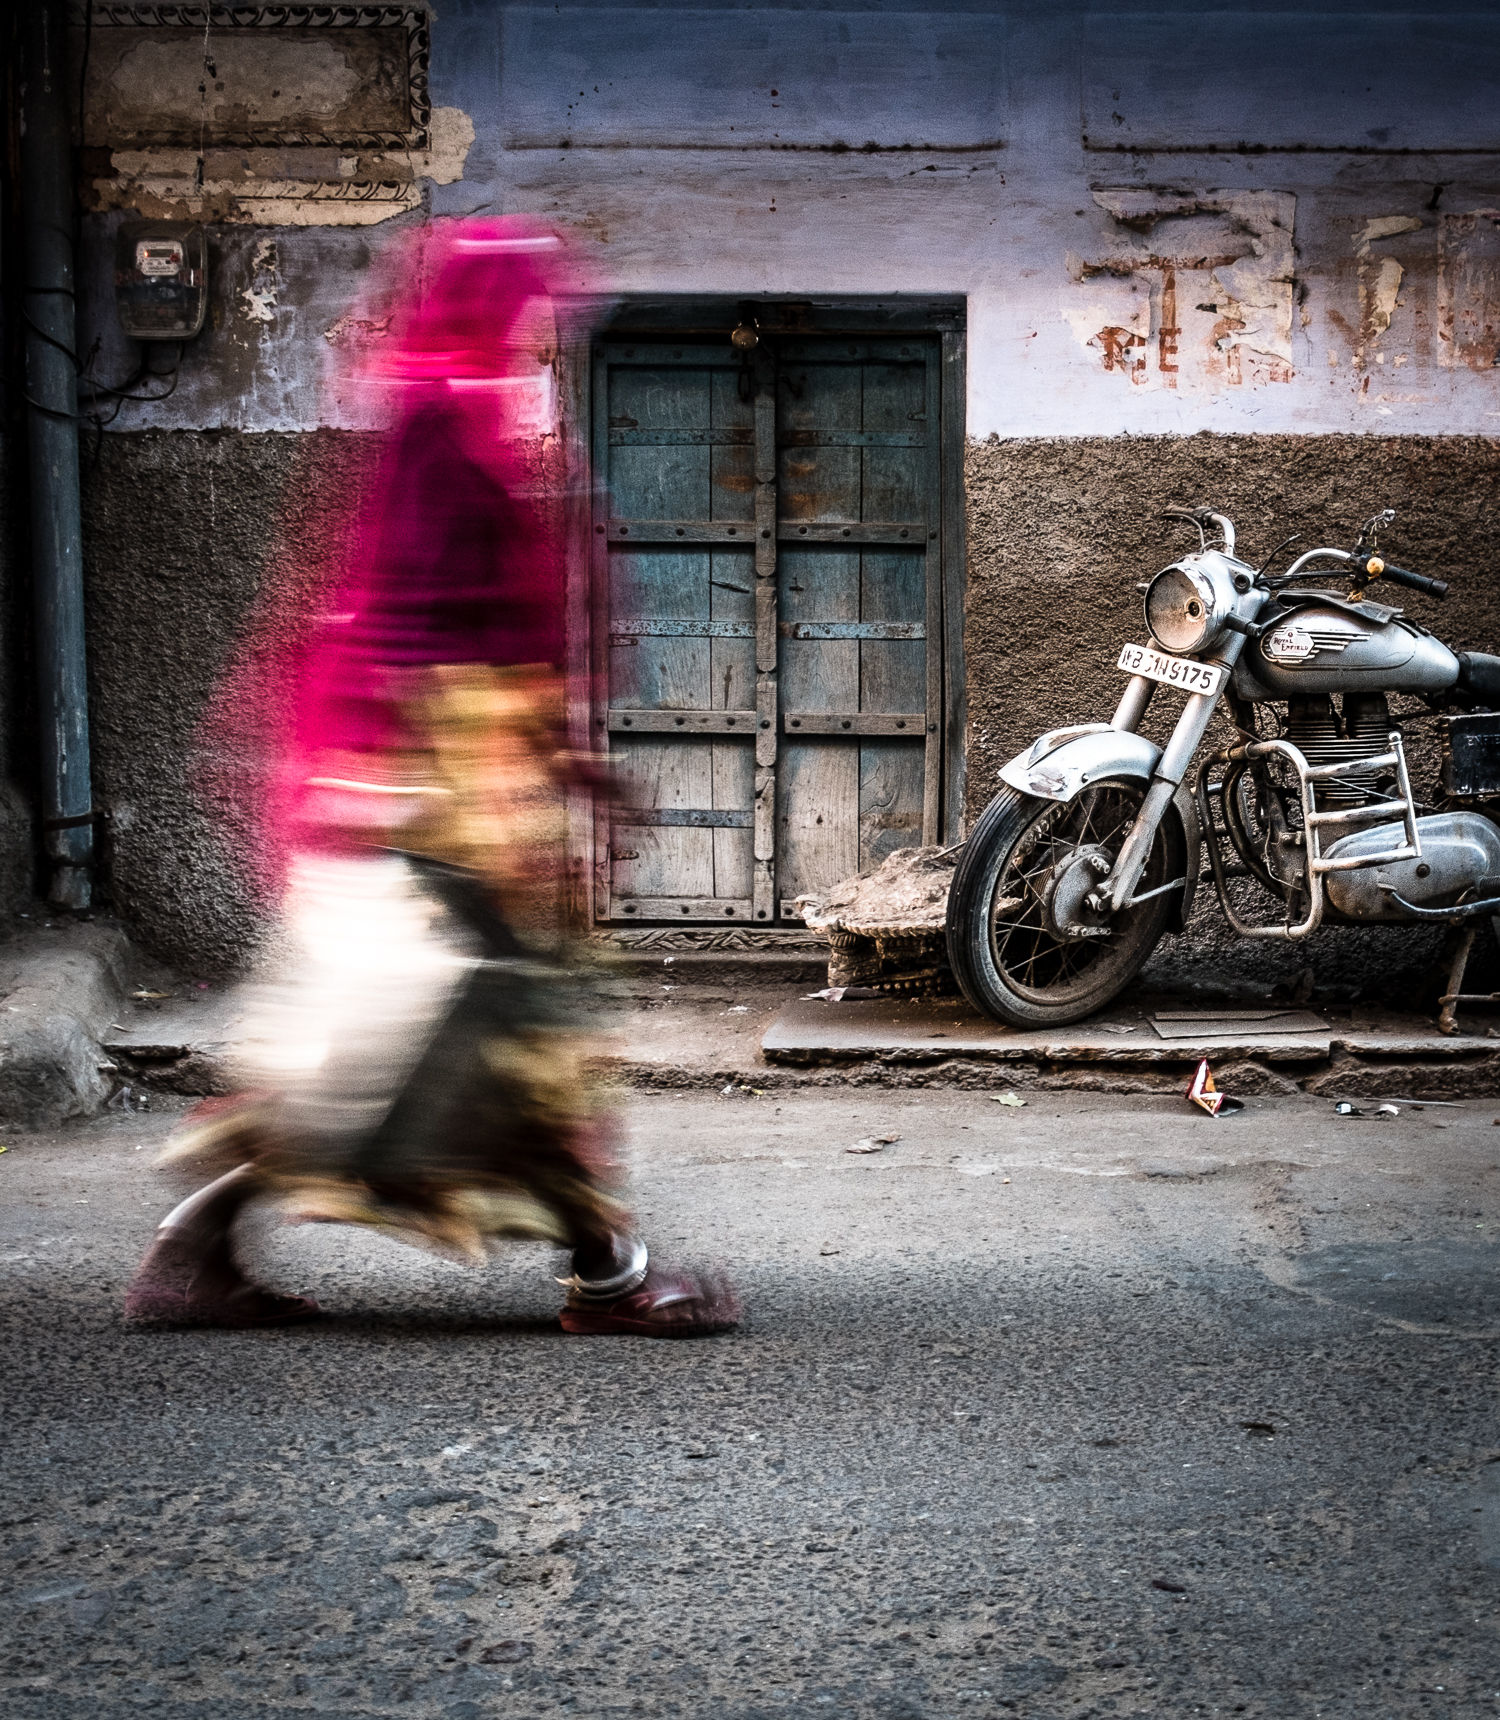
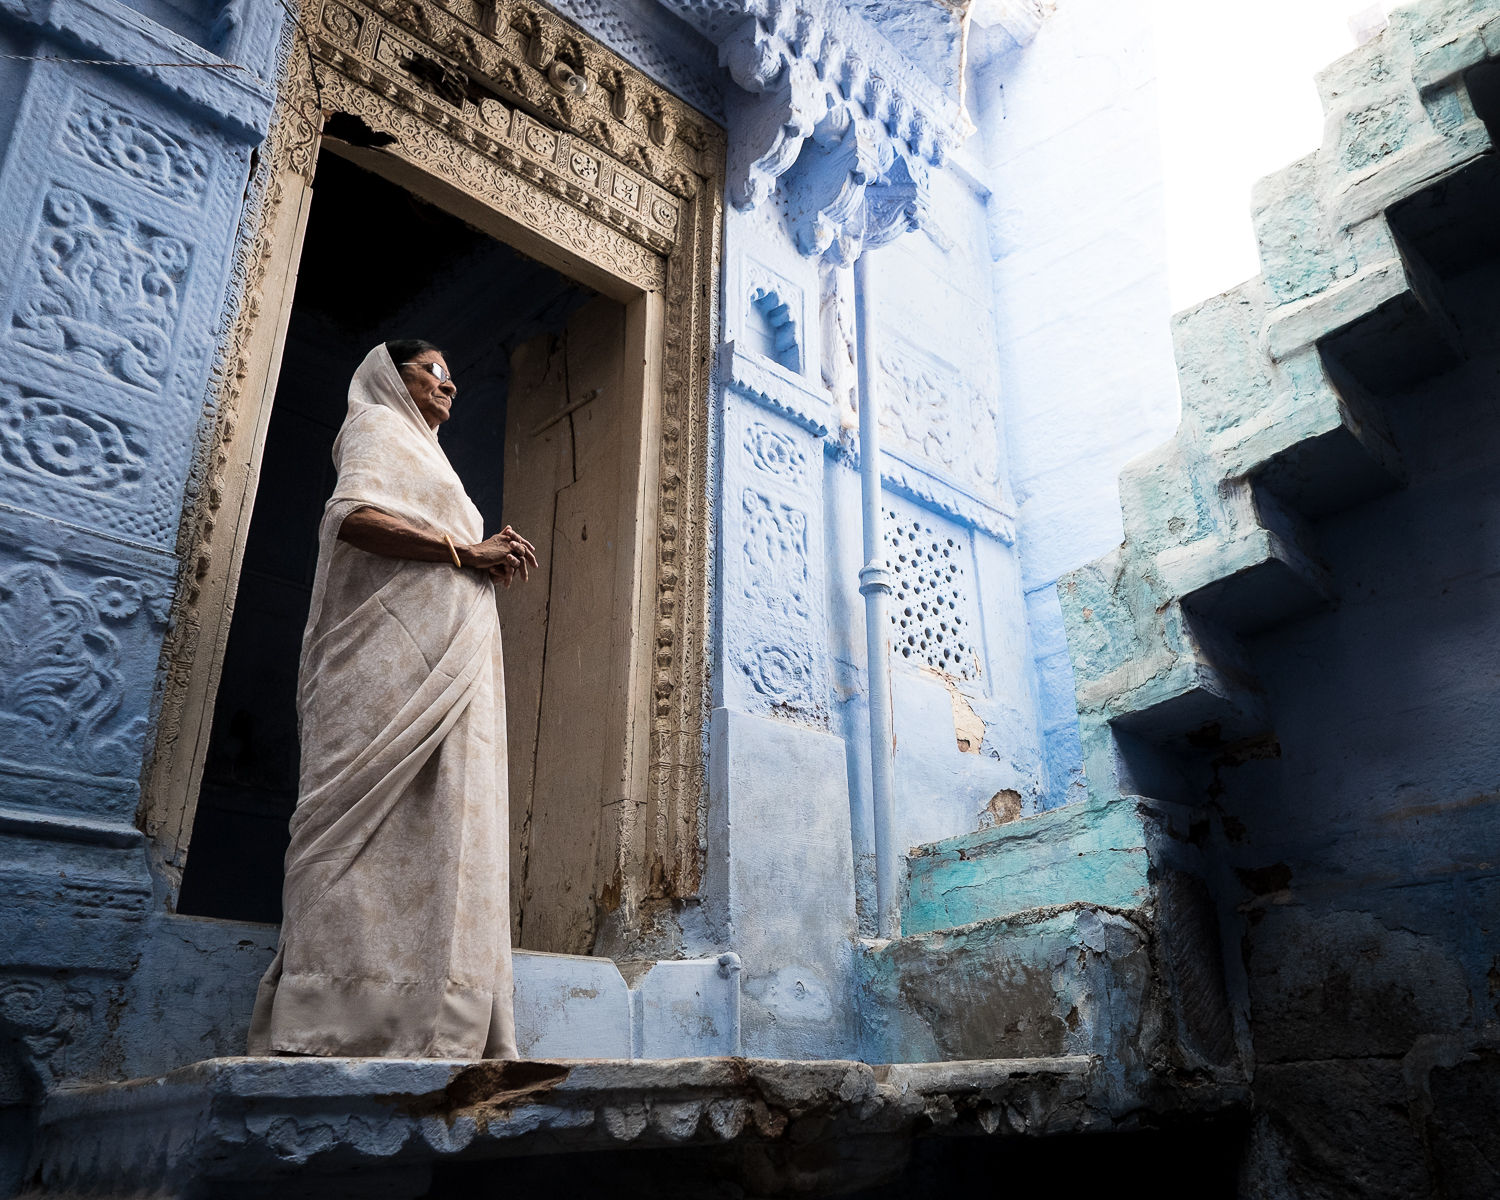
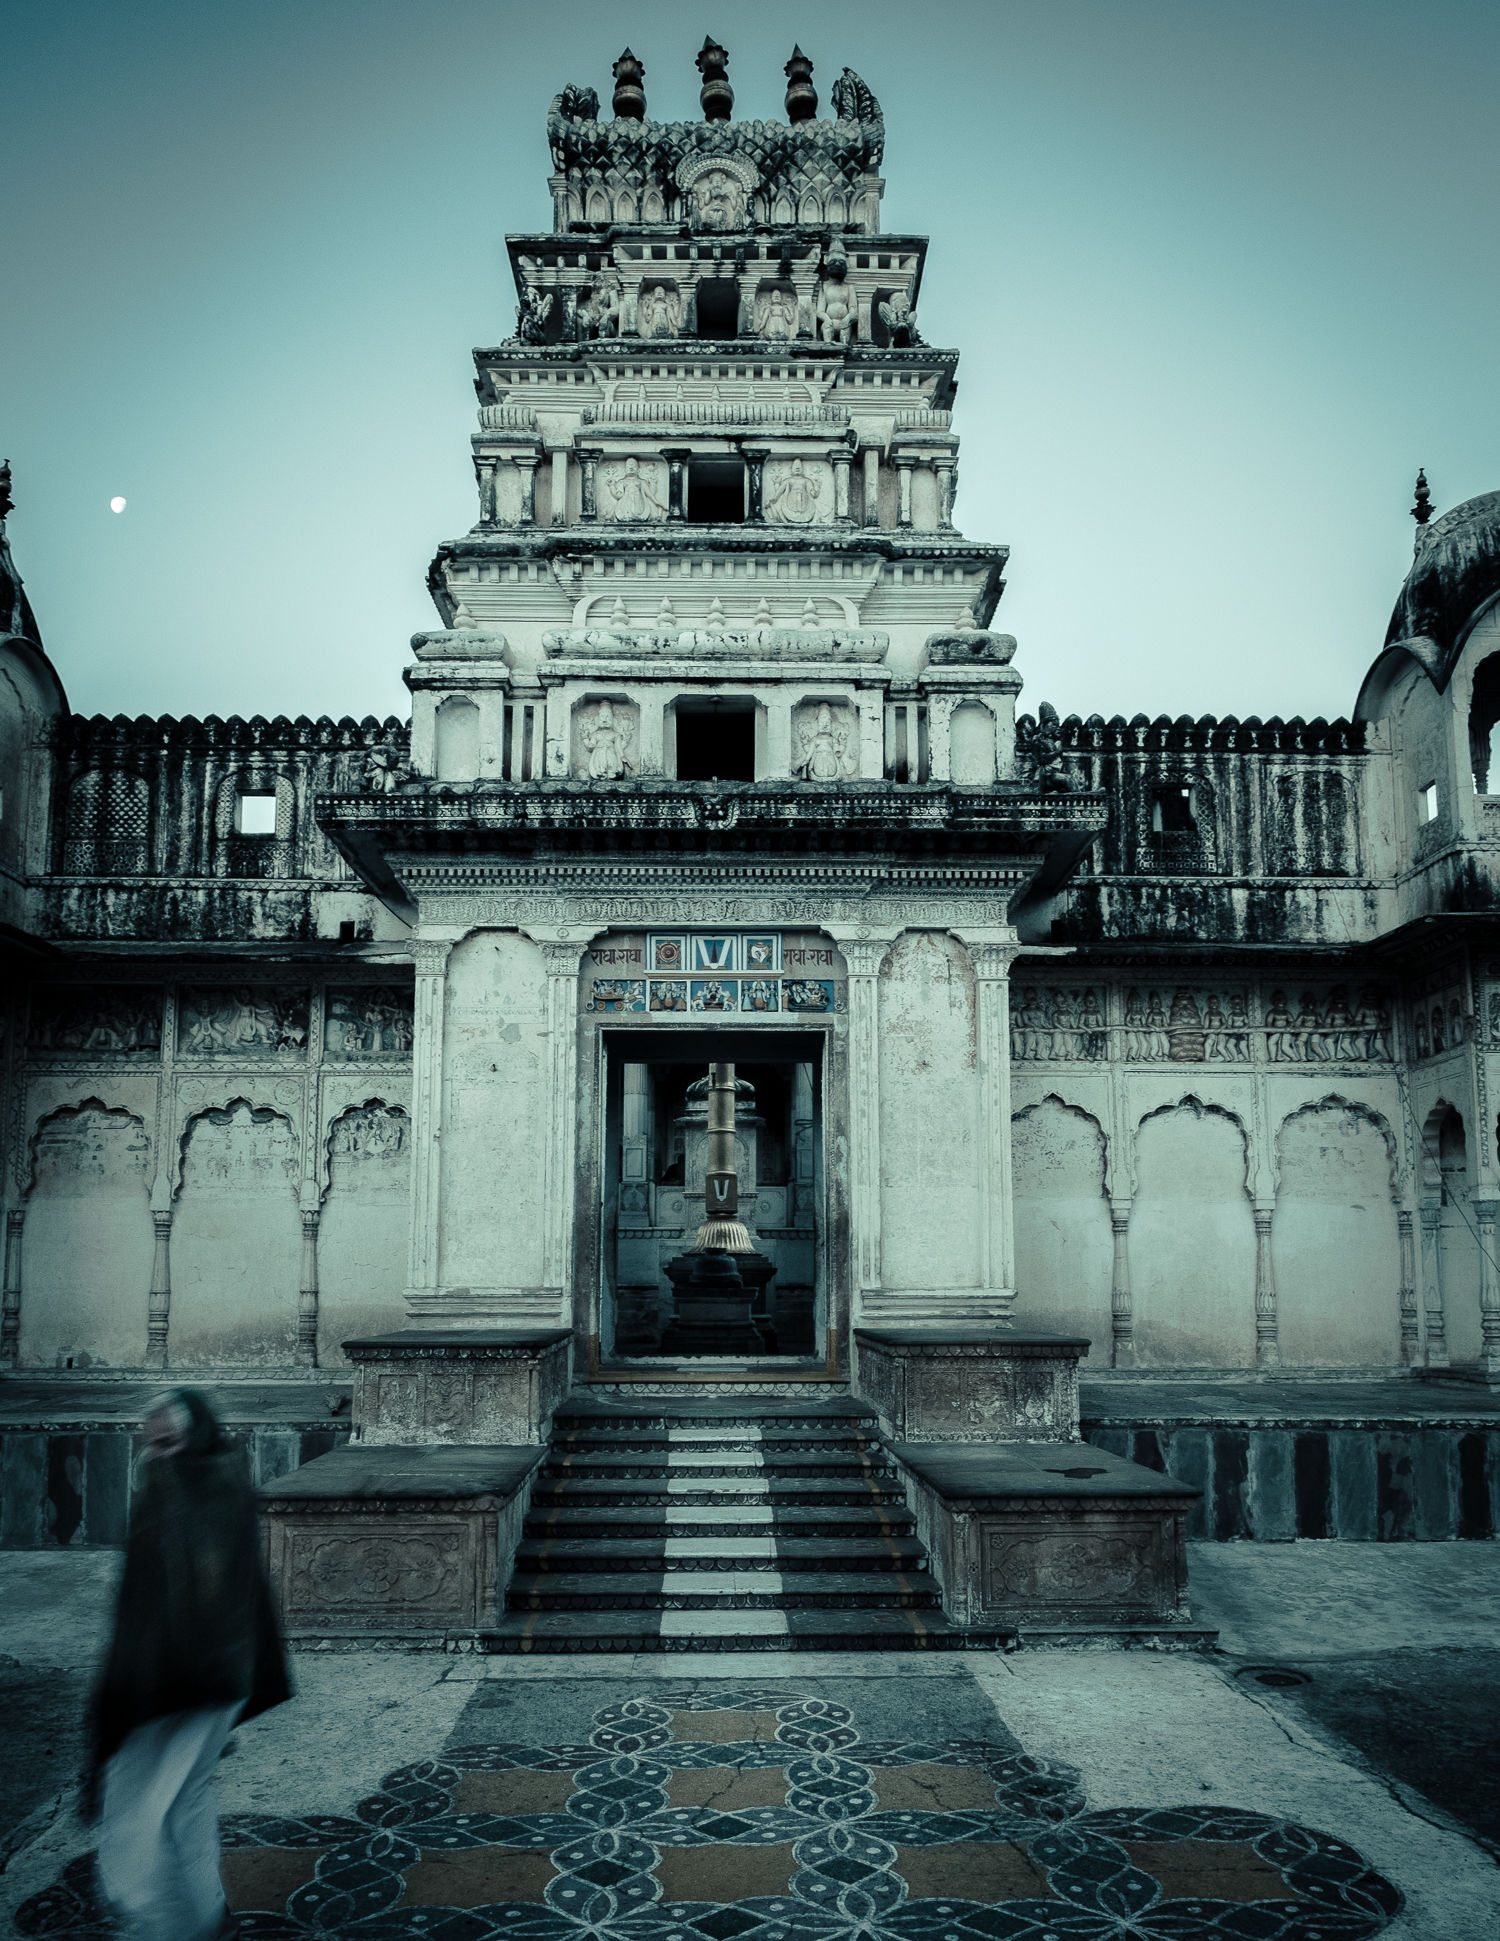
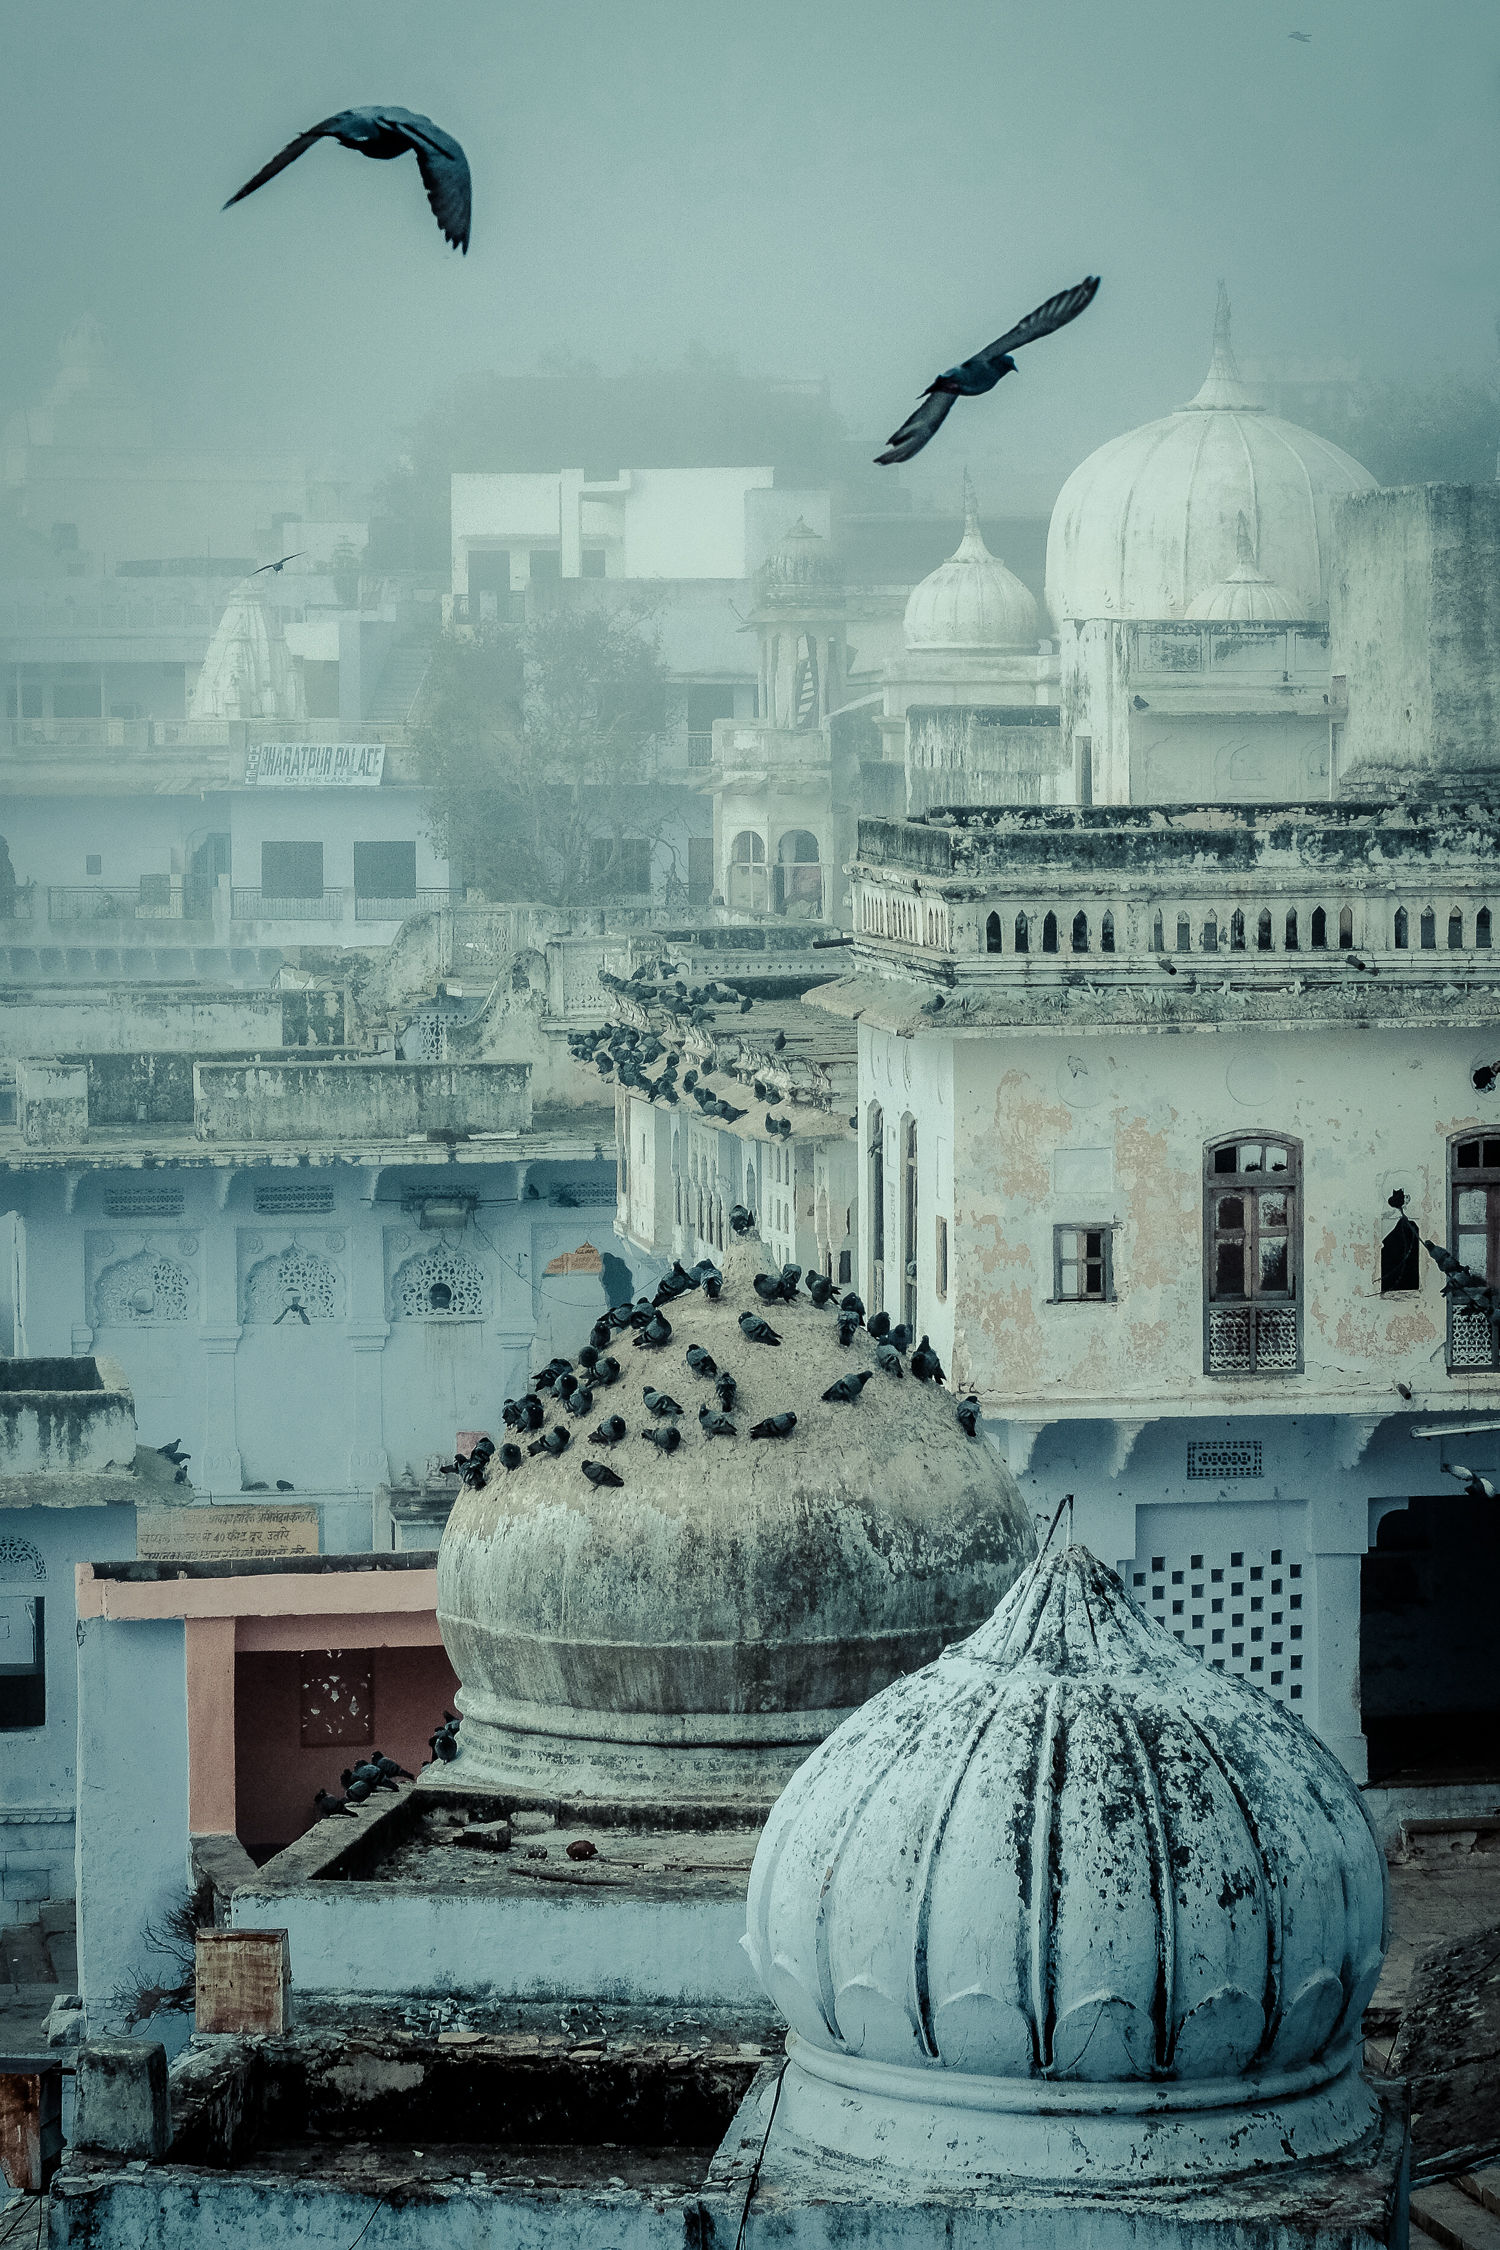
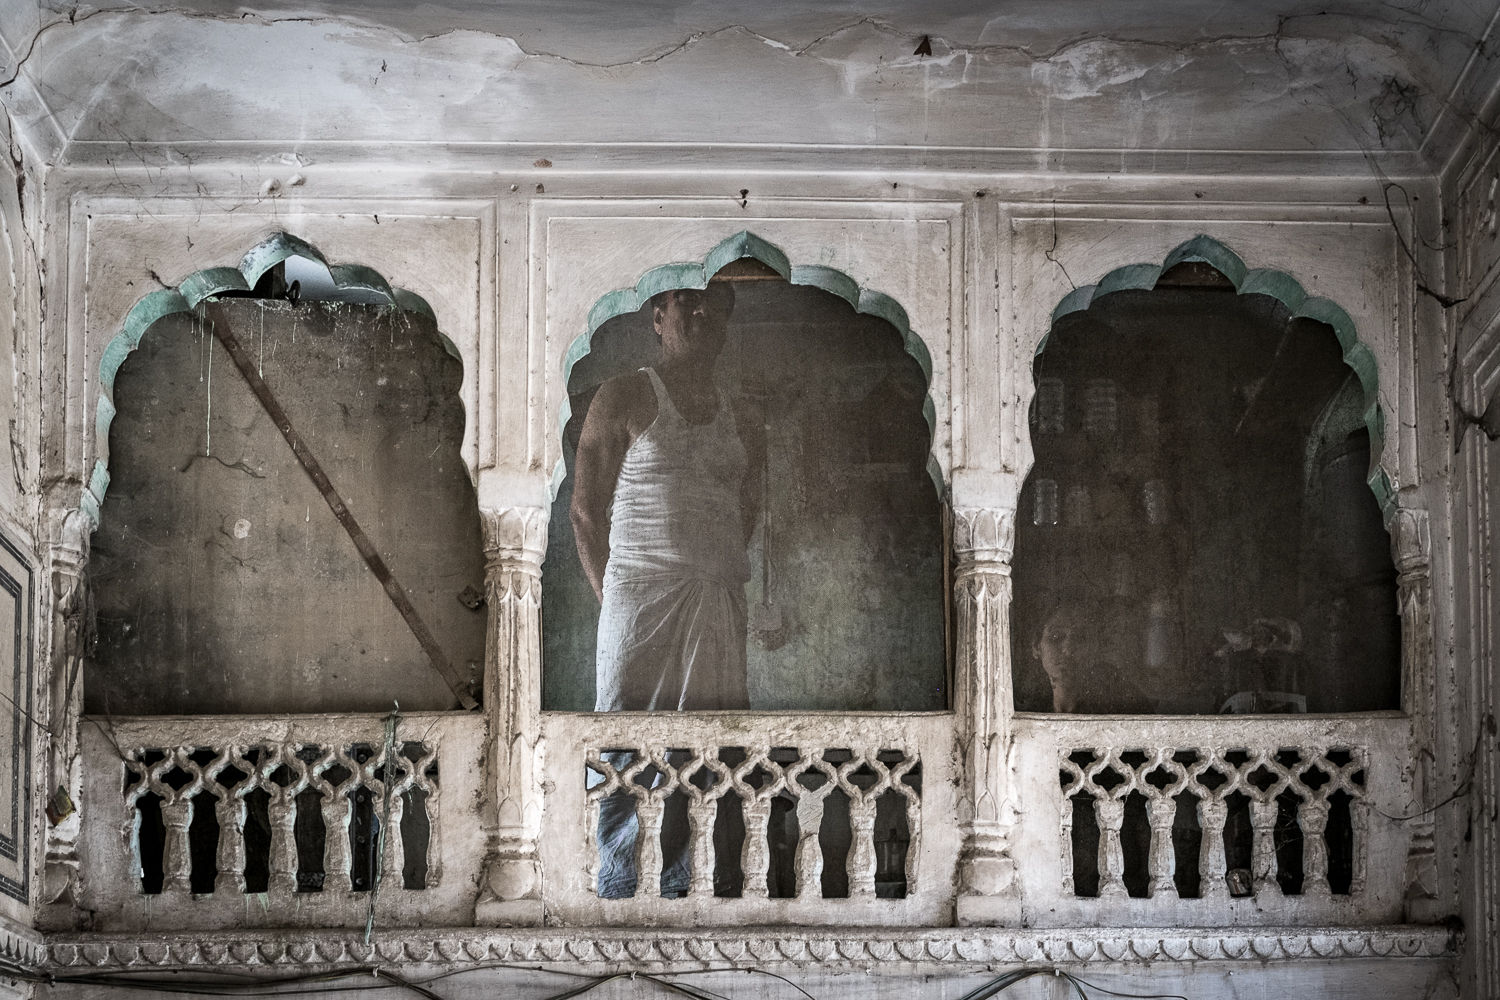
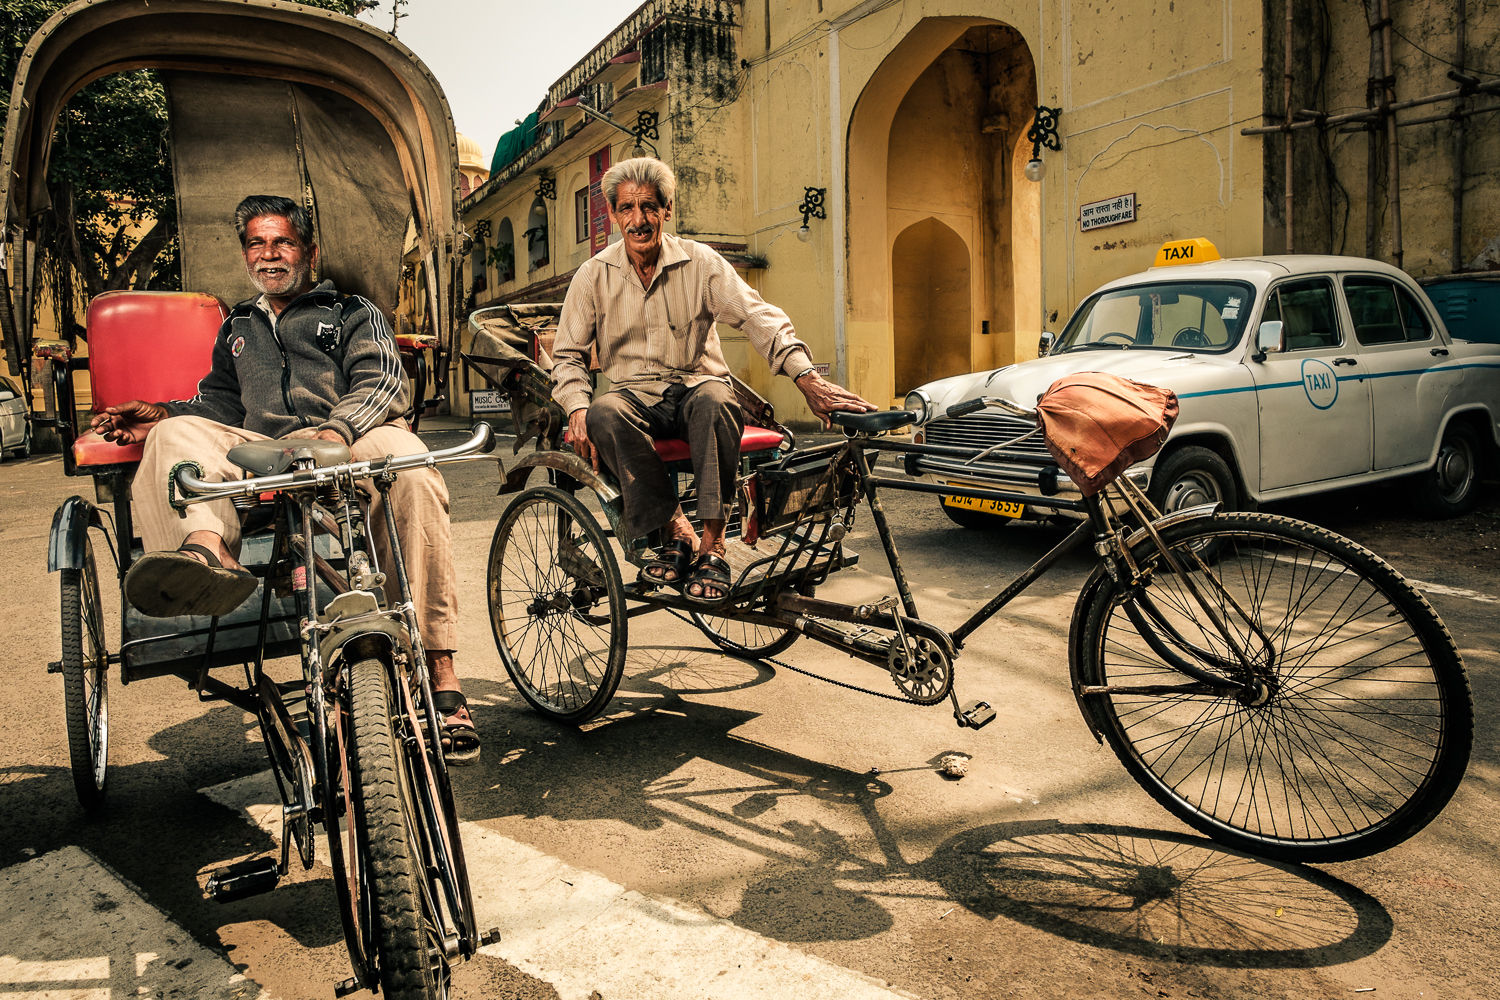
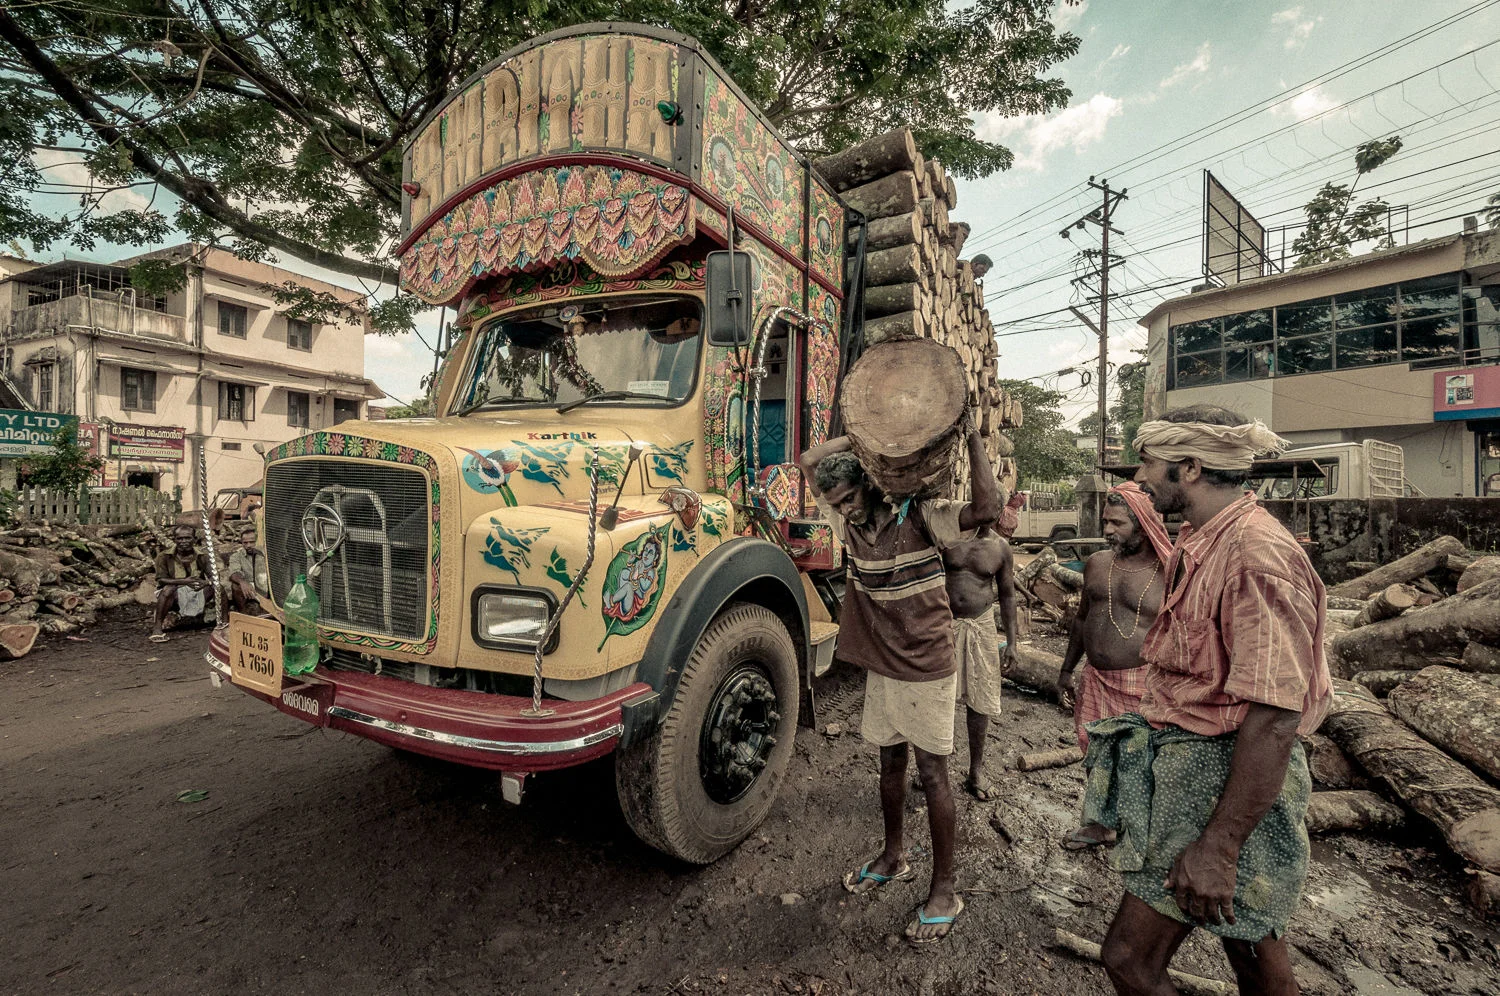
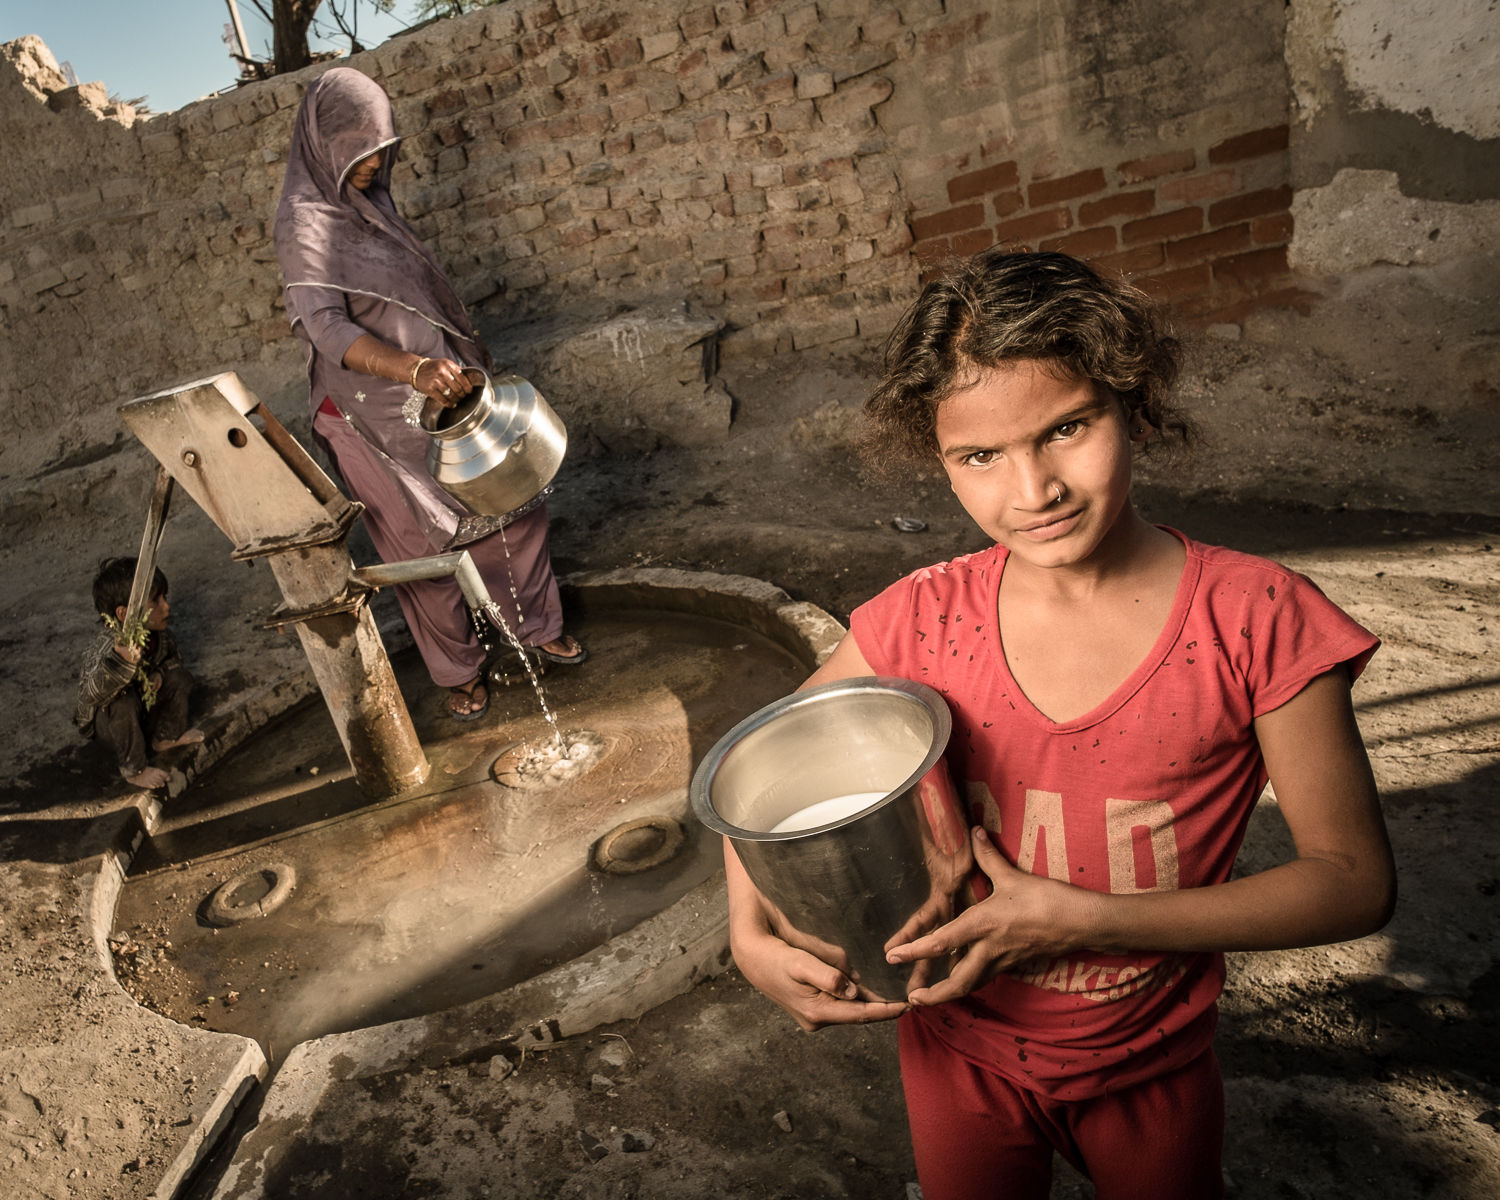
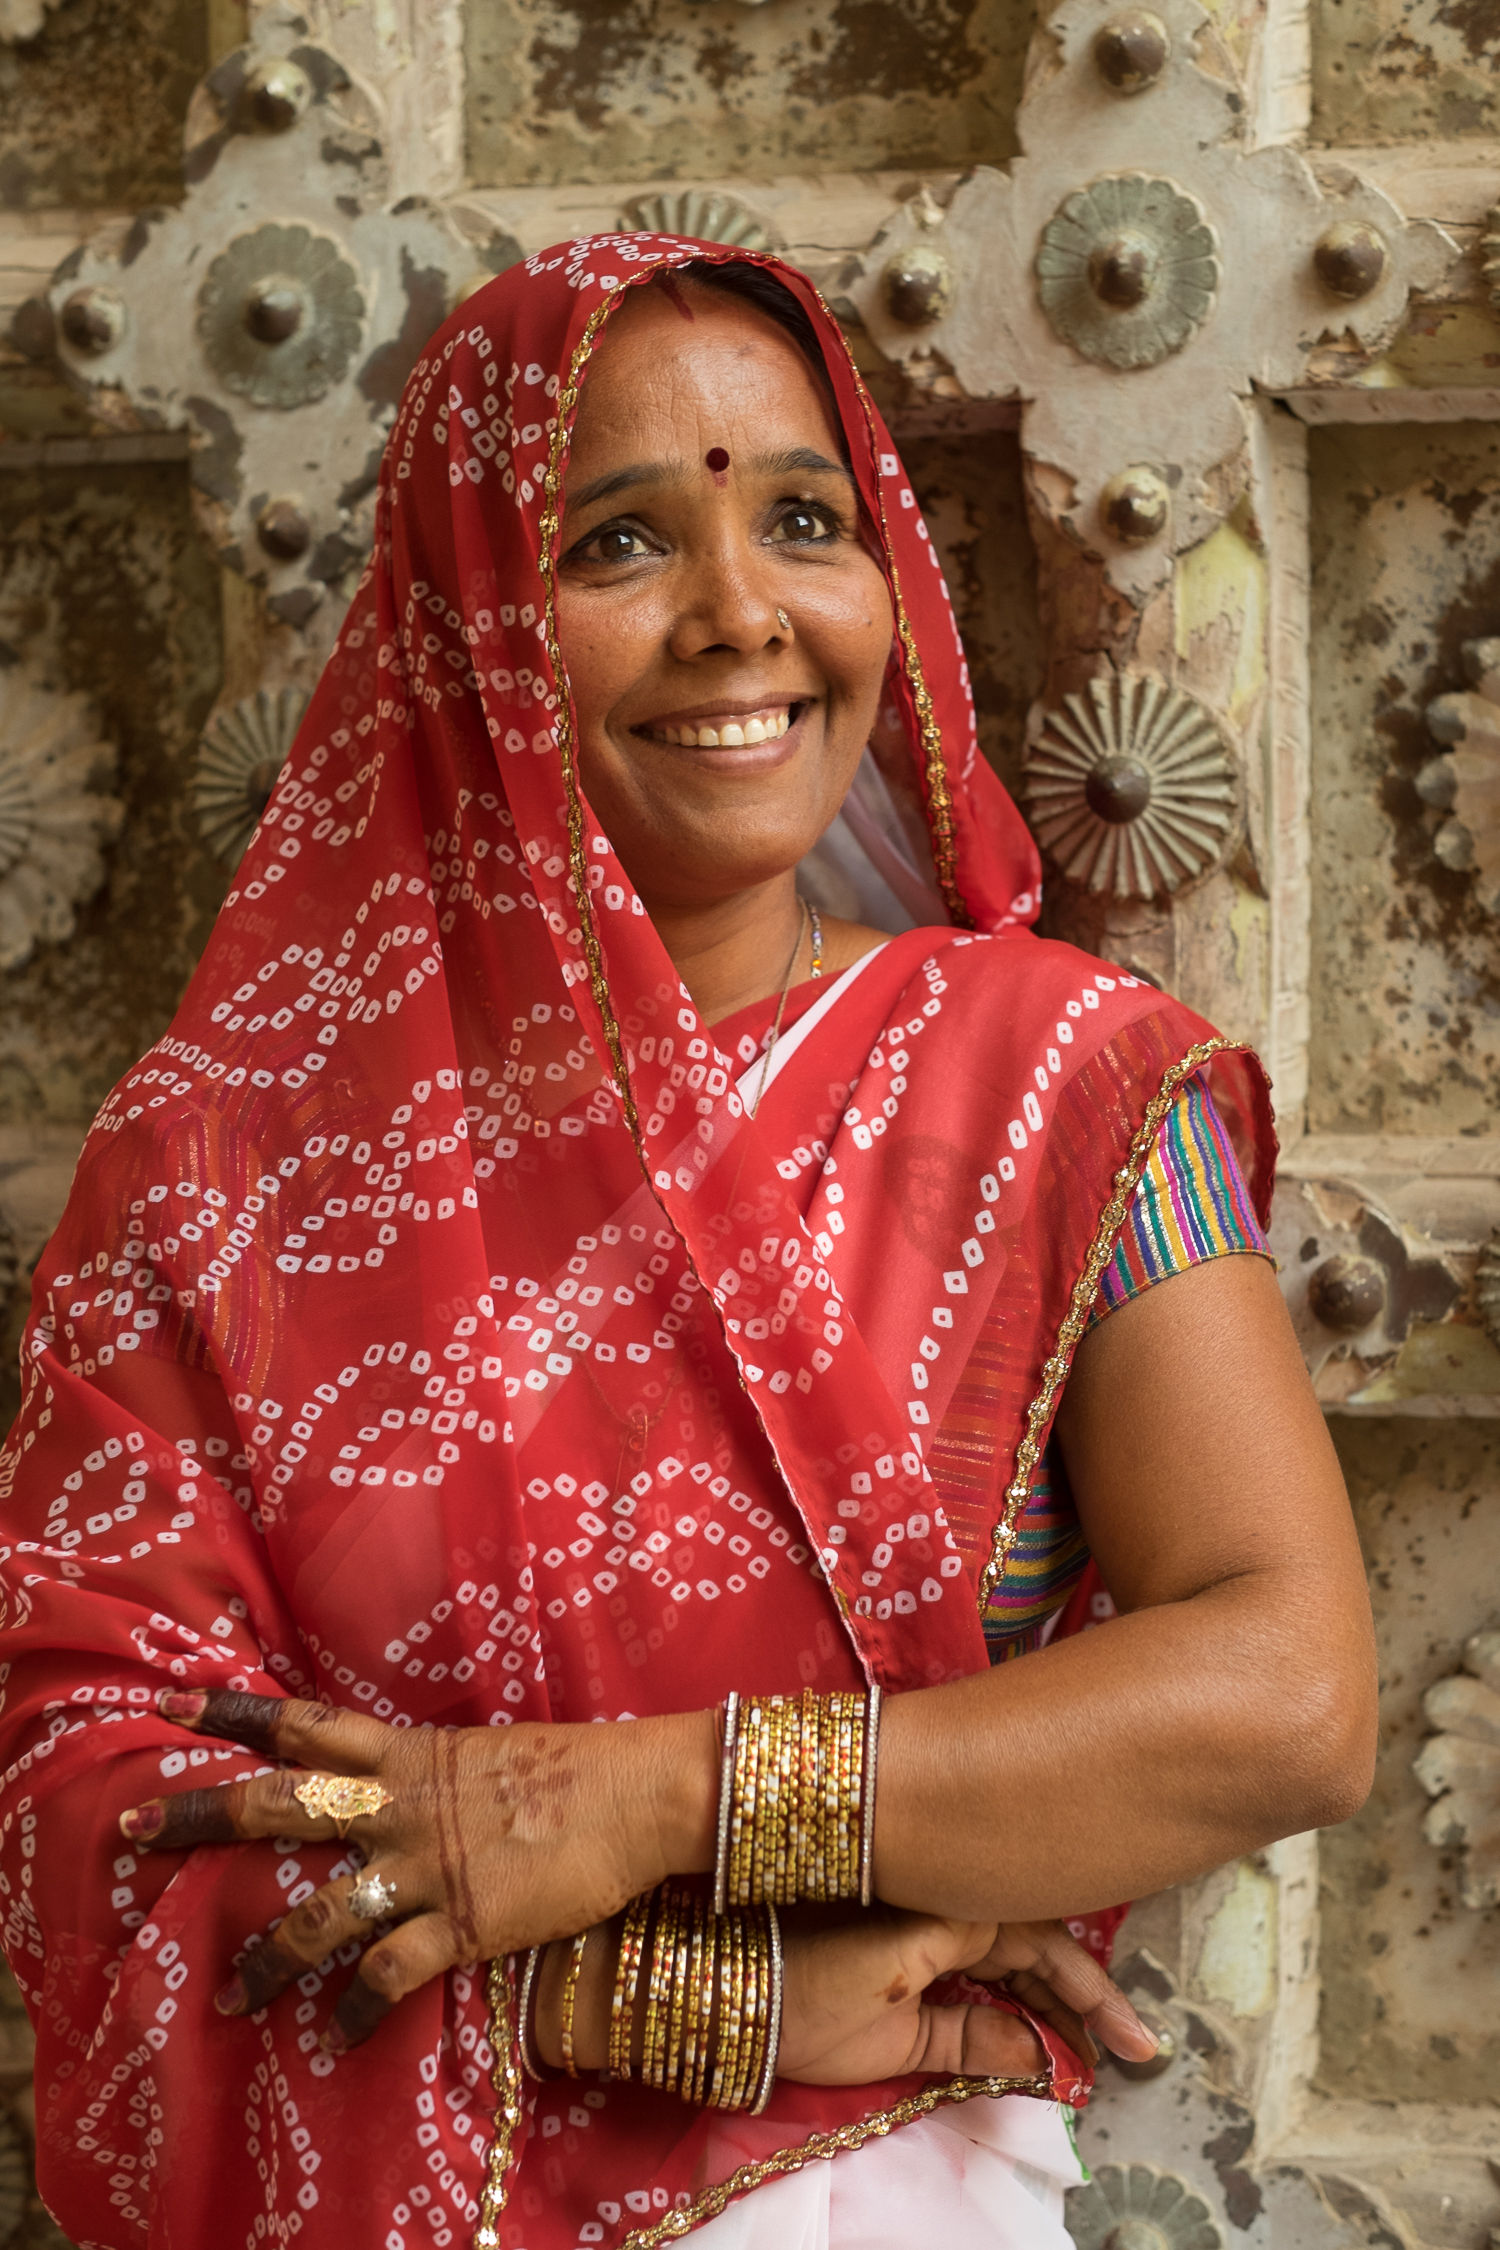
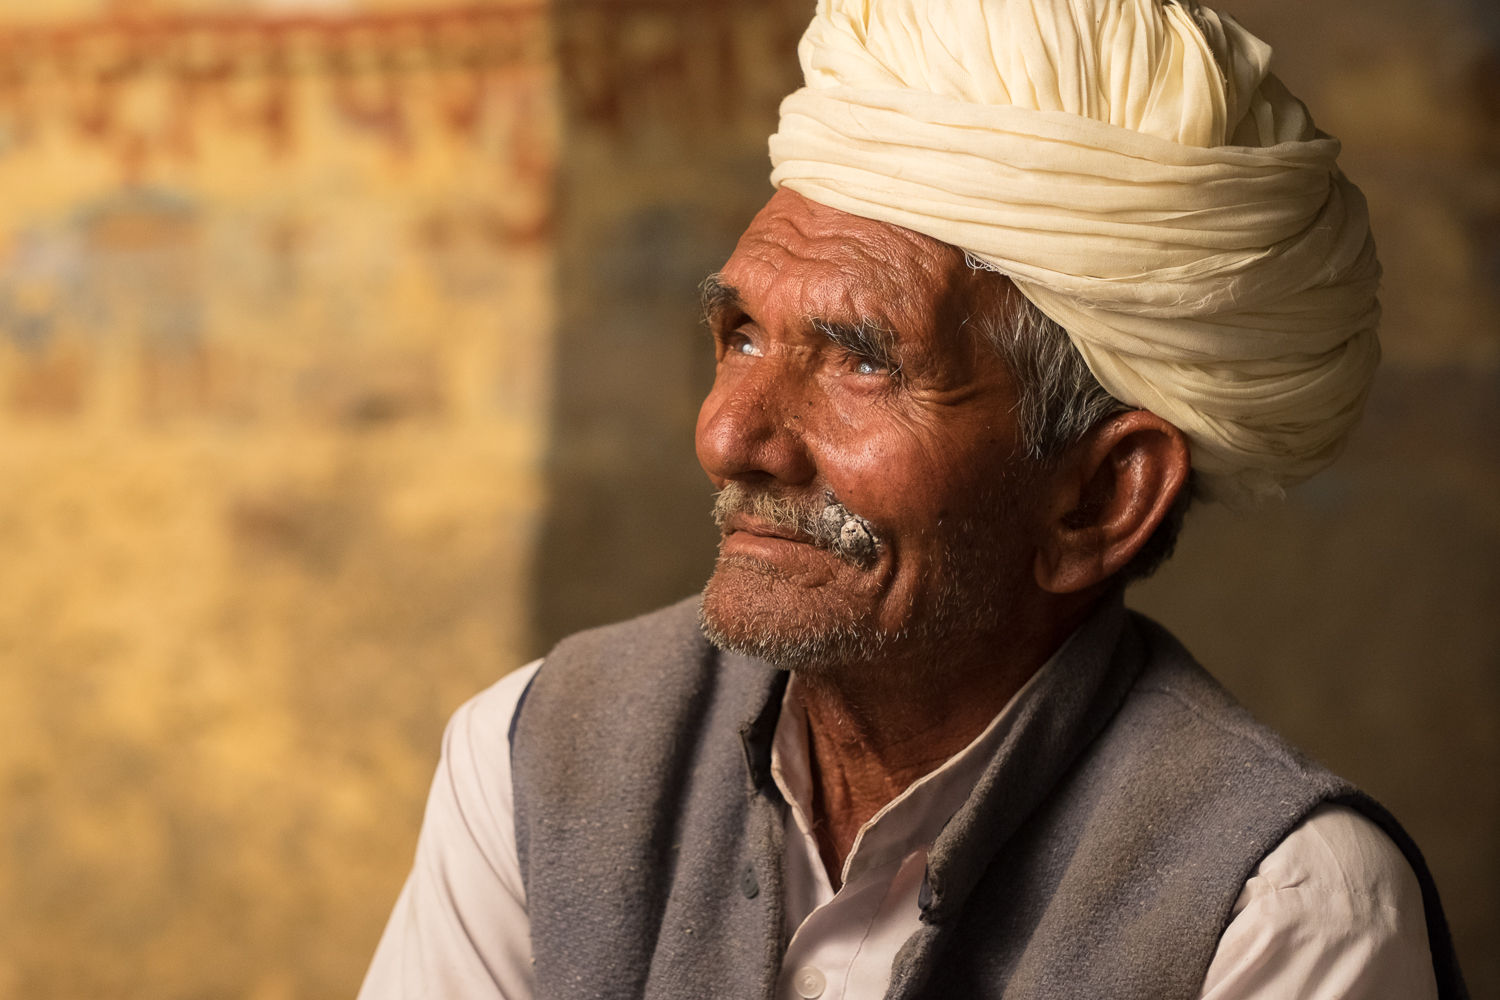
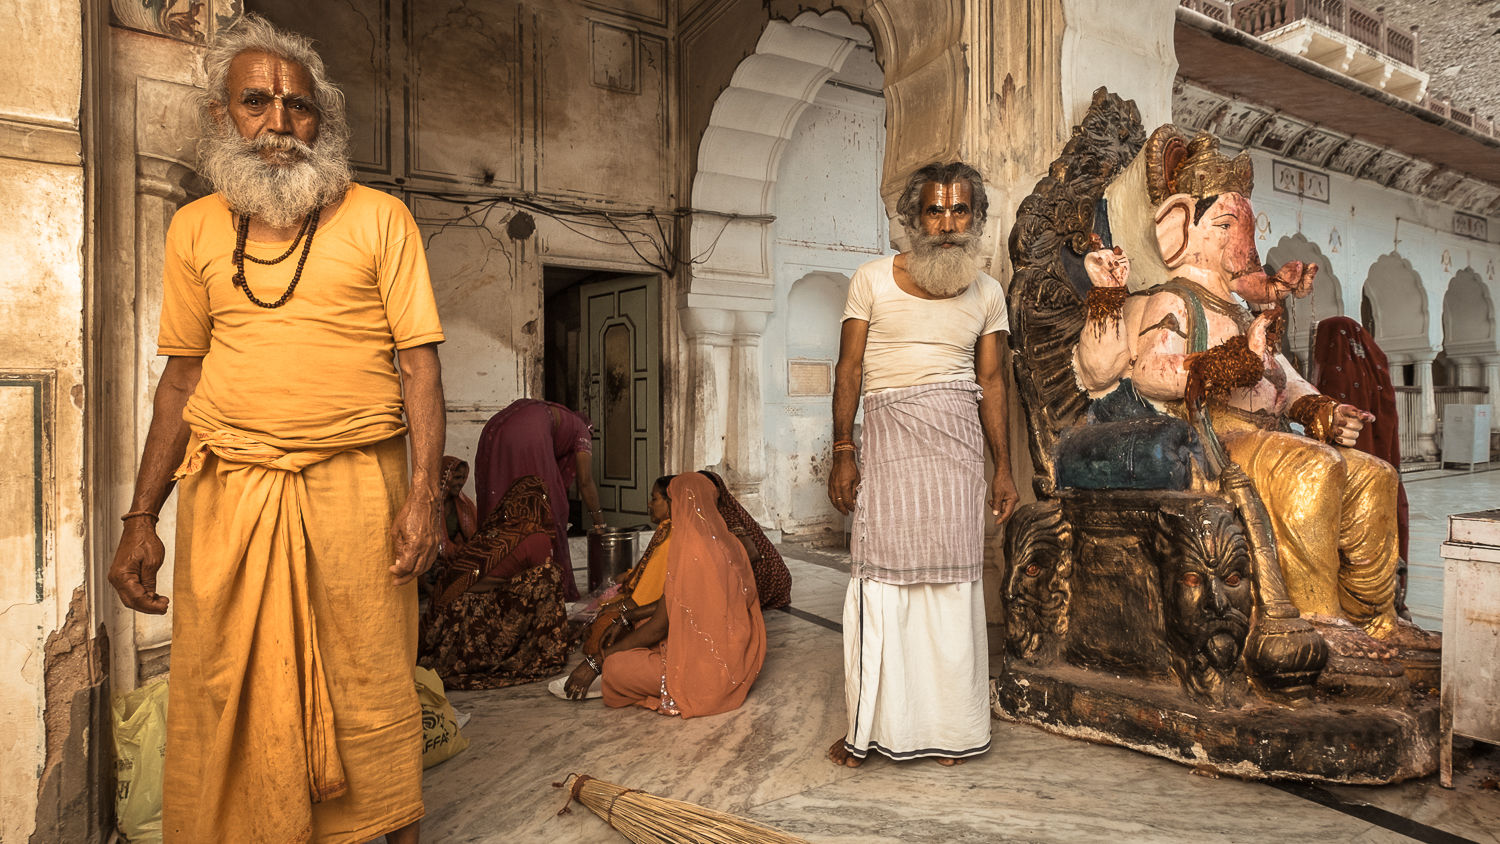
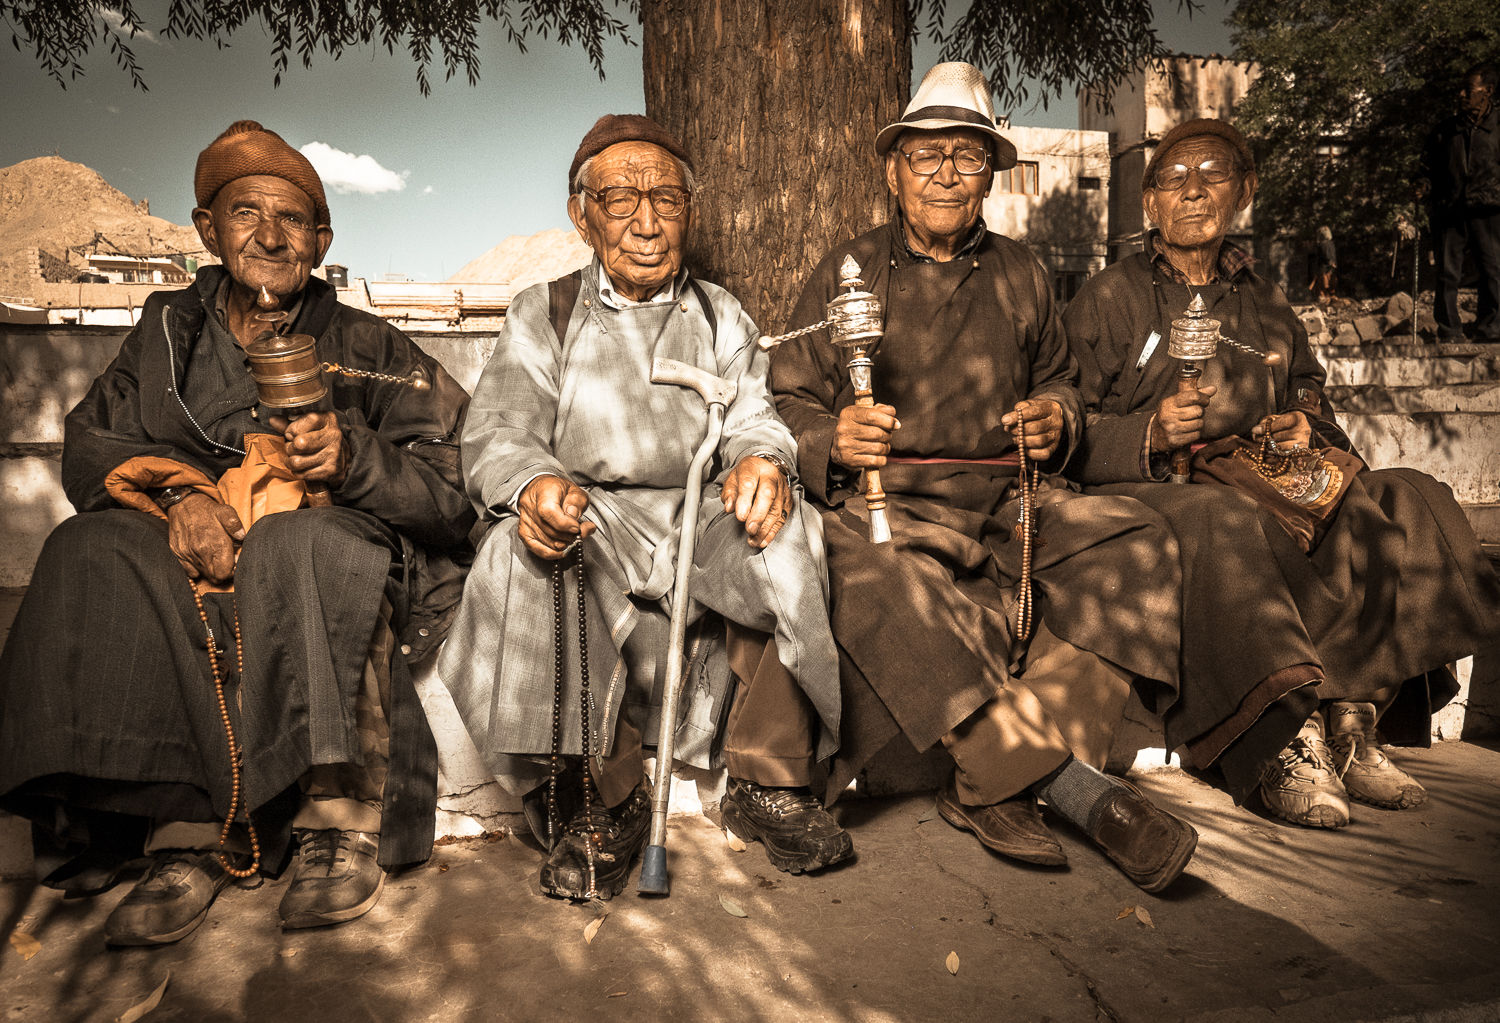
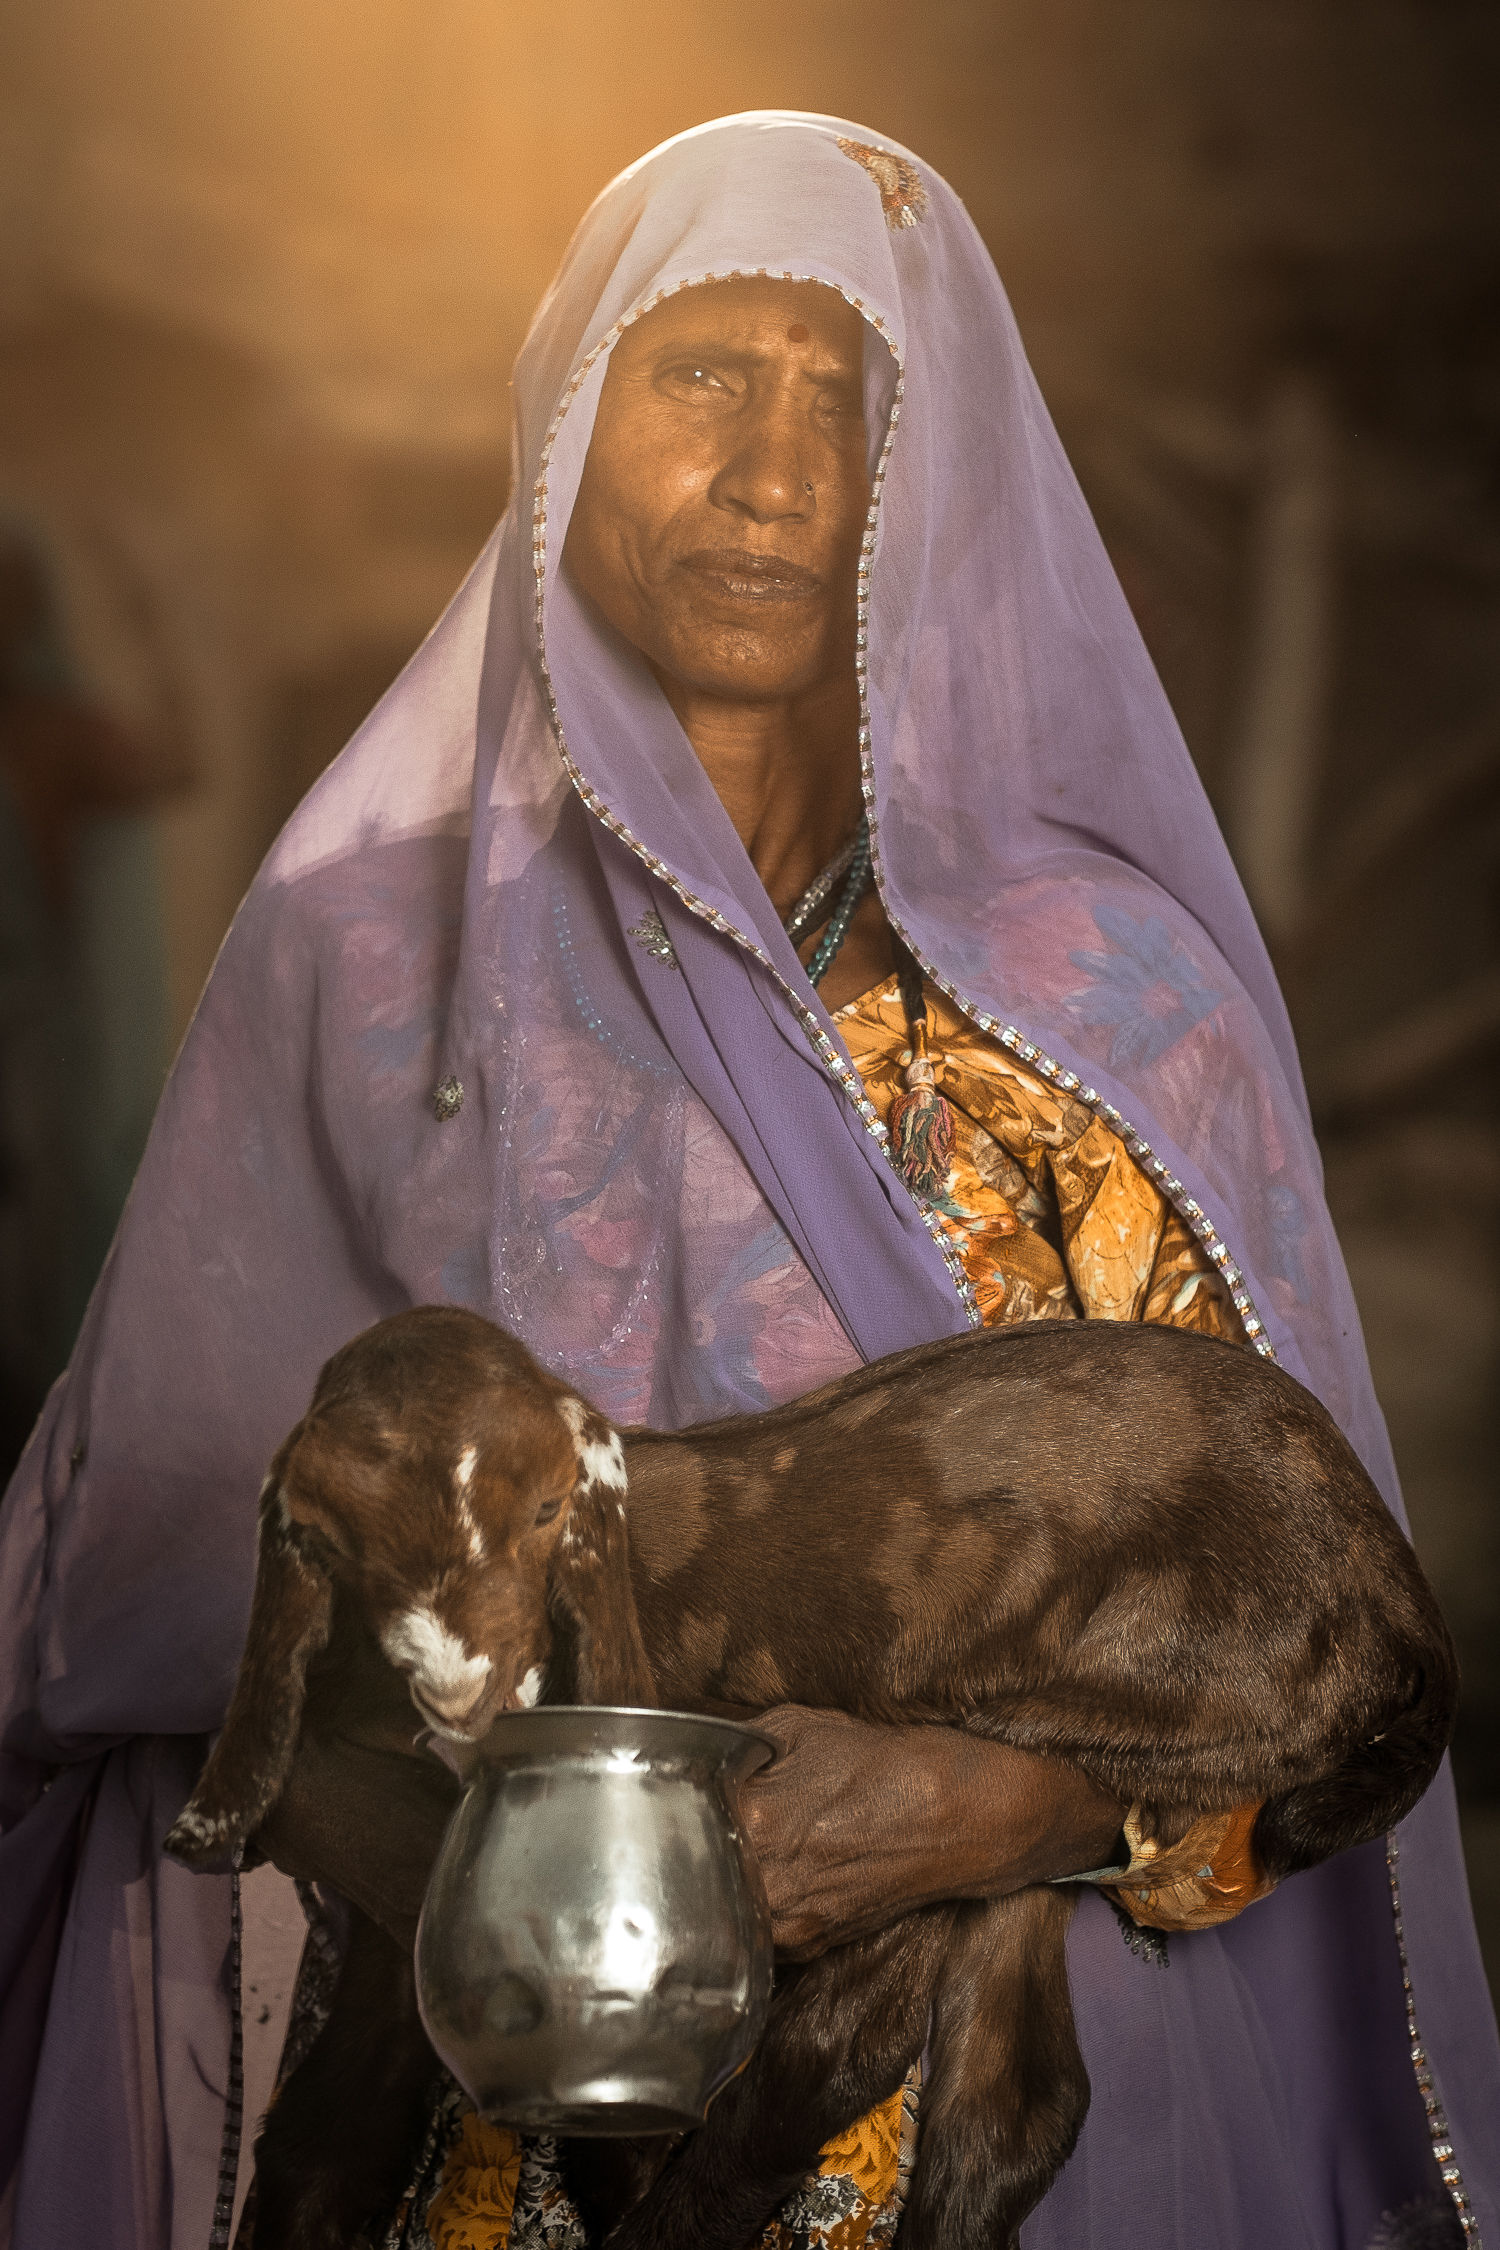
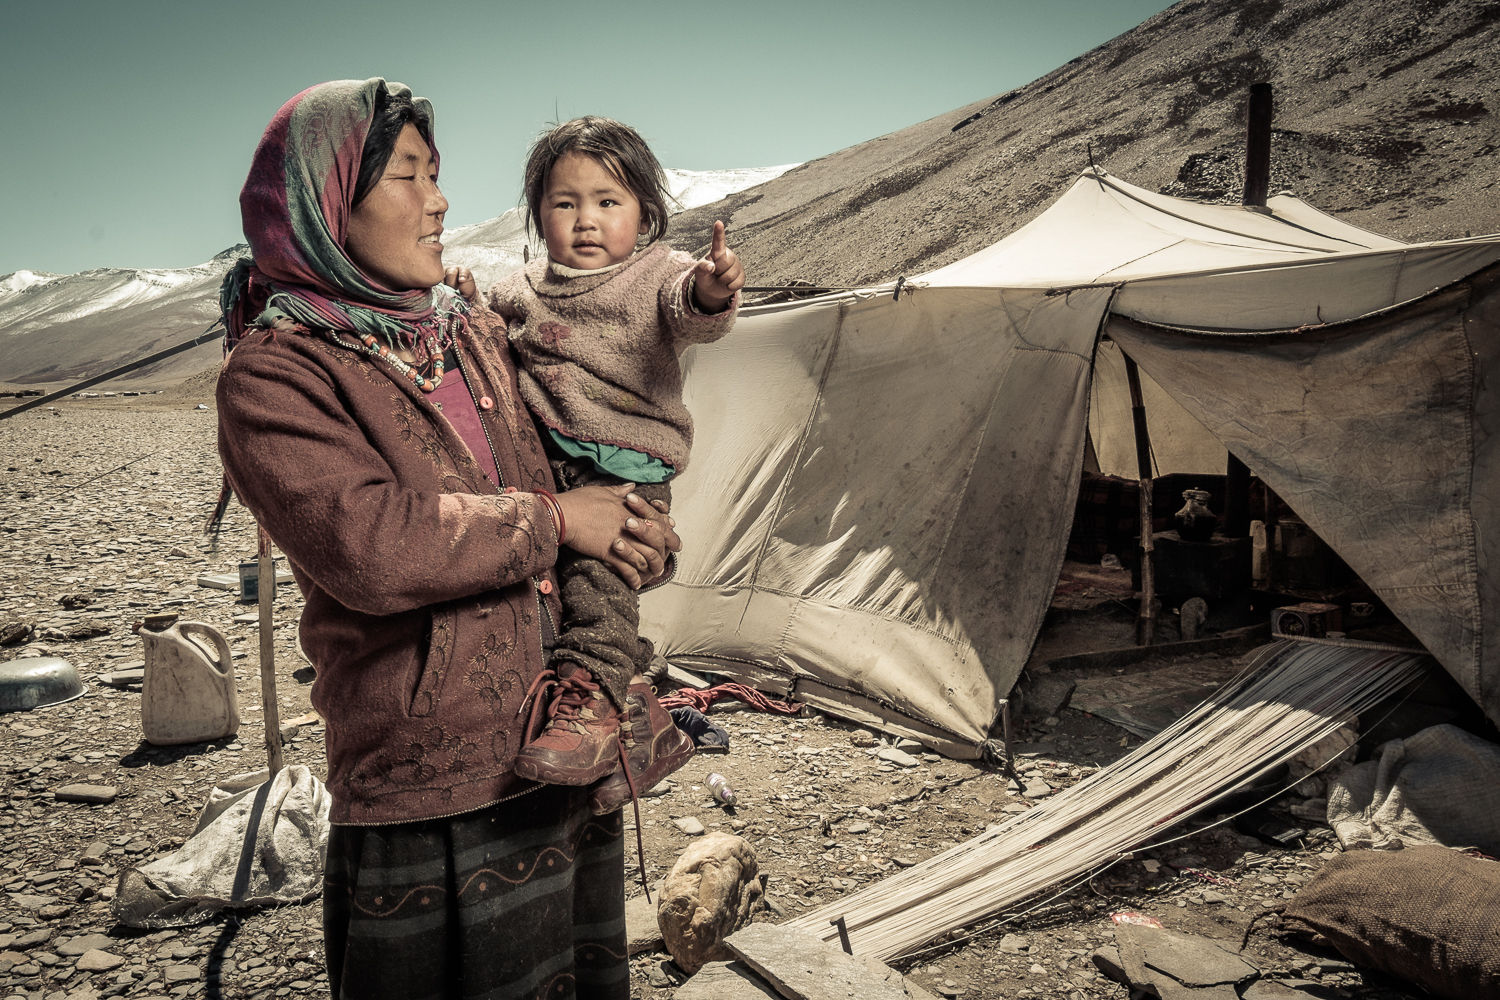
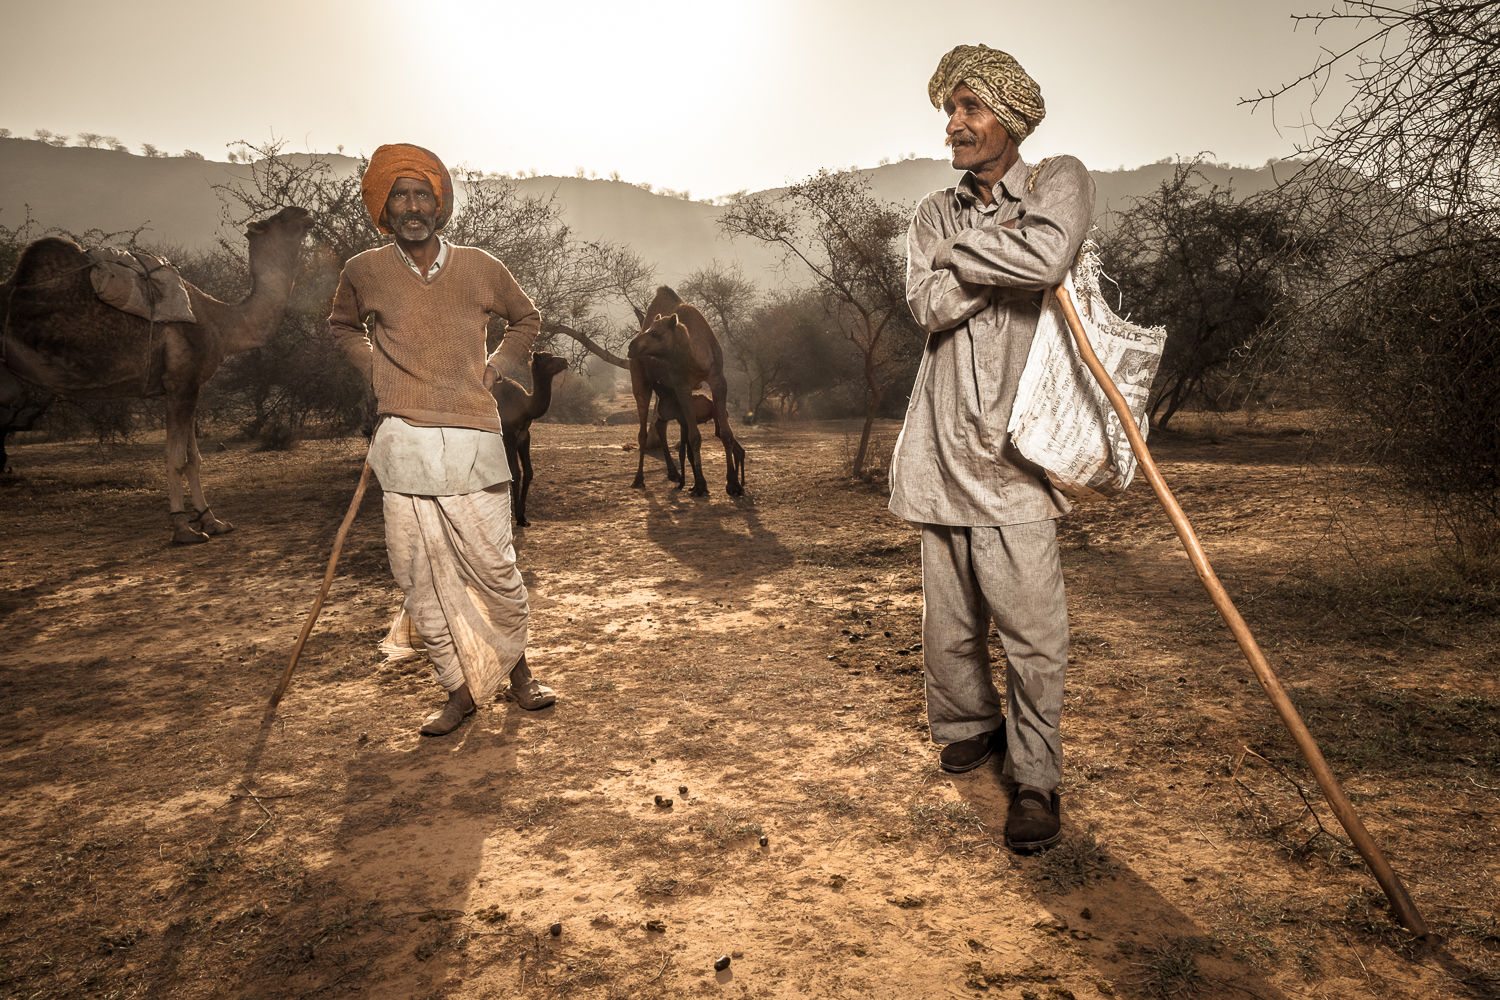
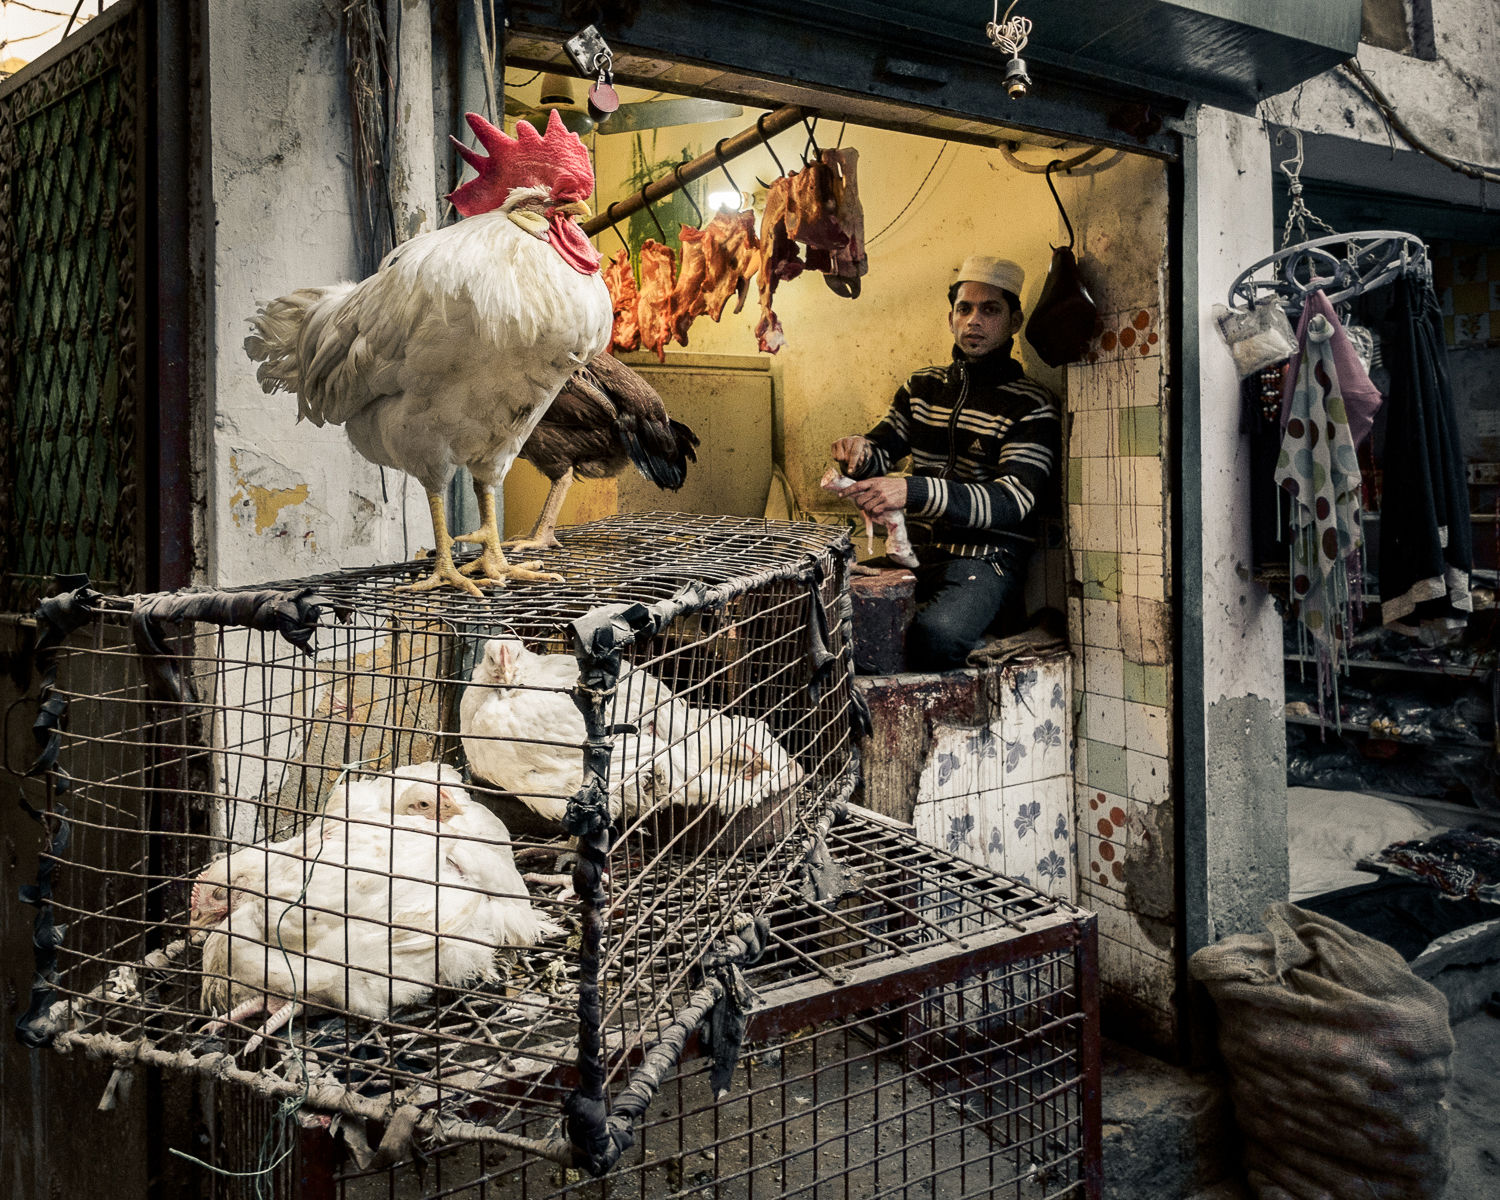
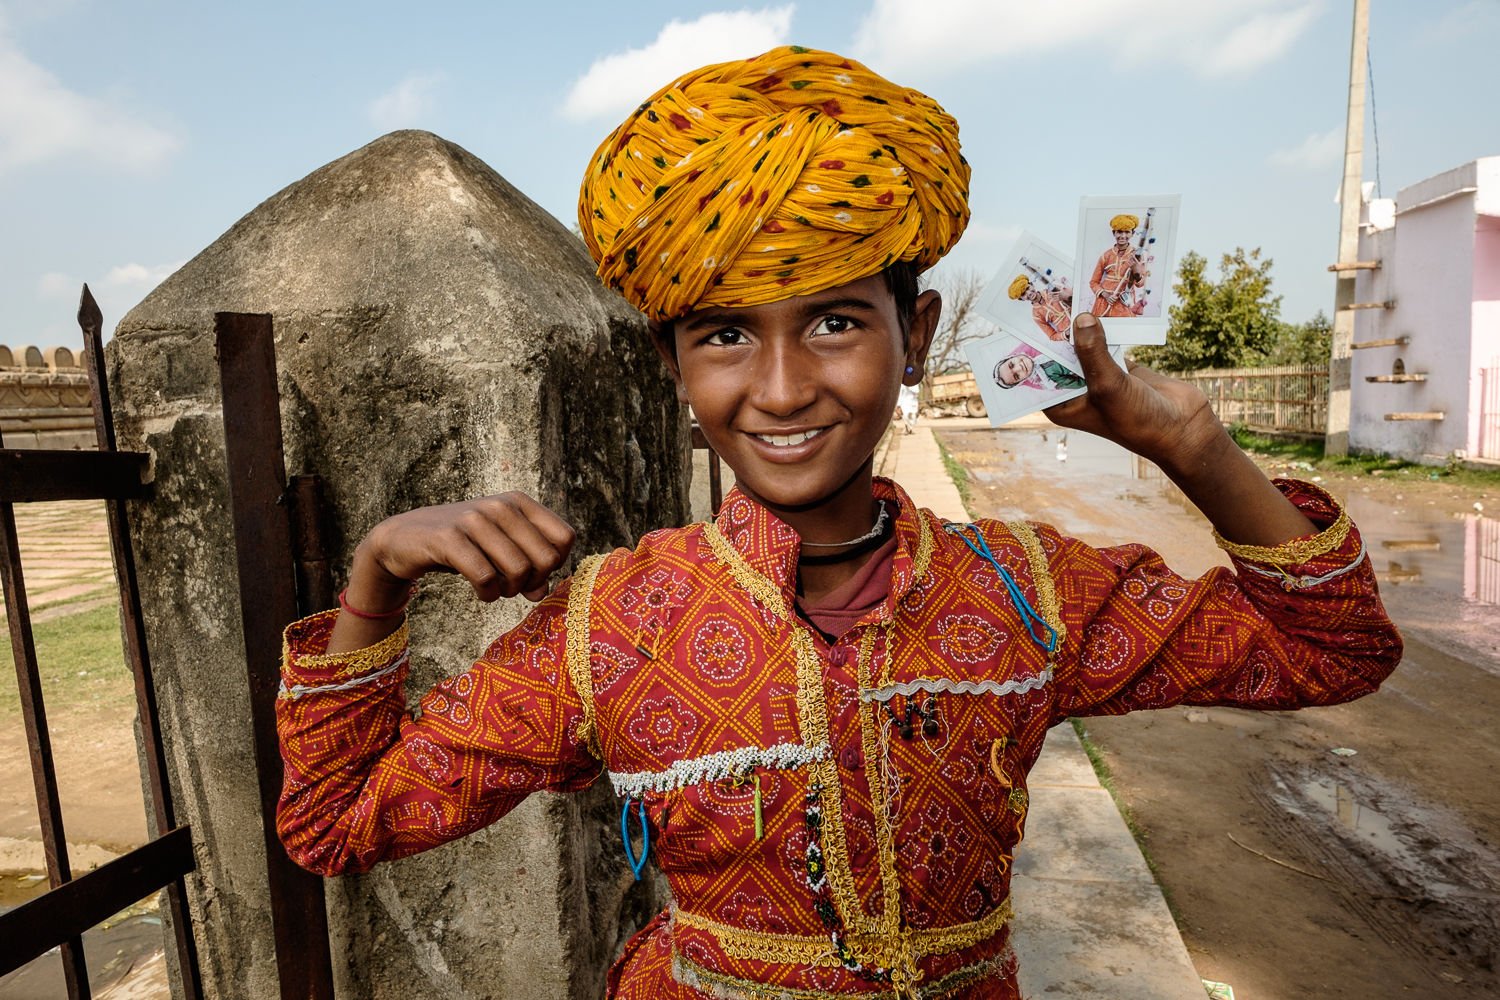
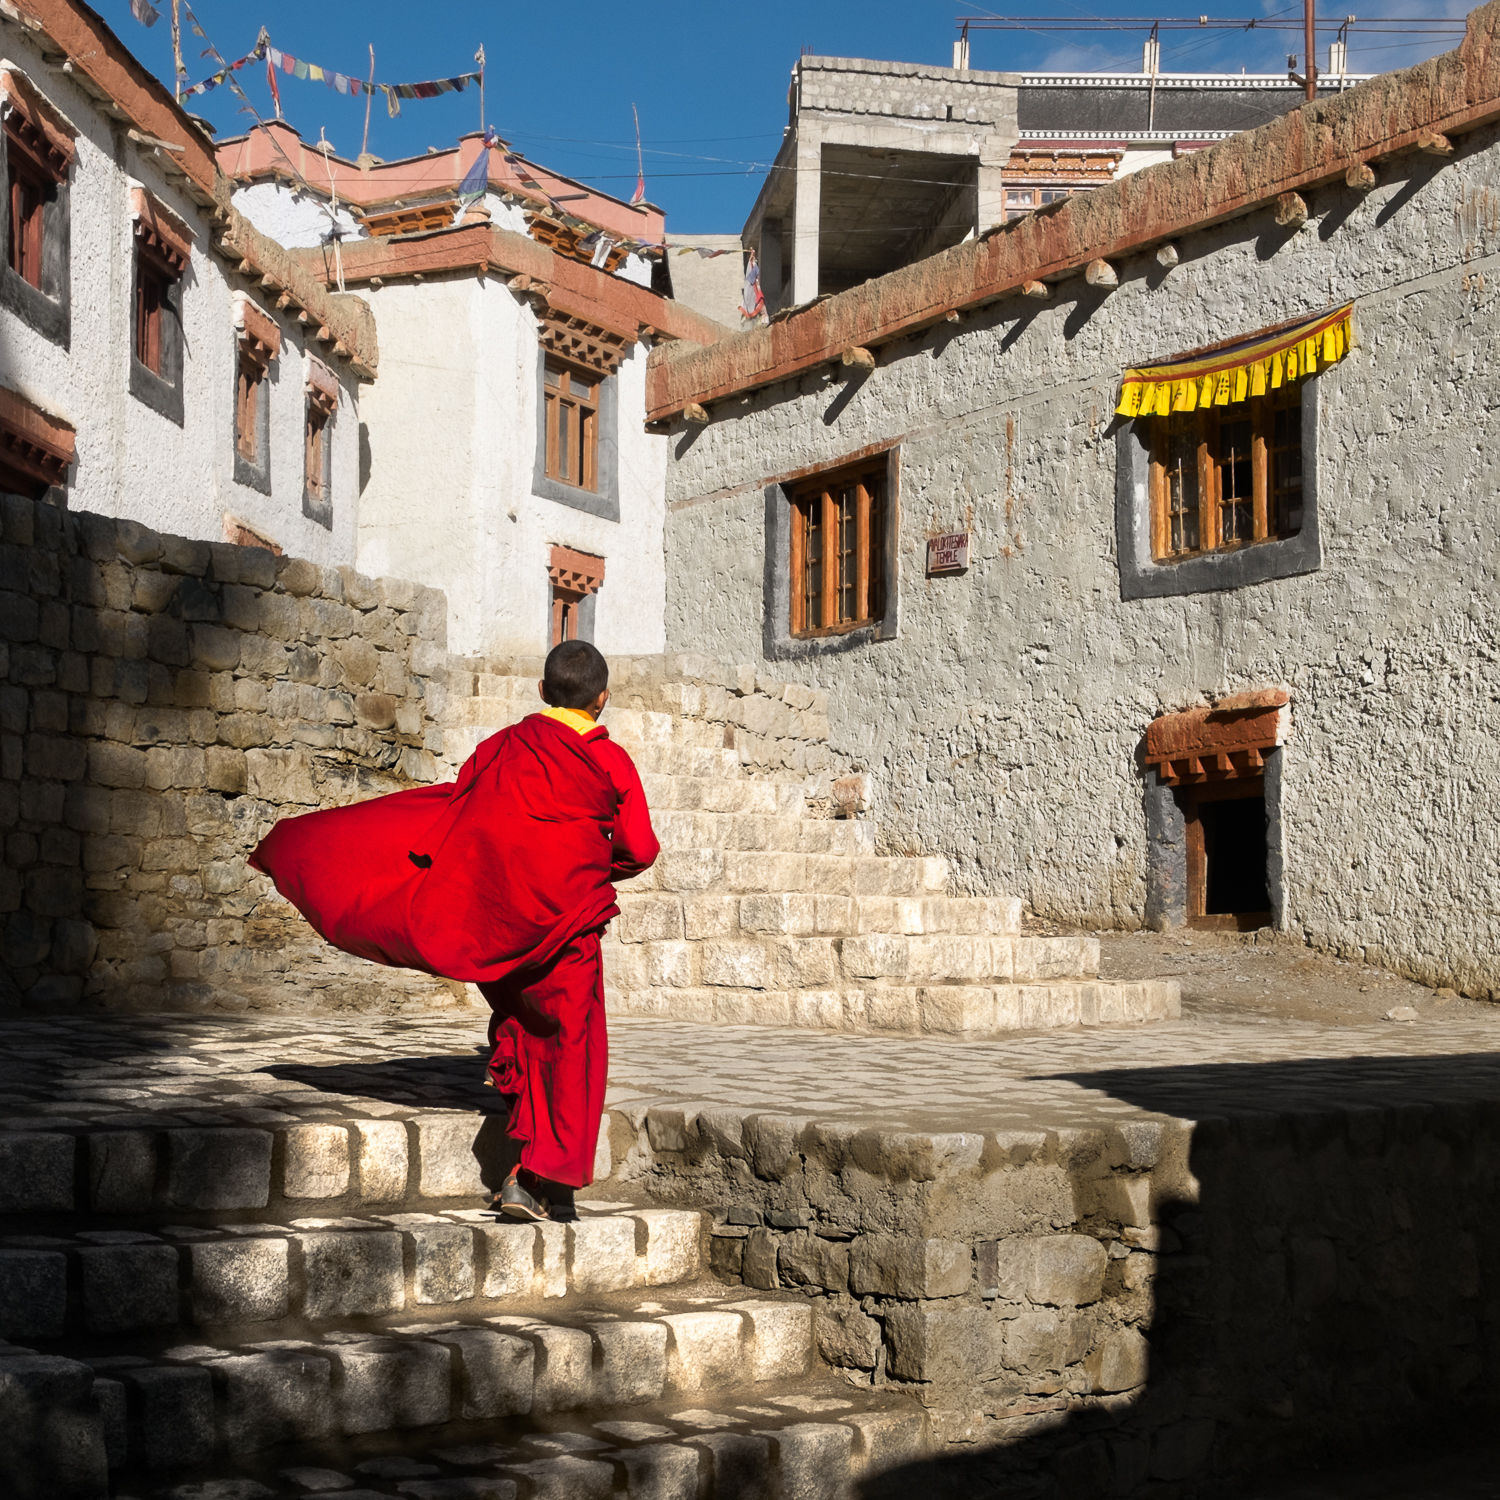
Hello everybody, just a quick blog post to tell you that the details of the 2019 Location Portraiture and Lighting Masterclass have just been added on the site. If you want to improve your location portraiture and off-camera flash skills in one of the most photogenic cities in the world, check out the details now.
Workshops
Varanasi Before and After
Is it the memories of the narrow alleyways, the photogenic people, the company of like-minded photographers or simply that fantastic hole-in-the-wall place with the heavenly chocolate coconut banana dosas? I don't know, but editing this picture sure made me want to go back to Varanasi for a new edition of the Varanasi Location Portraiture and Lighting Masterclass. The last one Matt Brandon and I did, dates back to 2017 and that's a long time to be without those delicious pancakes!
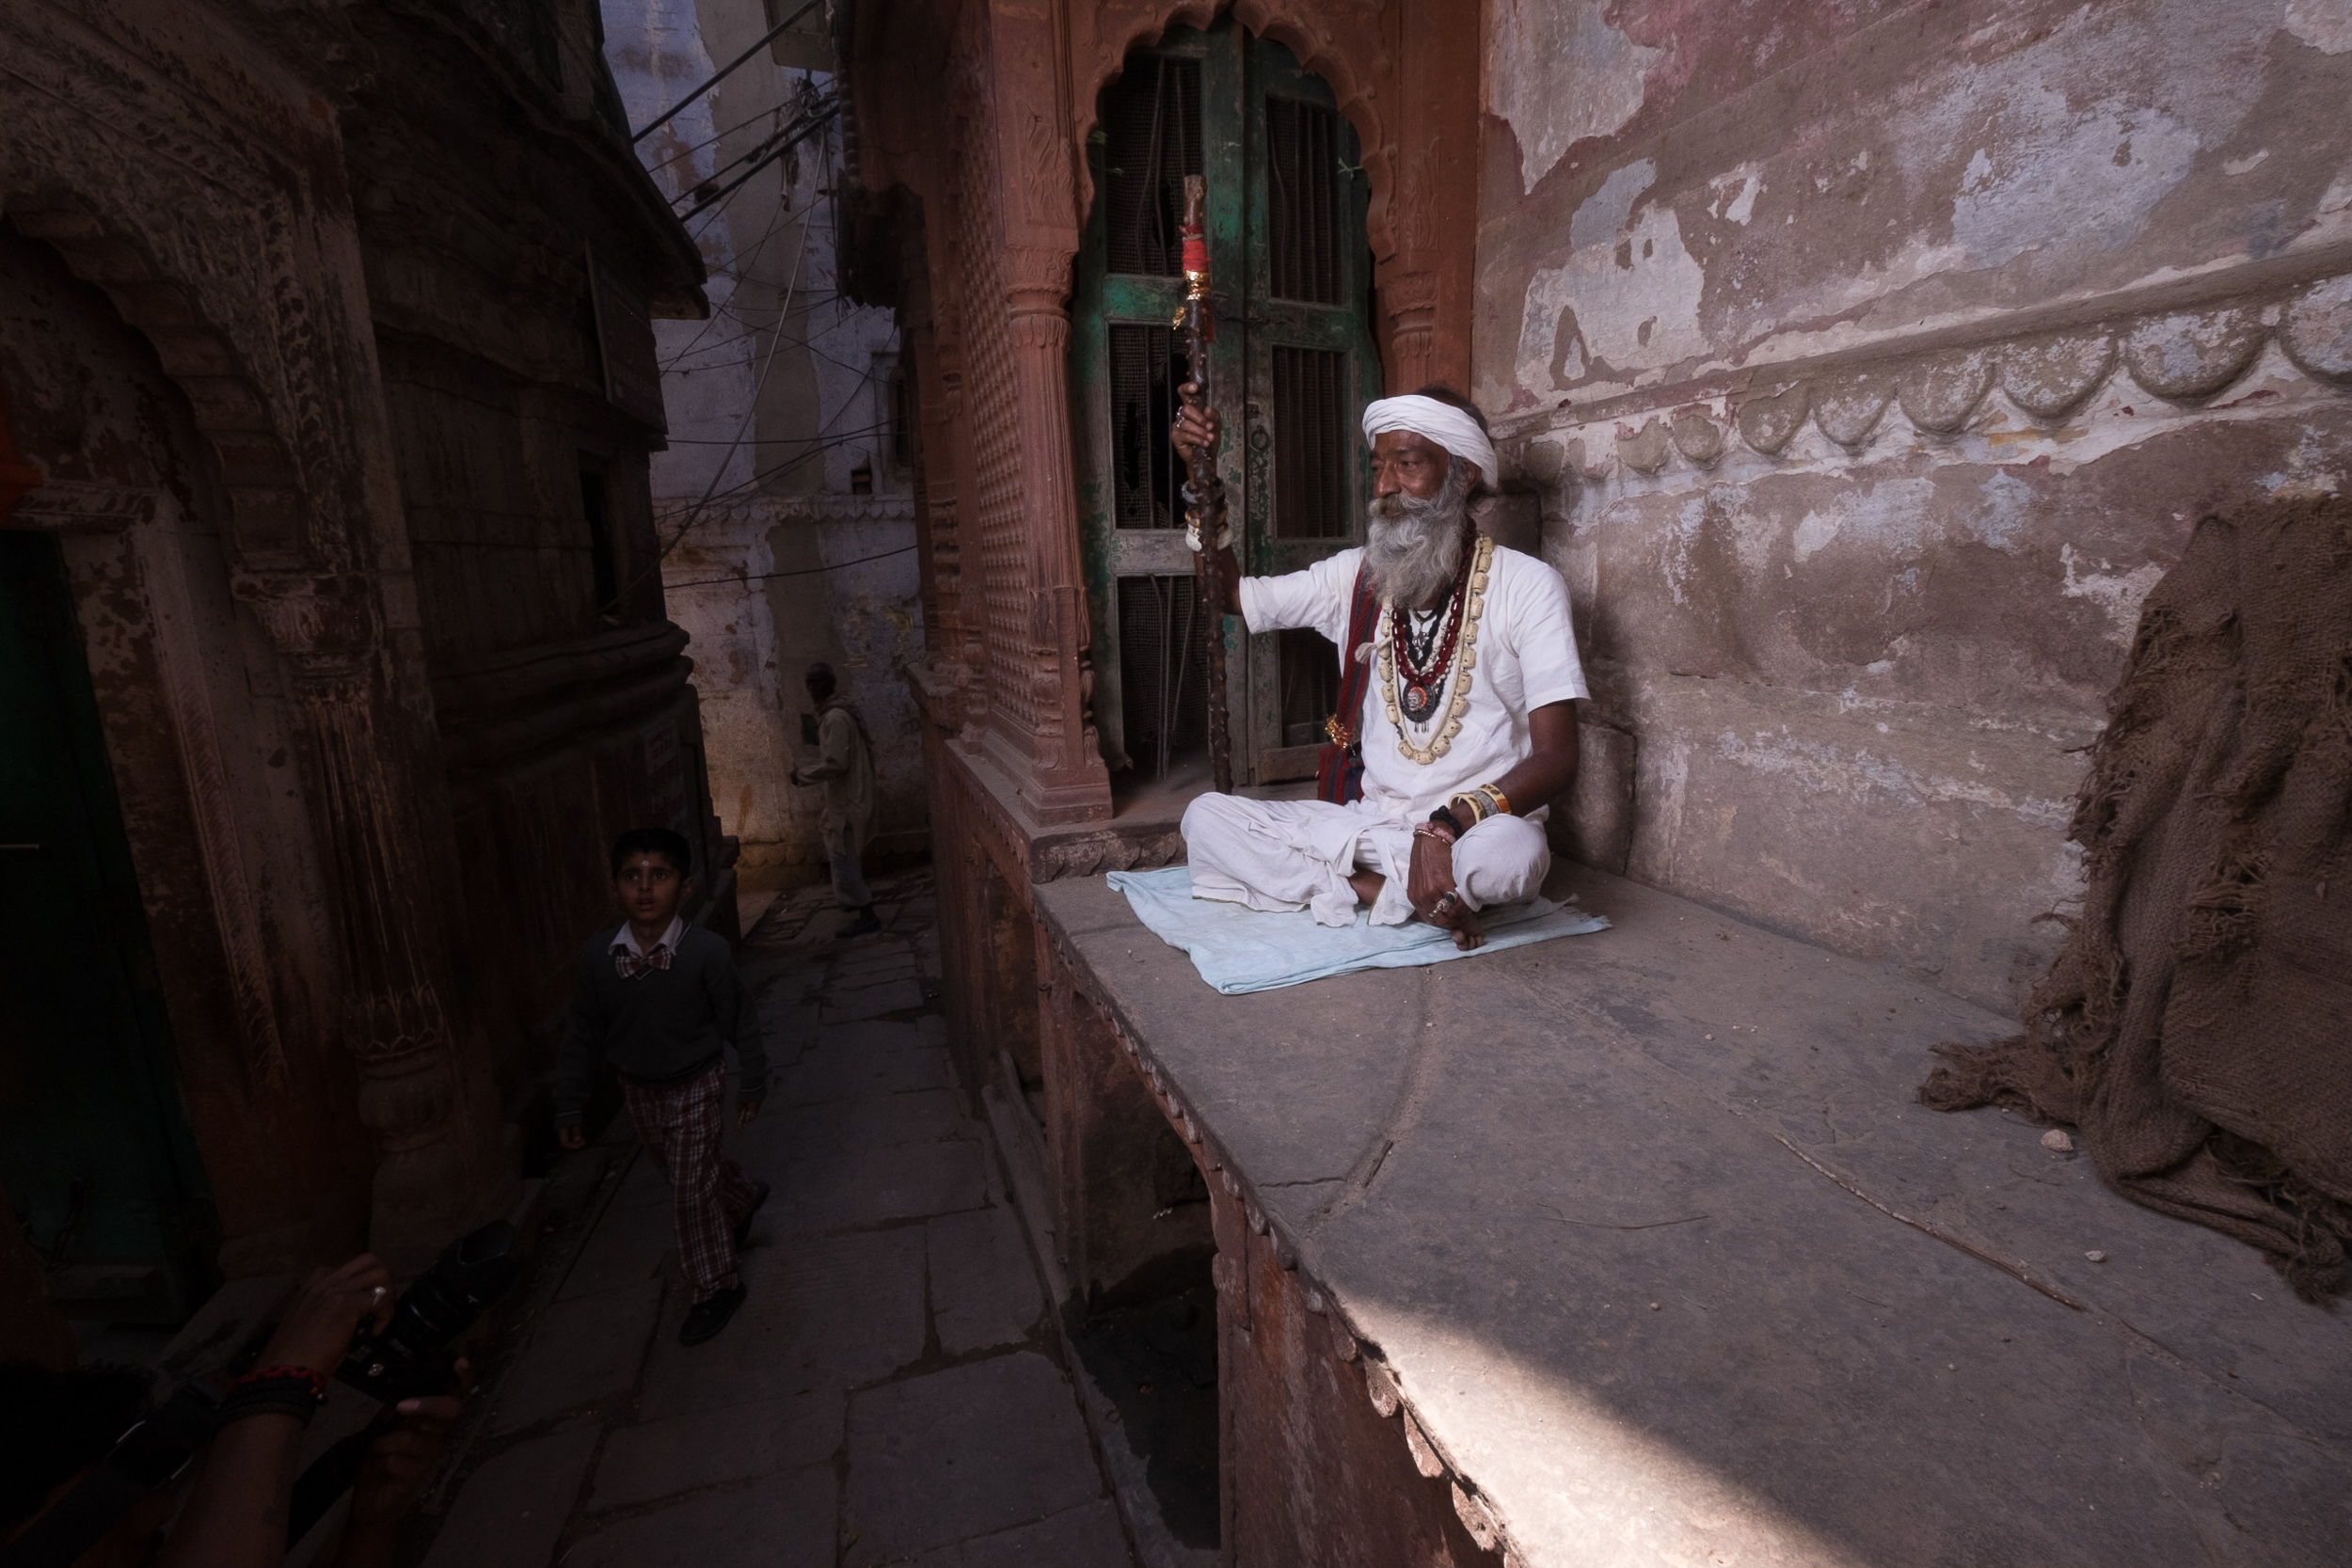
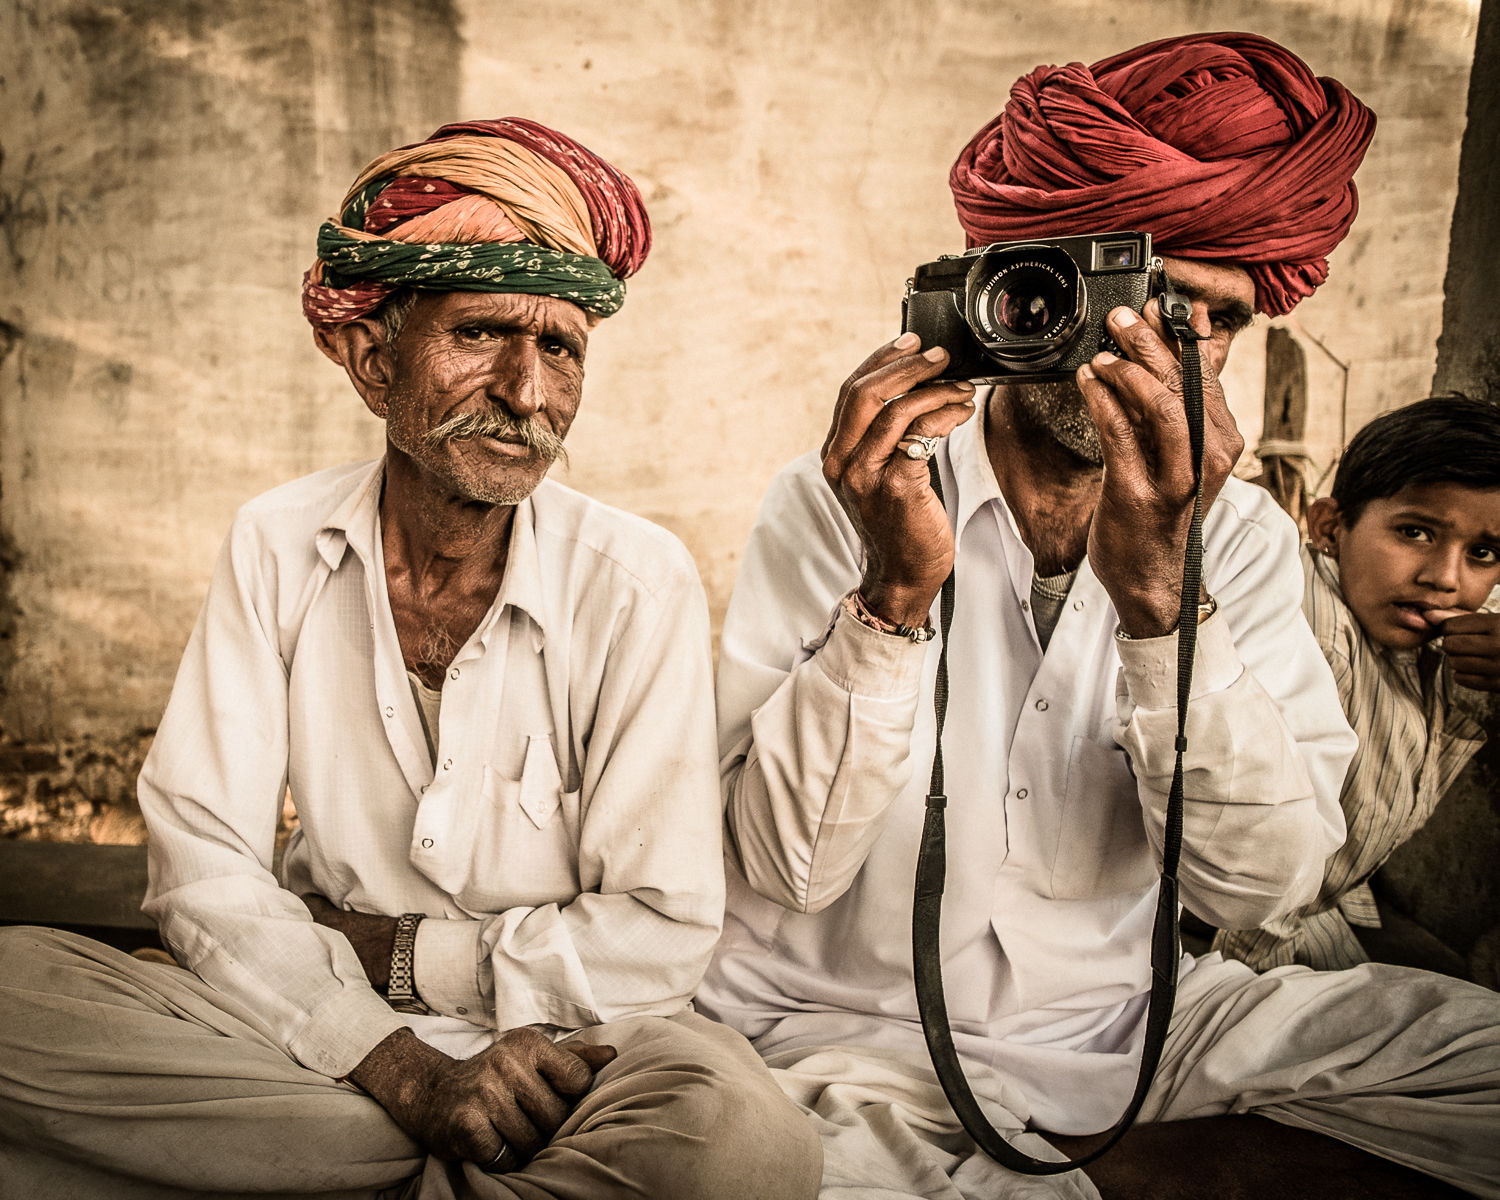
But first things first: I actually only wanted to do a before-and-after type of blog post on editing an image in Lightroom. While scrolling through my Library, I stumbled across this image that I made in 2016 with my Fujifilm X-T1. I still remember Matt and me seeing this photogenic sadhu and escorting him away from the busy main street into a calmer alleyway to have our participants photograph him using off-camera flash. While Matt was setting up the shot, I made this photo almost by accident. It was more meant as a behind-the-scenes type of shot, but as I liked the three characters (did you actually already notice the kid in the lower left part?) in the picture, I decided I would try to resuscitate it in Lightroom.
A composition that's way too wide, a balance between flash and available light that's completely off and a light blue towel that matches none of the other colours in the image. There's work to be done!
Step 1: Adjusting Exposure and Shadows
Time after time, I'm amazed at what you can do with the handful of sliders in Lightroom's Standard Panel in the Develop Module. I increased the Exposure and maxed out the Shadows slider all the way to +100. This made me see a new problem: Matt's also in the picture. That's what those ultrawide angle zooms will do for you!
Step 2: Cropping and Straightening the Image
I don't know if I should see a therapist, but I have a thing with straight lines. In an image, I want my verticals and horizontals either completely wonky or dead straight. Not something in the middle as in this shot. So I opened up the Transform Panel and activated the Guided Upright tool (1). I drew a line parallel over a wall in the left of the image (2) that I wished were vertical and did the same with a wall on the right (3). Doing so, I told Lightroom it had to straighten those lines and make them parallel. Sometimes, this correction will cause the image to become too compressed or too elongated, but the Aspect Ratio (4) slider can easily fix that for you.
I subsequently activated the Crop tool (R) (5) and made a square crop. This also almost solved the problem of Matt being in the picture. All that was left was a part of his camera, which I took out in one fell swoop of the Healing Brush. In retrospect, I actually shouldn't have done that at this stage, as my subsequent vignetting took care of the problem automatically.
Step 3: Adding a Graduated Filter
Because I still did not like the light-dark balance between the left and the right part of the image, I added a Graduated Filter to brighten the darkest part of the alleyway a bit more. By choosing a relatively soft transition zone (1), this adjustment blends in unnoticed.
Step 4: Color Grading via the new Creative Profiles
The previous steps were mainly meant to improve the image's exposure and balance, but they weren't necessarily creative, rather corrective. In this step I decided on my Colour Grading: choosing the subjective 'Look and Feel' for the image. I used to use Lightroom presets for that, but ever since they've been introduced in Lightroom Classic CC 7.3, I now prefer to use the Creative Profiles. Not in the least because of their handy Amount slider that lets you adjust their effect all the way between 0 and 200 percent! In this case, I chose the Dark Color Pop profile from my brand new Piet's Creative Profiles Starter Pack (available here for only $14.95) and I diminished its strength to 70 percent.
Step 5: Brightening (Dodging) the face of the man in the background
I sometimes jump around a bit while I'm editing my images. One of the things the profile caused was for the face of the man in the background to turn too dark. So I drew a Radial Filter over his face (1) and brought up the Shadows slider to +100 (2). That didn't do much, though. In those cases where the targeted Shadows or Highlights sliders don't seem to do anything, it's time to move to the broader range of the Exposure slider. However, its sledgehammer approach also caused the surrounding wall to brighten, creating a telltale halo around the man's head. So I turned to one of my favourite new tools in Lightroom Classic CC: the Range Mask. By activating the Luminosity Range Mask (3), I could direct the Exposure slider's effect to specific brightness zones within the overall limits of the Radial Filter's perimeter (in this case the levels between 0 and 26). This way, I could use a fairly blunt tool (the Radial Filter) and still create an utterly precise mask without having to paint it manually with the Adjustment Brush. Further in this Before & After, you'll see another example of the power of this tool, when I use it to simply change the towel's colour!
Step 6: Darkening the Foreground with a Graduated Filter
As I thought the lower right corner was still too bright, I added an extra Graduated Filter to darken it, thereby focusing even more on the subjects.
Step 7: Changing the Towel's Color
Ok. This step is the most spectacular one in this entire Before & After, I think! The towel that our sadhu used to protect his spotless white attire from the dirt of the Varanasi streets, is quite the attention-grabber. That's not only because of its size, but mainly because of its color. Baby-blue might look good on newborns, but it definitely is out of place in the otherwise warm color palette of this image. My first idea was to Photoshop the towel out but it's quite a lot of work to do in a believable way and... this is supposed to be a Lightroom tutorial! So I tried the following: I used the Adjustment Brush to paint a fairly rough mask over the towel. I increased the Temp slider (1) to make it warmer and subsequently lowered the Saturation slider (2) to reduce the saturation of the existing colour. Then I went on to choose a new color in the Color rectangle (3) that better integrated with the surroundings. In order to make the mask coincide completely with the actual towel, I activated the Color Range Mask tool (4) and used its Color Picker (5) to drag and select the blue hues in the towel. This told Lightroom to only adjust those blue pixels within the original, slightly broader and rougher Adjustment Brush mask. You can see the result in the next picture: I changed the towel's colour from blue to beige without resorting to Photoshop!
Step 8: Adjusting the Color of the Sadhu's Clothes
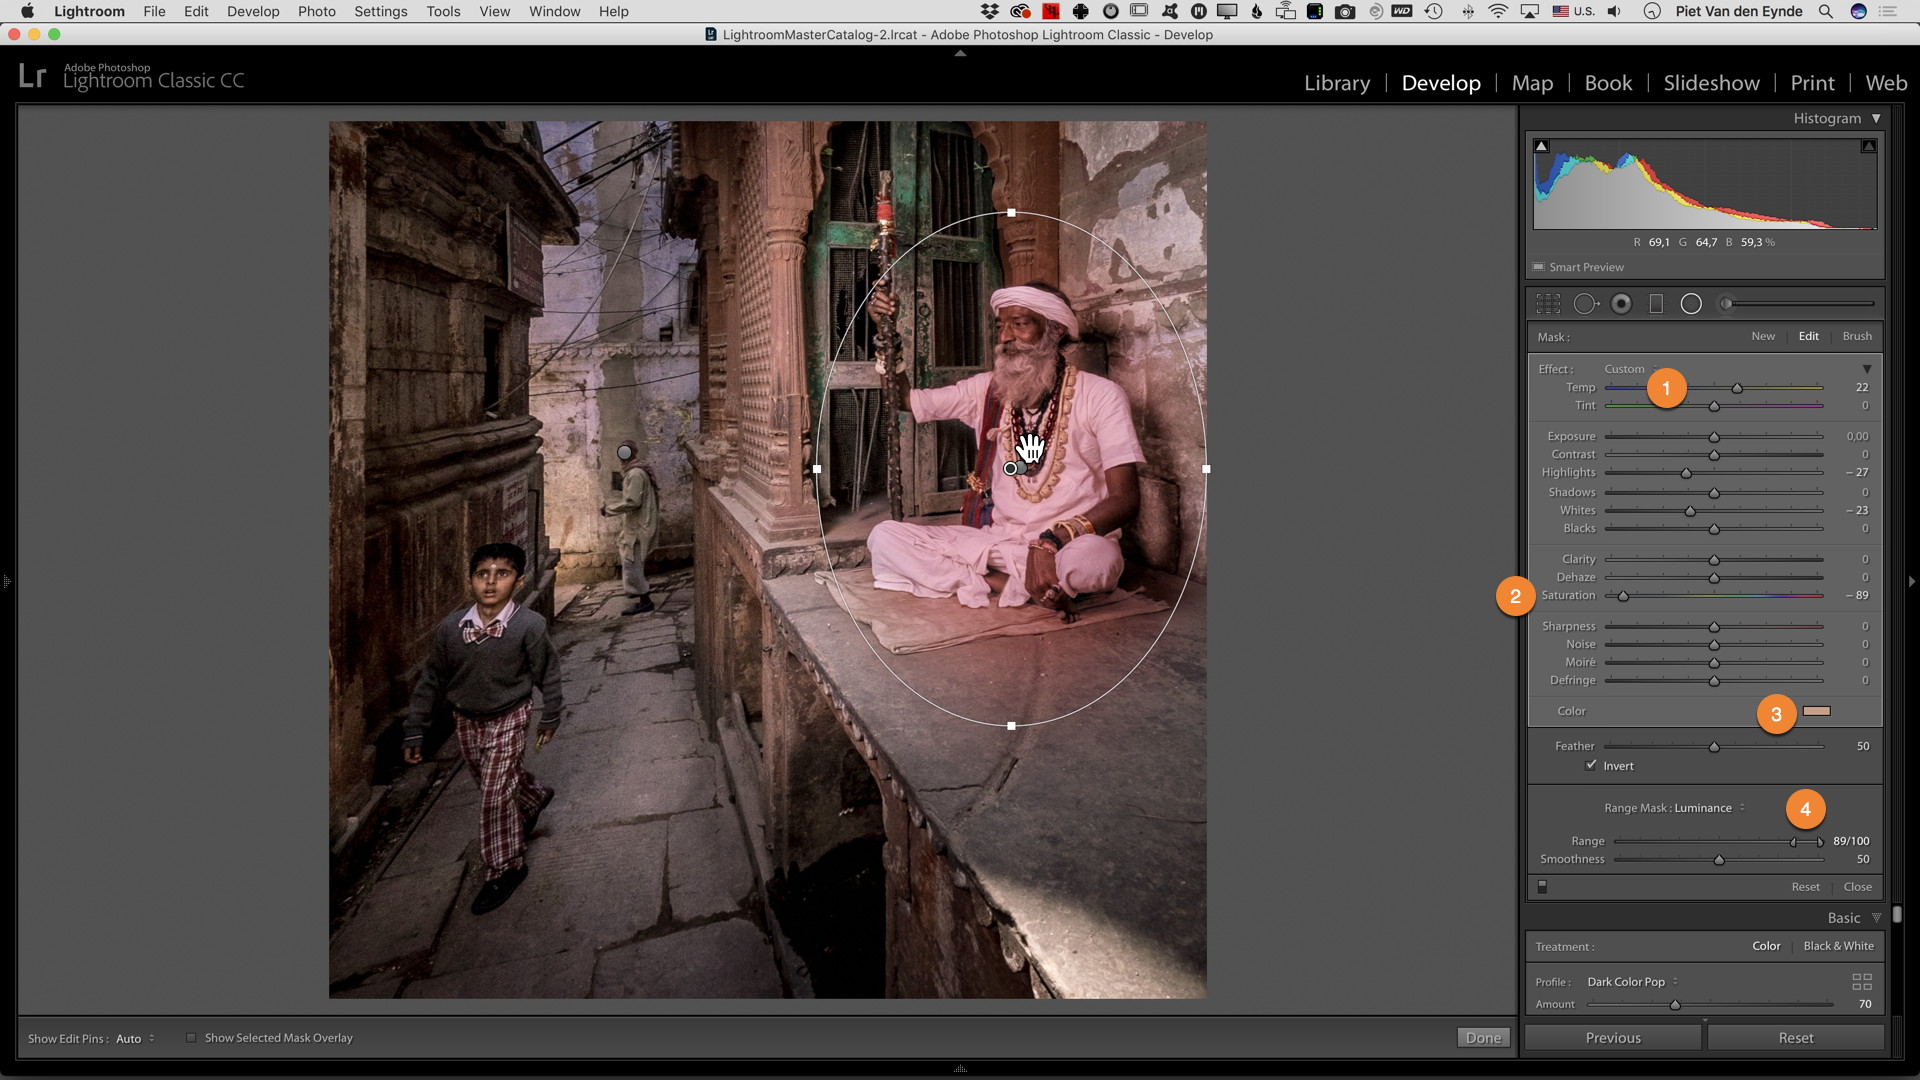
With the color of the towel blending in more into the environment, a new problem surfaced: the sadhu's clothing looks a bit too neutrally white in comparison to the rest of the scene. I solved this problem in a way that was comparable to the previous step but I used a Radial Filter instead. I drew one over the sadhu and adjusted the color with a combination of the Temperature (1), Saturation (2) and a custom color (3). In this case, I did not choose the Color Range Mask but the Luminance Range Mask to further narrow down the selection. By setting the slider to only affect tones in the 89 to 100 values, I could direct the color change only to the sadhu's white clothes. So, a combination of a Radial Filter and a Range Mask once again let me perform a difficult task with relative ease. For me personally, these new range masks alone are worth the price of the monthly Lightroom subscription. Definitely something to consider if you're still using Lightroom 6.
Step 9: Adding Radial Filters to the three People in the Image
Because I was after a dark, moody image, I wanted to darken the area around our three subjects a bit more. I could obviously do that with the Adjustment Brush, but that involves painting and I try to avoid that. So I used a little roundabout technique: I added three Radial Filters, each brightening one of the subjects (you can see all three of them together in this screenshot - normally you can only see one at a time). So they were now brighter than their surroundings and in fact a bit too bright. Then I turned to the Basic Panel and lowered the overall Exposure. The net result was that the people kept more or less their original brightness value and the background got darkened. Sometimes, the fastest way to do something in Lightroom is to take a detour!
Step 10: Burning with the Adjustment Brush
It's a more or less a constant technique in my postprocessing that I will achieve the general look and feel of an image through one click on a preset or a profile. The time I save in doing so, I will reinvest in local adjustments that can really take the image to the next level. In this case, I used the Adjustment Brush to further burn (darken) the area around the sadhu.
Step 11: More Graduated Filters
Ok, we're definitely in the area of diminishing returns here, but in order to guide the eye of the viewer even more through the image, I added two more Graduated Filters (shown together here). These darken the edges of the image so your eye is drawn more tho the center. A little like a vignette would do, but only to the left and right, as I wanted to keep the alleyway as it was. As you can see in the Graduated Filter to the right, I used another Luminance Range Mask to protect my subject from being darkened as well.
Step 12: Radial Filter to simulate the Sun
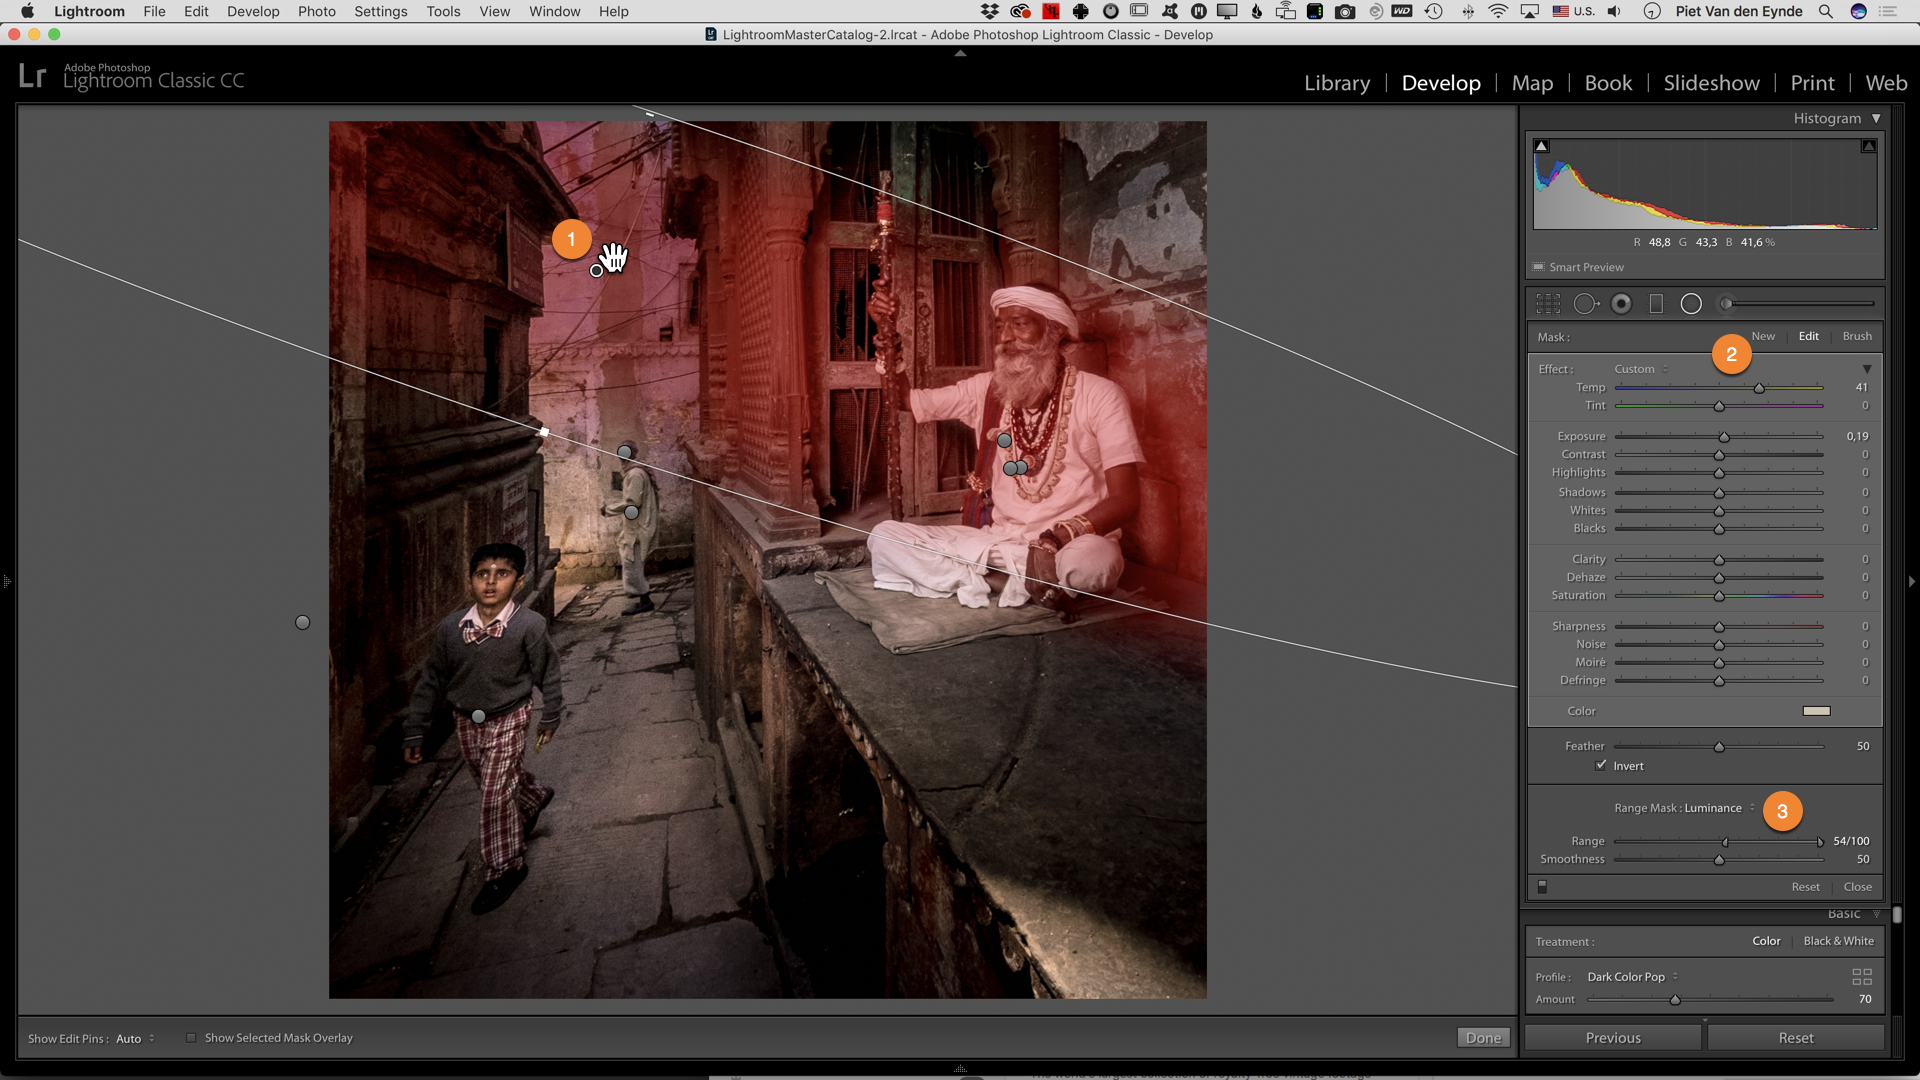
Another technique for which I like to use the Radial Filter, is to simulate the effect of sun rays. The back of this picture is lit by sunlight and I wanted to slighly warm up the neutral (and by comparison cold) flash light we used on the sadhu. So I added a Radial Filter (1) with an increased Temperature (2). Another Range Mask allowed me to focus mainly on the brightest parts of the image.
Step 13: Adding a Split Tone and Grain
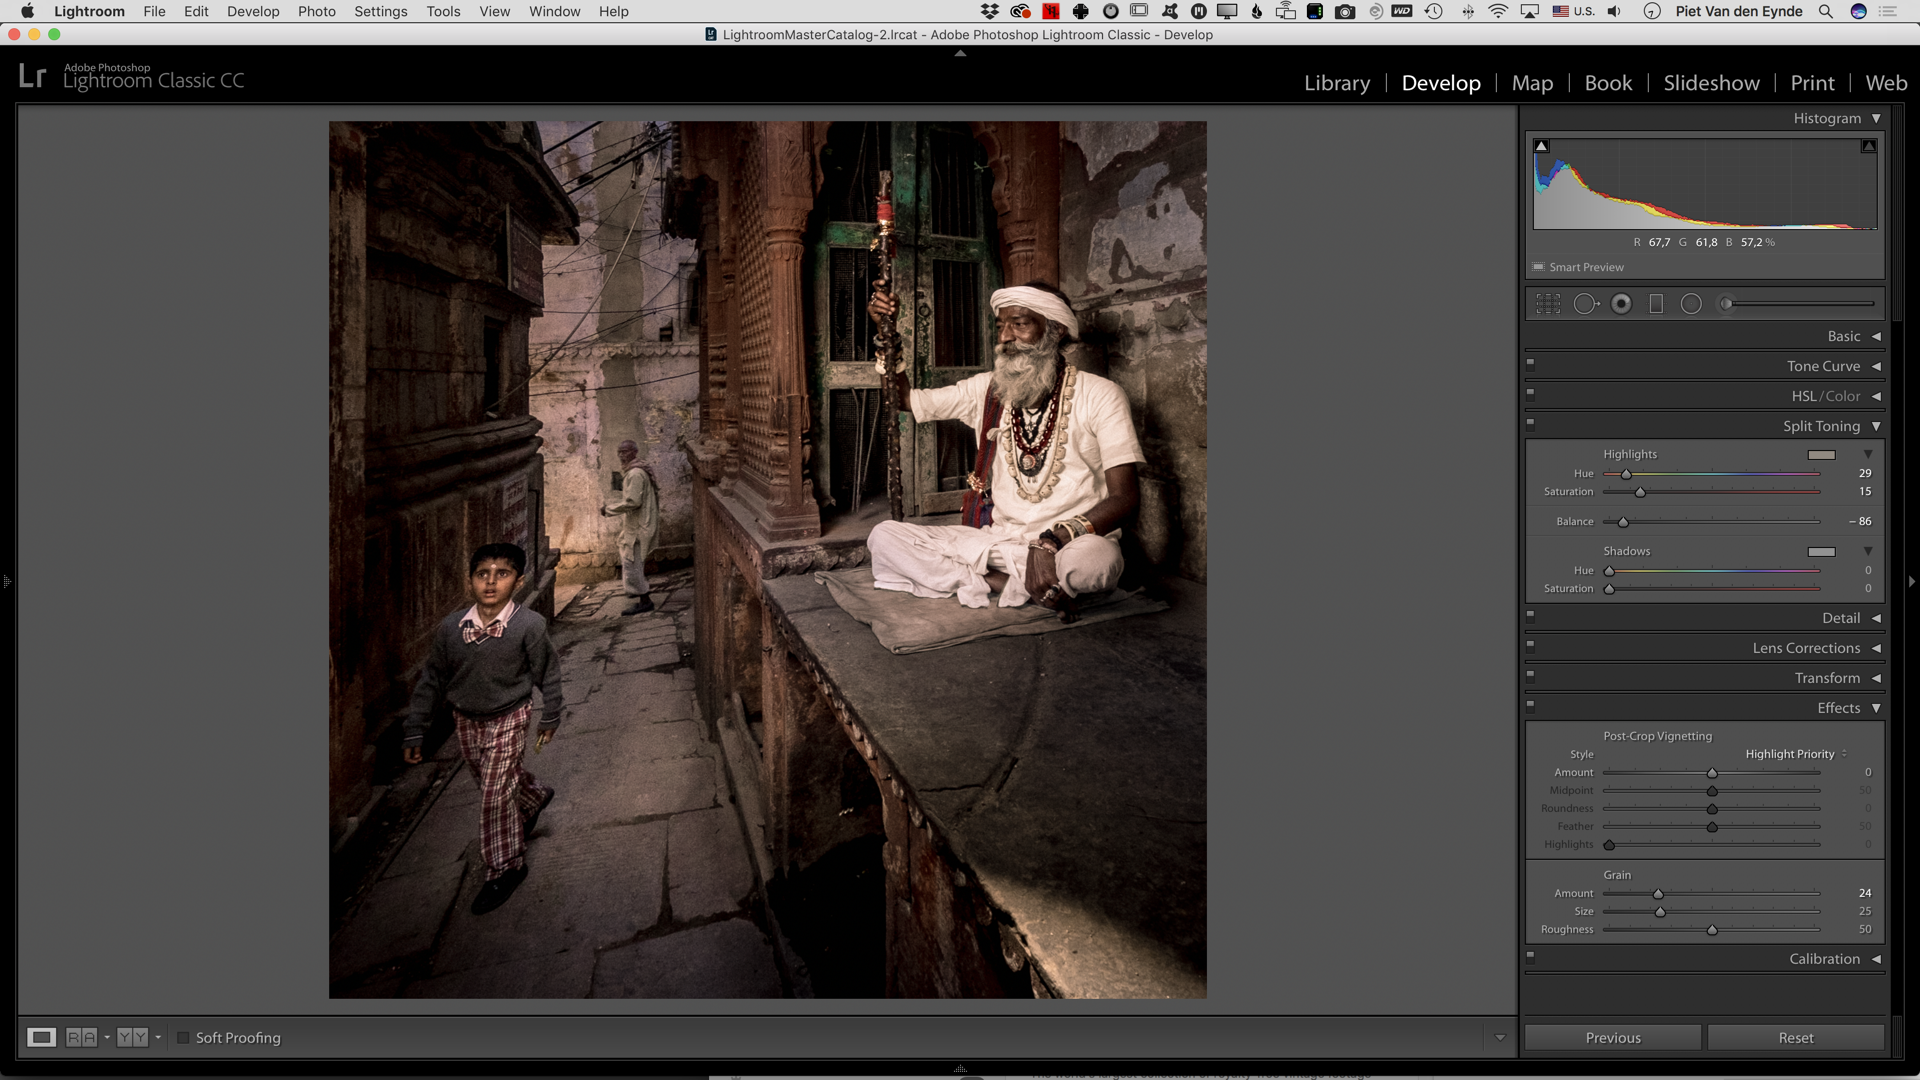
Brightening the left side caused some noise to appear in that part of the image. By itself, that doesn't bother me, on the contrary: some noise can add to a photo's atmosphere but... as the right part of the image was correctly exposed by flash, there was no noise over there. And that difference in noise level is a telltale sign that the photo has been worked on. So, in order to cover my tracks, I added some global Grain via the Effects Panel. Finally, I turned the Highlights in the image a little more yellow by adding a Split Tone. By dragging the Balance slider to the left, I told Lightroom to only tone the brightest highlights, like the ones in the sadhu's clothes.
Step 14: Burning the Lower Right Corner with the Adjustment Brush
As a finishing touch, I also darkened the lower right corner a little more, using an Adjustment Brush.
Finally...
In this Before-And-After tutorial, I wanted to introduce you to a number of techniques that I often use to improve my images. This was a rather extreme example, and I am already bracing myself for comments that will tell me that 'this is no longer photography' and that I 'should get it right in camera'. Believe me or not, but occasionally I do get it right (or at least better) in camera, but there wouldn't be a lot to teach with those images! But most of all, I wanted to show you that sometimes, there's more in an image than you might think at first sight and that it can be worthwhile to invest some time into improving a seemingly hopeless image. Then, you can learn from your mistakes and next time, hopefully, you will get it right in camera!
Wanna join us in Varanasi?
Maybe, after reading this blog post, you're thinking that it might be cool to visit Varanasi, too. It's a fantastic place to hone your portrait skills and there is no better way to do it than through a photo workshop where you'll get all the logistical help you need to create great images yourself. That's why Matt Brandon and yours truly are nose-deep in our agendas trying to set up a new edition of our popular seven day Varanasi Location Portraiture and Lighting Masterclass. If you want to be amongst the first to know about dates and pricing, fill out this form. Below you can see some more images that were made during previous editions of this workshop and some of those came straight out of camera looking pretty close to their final version :-)
Mongolia with the Fujifilm GFX
A Postcard from Mongolia, Part 2
Previously on the blog: in April this year, travel photographer Matt Brandon, yours truly and a select group of adventurous photographers, accompanied by an expert team of guides and photographic fixers, embarked on a photographic journey to Mongolia. Our aim was to do people and location scouting and set an itinerary for a new Mongolia photo workshop that will take place in the first half of 2019. In the first postcard in this series, you could already get a glimpse of one of the highlights of this and next year's trip: an extensive visit to the world famous Eagle Hunters. In this second postcard, I've got some more Eagle Hunter shots for you, including some behind-the-scenes pictures and explanations on how some of these images were made.
The Bayan-Öglii Airport. It had been a while since I had flown in a propeller plane. Fujifilm X-H1 | XF16mmF1.4 R WR | 1/220 @ f/11 | ISO 200
Quite cosy, those orange curtains in our Russian 4 x 4 Forgon minivans! I wouldn't mind having a mobile office like this - bar maybe the fuel consumption!
The Eagle Hunters live in a hard to reach region in Western Mongolia. The choice between a three and a half hour flight or two and a half days of being tossed around in a car was quickly made. Not that we entirely escaped being the tossing part: from the airport to our final destination - a custom built gher (tent) camp - it was another three hours in those photogenic (and frankly more comfortable than expected) Russian 4 x 4 Forgon vehicles. We had access to a family of Eagle Hunters for four full days. This gave us ample time not only to get to know them, but also to photograph them both indoors and outdoors, at various times of the day and in various locations, as you'll see below. We've already told them we'll be back next year!
Eagle Hunter Silou and his four year old eagle Tirnek. As long as the eagle has his protective leather cap on, which is beautifully adorned, by the way, he is generally quiet...
Fujifilm GFX 50S | GF32-64mmF4 R LM WR @ 54.6 mm | 1/30 @ f/5.6 | ISO 200
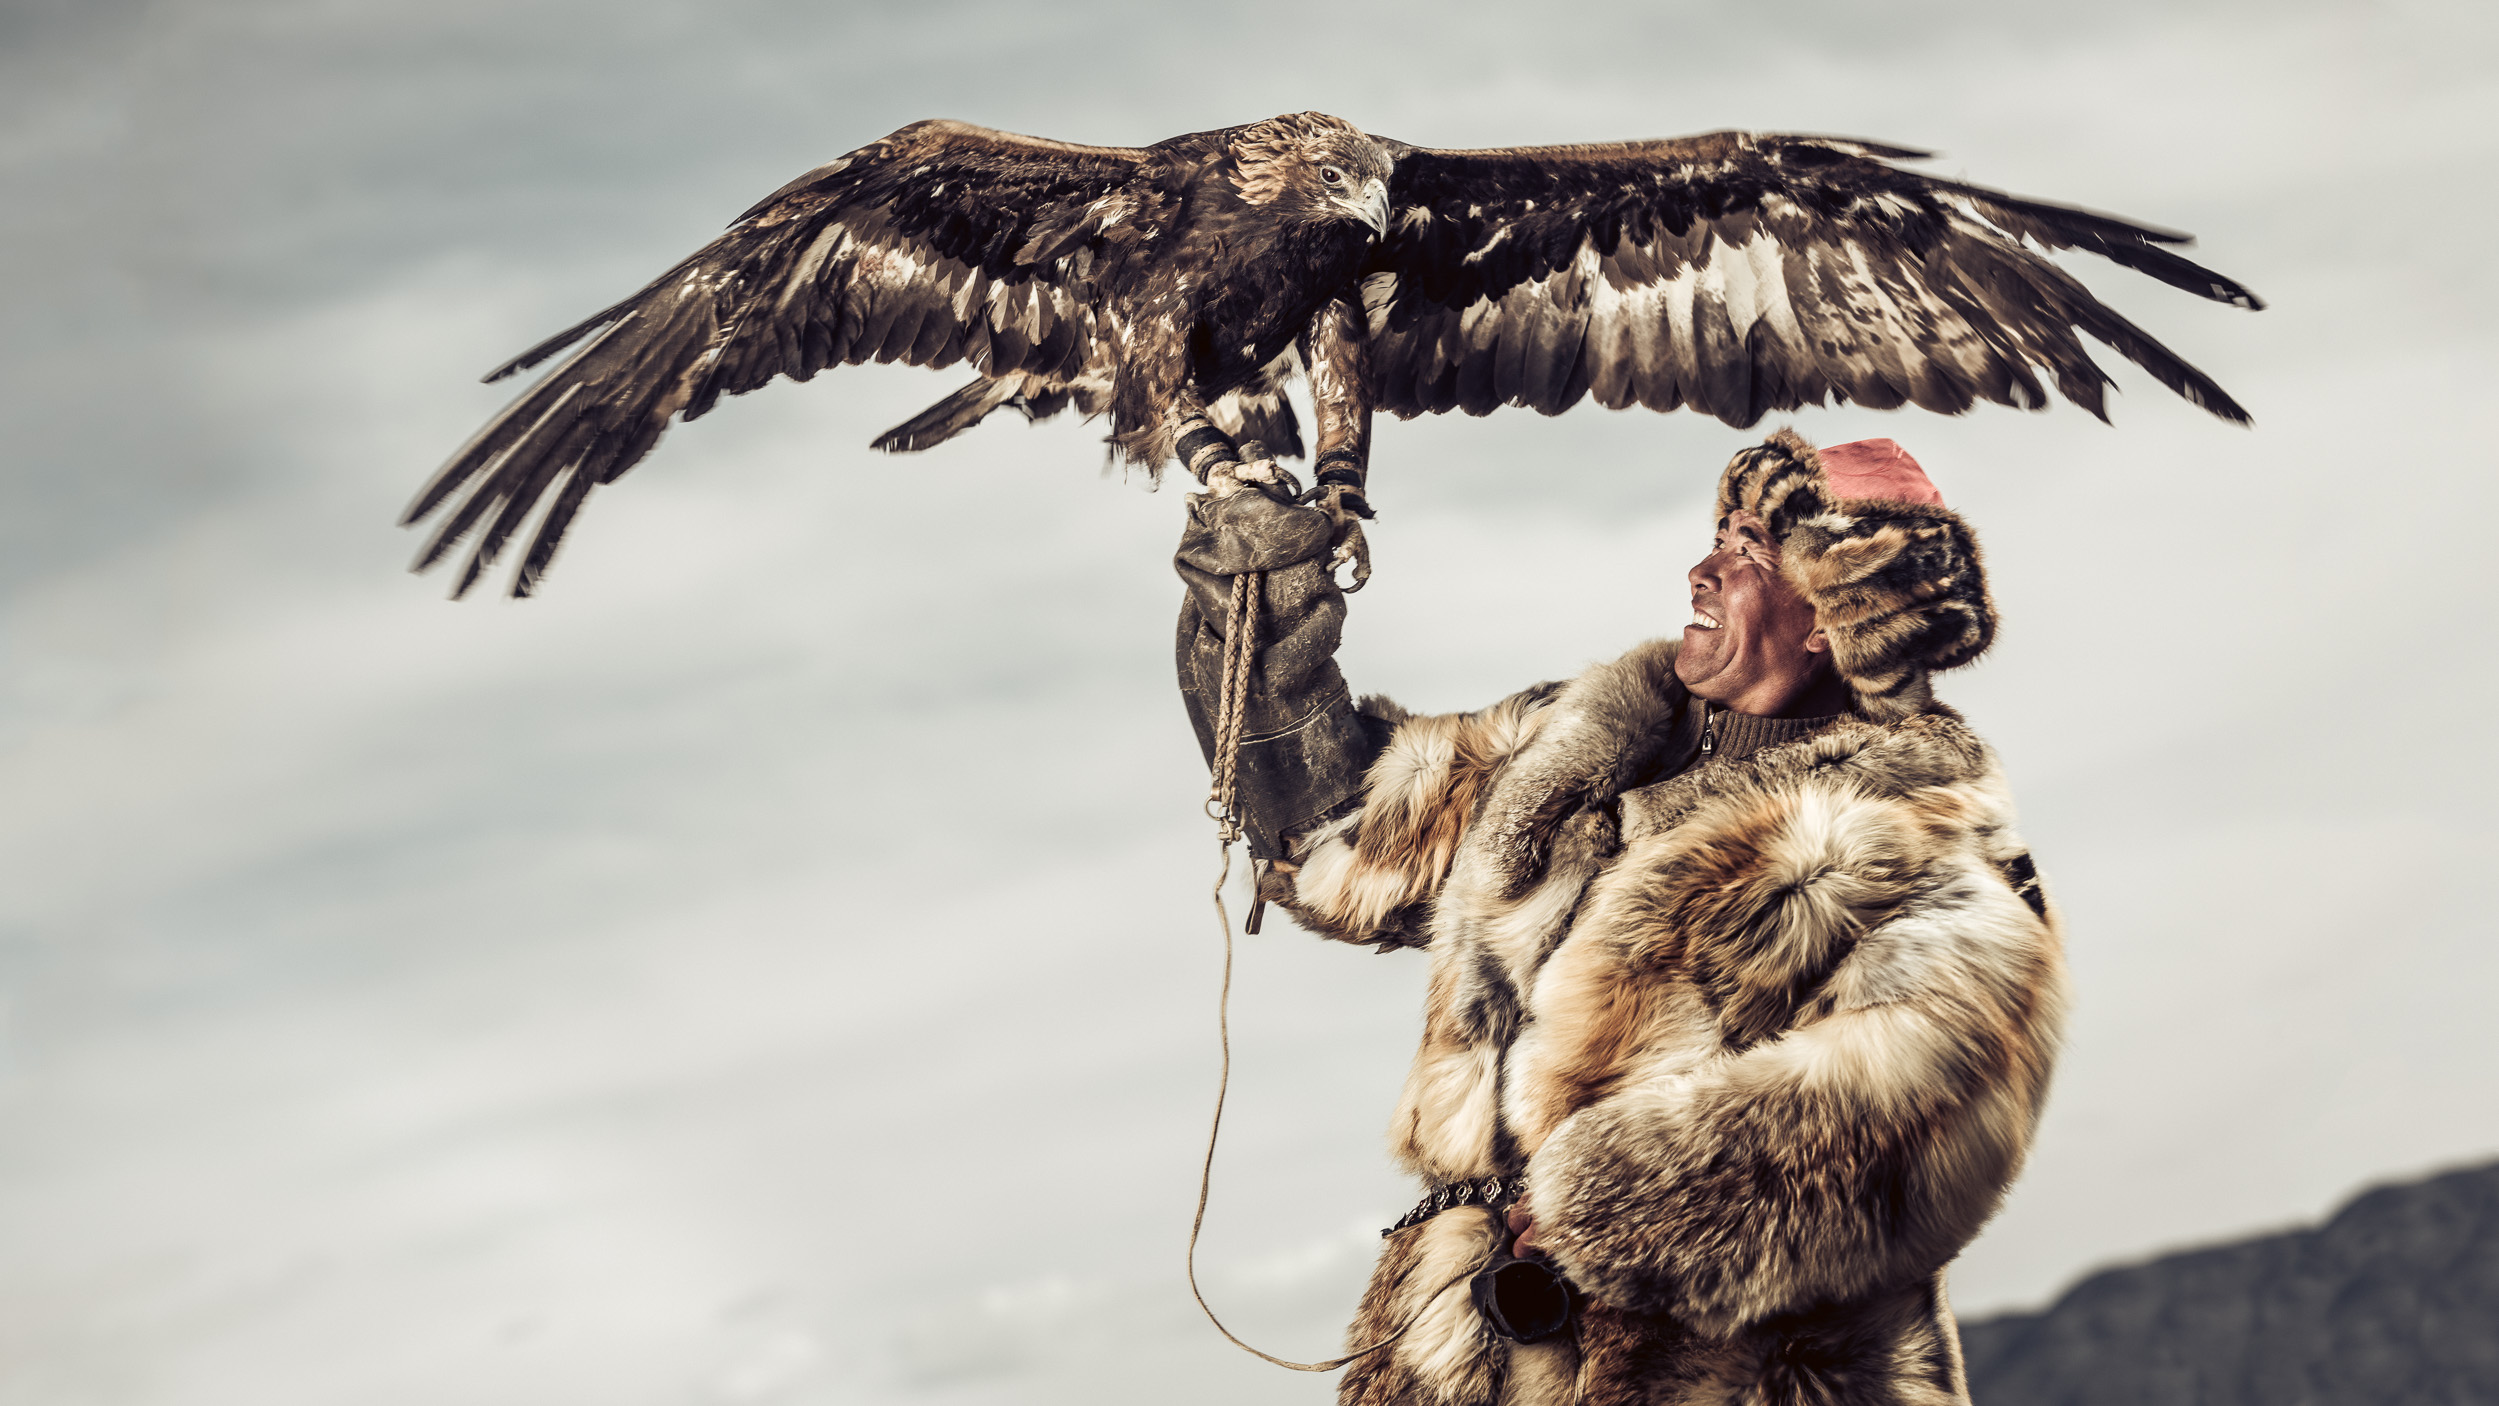
... but when the cap is taken off, he wants to spread his wings from time to time. Luckily, Silou doesn't budge. He's used to more than that...
Fujifilm GFX 50S | GF32-64mmF4 R LM WR @ 47.3 mm | 1/60 @ f/5 | ISO 400
Below is a close up of one of the family's eagles. Here you can see how exquisitely decorated the caps are. I used the 110 mm f/2.0 GF lens for the GFX, which I had purchased specifically for this trip. I know, excuses, excuses :-) At f/2, the depth of field is razor-thin, comparable to f/1.4 on an 85 mm fullframe lens. That's why on this shot, I opted to work at f/4, to buy me some margin.
Fujifilm GFX 50S | GF110mmF2 R LM WR | 1/1000 @ f/4 | ISO 100
The camera gear used on this trip: a Fujifilm GFX with three lenses (not to scale): the GF23mmF4 R LM WR, GF110mmF2 R LM WR and GF32-64mmF4 R LM WR.
I consider myself a wide-angle shooter and up to now, the 32-64 was by far my most used lens on the GFX. Yet, the 110 mm lens definitely changed the statistics on this trip, much to my own surprise...
Fujifilm GFX 50S | GF110mmF2 R LM WR @ 110 mm | 1/4000 @ f/2 | ISO 100
The first day, we photographed Silou and his son Ayu in the neighbourhood of our camp site. When you've got an important subject to photograph, you don't want to waste time prepping everything when they're already on set. That's why we often use a stand-in to try out poses and lighting. In the image below, you see Matt taking on this role. And no, he doesn't have a broken arm... he's just pretending he's carrying an eagle!
Although it was only spring, there was an enormous amount of light - almost more than in India, it felt. Because of that, our trusted Godox AD600 pretty much had to work on full power all of the time. Although it held up well, next year we're probably going to bring the AD600 Pro because of its much faster recycle time at full power: 1 second versus almost three! The image of Matt also shows you another trick I often use when I need to squeeze more light out of my flash, and that I also cover in my Light It Up! ebook on off-camera location flash. I just let the flash enter the frame. As long as it doesn't cover anything important or anything that has much fine detail, the softbox can generally easily be removed with Photoshop's Content-Aware Fill. Especially when you're working in High-Speed Sync (this particular image was made at 1/4000 of a second) and therefore you're losing a lot of flash power, this technique can make the difference between a well-exposed and an underexposed image.
Matt as a stand-in for the real talent: the Eagle Hunter!
Fujifilm GFX 50S | GF32-64mmF4 R LM WR @ 36.2 mm | 1/4000 @ f/4,0 | ISO 400
As there was also considerable wind, our drivers came up with the brilliant idea to park two of the Forgons in a V-shape, creating a windbreaker. This made it easier to aim the SMDV Alpha 110 softbox at our model and get consistent light on them.
I already introduced you to Silou's son Ayu and his eagle Ana in the first part of this series. Below you see some more images of them. In order to waste less flash power, I worked at the sync speed of the GFX (1/125th of a second) and I used a six stop ND filter by Formatt-Hitech to keep my aperture wide open. The result is that at 1/125th, the action isn't completely frozen but in this case I don't mind. On the contrary, I think it actually shows the interaction between the Eagle and the Hunter better and I like the contrast between the sharp beak and the motion-blurred wings.
Normally, I'm a wide-angle fan, but the 110 mm is such a fantastic lens that I used it a lot more than I expected to. Above are two more 110 mm shots. Below is a comparable image, shot with the 32-64 (comparable to a 25-50 zoom lens on a fullframe camera). The feeling is different. Not better or worse, I think, just different.
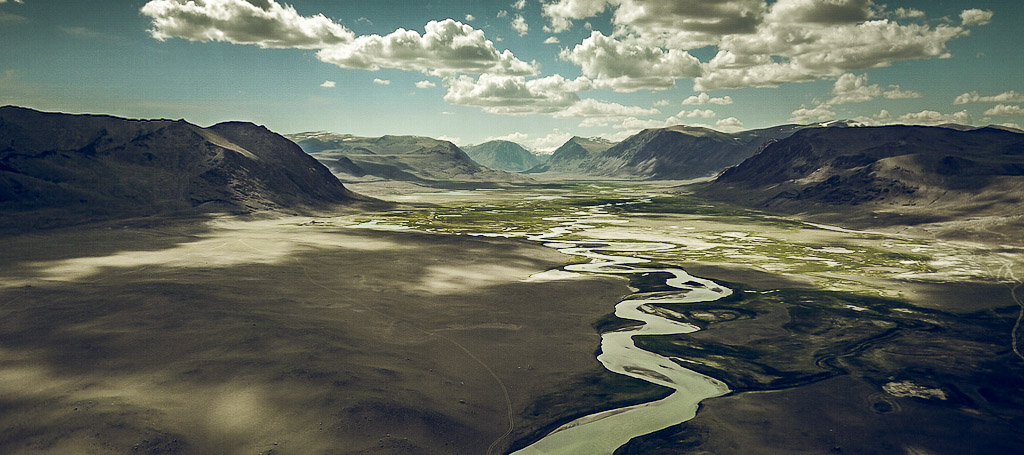
After this introductory shoot, the next days we wanted to include the ruggedly beautiful Mongolian landscape in our shots as well. For someone like me who lives in one of the most densely populated countries in the world, the vastness of Mongolia is simply impressive. For the image below, we climbed up a rocky hill about half an hour's drive from the camp. This website and the compressed JPG images don't do the GFX's fine detail justice, but on my monitor, they're so sharp I could shave myself!
Below you see a couple of full-size 1:1 crops at 2,500 x 2,500 pixels. Click on a miniature to see the crop at full-size. The eagle looks slightly unsharp, but that's because of the motion blur caused by the 1/125th shutter speed.
One of the unique aspects of this workshop, compared to others, is that we use a lot of flash (and we obviously share not only our expertise but also our gear with our workshop attendees). Especially with high-texture subjects like Eagle Hunters with fur coats sitting on rocks, the flash light, when used from the right angle, helps to bring out so much more detail and punch, regardless of the camera brand and type you're using.
The Sirui XL Traveler extends all the way up to 160 cm if necessary.
In this image, I deliberately let the softbox enter the frame to get more light and to also make my light as soft as possible. I had put my camera on my trusted Sirui Traveller tripod and made a second image without the softbox in the frame, so that I could combine both in Photoshop into the final image you see above. In order to get a similar image in-camera, I would have had to put my light twice as far, which would have required four times the power (that's the Inverse Square Law working against you). On top of that, putting the light further away would have caused it to be relatively smaller and therefore would have created harder shadows. Getting similarly soft shadows would have required an even bigger softbox, which in turn would demand a more powerful flash. Since the wind was blowing so vehemently at the top of this ridge, it was already quite an achievement that we managed to keep the 110 cm SMDV Alpha in place without going kite-surfing!
The SMDV Alpha 110 softbox and the Godox AD600 portable battery-powered studio flash are my favourite heavy-duty lighting items when traveling.
On shoots like these, I also try to photograph people when they're less camera-aware. The pictures below have the otherwise strong looking Silou actually smiling! These images were also made with the 110 mm.
Fujifilm GFX 50S | GF110mmF2 R LM WR | 1/250 @ f/9 | ISO 100
Fujifilm GFX 50S | GF110mmF2 R LM WR | 1/250 @ f/9 | ISO 100
From one extreme to the other: for the photo below, I used the 23 mm GF lens (comparable to an 18 mm fullframe) and I went flat on my belly to make the eagle look even more impressive than he already is. The downside is that the mountains look less impressive this way, too.
Fujifilm GFX 50S | GF23mmF4 R LM WR | 1/125 @ f/13 | ISO 100
Normally, Eagle Hunters travel by horse, which is how we photographed them the next day. Below is one of my favourite images from the trip: Silou and his son on their horses, dominating the impressive landscape behind them. This location will also be on next year's agenda, unless... our fixers come up with something even more spectacular!
Fujifilm GFX 50S | GF32-64mmF4 R LM WR @ 56.5 mm | 1/125 @ f/ 13 | ISO 100
One of the default crop options you find in the GFX, is 65 x 24. This is a tribute to the X-Pan aspect ratio. Obviously, you could crop any image from any camera to this aspect ratio in Lightroom or Photoshop, but the nice thing about the in-camera-crop of the GFX is that you can actually see it in the viewfinder and... you still retain approximately 24 megapixel images. Furthermore, if you shoot RAW, you can always change your mind (and your crop) later on.
Fujifilm GFX 50S | GF110mmF2 R LM WR | 1/4000 @ f/4 | ISO 200
This may sound strange, coming from someone who's a true flash-aficionado, but one of the more important lessons of working with flash is probably knowing... when not to use it. Originally, I had the plan of photographing this sunset shoot with flash, but it looked really artificial. So I decided to let the ambient light do its magic and shoot into the available light.
Fujifilm GFX 50S | GF32-64mmF4 R LM WR @ 42.5 mm | 1/125 @ f/22 | ISO 400
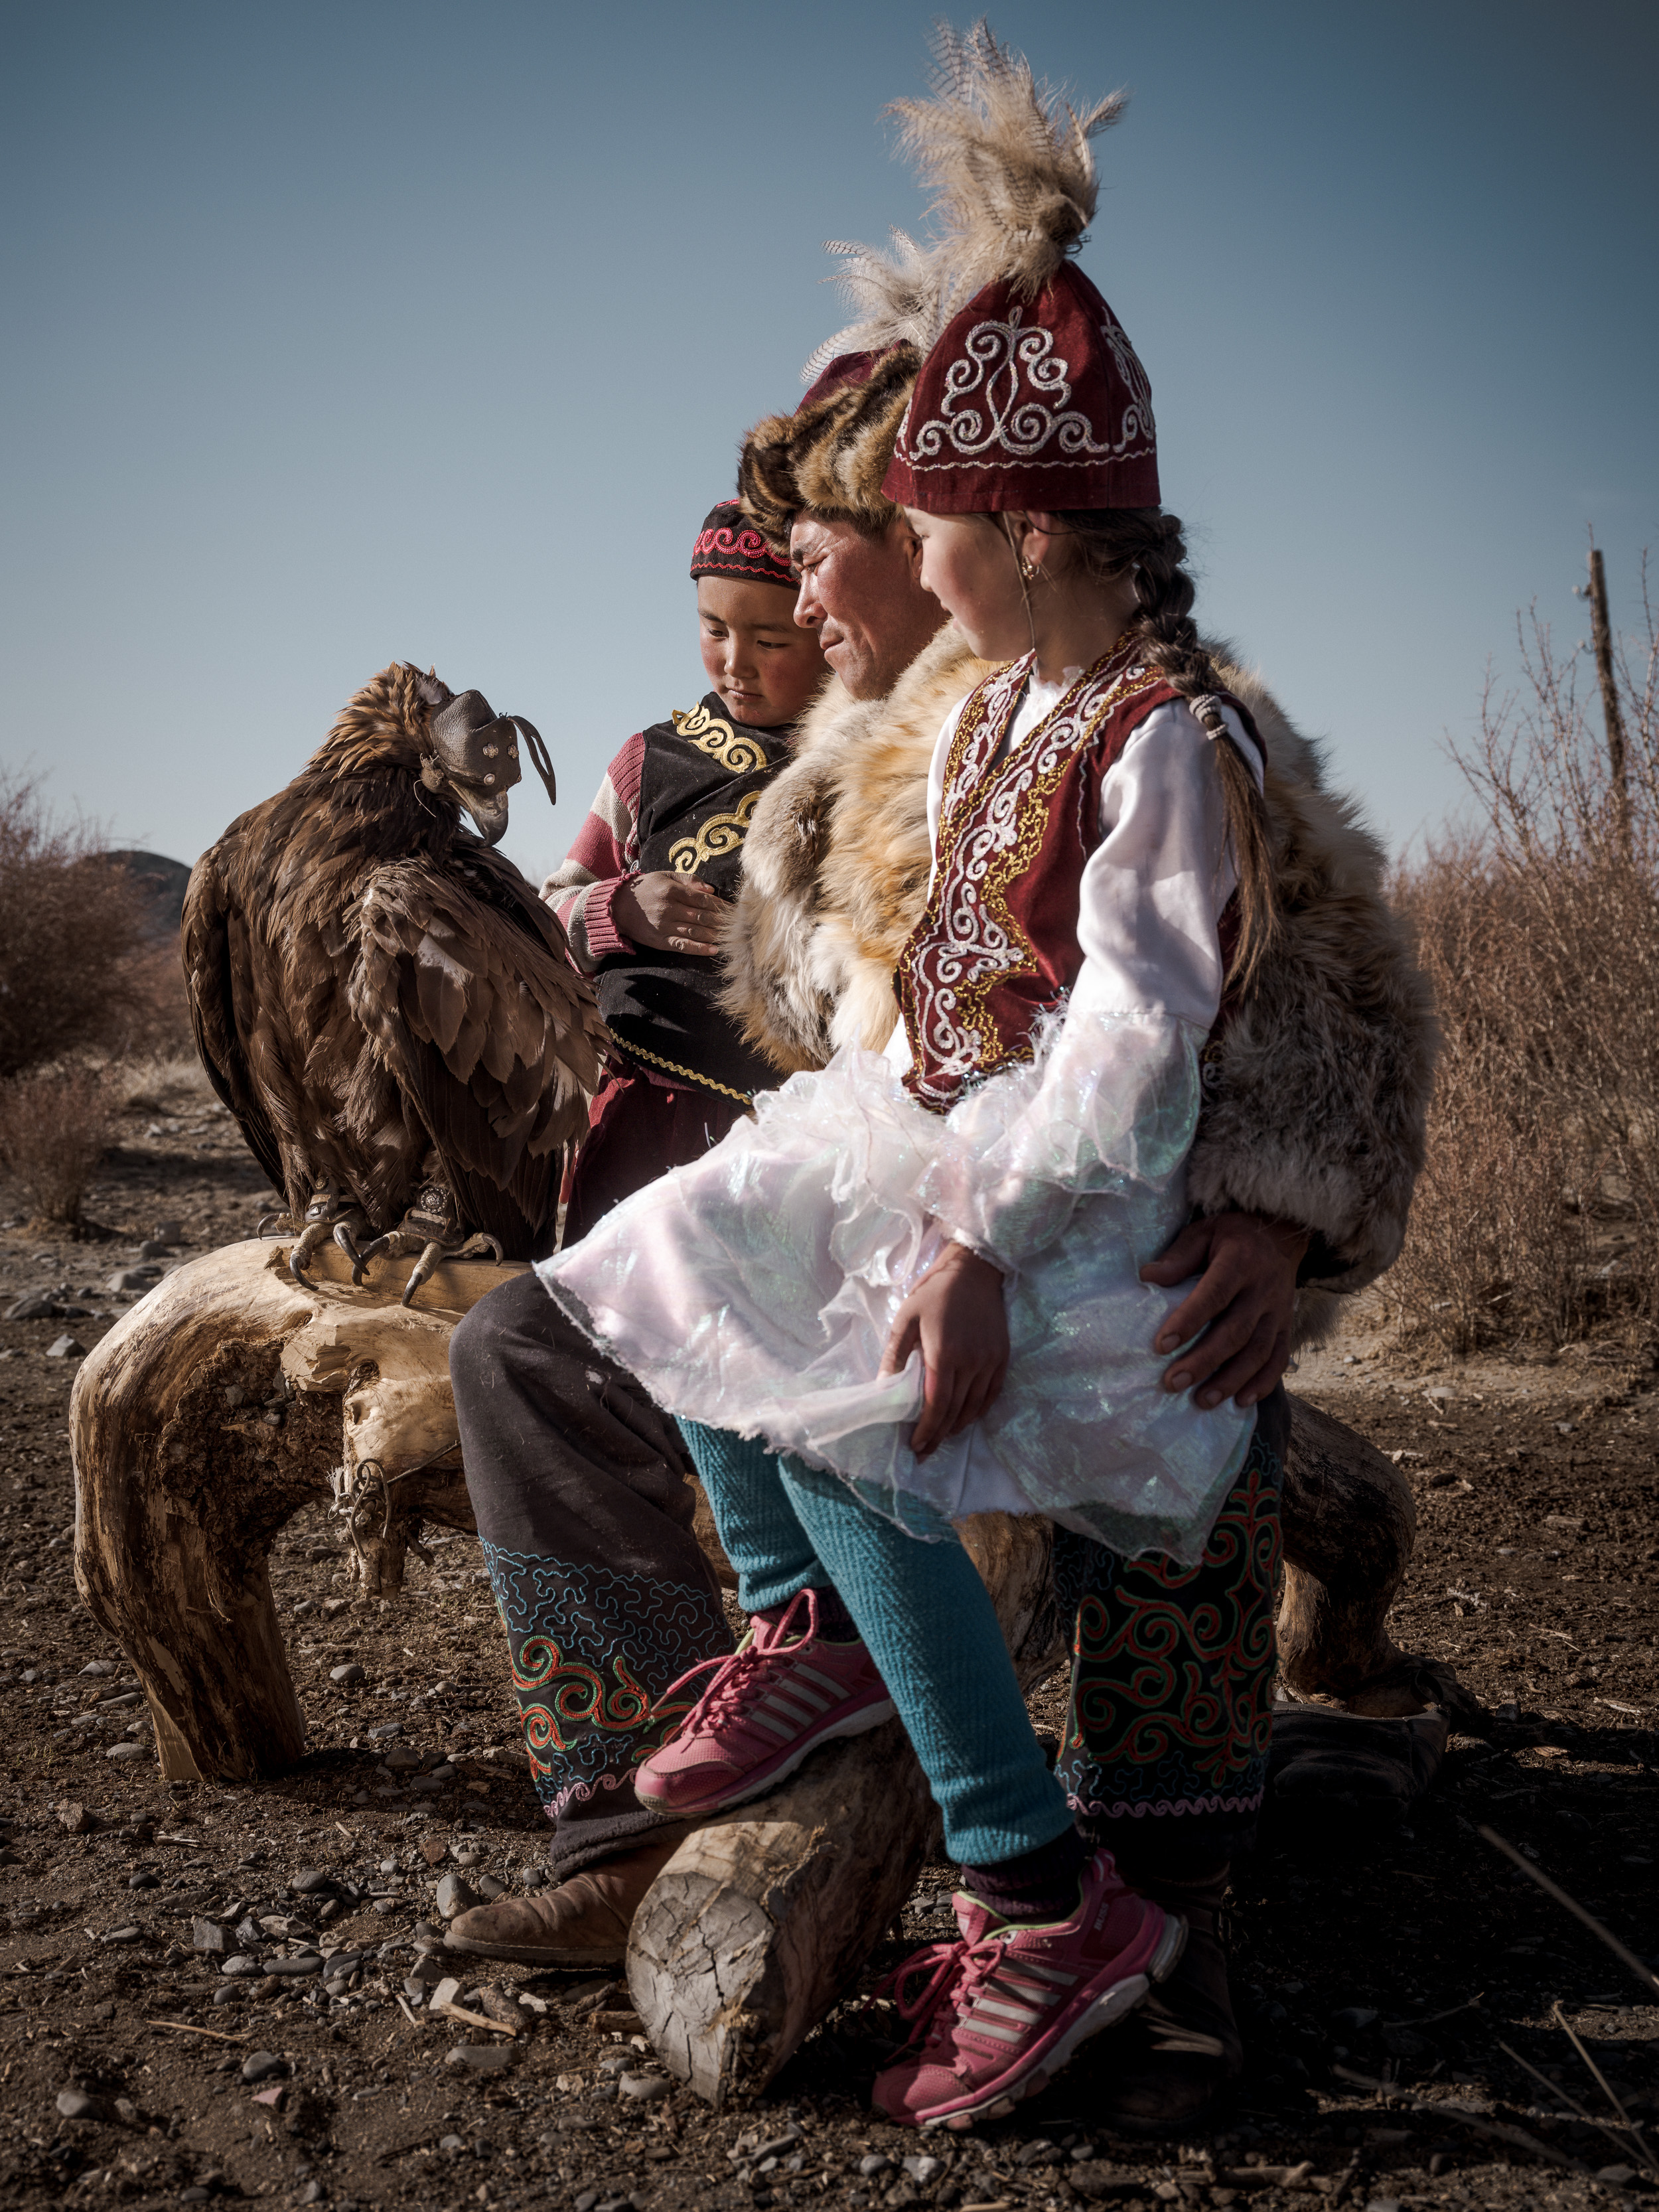
On our last day, we were invited to have dinner at Silou's place, together with his family. This experience also involved quite a number of vodka shots that kind of got in the way of shooting... Luckily, just moments before, we had the occasion to photograph what might possibly become the next generation of Eagle Hunters...
Fujifilm GFX 50S | GF32-64mmF4 R LM WR @ 44.9 mm | 1/500 @ f/8 | ISO 200
This picture also officially wraps up these two blog posts dedicated to the Eagle Hunters. However, we also photographed our fair share of monks, herders, nomads and other photogenic people on the second part of the trip and I tried a couple of Brenizer panorama's with the GFX. More about that in the soon to be published part three of this series.
Want to join us next year in Mongolia? Subscribe to the newsletter via this link (or update your preferences) to be amongst the first to hear when we've finalised the details.
All images on this website © Piet Van den Eynde, unless otherwise noted.
A Postcard from Mongolia, Part 1
Matt Brandon and I have just returned home from teaching our first ever photo workshop in Mongolia and boy what an unforgettable experience it has been! We're already scheming a second edition in the first half of 2019 (sign up for my newsletter if you want to be notified) but while we're finalising those details, here's a couple of my favourites from this first edition.
Fujifilm GFX 50S | GF23mmF4 R LM WR | 1/125 @ f/11 | ISO 100
Our tour kicked off in Ulaanbaatar, Mongolia's capital, and home to half of the country's population of 3 million. One of the must-sees is the Soviet Zaisan monument, situated on top of a hill overlooking the city. As luck (or rather our highly talented team of fixers) would have it, a couple of retired army colonels happened to drop by.
Fujifilm GFX 50S | GF23mmF4 R LM WR | 1/500 @ f/8 | ISO 100
From the capital of Ulaanbaatar (UB for friends), we took an early morning flight to the town of Ölgii, near the border with China and Russia. From there, it was another 3 hours in those highly photogenic ex-Russian military 4x4 Forgon minivans to our gher (tent) camp. We were now in the region of the impressive Altai mountains, home to one of the tour's highlights: the famous eagle hunters.
Fujifilm GFX 50S | GF32-64mmF4 R LM WR @ 54.6 mm | 1/30 sec @ f/5.6 | ISO 200
The image above portrays eagle hunter Silou and his four year old eagle Tirnek, photographed inside a gher.
Fujifilm GFX 50S | GF110mmF2 R LM WR @ 110 mm | 1-125 at f/4 | ISO 400
To give our workshop participants as much shooting time and variation as possible, we will often try to arrange two subjects. Luckily for us, eagle hunting is a tradition that is passed on from father to son. In the image above, you can see Silou's son Ayu holding up his two year old eagle Ana. These birds can easily weigh up to 8 kilograms, something he only told us after patiently holding his arm up for minutes! I used my Fujifilm 110 mm GF f/2 portrait lens for this image. This lens roughly corresponds to an 85 mm f/1.4 on a full-frame camera system. By choosing a low shooting position, I made the eagle hunter and his eagle look even more impressive than they already are. Including some out-of-focus foreground helped to add extra depth to the photo. A Godox AD600 with an SMDV 110 softbox was used to reign in the harsh Mongolian midday sun. Postprocessing was done with one of the presets from my free Lightroom Freesets package (sign up for the newsletter to claim your copy).
In the image below, you see Silou's other son Berikjan with his eagle Tastulek putting up quite a show for us!
Eagle hunting may be a beautiful and photogenic tradition, it does not feed a large family. In his everyday life, Silou and his family are farmers. Below you see the same Berikjan with one of the family's camels. In the background, the other camels are taking advantage of the situation to quietly wander off. Luckily, our herder has a motorcycle to quickly bring order into chaos. Watching Mongolian herders herding their cattle while navigating their motorcycles through the rough terrain is an impressive sight!
Fujifilm GFX 50S | GF23mmF4 R LM WR @ 23 mm | 1/125 @ f /18 | ISO 100
Photographically speaking, this image was lit with my 'two lights for the price of one' technique. This consists of using the strong sunlight as a rim light and filling in the shadows with flash. This gives a dramatic, 3D feel to the image which can further be enhanced by putting the flash slightly behind the subject, pointing back at him or her. Combined with the right position of the subject's face, this lighting scheme will predominantly light the far away side of the face, leaving the larger part that is closest to camera in the shade, except for a small triangle under the closest eye. This lighting style is called short lighting and its one of my preferred lighting styles. If you want to learn all about off-camera flash, check out the just released second edition of my ebook Light It Up. You can save 10% with code light10.
That's it for now. I'm still working through dozens of more Mongolia images in Lightroom and I'll be back when I have some more to show you. Talk soon!
1 Spot Left - Join Matt Brandon and me in Mongolia in April
Update: the 2018 edition workshop is sold out (wait list here). However, we are planning on doing this workshop again in 2019. Subscribe to the newsletter to be notified when we have the dates and prices.
As you may know, travel photographer Matt Brandon and I have been successfully running travel workshops in India for the last couple of years. And while we intend to keep on doing that, we wanted to broaden our horizon, too. So, we invited a select group of five adventurous photographers to join us for the first Mongolia Photo Adventure. Everything is set for a phenomenal trip of photographing nomads and eagle hunters!
We are are using one of the country's best fixer and travel agencies, who have worked with various film and photographer crews. They have assisted in productions for world-renowned companies like BBC and Red Bull, so they know what photographers want. This won't be no tour bus bouncing around the country side with 5 minute photo stops. This wil be a trip by photographers, for photographers.
This is just a small selection of the flash gear we will be bringing along on this trip (I'll leave the jacket at home, though). We'll have umbrellas, softboxes and everything we need to make beautiful portraits. You can use our gear and if you're new to this, don't worry: we have scheduled class time on how to use it, too!
Although we will also use available light, Matt and I will be bringing our flash gear with us to Mongolia, to enable participants to make the same striking and dramatic portraits that we are known for from our India workshops.
If you've ever wanted to explore Mongolia, guided by two seasoned travel photographers, a fixer and a local guide and explore the use of location flash photography, this is the trip for you!
Eagle huntress
Practicalities
2019 Dates: To be announced
2019 Cost: approximately $6,750, but final pricing has to be announced. This price includes a $1,400 deposit payable within two days after registration. The cost includes food, lodging in hotels and tent camps where applicable (see Itinerary below), assistance of vehicles, drivers and cooks, an internal flight and obviously tuition from Matt and me. As this is an international group, it does not include your international flights to and from Ulaanbaatar, Mongolia. More details about what's included and what not at the bottom of this post.
Itinerary
Please note that this itinerary is the one from the 2018 edition and is subject to change. However, it gives you an idea of what we're planning to do.
Day 1:
Welcome to Ulaanbaatar! Ulaanbaatar (UB), meaning ‘Red Hero’, was developed during Soviet times and is now a fascinating and bustling city of brand new sky-scrapers beside ancient monasteries and sprawling ger (the Mongolian term for 'yurt' or round tent) districts. You'll meet the team and be taken on a city tour, followed by a delicious dinner at one of UB’s best restaurants.
Day 2:
Domestic flight to the western provincial capitol of Ölgii. We’ll have a chance to pick up any last minute supplies before heading off into the mountains and then set off to meet one of our subjects, a Mongolian Eagle Hunter and his golden eagle. Overnight in ger (yurt).
Day 3-4:
Wake up at the winter / spring eagle hunter’s family camp and have breakfast followed by a photography lecture on how to mix flash with available light for dramatic environmental pictures. Subject photography and possible transfer to another hunter family. Overnight in ger.
Day 5:
We’re planning one more full day around the western mountains and eagle hunters, since so many sights are challenging to get to. Specifics TBA. We’ll likely have dinner in Ölgii and overnight at a hotel in town.
Day 6:
Morning flight back to Ulaanbaatar arriving midday. This will be a big travel day, as we'll plan to get right out of the city and arrive at our next subject's home in time for golden hour. Approximately 3.5 hour drive.
Day 7:
After an early breakfast we’ll plan a morning shoot session with our local subjects, who are herders of horses, camels, goats and sheep. We’ll be in Central Mongolia, surrounded by broad valleys, mountains and sand dunes.
Day 8-9:
More photo lectures on composition and storytelling and of course more portrait shooting. We’re planning to have several subjects at your disposal for the day, with opportunities to shoot in the ger, around sand dunes, steppe and even an old monastery surrounded by older monastery ruins. Overnight in ger.
Day 10:
We’ll spend the morning finishing up our explorations and shooting around Khogno Khan and then travel northwest to Kharkhorin, Mongolia’s ancient capitol. Our next destination will be the largest active monastery in the country, Erdene Zu.
Day 11:
After morning photo ops and a relaxed breakfast in Kharkhorin, we’ll head out of the valley and continue our journey, to meet a horse herder family. Opportunities for portraits of the family working with animals. Overnight in gers.
Day 12:
Some more time for family portrait photography. Whenever we’re finished, we’ll start back towards UB, staying one more night in Khogno Khan, the dune area we visited earlier. Overnight in gers, tents.
Day 13:
Return to UB, check in to your hotel for a well deserved hot shower. Possible city photography in afternoon / early eve. We’ll plan on a farewell dinner together at one of our favourite places.
Day 14:
We'll meet for coffee and breakfast together (depending on flight times), after which (if time permits) we’d love to see your favorite shots, in a late morning photo review session. Transfer to airport for your departure.
Any questions?
Just shoot Matt or me an email.
Pricing for this Photo Adventure is inclusive of all in-country Mongolia travel*, 1 night Ulaan Batur hotel stay between Day 1 & Day 2 of the itinerary, 1 night hotel stay between Day 13 & Day 14, all countryside accommodations, non-restaurant meals and transport, in-country airfare between Ulaanbaatar and Ölgii, photo-pro sessions while in countryside, use of inverters and other charging equipment. Tents and sleeping bags will be provided. Expedition participants must provide own camera equipment, lenses, data storage cards/devices, computers (if desired), any specialty camera accessories and personal effects. Personal expenses (laundry, alcoholic beverages, ...) are excluded. Participants must have medical, evacuation and cancellation insurance. A list of suggested insurance companies will be given after registration.
*Airport transfers will be provided at no additional charge if arriving on Day 1 of listed itinerary and/or departing on Day 14 of itinerary. For arrivals and departures at other times, airport transfers can be arranged for a nominal fee.
Announcing the 2017 Kolkata and Varanasi Location Portraiture and Lighting Masterclass
Matt Brandon and I are pleased to announce the third edition of the Location Portraiture and Lighting Masterclass. This workshop will be held from November 26th to December 3rd, 2017, in two of India's most photogenic cities: Kolkata and Varanasi. We will shoot both classical portraits as environmental ones, and use available light as well as artificial (flash) light. Below are some examples of the types of photos you can expect to go home with at the end of the workshop.
Interested? You can find more info and a link to the registration form here.
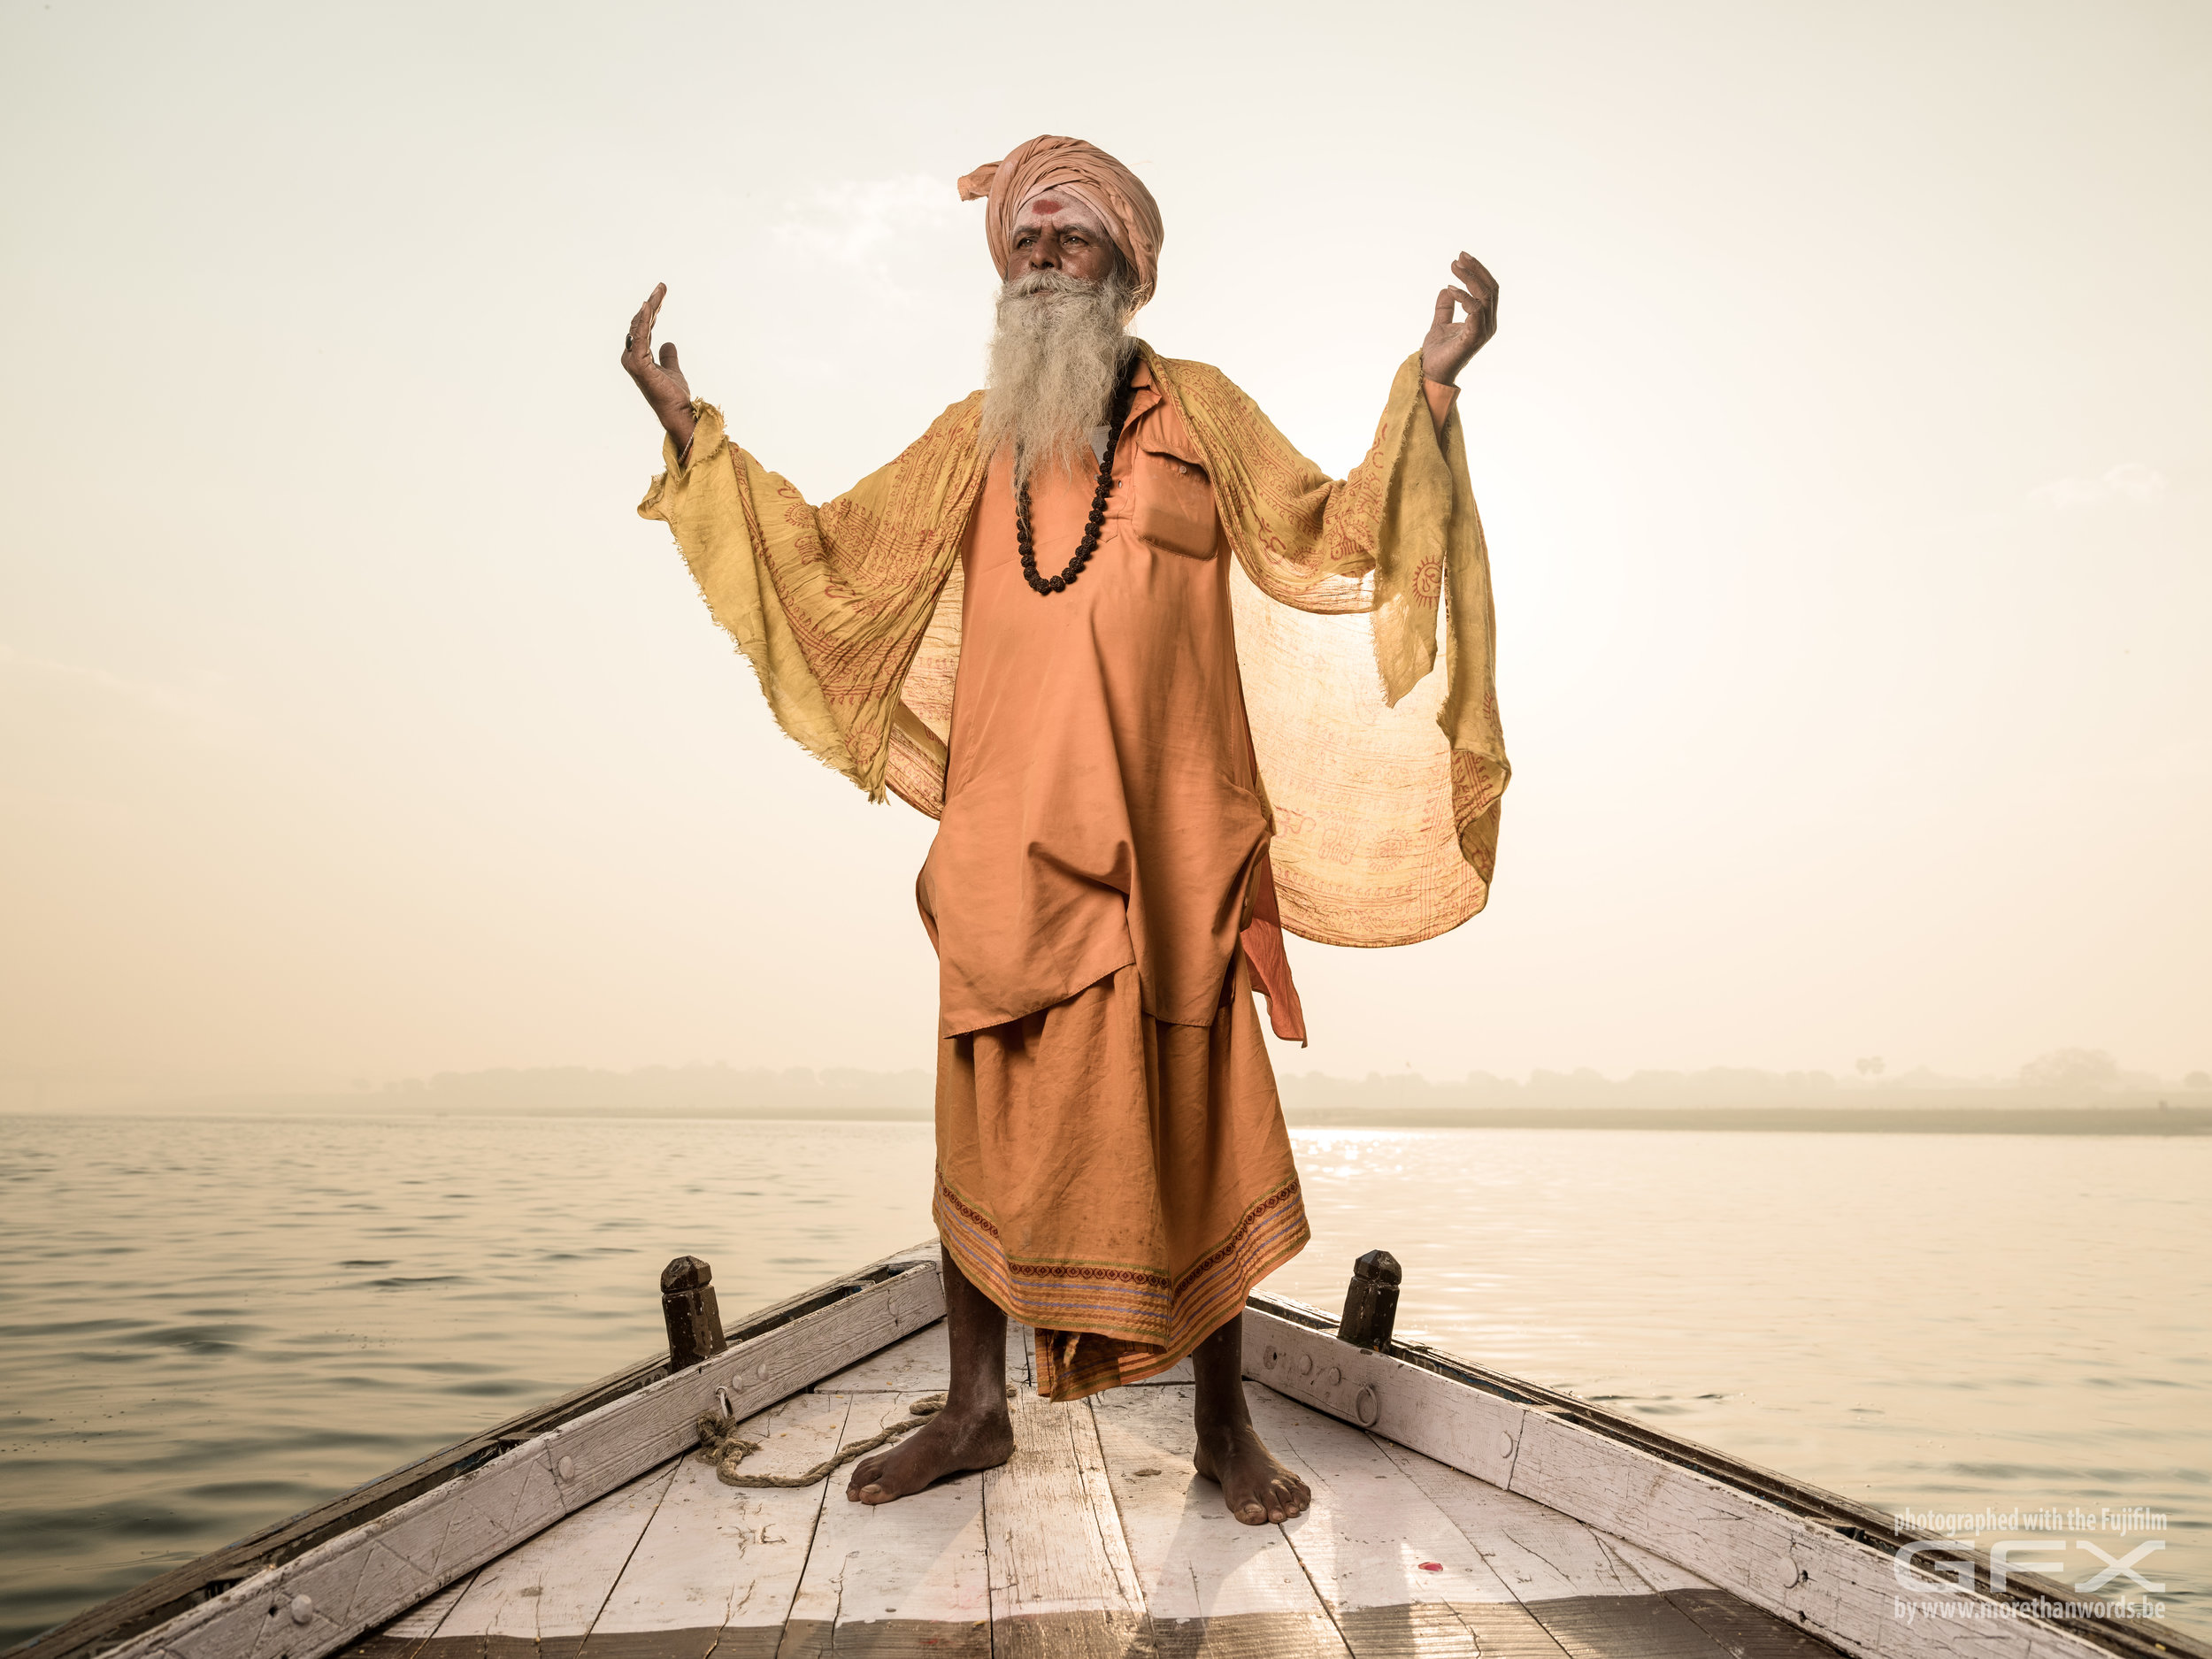
Sadhu on a boat on the Ganges with the ancient city of Varanasi as a backdrop. Shot with the Fujifilm GFX and the 32-64 lens. Lit with an SMDV BRiHT 360 flash and a gridded SMDV 85 Speedbox. No pigeons were harmed in producing this photo.
Honoured, humbled, frightened and excited, part 2: my Fujifilm GFX Challenge
About a year ago, I published a blog post called 'Honoured, humbled, frightened and excited'. These words best described my feelings when I was invited by Fujifilm to test a pre-production sample of the X-Pro 2.
Fast forward to November 2016. I got a call from the Belgian Fujifilm office, inviting me to participate in the GFX Challenge: a limited number of photographers worldwide would get the opportunity to test drive a preproduction sample of the long-awaited and even longer-rumoured Fujifilm Mirrorless Medium Format camera, the 50 megapixel GFX 50 S.
So I was feeling humbled, honoured, frightened and excited all over again. Well, maybe even a little more humbled and honoured and definitely a lot more frightened, as the group consisted of only 20 photographers. Compared to last year, we not only were supposed to make images with the camera, but we were also asked to produce a short video clip. Other than that, we were free to do choose how, where and what we wanted to photograph.
I thought it would be cool to see how a camera that is thought of by most people as a typical studio camera, would behave outside of its natural habitat. So I rustled up fellow Fujifilm photographers Matt Brandon and Serge Van Cauwenbergh as cameramen and within days of being asked, we were on a plane to one of my favourite places to shoot: Varanasi, India.
Below is the clip on the official Fujifilm Youtube channel (with Japanese subtitles). It was filmed entirely in 4K with X-T2 cameras, by the way. For now, that is all I can share. More pictures and a more detailed account of my experience with the GFX will follow when Fujifilm releases the embargo.
In case your Japanese or your English are a little rusty, below is the clip on my Vimeo account. It's the same, but it gives you a choice of Dutch and English subtitles.
A huge thanks to Serge, Matt, Matt's wife Alou (who acted as my voice activated light stand) and our guide/fixer/translator Manoj. This would not have been possible without you, guys (and gal)! Further thanks are obviously due to Fujifilm Japan and Fujifilm Belgium and finally also a big thank you to Ruth and Noah for letting me embark on this unexpected journey on such short notice.
Join Matt Brandon and me in Varanasi in 2018.
If seeing this video got you excited about Fujifilm and/or photographing in India, know that Matt and I will be leading another Location Portraiture and Lighting Masterclass there in 2018. The 2017 edition of this workshop sold out in just one hour. We'll be releasing details about the 2018 one within the coming weeks. If you want to be notified as soon as dates and details are available, you can sign up for information via the form below. Please make sure to click on the link in the confirmationi email you receive.
Young meets old in the narrow alleyways of Varanasi. An orange-gelled Cactus RF60 was fired through a gridded SMDV70 Speedbox to produce this image.
Announcing the second edition of the Location Portraiture and Lighting Masterclass in Varanasi, India
I am pleased to announce that the incomparable travel photographer Matt Brandon and yours truly have teamed up again for the second edition of the Location Portraiture and Lighting Masterclass in Varanasi, India.
You'll learn how to create impactful, cinematic 'environmental portraits' by combining wide angle lenses, shallow depth-of-field and some extra light. At night, there will be plenty of time to discuss the images' catch of the day and suitable postproduction techniques.
Full details will follow in a couple of weeks - UPDATE: full details can be found here - but here's the lowdown: this is not just a travel workshop nor only a portrait workshop. It's not merely a street photography nor just a lighting workshop and it's definitely not only a postprocessing workshop. In fact, it's all five of those elements blended together in an incomparable mix, pretty much like the Indian chai we'll be having when we're discussing images at the end of the day. In short, if you're into any of the above, you should seriously consider coming. If you're into most or all of them, you have no excuse not to come!
We're wrapping up some final details, but the dates are already set and I already wanted to share these with you: this unique workshop will be held from Saturday, February 25th 2017 until Sunday, March 5th. We will meet in New Delhi and after two introductory days of shooting the bustling street life there, we will go to Varanasi. For the rest of the week, this holy city will become the beautiful backdrop for our portrait sessions. In fact, probably the only thing more photogenic than the city itself is its inhabitants. We will photograph sadhus and silversmiths, fishmongers and rickshaw drivers.
We will use available light but we'll help that available light a hand (or two) by bringing our own available lights (in the form of speedlights and portable studio flashes) to the party.
Best of all, while other workshops often have an 8:1 or even 10:1 guest/workshop leader ratio, we're limiting subscriptions to only 6 participants (so a 3:1 ratio), so you will have ample opportunity to interact with us and with the people we'll be photographing.
In this workshop, you'll learn how to make beautifully lit images even in the harshest of natural light conditions.
This workshop is open to all levels of photographers using mirrorless or DSLR-style cameras who know the basics about operating their cameras. You don't need to be a flash wizard, but we'll help you become one! And if you're already familiar with flash, we'll teach you more than a couple of tricks to take your knowledge and your images up a couple of notches. We've called this 'a Lighting Masterclass' because that's what we want you to be by the time you return back home: a master of lighting, both available light and flash, and any mix in between, for that matter. Below are some examples of the kinds of pictures we made on the first edition of this workshop last year and previous workshops in Delhi.
If you want to be first to learn when the workshop website goes up and final details and pricing are announced, use the form below. (Note: even if you're already subscribed to the regular MoreThanWords newsletter, I recommend you fill out this form).
UPDATE: No need to fill out the form as the Masterclass' page is now up: you can find it here.
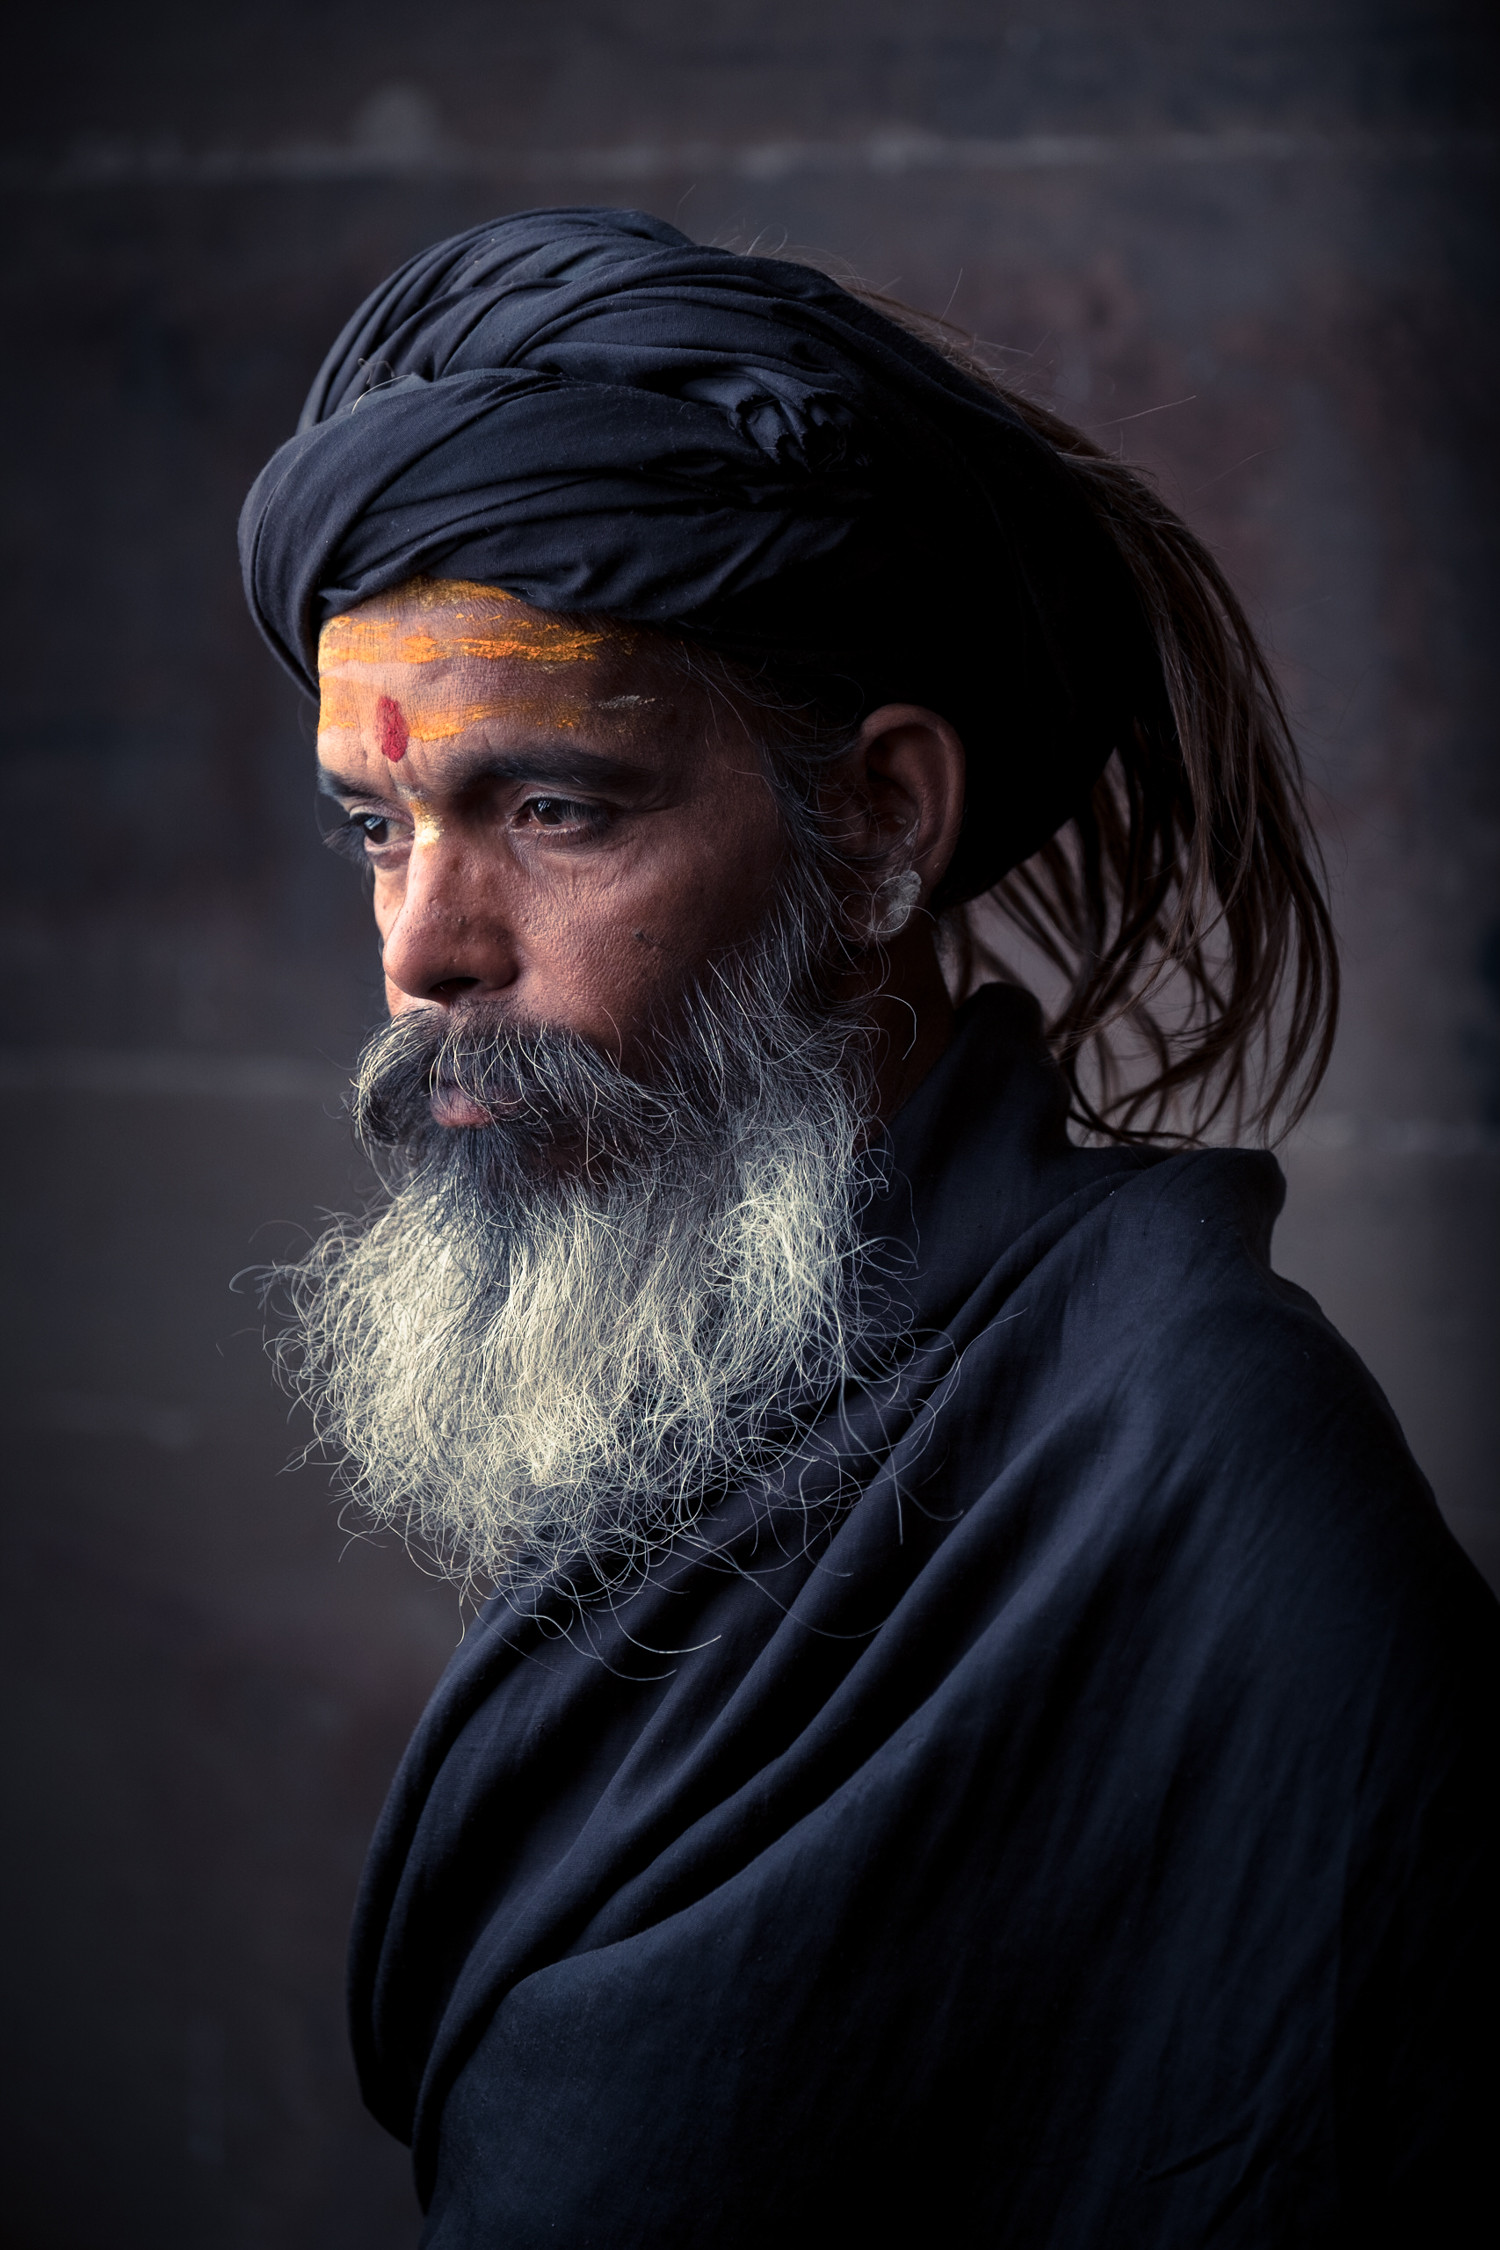
We used a so-called 'Short Lighting' light setup here because it works great with character faces like this sadhu's.
Have your travel juices already started to flow? Subscribe to my regular newsletter and get this free eBook with '10 tips for better travel photographs'!
Fujifilm Audio Podcast with fellow X-Photographer Matt Brandon
As you probably know, I have a passion for India, for photography and... for Fujifilm gear. I'm proud to be a Fujifilm X-Photographer for Fujifilm Worldwide and a Fujifilm Ambassador for Fujifilm Belgium. You might also know that I share these passions with another X-Photographer, Matt Brandon from www.thedigitaltrekker.com.
This shared interest has resulted in Matt and I organizing a number of photo workshops in India. Most of the images you can see in the galleries on this website were shot during those workshops. At the end of each workshop, it has become a tradition of ours to do an audio podcast about the Fujifilm gear that was released over the past year. Last year's podcast even included Matt and I ducking under a blanket to kill the noise of the AC in our Delhi hotel room. We'll do anything for quality!
This year we didn't have the time to do record the podcast in India, but thanks to the miracle of Skype, it's now here. So, if you have some time to spare, you can not only hear what we think about the new 90 or 16 mm but you'll also hear some inside tips and techniques, for example on how to use the X system for flash photography.
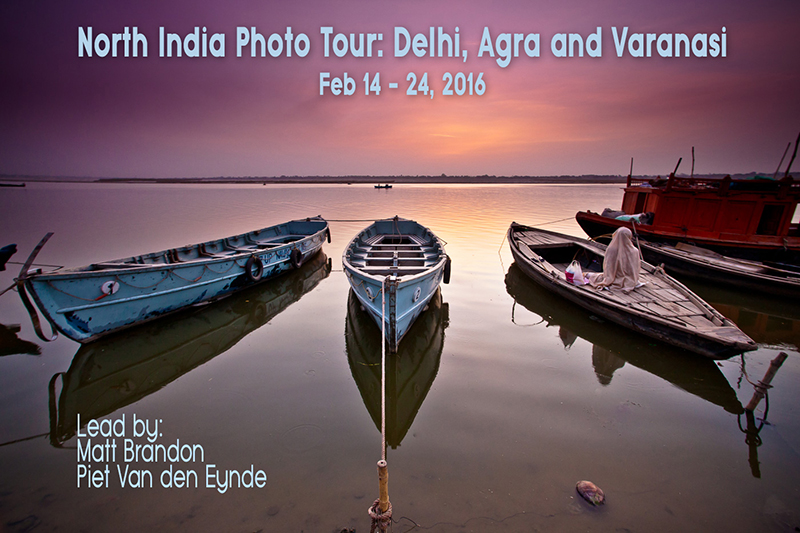
We have also just opened registrations for our new workshop: from February 14 to 24, 2016, our North India workshop will bring its participants from Delhi over Agra, home of the Taj Mahal, to Varanasi, one of India's holiest (and most photogenic) cities. This intimate ten-day workshop is limited to a maximum of nine participants.
Matt and I will teach you how to get the most out of this beautiful environment, how to make striking portraits and how to tell visual stories. Finally, for those interested, there will also be ample time to talk about postprocessing: being an Adobe Certified Lightroom expert, I eat Fuji .raf files for breakfast!
The workshop's official language is English, but if English isn't your first language (in fact, it often isn't for most of the participants), I'll be happy to assist you in Dutch or French, too! If you have any questions about this workshop, feel free to contact Matt or me.
In the podcast, Matt and I refer to a couple of our earlier blog posts. For your convenience, you can find those here:
Matt’s Posts
- Fujinon 50-140mm f2.8 LM OIS WR: Review
- First Look: Fujinon XF 16-55 mm f/2.8 R LM WR
- Views of Kenya with the Fujinon XF 16mm f/1.4 WR
- Fujifilm’s 90mm Makes a Colorful Splash on the Set of Indian Summers 2
My Posts
- My 10 favourite accessories for Fujifilm X-cameras – Part 1
- My 10 favourite accessories for Fujifilm X-cameras – Part 2
- 10 reasons why I love my Fujifilm X100T
- Review: The Jinbei HD 600 II: Portable Flash Power for my Fuji X cameras
- Review: Godox V850 manual Li-ion flash: a perfect manual flash for my Fujifilm X-cameras


