The 5DayDeal irrevocably ends in…
My personal top five
There's so much stuff in the new edition of the 5DayDeal, that annual new bundle for all photographic training and other photographic tools such as presets, overlays, actions and more, that it's easy to be overwhelmed. In a prior blog post, I already covered the full offer. In this blog post I want to dig a bit deeper into my personal top five!
Aurora HDR 2019
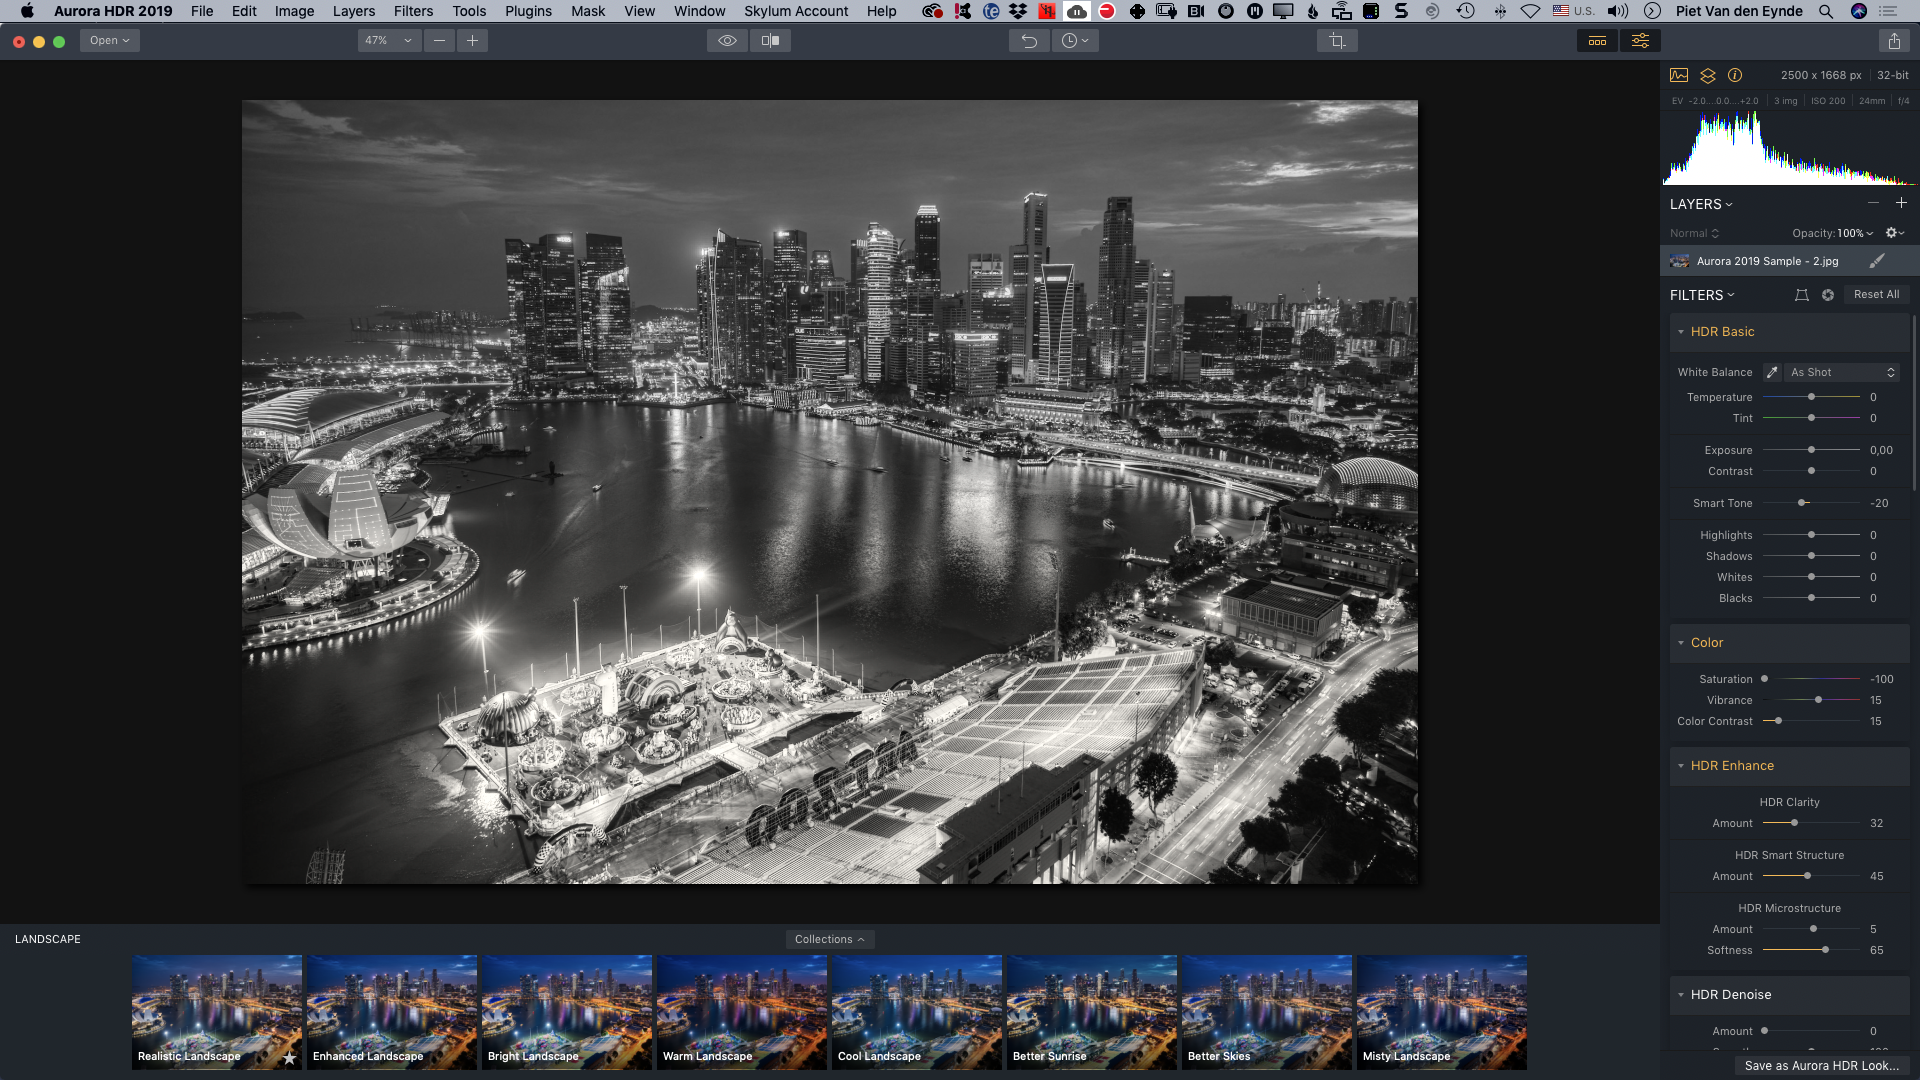
Aurora HDR 2019 is by the same makers as Luminar and is one of the best – if not the best – HDR software application on the market today. If you think that HDR is only useful to make those exaggerated, cartoonish grungy edits, you're mistaken. Of course you can do that too, but HDR software is also used by landscape and architectural photographers. Something few people know, is that you can also use it to make some very moody black-and-whites, either in combination with Lightroom or Photoshop or not. Aurora HDR 2019 is normally $99. Now, you can get it together with all the other tools in the 5DayDeal for less than that. Aurora HDR 2019 is part of the basic Photography Bundle of $89.
2. Serge Ramelli’s Fine Art Photography Masterclass
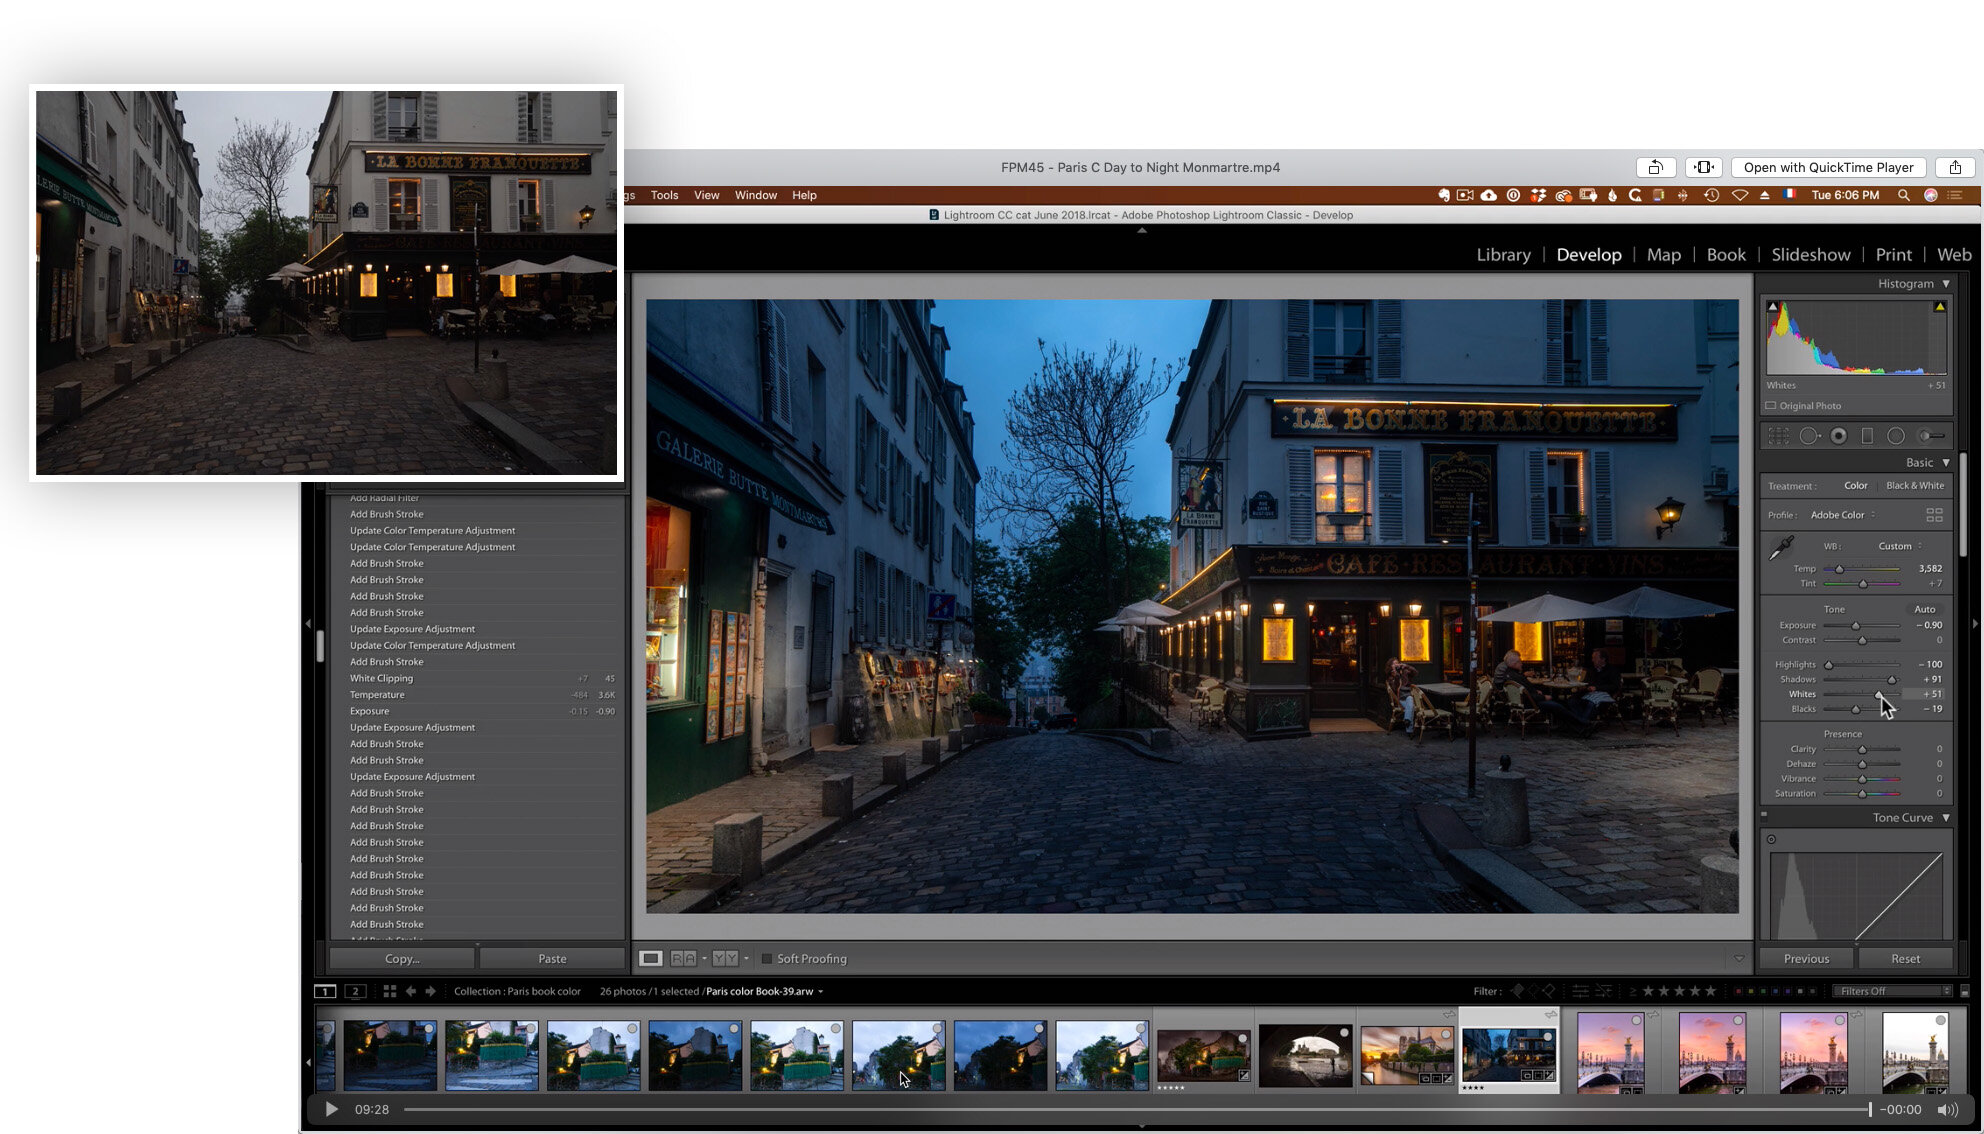
Serge Ramelli is somewhat of a phenomenon. This Frenchie-with-the-charming-English-accent has managed to build a proper Lightroom training imperium over the last couple of years. 500,000 YouTube followers? I can only dream of it! In general, I often think his edits are a little over-the-top – which coming from me means something as I don't shy away from a bold Lightroom slider move or two – but as the French say ‘Qui peut le plus, peut le moins’. The Lightroom tutorials in his Fine Art Photography Master class are pretty advanced and they showcase some surprising, out-of-the-box applications of specific Lightroom tools. Amongst others, there is a really nice day-to-night tutorial in which he transforms a picture that he took during the day into a night scene. Serge’s entire Masterclass normally retails for $147. Now you can get it for $89 together with all the rest of the tutorials in the 5DayDeal.
3. Getting Started with Photoshop and Adobe Camera Raw
Blake Rudis of f/64 Academy is a big name in the Photoshop training industry. He's also made a couple of Photoshop panels that are very popular with landscape photographers. In this course, he takes a really deep dive into Adobe Camera Raw. After all, not everybody works with Lightroom :-) How deep? Well… I've learned more than one thing and I'm only halfway the course. That should tell you something…
4. The Artist by Joel Grimes
Joel’s signature light setup: twoi strip lights and a beauty dish in a butterfly light position.
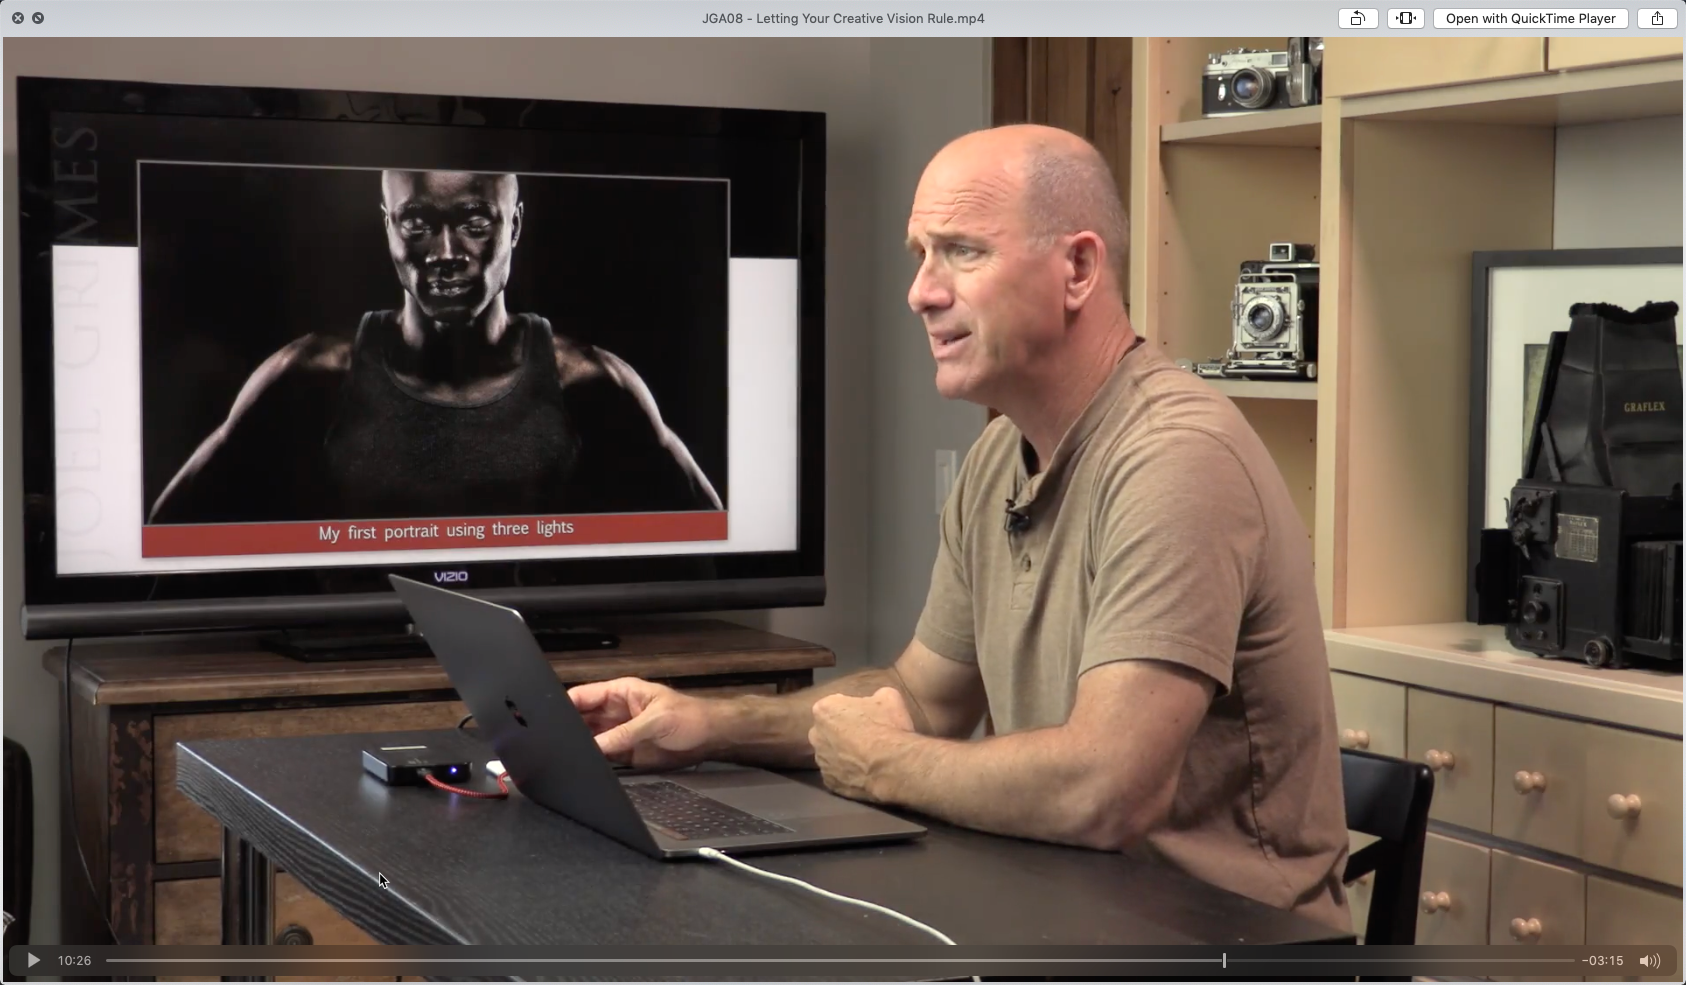
I think I've got about every tutorial that Joel Grimes has ever published. The fact that I started to pay more attention in my photography to working with rim light and striplights, I have Joel to thank for. This year's 5DayDeal bundle features his ‘The Artist’ course. This isn't a real hands-on tutorial but rather a motivating, almost philosophical course about how to improve in your photography, also if you're doing this for a living. Throughout the course, you'll see plenty of examples of Joel's work. Amidst all the more practical courses in the 5DayDeal, this course is a welcome and motivating change. In this course, Joel also talks about overcoming your limitations as a photographer and he knows what he's talking about, as he is colourblind! This course normally retails for $179. Now it's in the bundle, with 70 hours of other tutorials for only $89.
5. Complete Posing workshop by SLR Lounge
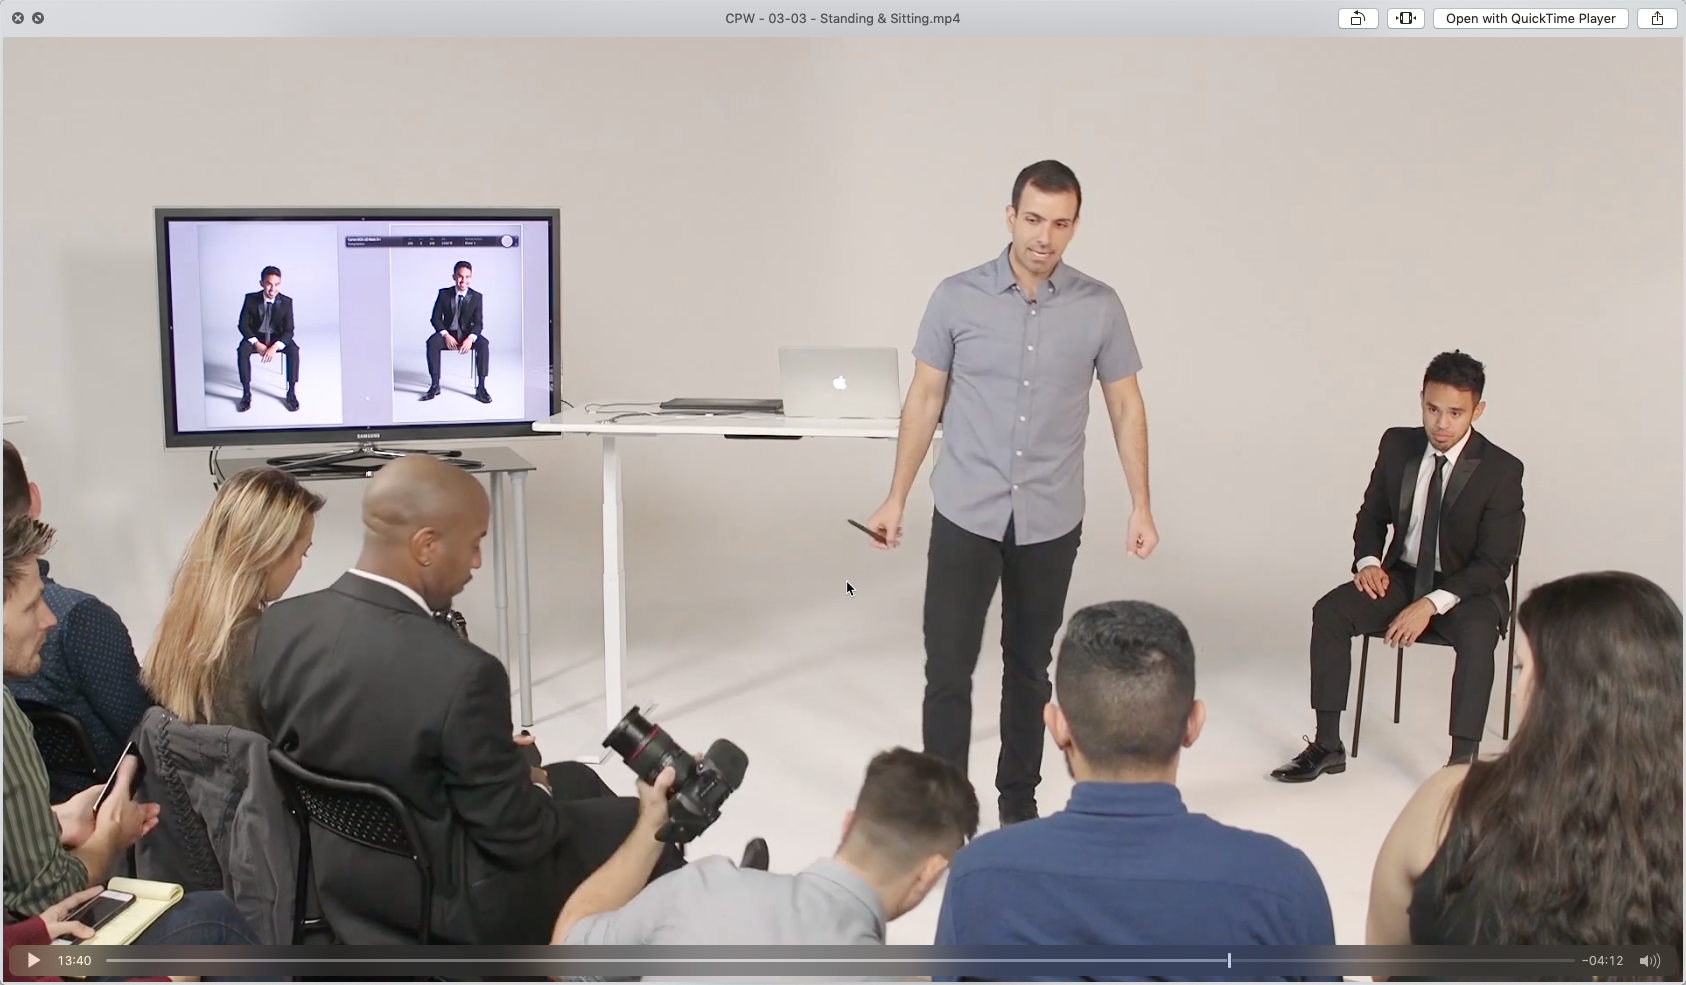
You know the feeling? During a workshop or on the tradeshow, generally you'll be photographing professional models that can strike a different pose with every click of your camera. But then back home, when you try to apply your recently acquired skills on your neighbour's son or daughter or even worse, on your own kids, things don't work quite as well. Posing is one of the most underestimated skills in photography. Really good models take years to get to that point. But… As a photographer you can lend your models a helping hand. In the Complete Posing Workshop by SLR Lounge there is no shortage of ideas and techniques to give even the most clumsy sitter a camera-friendly pose. This course was an eye-opener, also for me! It talks about posing men, women and – the most difficult skill of all – posing couples! The nice thing about it is that it is in part filmed live and that the public, consisting of amateur photographers, takes turns at taking the pictures while the teacher gives directions. This way, you can also learn from the mistakes that are being made.
My favourites from the Charity Bundle and the Pro-Bundle
The 5DayDeal base bundle is $89, but upon checkout, you can optionally purchase two smaller add-on bundles: the Charity Bundle and the Pro-Bundle, which will respectively set you back 24 and $39 extra. It obviously depends on your budget, but there are a couple of hidden gems amongst those two extra bundles as well. I've picked one from each bundle:
“I purchased the 5DayDeal 2 years ago. Zero regret. This one sounds even better. These packages hold extreme value and they also contribute to a very worthy cause. Such high profile contributors ensure that the quality of product and software is top notch. I can highly recommend these pacakages to anyone looking to lift their game.”
The Beginner’s guide to Photoshop (part of the Charity Bundle)
In addition to my own Photoshop for Lightroom Users course, there is another Photoshop course in the 5DayDeal. However it's not in the $89 base bundle but in the Charity Bundle. If one of your goals is to learn Photoshop, I really advise you to add the Charity Bundle to your order. This is a course by Phlearn, an authority in the field of Photoshop courses. After having watched both this course and my own, Photoshop won't have many secrets left for you!
Beverage Photography and Retouching with Rob Grimm (part of the Pro Bundle)
In this beautifully shot tutorial, you get a number of examples of the preparation, lighting setup, shooting and postprocessing of beverages, one of the trickiest forms of product and studio photography. This tutorial normally retails for $99, now it is part of the optional Pro-Bundle of $39 that you can add to the basic Photography bundle of $89.
Watched two videos from my ‘Photoshop for Lightroom users’ course for free, this weekend!
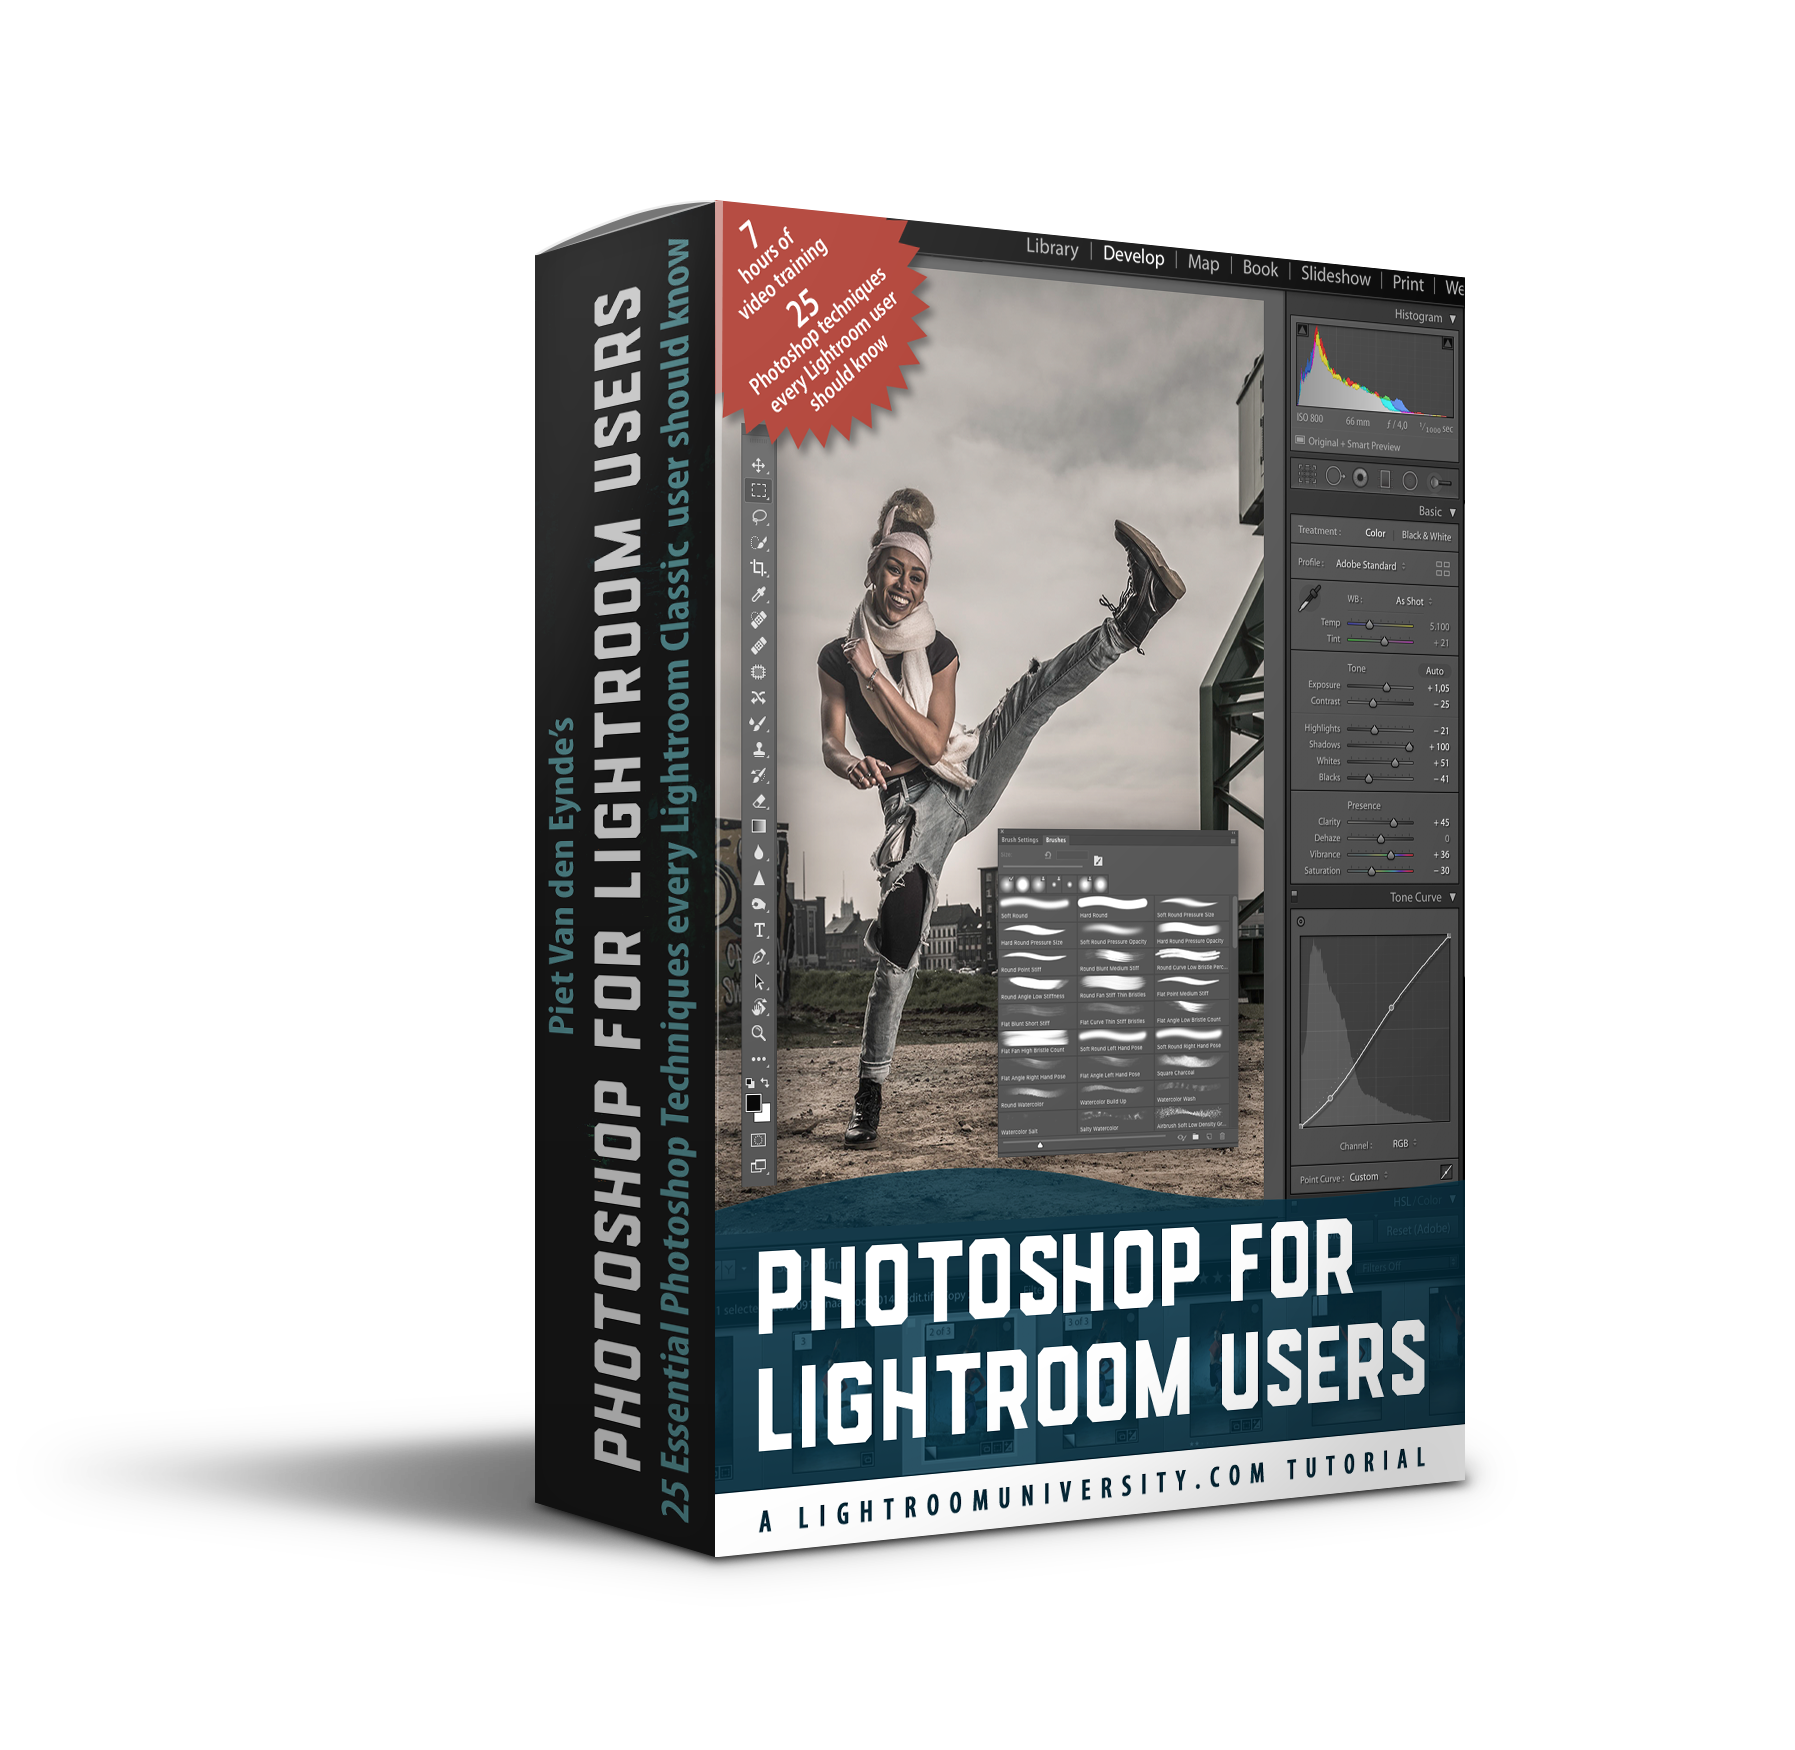
Because I'm humble, shy or both :-) – I haven't listed my own Photoshop for Lightroom users course in the top five. But in the meantime, you should know that this brand-new, seven hour course is also part of the 5DayDeal bundle. My course comprises 25 case studies (‘chapters’) with exercise files about when and how as a Lightroom user, you should go to Photoshop and back. As promised, until the end of the 5DayDeal, each day I’ll stream an entire chapter of my course for free! And because tomorrow is Sunday and I don't want to send out any emails, I'm already putting Sunday's video online today! Twice the viewing pleasure :-)
The first video is about how you can use Photoshop to clone… in perspective! You can do so with the remarkable yet highly unknown Vanishing Point Filter. The second video is about Content Aware Fill, another one of those things that I regularly go from Lightroom to Photoshop for.
Did you pick up something? Then imagine what you could learn from the full seven hour course and from all the other courses in the 2019 edition of the 5DayDeal!
Extra bonus! Buy the 5DayDeal through my link and you will receive one of the bonuses below completely free:
As a thank you for buying the 5DayDeal (and therefore my new course) through my affiliate link, I've got an extra gift for you: you can pick one item from the following list! How about one of my two texture packs, one of my two Creative Profiles packs for Lightroom Classic, a preset pack for Lightroom or a complete introductory course to Lightroom Classic? Once you've purchased the 5DayDeal bundle through this link, this other link will give you all the information you need to claim the bonus of your choice. Important: don't go looking for that bonus during the checkout procedure on the actual 5DayDeal site: this bonus is an extra offered by me personally and therefore delivery of it is handled by me, via this form!
*: + VAT for European citizens. If you have a VAT number, you can enter that during checkout and you can order VAT-free.
Affiliate disclaimer: the links in this blog post are affiliate links. When you use these links, MoreThanWords receives a commission. This commission is paid for entirely by the organizer of the bundle, 5DayDeal. Therefore this commission doesn't cost you anything extra. On the contrary, when you use my affiliate link you will receive an extra bonus that you wouldn't have had when purchasing directly.
I was one of a select few that could test these tools already live and you can read about my thoughts in this blog post. In fact, I was so enthusiastic, that Skylum asked me if they could use this quote of me on their website :-)
Discover the three killer new features of the upcoming Luminar 4
If you're a regular reader of this blog, you know that I think that Luminar by Skylum Software is one of the most interesting new developments in terms of photographic software. There are several reasons for this:
Luminar is affordable;
It exists in a Windows and a Mac version
It can be run by itself as a Lightroom alternative (Luminar 3) but also as a plug-in (Luminar Flex);
It is relatively simple to use:
It makes intensive use of AI (Artificial Intelligence) to automatically and quickly speed up complex image retouching jobs.
Skylum is currently working on Luminar 4, that is expected somewhere this fall. Every once in a while, they give a sneak peak of the new features that will be in that version 4 and this week, they teased a fantastic new tool for portrait photographers. I was lucky enough to be asked to make a video about this tool for Skylum that will be on Skylum’s YouTube channel later this year but as a reader of this blog, you can already watch it here. But first, let me tell you some more about the new philosophy for Luminar 4.
Luminar 4 ss the future for both Luminar 3 and Luminar Flex
An important new development is that Luminar 4 will be the upgrade for both Luminar 3 as well as for Luminar Flex. Luminar 3 and Flex will kind of melt into Luminar 4. During the installation procedure of Luminar 4, you will be able to choose whether you want to use the application as a stand-alone piece of software, as a plug-in, or as both. Personally, I think it is a good thing because now, Skylum can focus on this one product instead of having to update to different yet very similar pieces of software. This also means that if you want to use Luminar as a standalone and as a plug-in in the future, you’ll only need one license.
AI Sky Replacement: the first new dazzling feature of Luminar 4
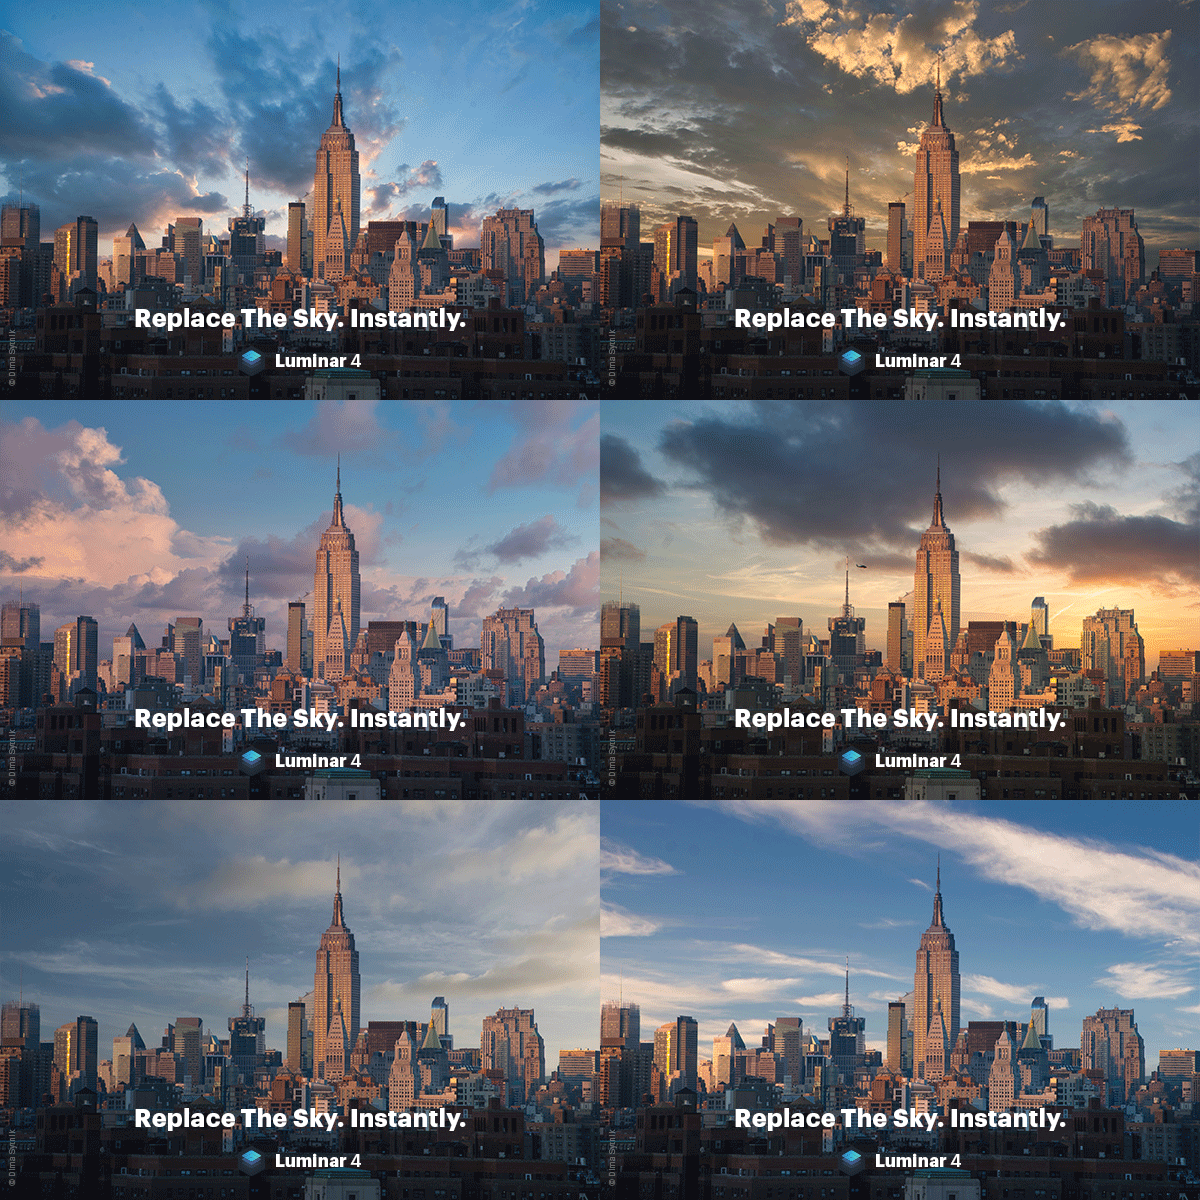
Luminar 4 will contain a lot of smaller and bigger new features. One feature that will definitely interest landscape photographers, is the AI Sky Replacement filter. This lets you swap out a boring sky in a landscape or a cityscape for a more interesting one without having to make tedious selections. It all happens automatically. Luminar 4 even makes sure that the perspective matches and that where necessary, the foreground is color graded to match the new sky, for example when you put us warm sunset sky into an image that was shot earlier in the day. As you can see from these animated gifs, the tool works surprisingly well and of course there are sliders for more advanced tweaks should you need them.
AI Structure: the second new feature of Luminar 4
Everybody loves Clarity, Structure and Texture. Lightroom just recently added a new Texture slider and Luminar also has a number of sliders to emphasize details in your images. Yet, up until recently, you always have to use a mask to make sure that all that extra structure and detail didn't add 10 or 20 years to your model. With AI Structure, this happens automatically this tool recognizes things like faces and skies and can give different areas in an image each their own (or none at all) dose of extra structure.
AI Skin Enhancer en AI Portrait Enhancer: the third main new feature of Luminar 4
The previous two tools were mainly interesting for landscape photographers, but this tool will be right up your alley if you are a portrait photographer. AI Skin Enhancer can't automatically recognize faces and can soften the skin in those faces while retaining texture. I was pretty sceptical myself but I think the result is nothing short of amazing. I know photographers that would happily pay the price of Luminar 4 only for this feature. Even more so, the only direct alternative that I know is a plug-in called Imagenomic Portraiture and although that plug-in is really good, it costs more than double then all the tools in Luminar 4 combined and it's not as flexible or automated.
In the video below, I show you these two new portrait tools in more detail.
What if you want to buy Luminar 4 or you want to upgrade to Luminar 4?
If this blog posts as aroused your interest for Luminar 4, there are a couple of options, depending on the scenario…
You want to start using Luminar already now as a standalone application
You can now buy a special, discounted ‘Early Bird’ bundle of Luminar 3 + Luminar 4: you can already start using Luminar 3 now and as soon as Luminar 4 is released, you can start using that. Luminar 4 will automatically upgrade your Luminar 3 catalogue. On this bundle, discount code MORETHANWORDS will knock another $10 off of the prize and you can also receive a number of bonus Luminar presets. The regular price for this bundle is $99. With the code you only pay $89.Click here to go directly to the sales page for this bundle on the Skylum website. The bundle you’re looking for is the most right-hand one of the two.
You want to start using Luminar already now as a plug-in
You can now buy a special, discounted ‘Early Bird’ bundle of Luminar Flex + Luminar 4: you can already start using Luminar Flex now and as soon as Luminar 4 is released, you can start using that. On this bundle, discount code MORETHANWORDS will knock another $10 off of the prize and you can also receive a number of bonus Luminar presets. The regular price for this bundle is $99. With the code you only pay $89.Click here to go directly to the sales page for this bundle on the Skylum website. The bundle you’re looking for is the most right-hand one of the three.
You're okay with waiting until Luminar 4 is officially released, but you want to get it at the best possible price
In that case, you can pre-order Luminar 4 right now via this link for $69. Choose the leftmost option of the two. The price will increase soon (although I don't know when exactly) but by pre-ordering, you are sure to lock in the current price and you get a number of bonus presets for Luminar on top of the deal. In any case, you have a 30 day money back guarantee that only starts when the software is actually out.You're already a Luminar 3 customer and you want to upgrade to Luminar 4.
In that case, you can pre-order your upgrade for $59 via this link and you’ll receive a bonus presets pack valued at $49. Until Luminar 4 actually comes out, you can simply continue to use your existing version of Luminar 3.You're already a Luminar 3 customer and you want to upgrade to Luminar 4.
In that case, you can pre-order your upgrade for $59 via this link and you’ll receive a bonus presets pack valued at $49. Until Luminar 4 actually comes out, you can simply continue to use your existing version of Luminar Flex.
How do you enter your discount code in 1) and 2)
To claim your discount code MORETHANWORDS, in the checkout window, you click on Enter a Promotional Code (1). If you have a VAT number, you can even enter that and VAT will be excluded from the price. For that, click on (2) Enter VAT ID.
DISCLAIMER: The above links are affiliate links: when you use these, MoreThanWords receives a commission. This commission is entirely paid for by the software manufacturer. So you do not pay extra. On the contrary, in some cases, you can use a special discount code that lets you pay even less than if you would buy directly from the software manufacturer. Commissions like these allow me to continue adding free contents tutorials and reviews on this blog.
Organising small flashes with F-Stop's Medium Shallow ICU
What you’re about to watch is highly unusual for me. I’m going to give organisational and packing advice! Move over, Marie Kondo :-) It’s kind of funny, really, because I normally am really bad at organising things but I think what I do in the video makes sense. Judge for yourself :-)
Save over 35 percent on my Light It Up ebook
Packing flashes is one thing. Knowing what to do with them when you open the bag an entirely different one. But I’ve got your back: in my best-selling ebook Light It Up! I explain everything I’ve learnt in the past ten years of working with flashes big and small. I start with simple examples and gradually take it up a couple of notches. This Deluxe Edition even comes with three bonus videos totaling 45 minutes of playing time.
Over three stops of Exposure correction, lots of positive Shadows recovery and some other minor tweaks. Don’t try this on your smartphone images…
How far can you take a Fujifilm GFX100 file in postproduction?
TL/DR version: pretty, pretty far ;-)
Fujifilm GFX 100 | GF110mmF2 R LM WR @ 110 mm | 1/60 sec. @ f/2 | ISO 200
Longer version:
I had the honour of doing a demo with the GFX100 during the camera’s launch events in The Netherlands and Belgium. During the demo in Belgium, which took place in the incredible Lites Studios, I wanted to showcase both the IBIS feature and the ability to recuperate underexposed images. In fact, the ‘postprocessability’ – if that is even a term – of the GFX files is probably what I like best about them, even more than the resolution. In the video below, you’ll see me increase the image’s Exposure by more than three stops and apply a liberal dose of positive Shadows. So… how does the GFX100 hold up?
I’m by no means a Capture One expert, but I wanted to try C1 as Lightroom’s support for the GFX100 is still preliminary. I have to say I was amazed by the quality of the output.
Master Off-Camera Flash with this practical PDF ebook.
Disclaimer: the above links are affiliate links. If you buy Capture One true these links, MoreThanWords will receive a commission which is already included in the price. So you don't pay extra compared to purchasing directly. This commission helps me to run this website and to produce the many free video tutorials that you can find here. Thanks for purchasing through my links.
What's new in Lightroom 8.3
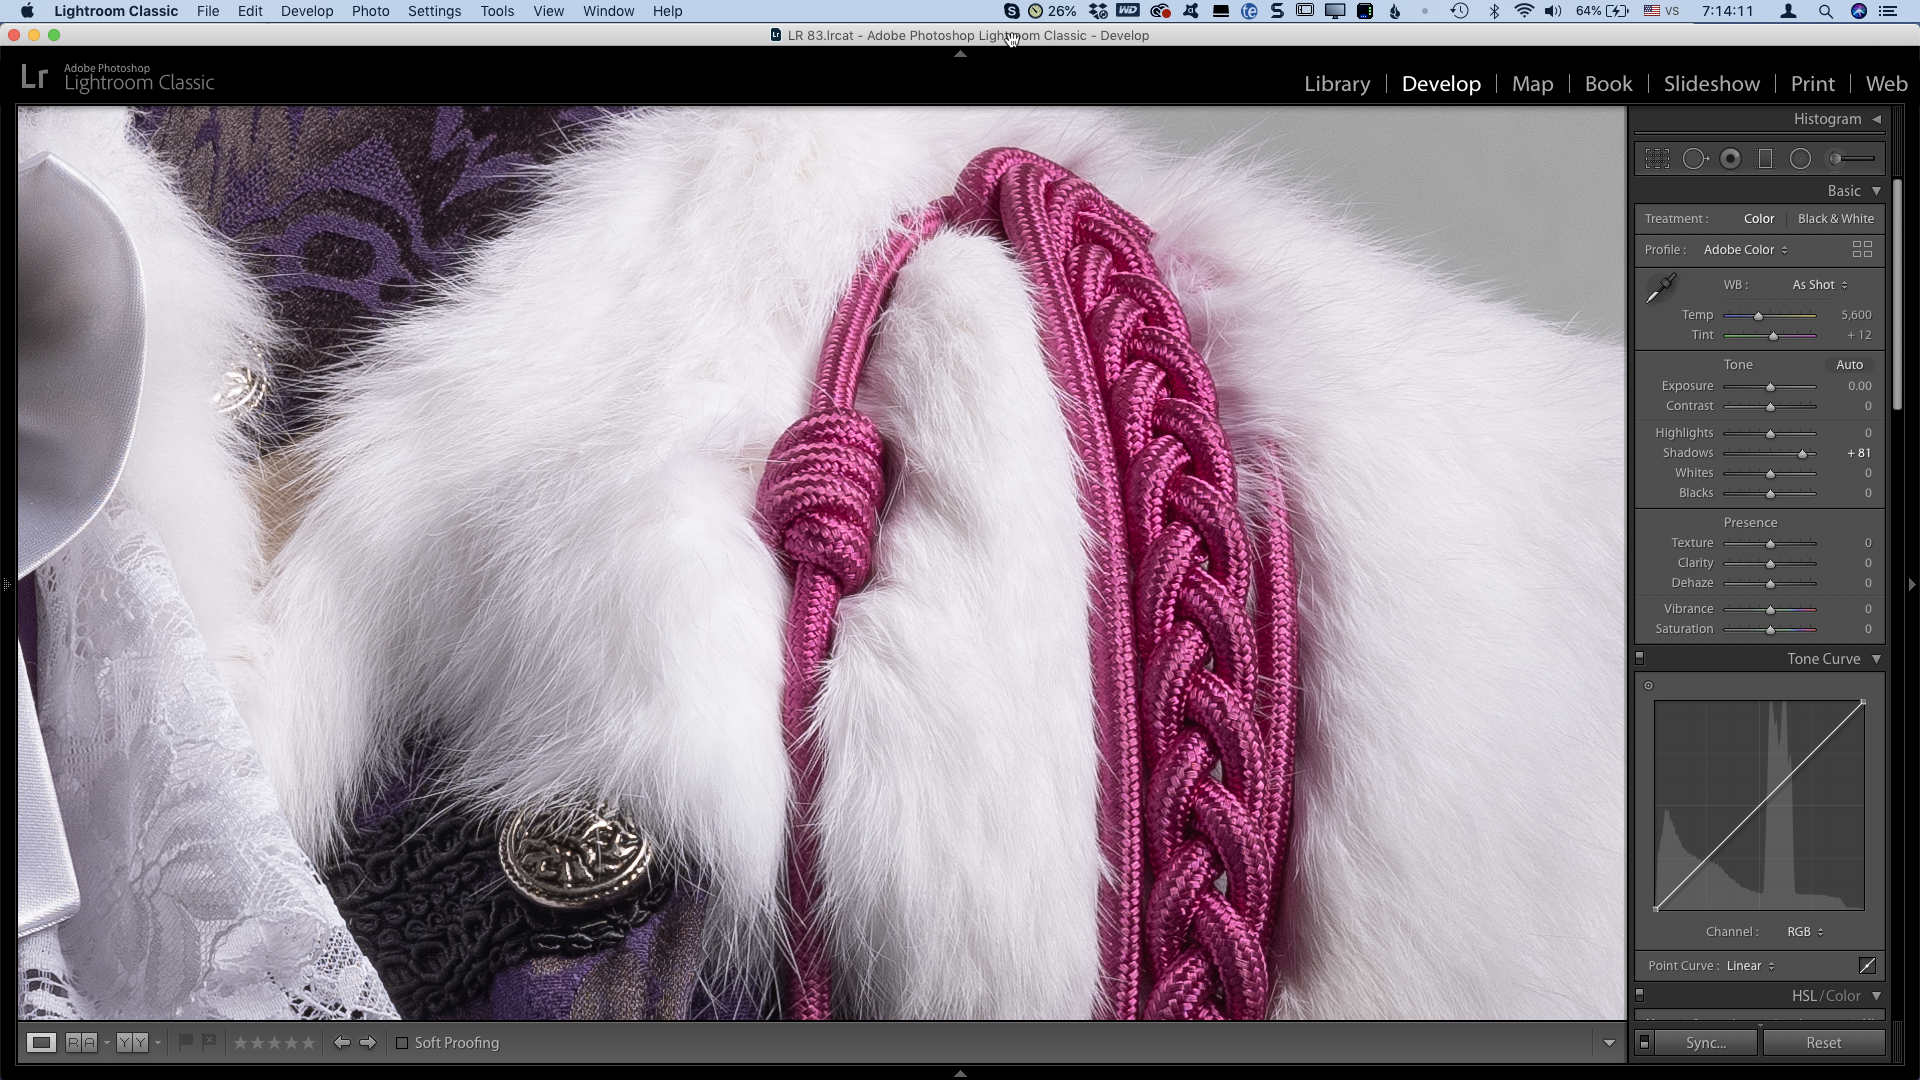
Lightroom 8.3 has been released last week and there’s one fantastic new feature: a Texture slider. This slider deals with how fine details are rendered. In terms of range, it sits between the regular sharpening slider found in the Details Panel and the Clarity slider. The latter can sometimes go a little overboard if you use it at high settings and lead to that overly grungy ‘nineties HDR’ look. Texture on the other hand is a lot more subtle and is great to make fine detail such as hair, fur, lace or bark pop a little more without the side effects of Clarity.
Texture can also be used with negative settings to quickly soften the skin.
Below is the comparison of a detail of this picture. Once with Texture at 0 and once with Texture at 100. Image: Major TC Theodoricus photographed with the Fujifilm GFX 50S | 110 mm lens | Godox flashes and SMDV softboxes.
Slider to the left = Texture 0. Slider to the right = Texture 100.
In the video below I tell you more about this and the other new features of this exciting update. If you’re in a hurry, the part about Texture starts at around the three minute mark.
Save 25% on my ‘Learn Lightroom Classic in 2.5 hours’ course
This great new feature will definitely spice up your images. If you also want to spice up your Lightroom knowledge, then now is the time. I'm offering a 25% discount on my ‘Learn Lightroom Classic in 2.5 hours’. You don’t need a discount code. The price is already discounted. This offer expires on May 31st.
“Not only is Piet a master teacher, he’s an active professional photographer. This helps immensely because he truly understands the challenges photographers face. His course excels in that it moves beyond standard textbook answers to common issues.”
“Extremely helpful and to the point. The filing system explanation is the best description I have come across to date.”
What happens if a veteran Lightroom user plays around with Capture One?
One of my new year’s resolutions was to pay closer attention to Lightroom alternatives. Not that I’m planning to switch over my 250,000 image catalog any time soon, but I think it’s good to know what’s out there on the market. I have been using (and teaching) Lightroom Classic for more than ten years now, but that does not mean that I should be blind to advantages other applications might have. As the saying goes: ‘It’s not because you already ordered that you can’t have another look at the menu.’
Not everybody likes subscriptions
Personally, I think the $150 a year or so subscription for Lightroom Classic and Photoshop isn’t outrageous, but still quite a number of Lightroom users don't like that in order to enjoy the most recent updates and features, you need to have a subscription. The most recent version of Lightroom that you can still buy as a so-called perpetual license, is Lightroom 6 and that version is now more than a year old. Even more, some features, such as the Map module simply don't work anymore and there’s also no official support anymore for it.
Lightroom alternatives: horses for courses
So, it's no surprise that there are a lot of alternatives popping up: Alien Skin Exposure, Skylum Luminar and On1 Photo Raw are but a few. They all claim to be the one and only Lightroom-killer and although they all have their merits in terms of image editing, in terms of image management they’re still miles away from Lightroom's catalog approach.
Capture One… The only real Lightroom alternative?
In my opinion, there is currently only one application that is really comparable to Lightroom and that's Capture One Pro 12. Just as Lightroom Classic, this Capture One Pro 12 works with a central database (although there’s also a so-called Session-based workflow) in which the edits are stored. It has a capable search functionality, keywords support, regular and smart collections and so on. And… not only can you subscribe to Capture One Pro, but you can also still buy it as a regular, perpetual license with optional (paid) upgrades.
Capture One exists in the number of versions. The Express version is a stripped version that amongst others lacks the layers functionality and which is sometimes bundled for free with specific cameras. But the most interesting and comparable to Lightroom is obviously the Pro version. This exists in a Universal version, which is compatible with hundreds of cameras by different brands and which will set you back € 349 / USD 349.
Save 50% on the Sony and Fujifilm version of Capture One Pro 12
However, there is also a Sony and a Fujifilm specific version (which also supports the film simulations). Those versions will only work with the supported cameras of these respective brands (including the GFX 50S and 50R in the case of Fujifilm) but in turn, it’s € 100 / USD 100 cheaper. And there’s even better news: until the end of April 2019, both of these brand specific versions enjoy a spectacular 50% discount, leaving you to pay only € 124 / USD 124. In order to enjoy that discount, just use the links below. No special code needed! If you want, you can add a number of Styles to your purchase and those will also be discounted by 50 percent. Styles are comparable to Lightroom presets.
if you're interested in Capture Oe and you are a Sony or Fujifilm user, now is your moment! Phase One (who make Capture One) doesn't often do discounts like this! The discount also applies to the subscription formula although it's not clear to me whether it’s only for the first year or permanently.
Capture One or Lightroom Classic?
Obviously, that's a choice that everybody has to make for himself. But the fact is that Capture One Pro 12 is very complete and especially portrait photographers seem to love it because of its many tools to work with skin tone - something I might do a future video of. If you're working with a Sony or a Fujifilm camera, the application is great value right now thanks to the 50% discount. In the video below, I walk you through a before and after edit from the perspective of a Lightroom user and I give you a number of useful tips that will help you make the transition. If you're already a Capture One user, and you know of other advantages or disadvantages compared to Lightroom, let me know in the comments.
Disclaimer: the above links are affiliate links. If you buy Capture One true these links, MoreThanWords will receive a commission which is already included in the price. So you don't pay extra compared to purchasing directly. This commission helps me to run this website and to produce the many free video tutorials that you can find here. Thanks for purchasing through my links.
Meet Luminar Flex: a new plug-in for Lightroom that uses Artificial Intelligence - and save $10
If there is one developer of image editing software that doesn't seem to sit still, it's Skylum (formerly known as Macphun).
At the end of last year, Skylum released an update to their Luminar 2018 app, called Luminar 3. Luminar already had a couple of interesting filters on board, such as the Accent AI filter, that uses artificial intelligence to automatically enhance your images. Recently, they added the AI Sky Enhancer which, as you might guess, automatically recognizes and improves the skies in your photos. Another strong point is the ability to work with layers and layer masks in the plug-in.
Luminar 3…
The Luminar 3 update also added a Library functionality, or at least the start of it. While you could also use Luminar 3 as a plug-in for Lightroom and Photoshop, that wasn't really the intended use and the workflow wasn't ideal. Luminar 3 really positions itself more as a Lightroom alternative rather than a Lightroom plug-in.
However, not every Lightroom user is willing to throw their existing workflow overboard and start completely from scratch with a new application. Some people (such as myself) would prefer to integrate Luminar’s strong features in their existing workflow, such as the Artificial Intelligence driven filters and the ability to apply all adjustments locally instead of just a handful as is the case with Lightroom.
… versus Luminar Flex
If you're one of those people, then you will be super excited about the new Luminar Flex. At its core, Luminar Flex is basically Luminar 3 without the library functionality but with improved plug-in support for Lightroom Classic, Photoshop, Photoshop Elements and Photos (on Mac).
Existing Luminar 2018 and Luminar 3 users get a free license for the current version of Luminar Flex, which is a nice move from Skylum. The code for that free version should have been added automatically to your Skylum account. Skylum did announce however that from now on, Luminar 3 and Luminar Flex will be treated as separate apps with separate development trajectories and separate upgrade paths which will in the future also require separate upgrade fees. But that's only logical: normally, you will want to work with one or the other, not with both, and therefore you would only need to update one of them.
It's also important to know that future versions of Luminar 3 will no longer be usable as a plug-in.
Save $10 with code MORETHANWORDS
if you're not yet using Luminar, but this blog post raised your interest, then you can obviously just buy Luminar Flex. You can do so via this link. Luminar Flex is affordably priced at $59 and on top of that, code MORETHANWORDS shaves off another $10 (click on the blue text that says Enter Promotional Code in your shopping cart). Artificial intelligence has never been so cheap :-) By the way, the code also works for Luminar 3, if you prefer that solution.
Also for Lightroom 6 users
Quite a lot of Lightroom users are still working with Lightroom 6 and if you're in that situation, then Luminar has another ace up its sleeve for you: the ability to work with pixel layers inside of the plug-in. Indeed, it's possible to combine different images into one by using Luminar’s built-in layer functionality. I’ll explore this interesting feature in a future video on the blog!
Osmo Pocket Review
Hier zijn een paar sample clipjes gemaakt met de DJI Osmo Pocket. Ik ben geen professionele videograaf voor alle duidelijkheid - en daarmee pas ik dus 100 procent in de doelgroep van de Osmo Pocket :-)
Foto gemaakt met de Fujifilm X-T3 en een flitsparapluutje met een Godox AD200 flitser. Nabewerkt met mijn Creative Profiles Starter Pack.
De ‘house band’ van ons hotelletje in Langkawi, Maleisië.
Onderstaand clipje werd gemaakt terwijl ik achterop in een aftandse Landrover Defender zat die in een rotvaart een berg op reed (zie ook het begin van mijn review in Shoot).
33 reasons why the Fujifilm GF 32-64 should be in every travel photographer's gear bag...
Recently, my friend Damien Lovegrove published a gallery with work he’d made with the GF 32-64. Just as is the case with Damien, the 32-64 is also one of my favourite GFX lenses. Yet, quite a number of GFX owners tend to dismiss this versatile zoom lens because of its volume and weight (875 grams). They prefer prime lenses like the 45 (490 grams) or the 63 (405 grams). But when you think of the 32-64 as 33 prime lenses in one, all of a sudden it’s not that big or bulky anymore :-) I love having that flexibility from wide angle (32 is about 25 mm in full-frame terms) to standard lens (63 corresponds to about 50 mm). The first is great for environmental portraiture - for which I find the 45 mm prime often not wide enough - and the latter corresponds more to a regular field of view. In fact, 90 percent of my images are shot with either this lens or the 110 and this combo is one I’d recommend to any travel photographer using the GFX and wanting to combine flexibility with portability.
At its wide extreme, the GF 32-64 is great for environmental portraits…
… al while giving you the flexibility to zoom in to 64 mm.
So, I decided to follow Damien’s example but with a twist: here’s a gallery for you with 33 travel images taken with the 32-64 at each of its individual focal length settings. In full disclosure, I allowed myself to round up or down to the nearest integer :-) Obviously, there’s not a noticeable difference between a shot made at 44 or 46 mm, but the difference between 32 and 64 clearly shows in terms of compression, perspective and so on. And sometimes, being able to go as wide as 32 mm was crucial, because I could not back up any further to get everything in the shot that I wanted to. So, another way of looking at the 32-64 is having two primes and 31 options in between, all in one lens :-)







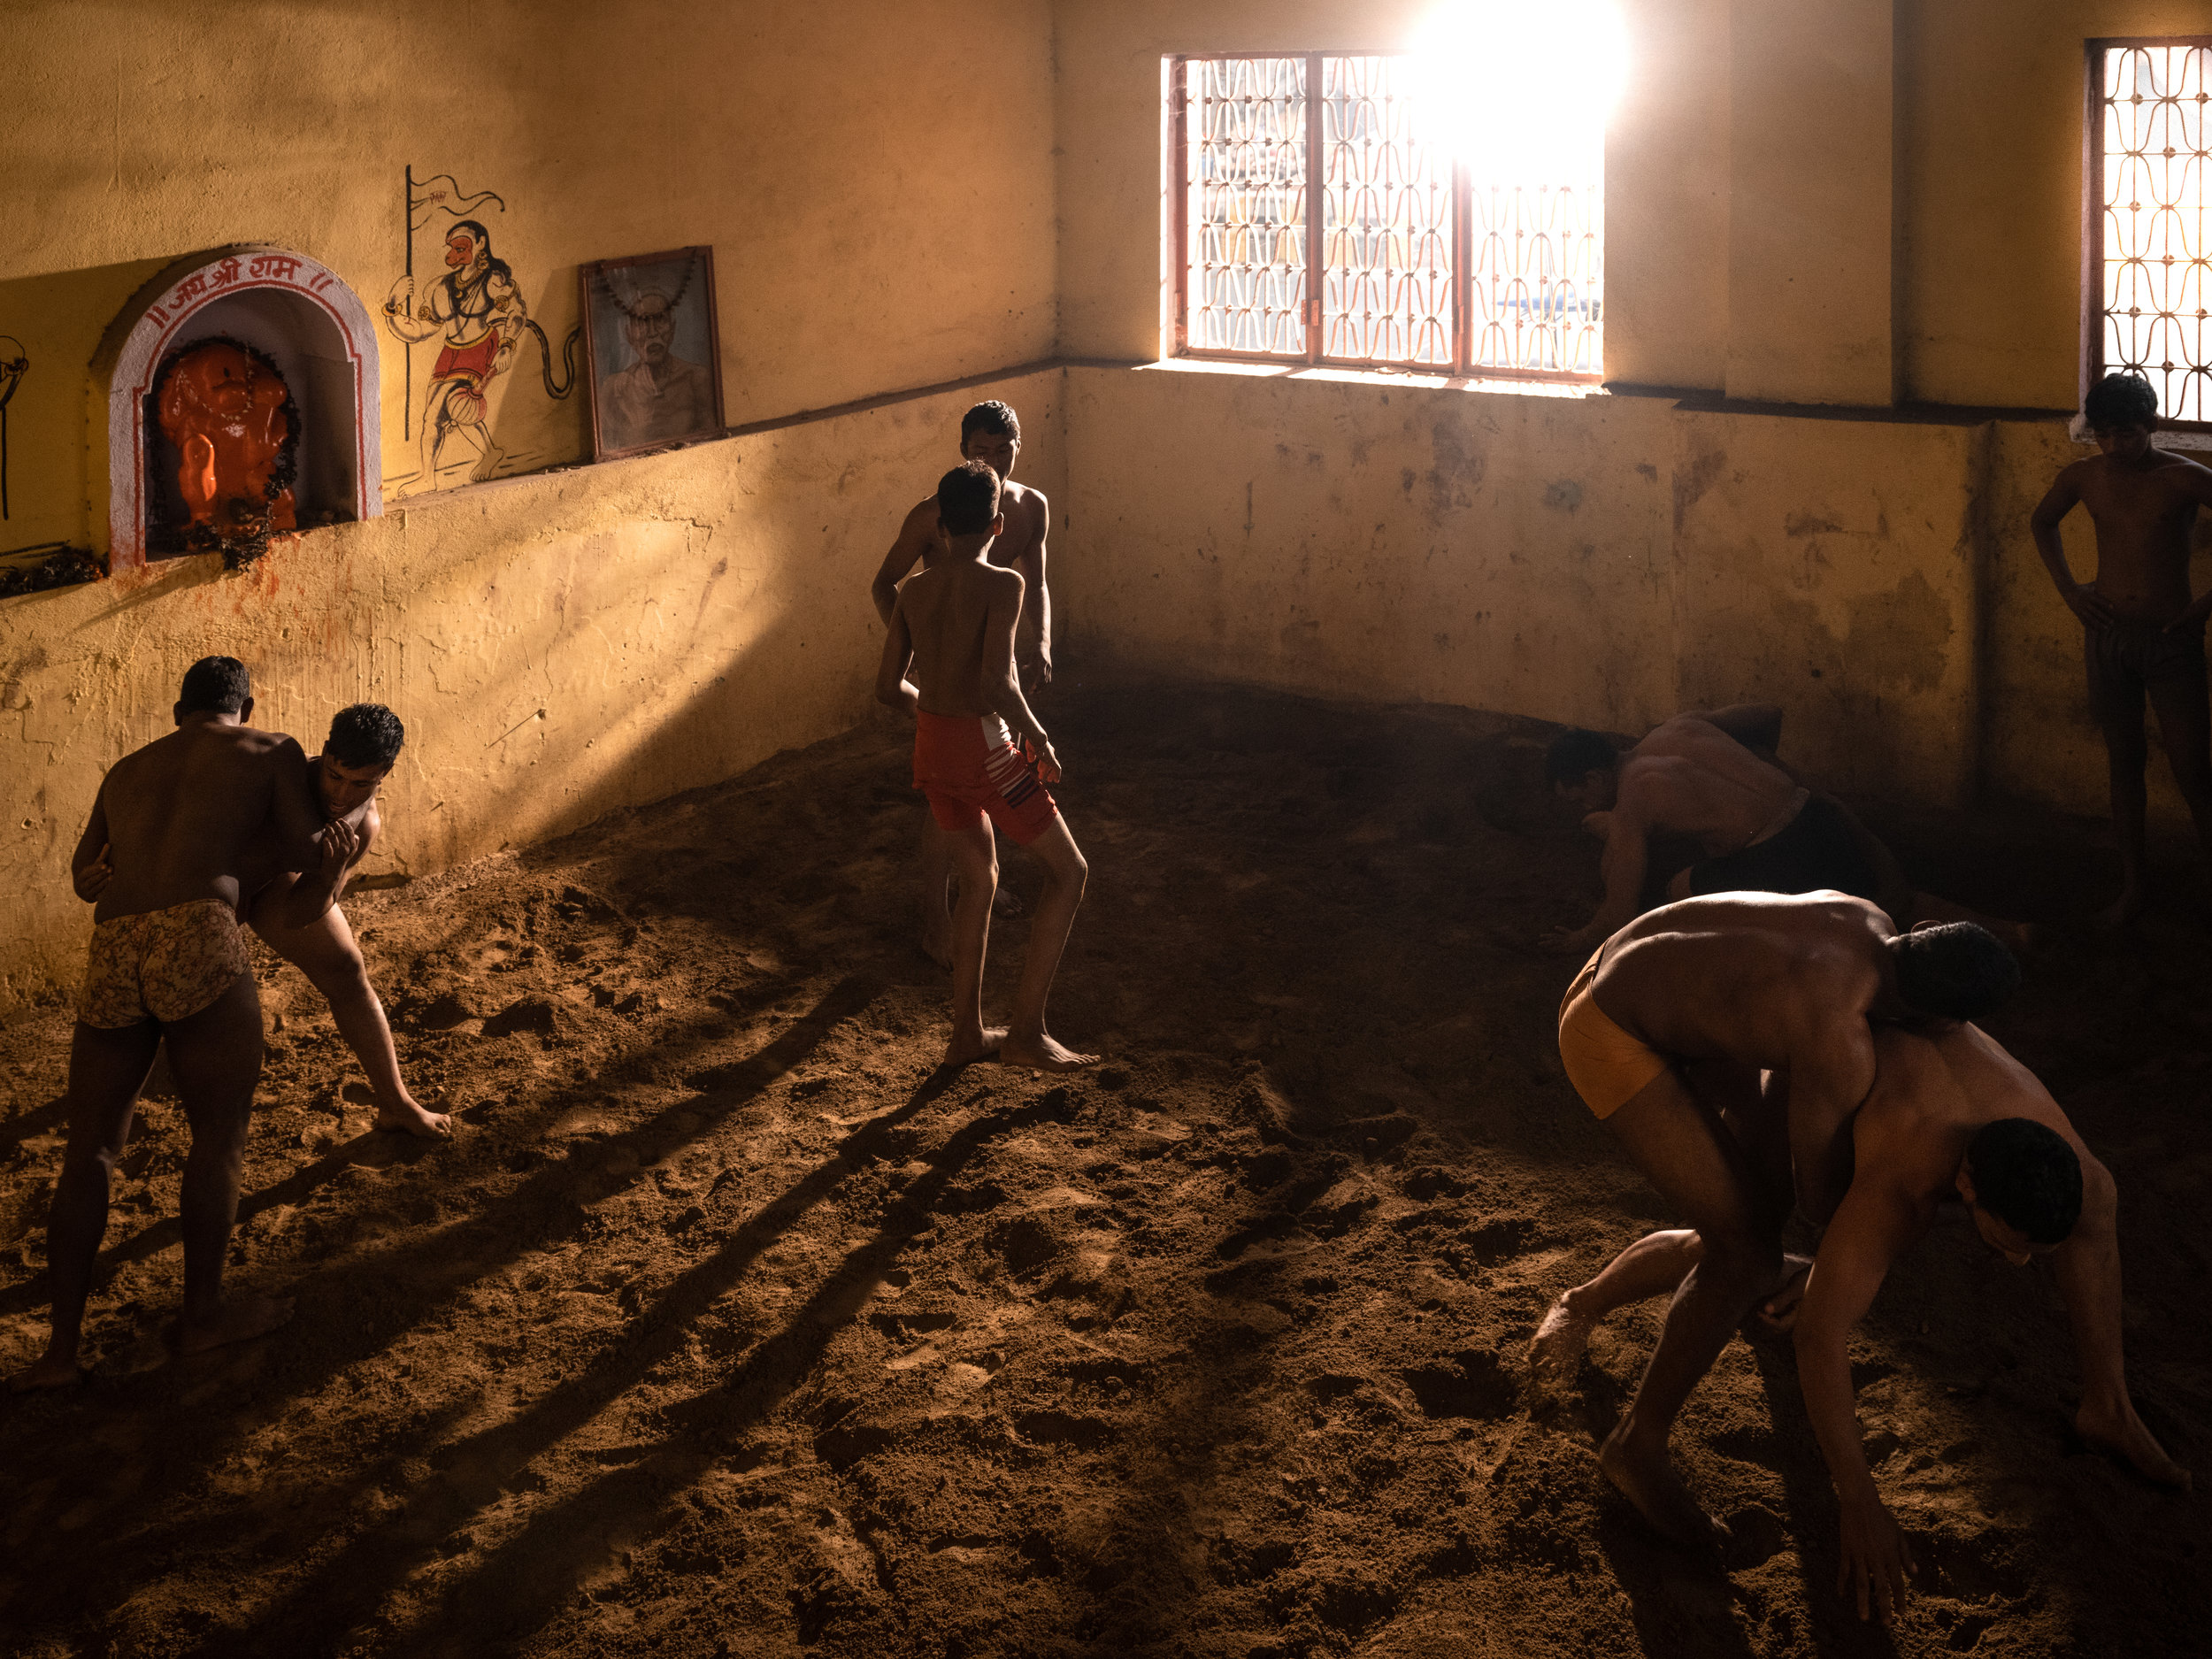
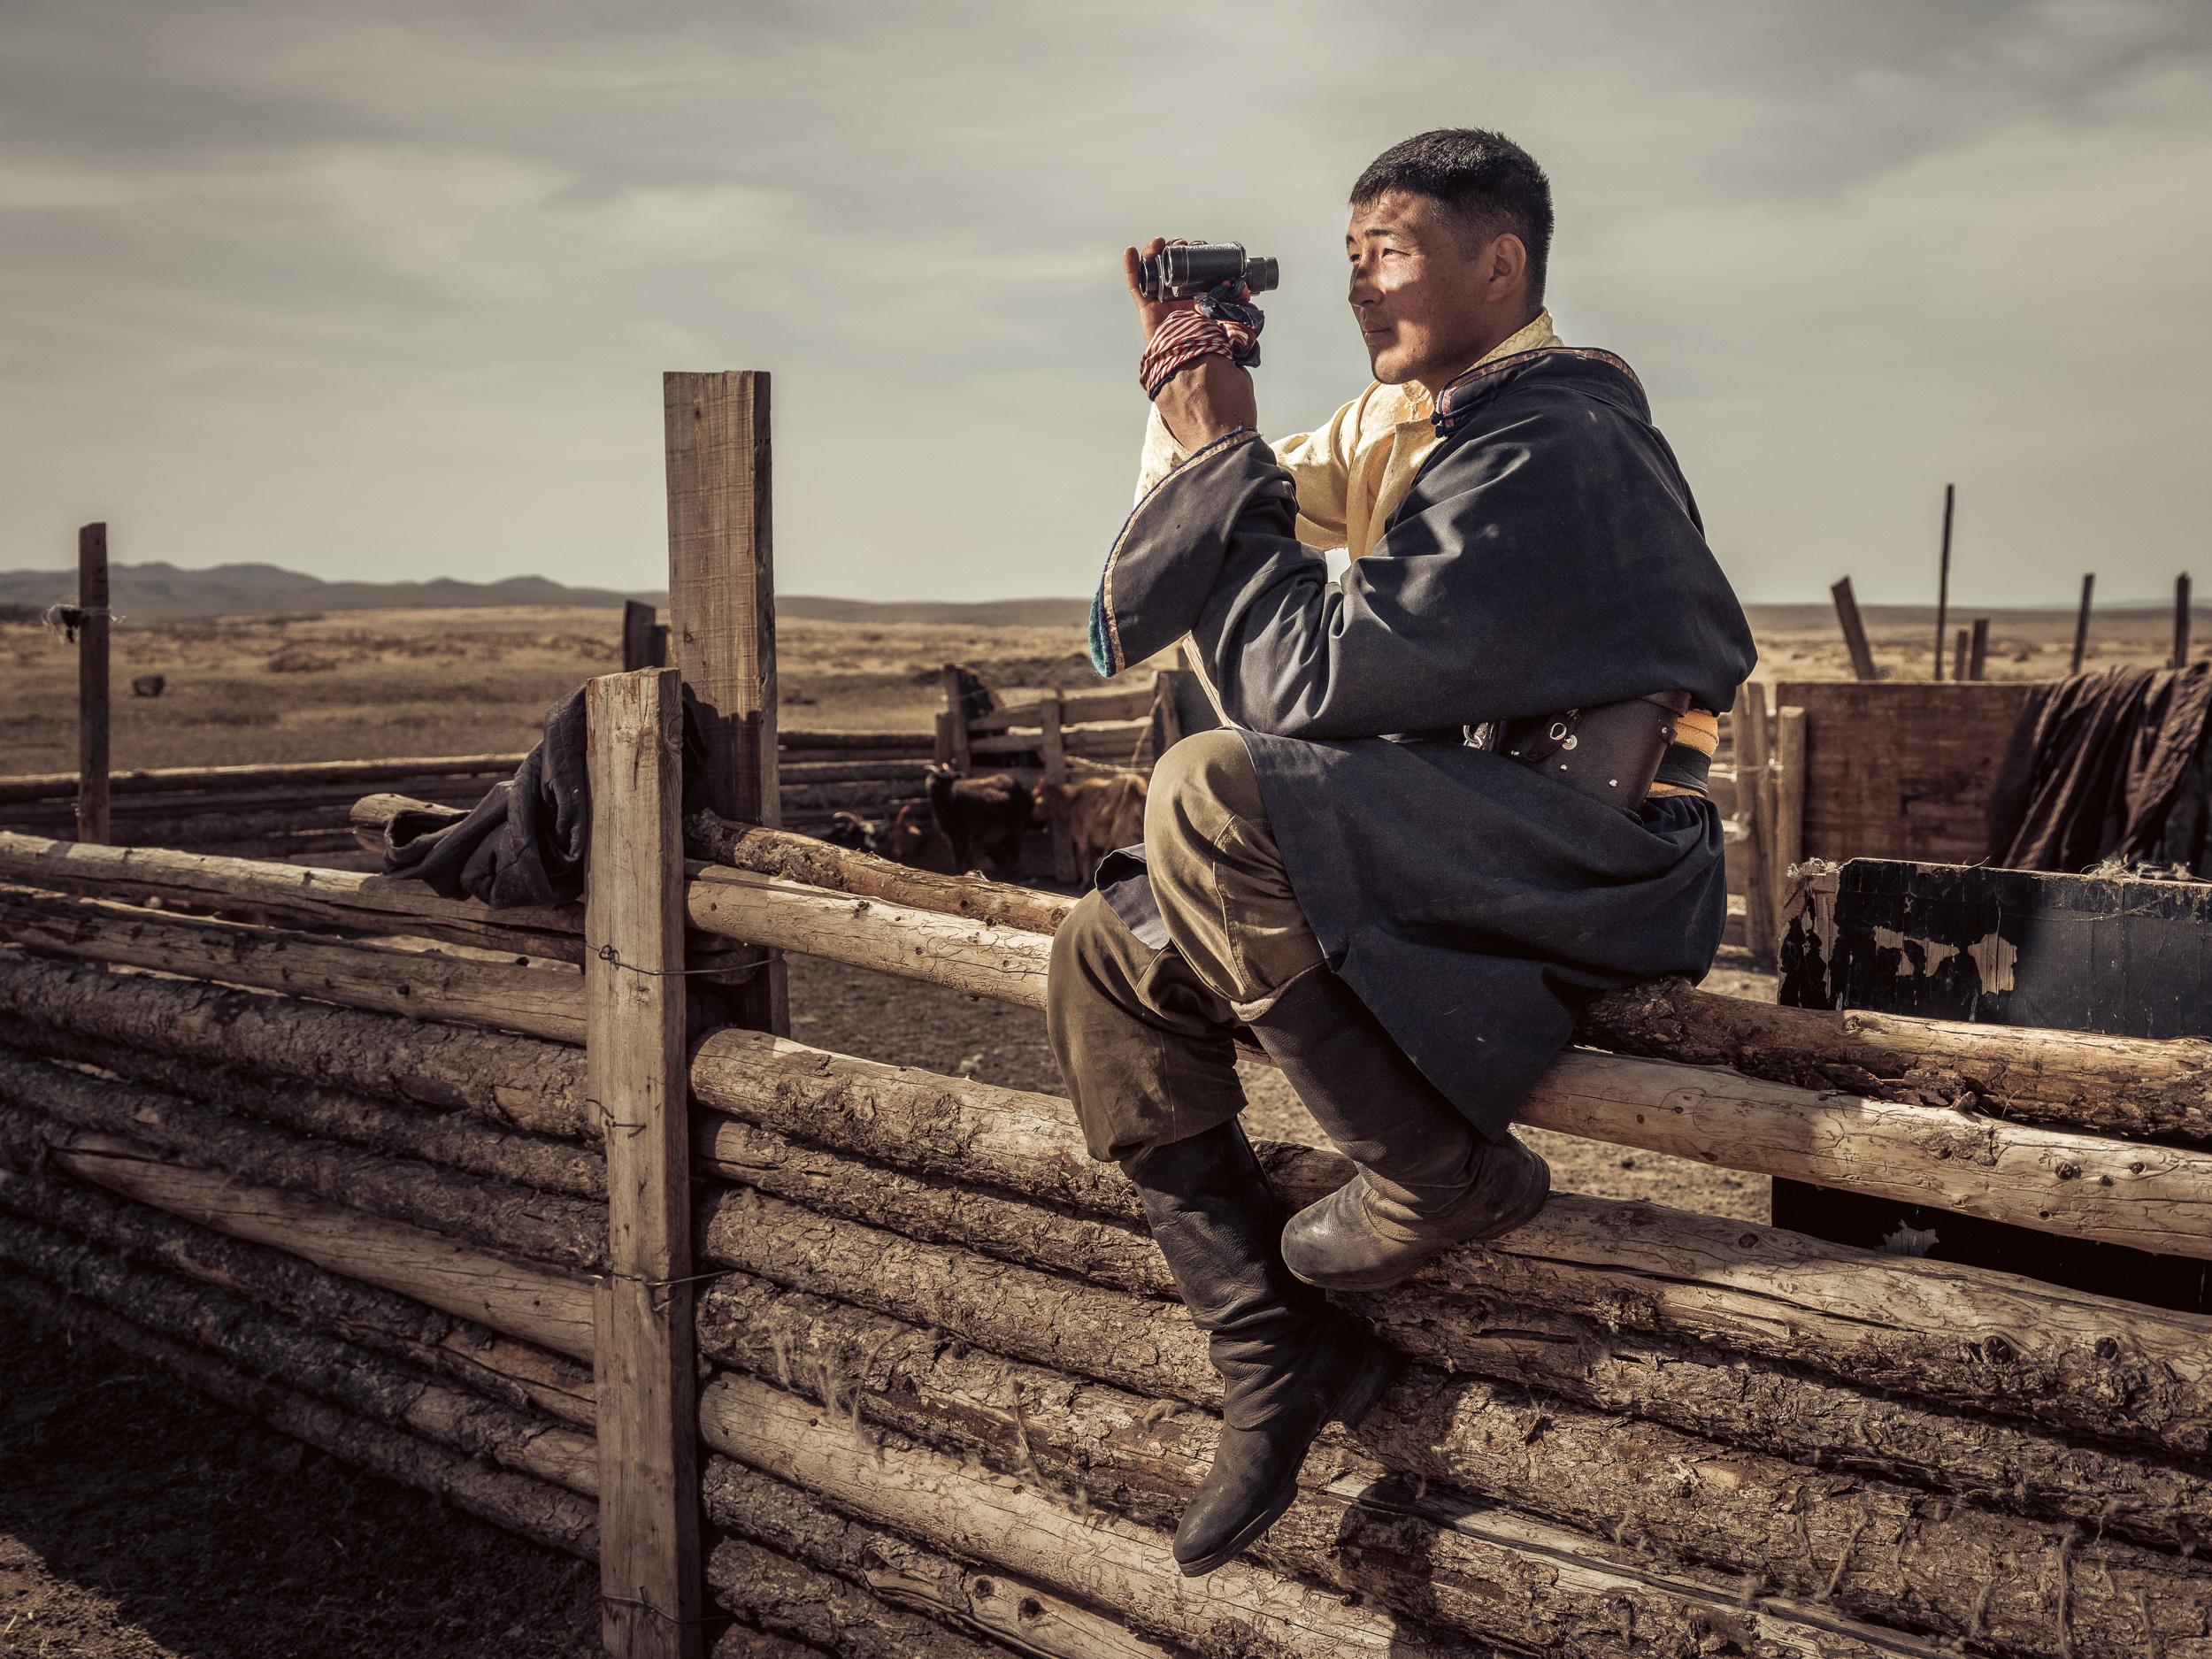

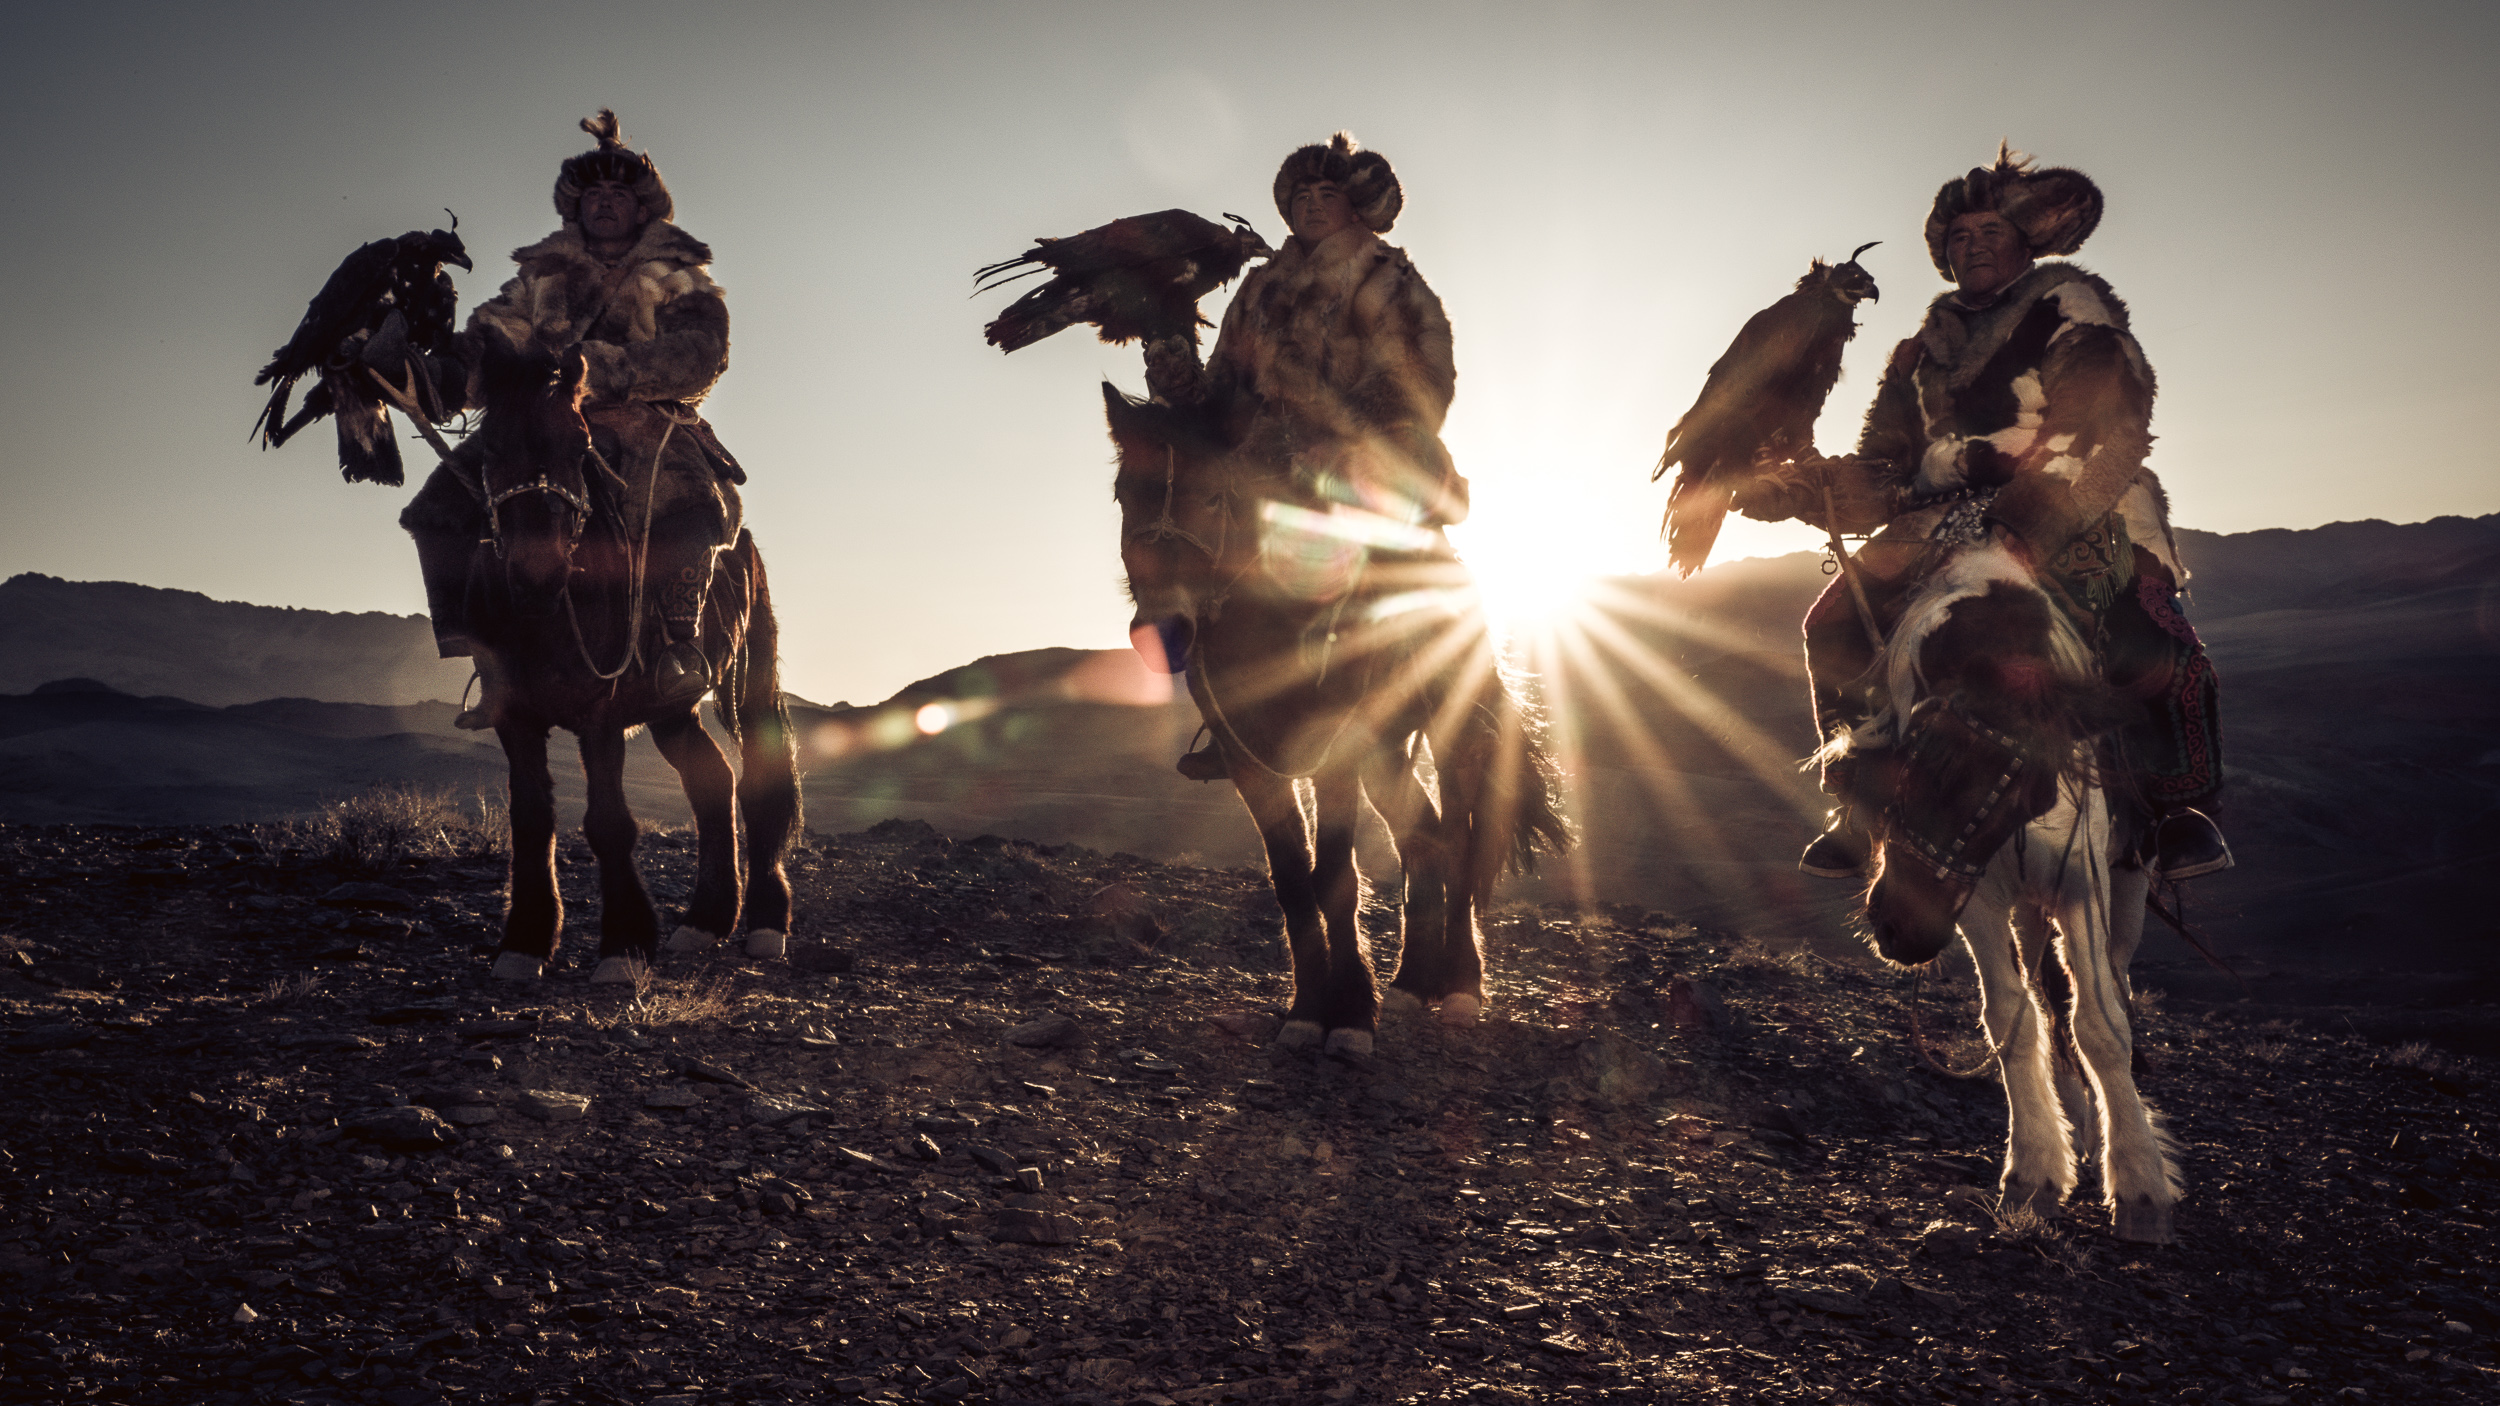



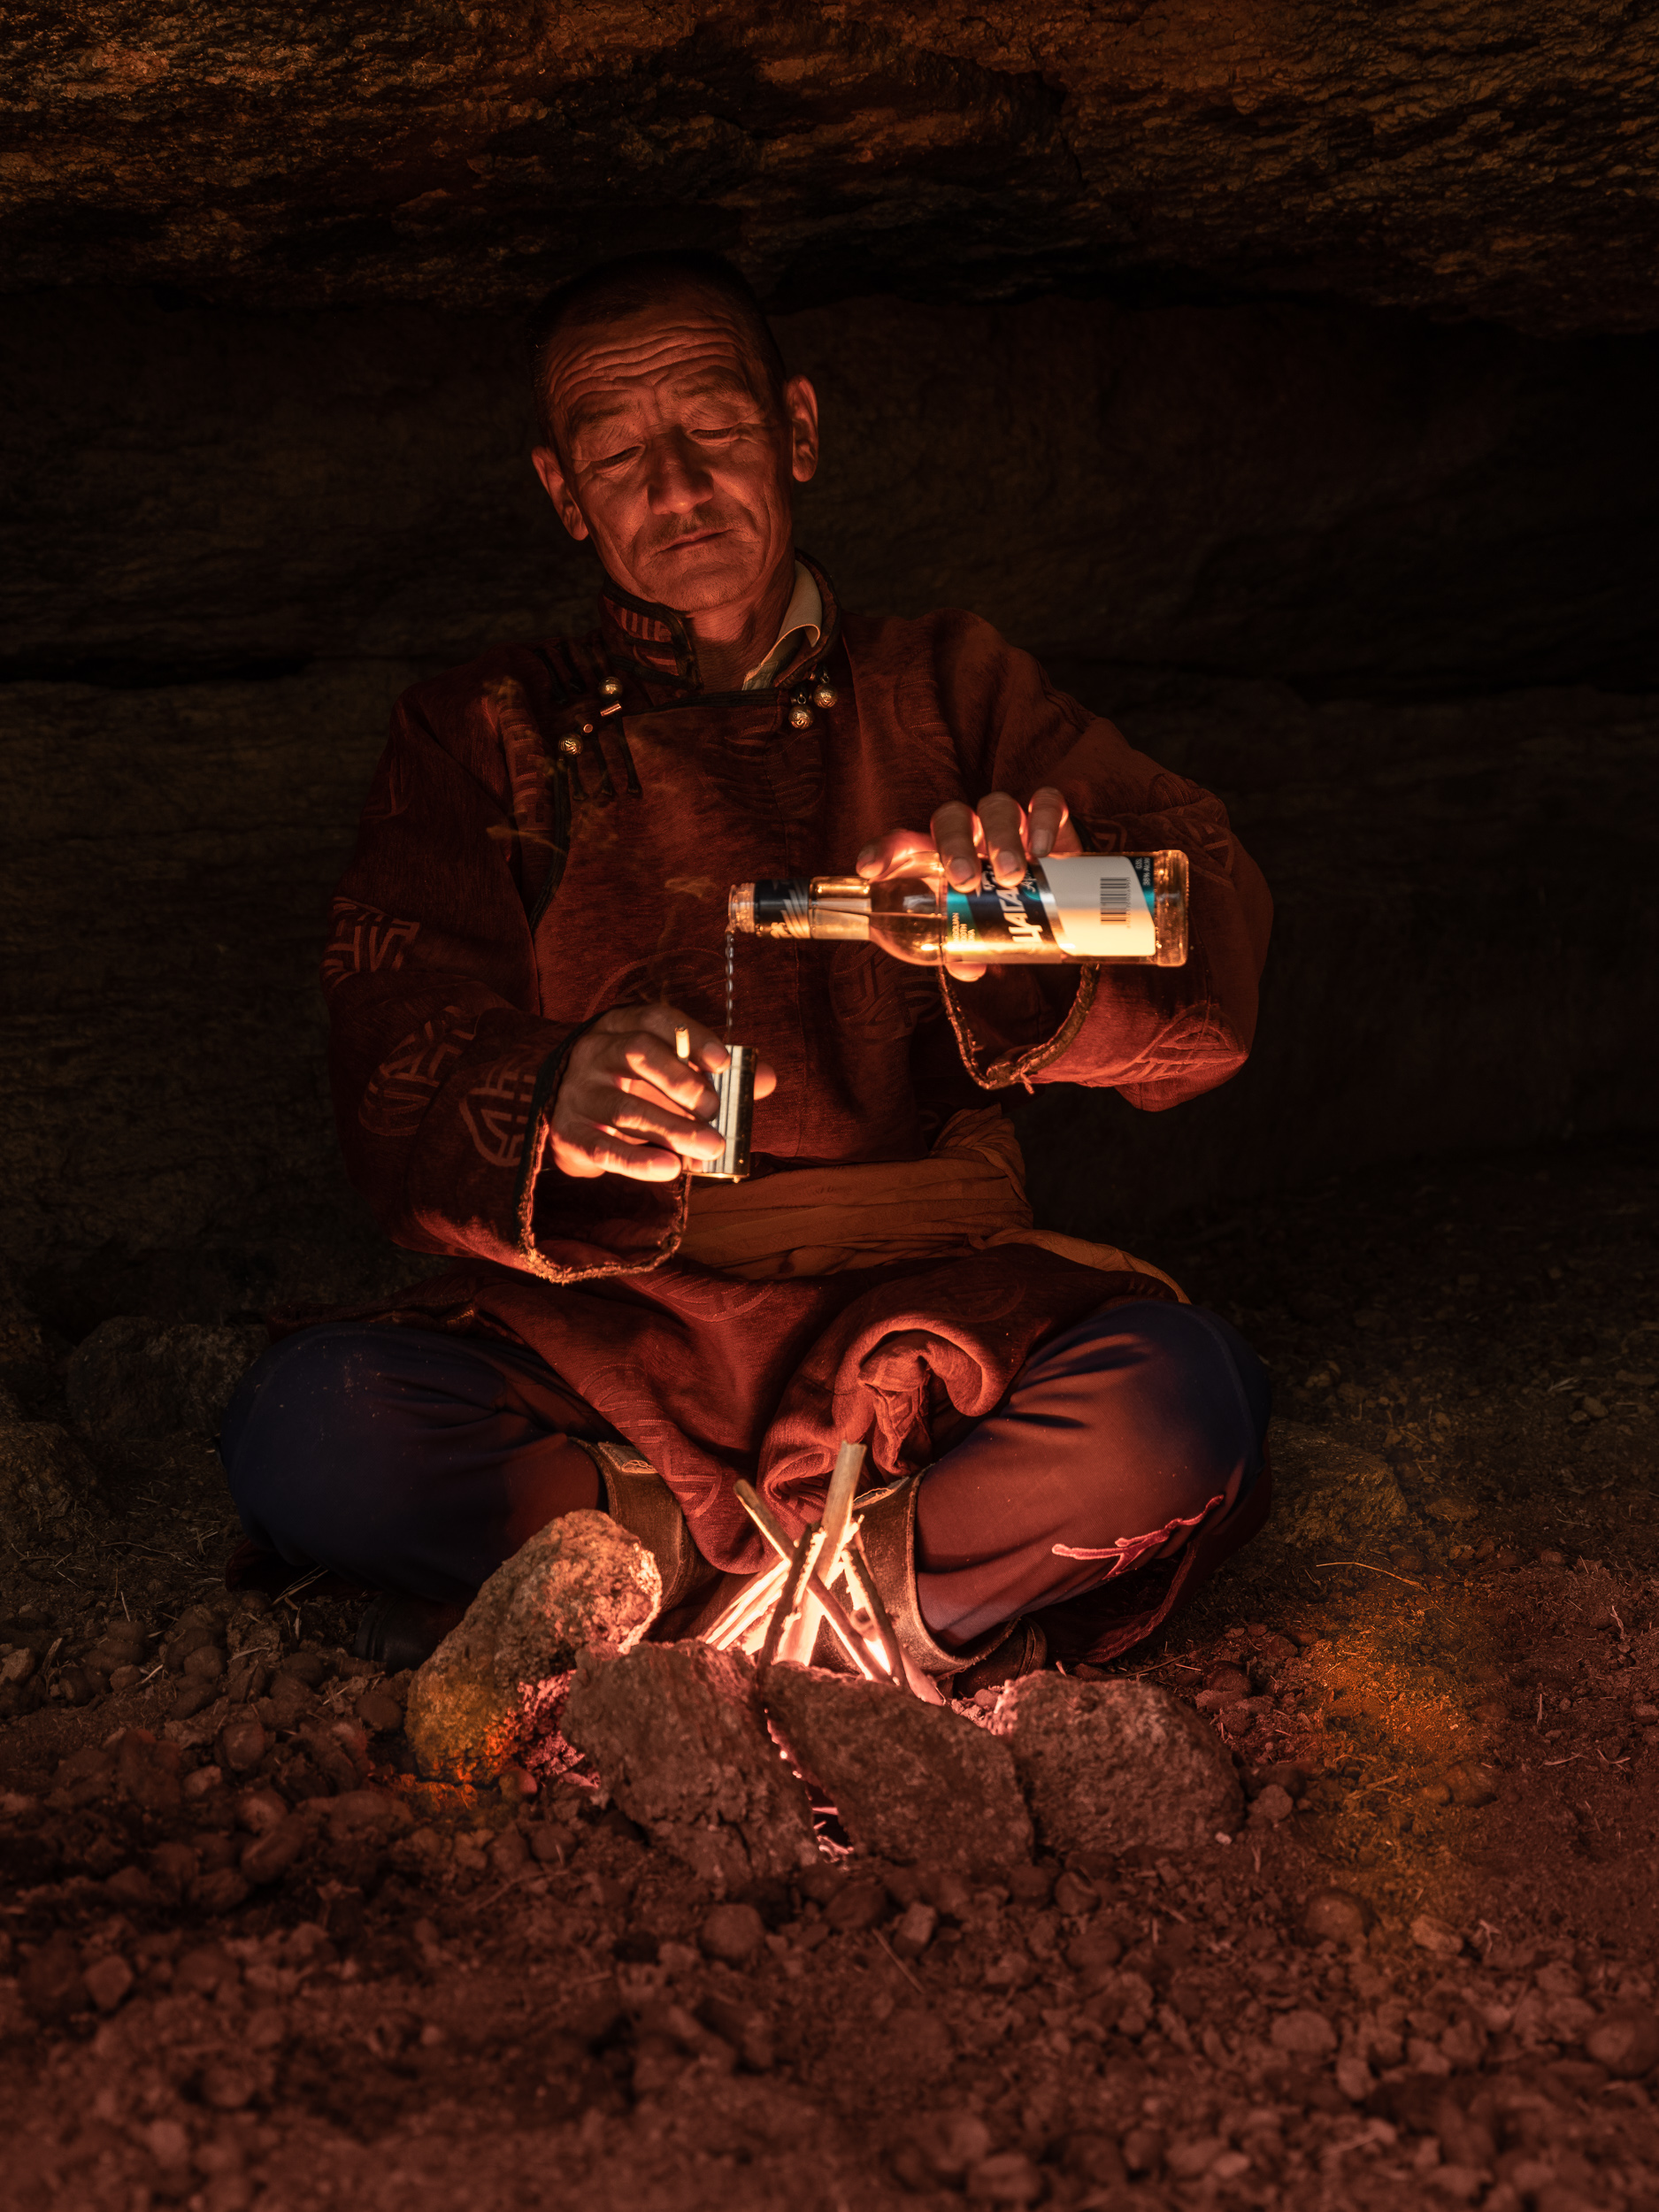


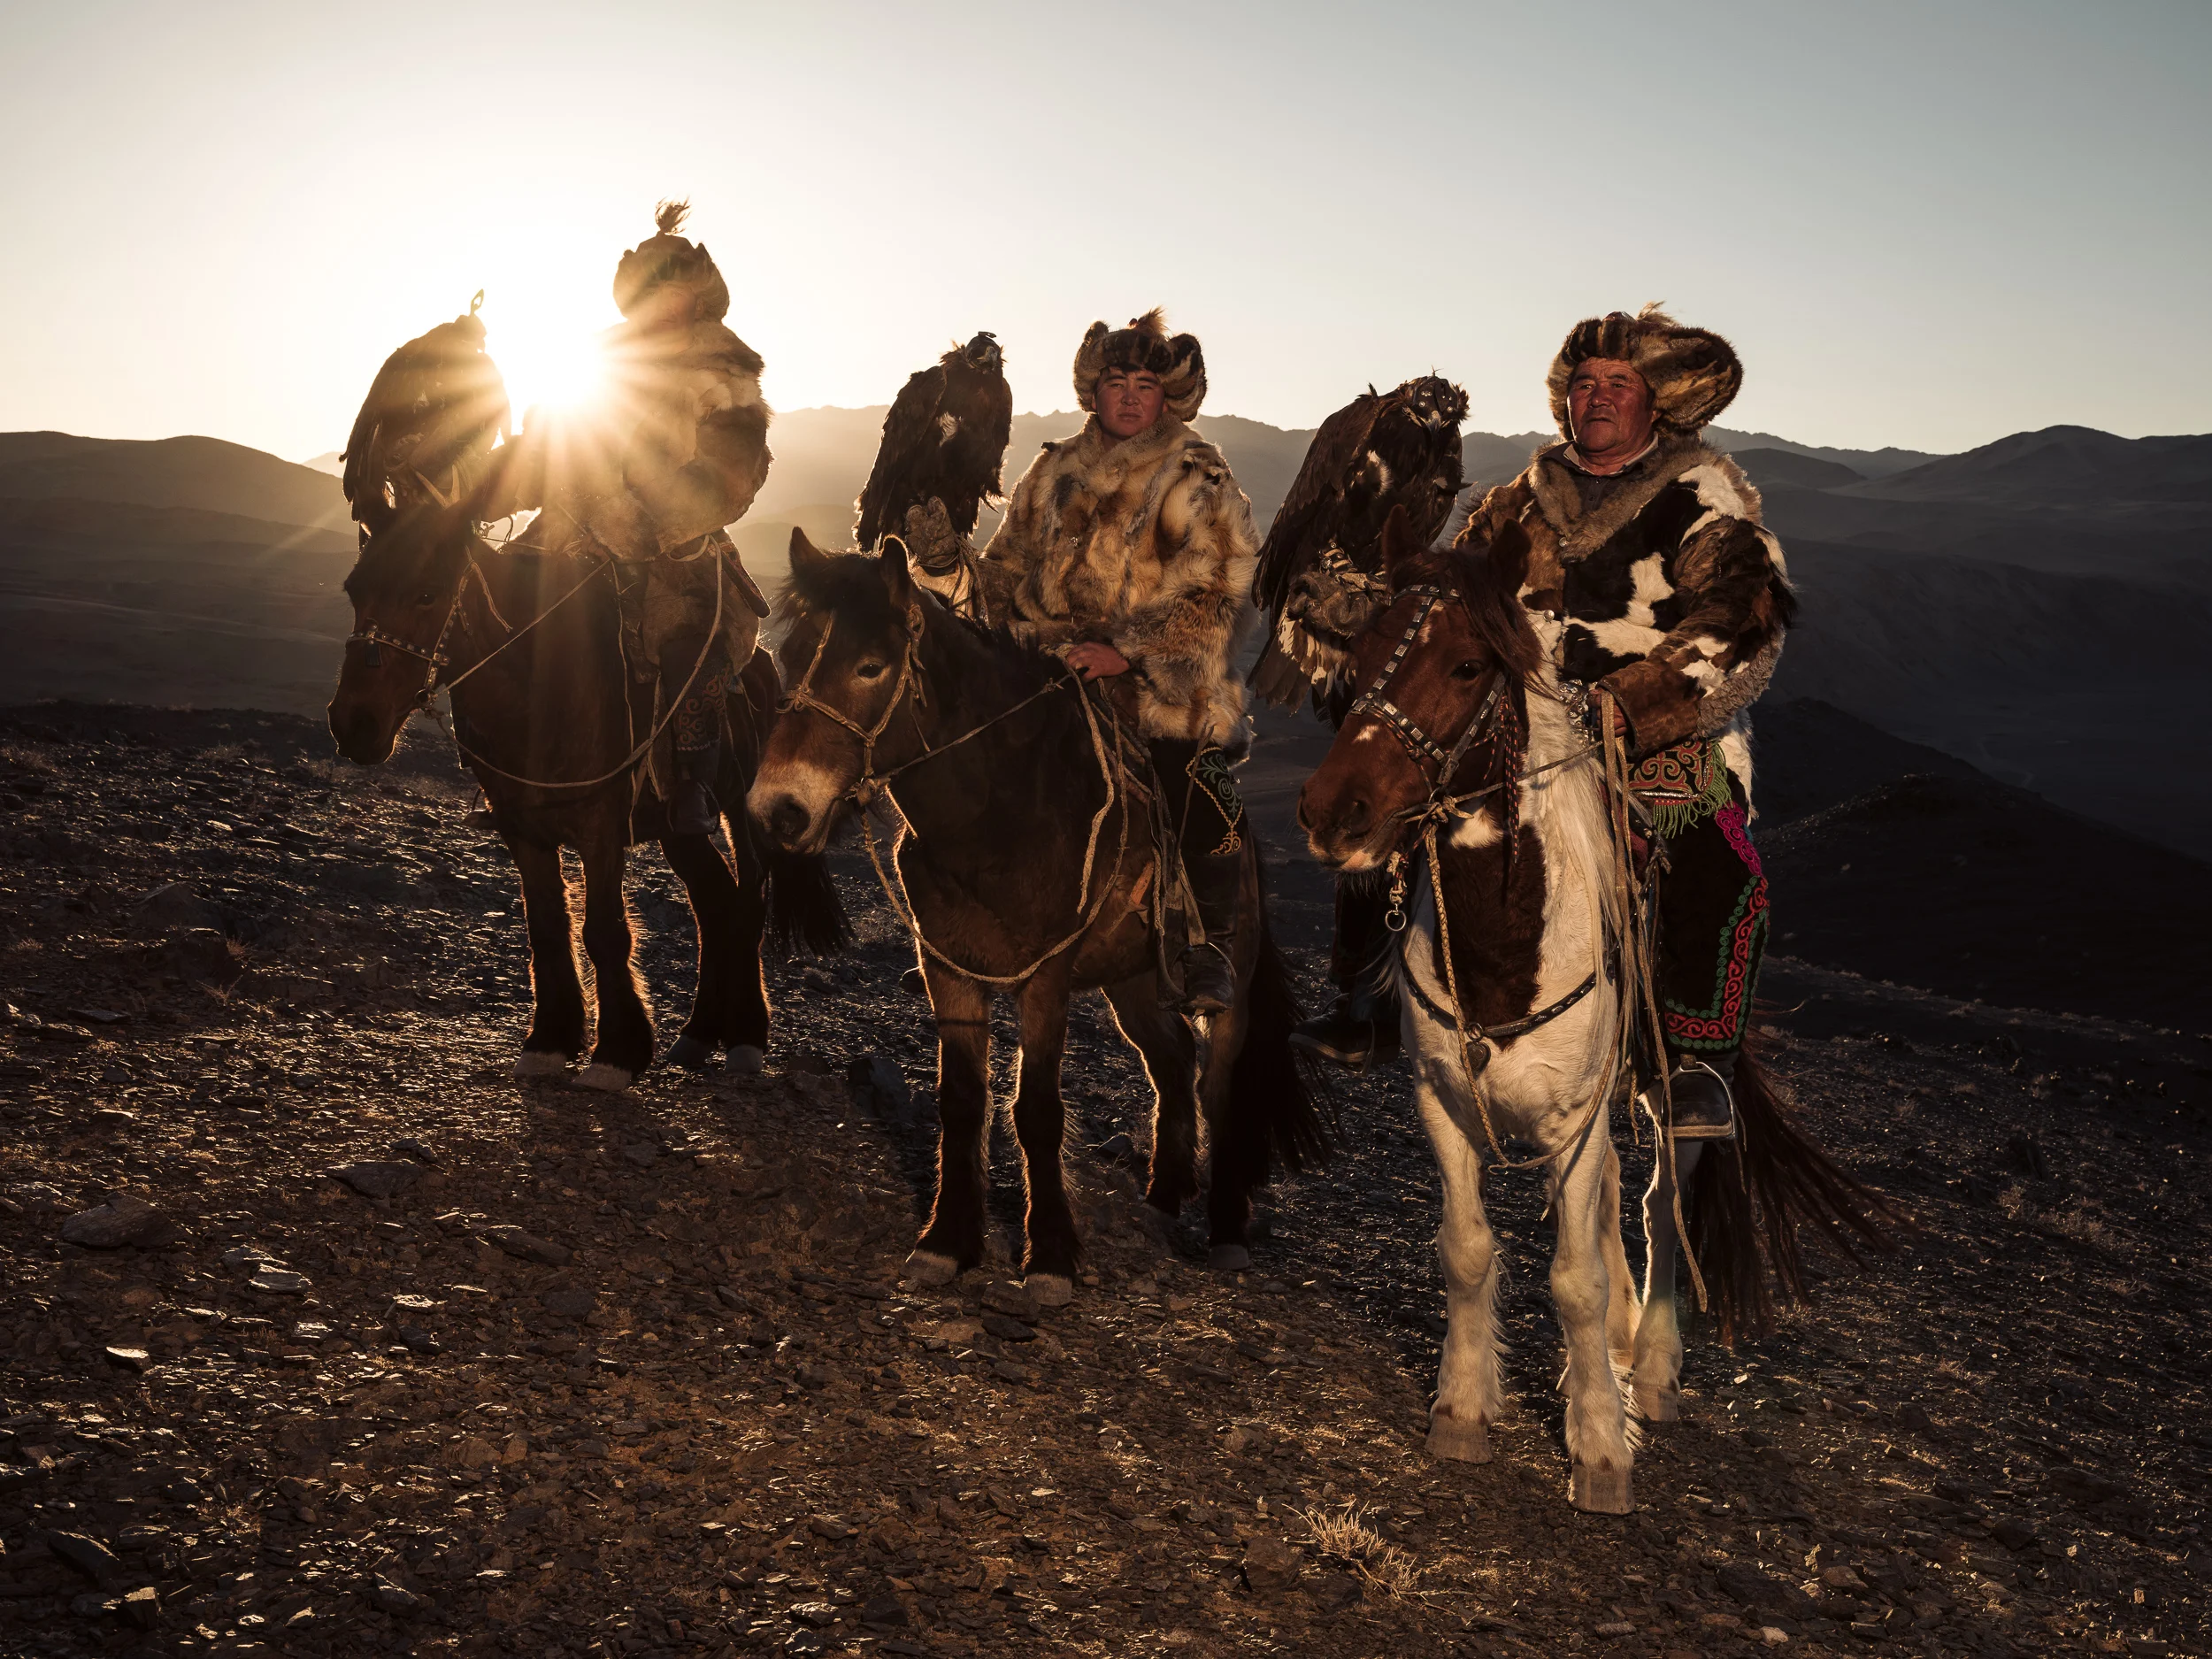

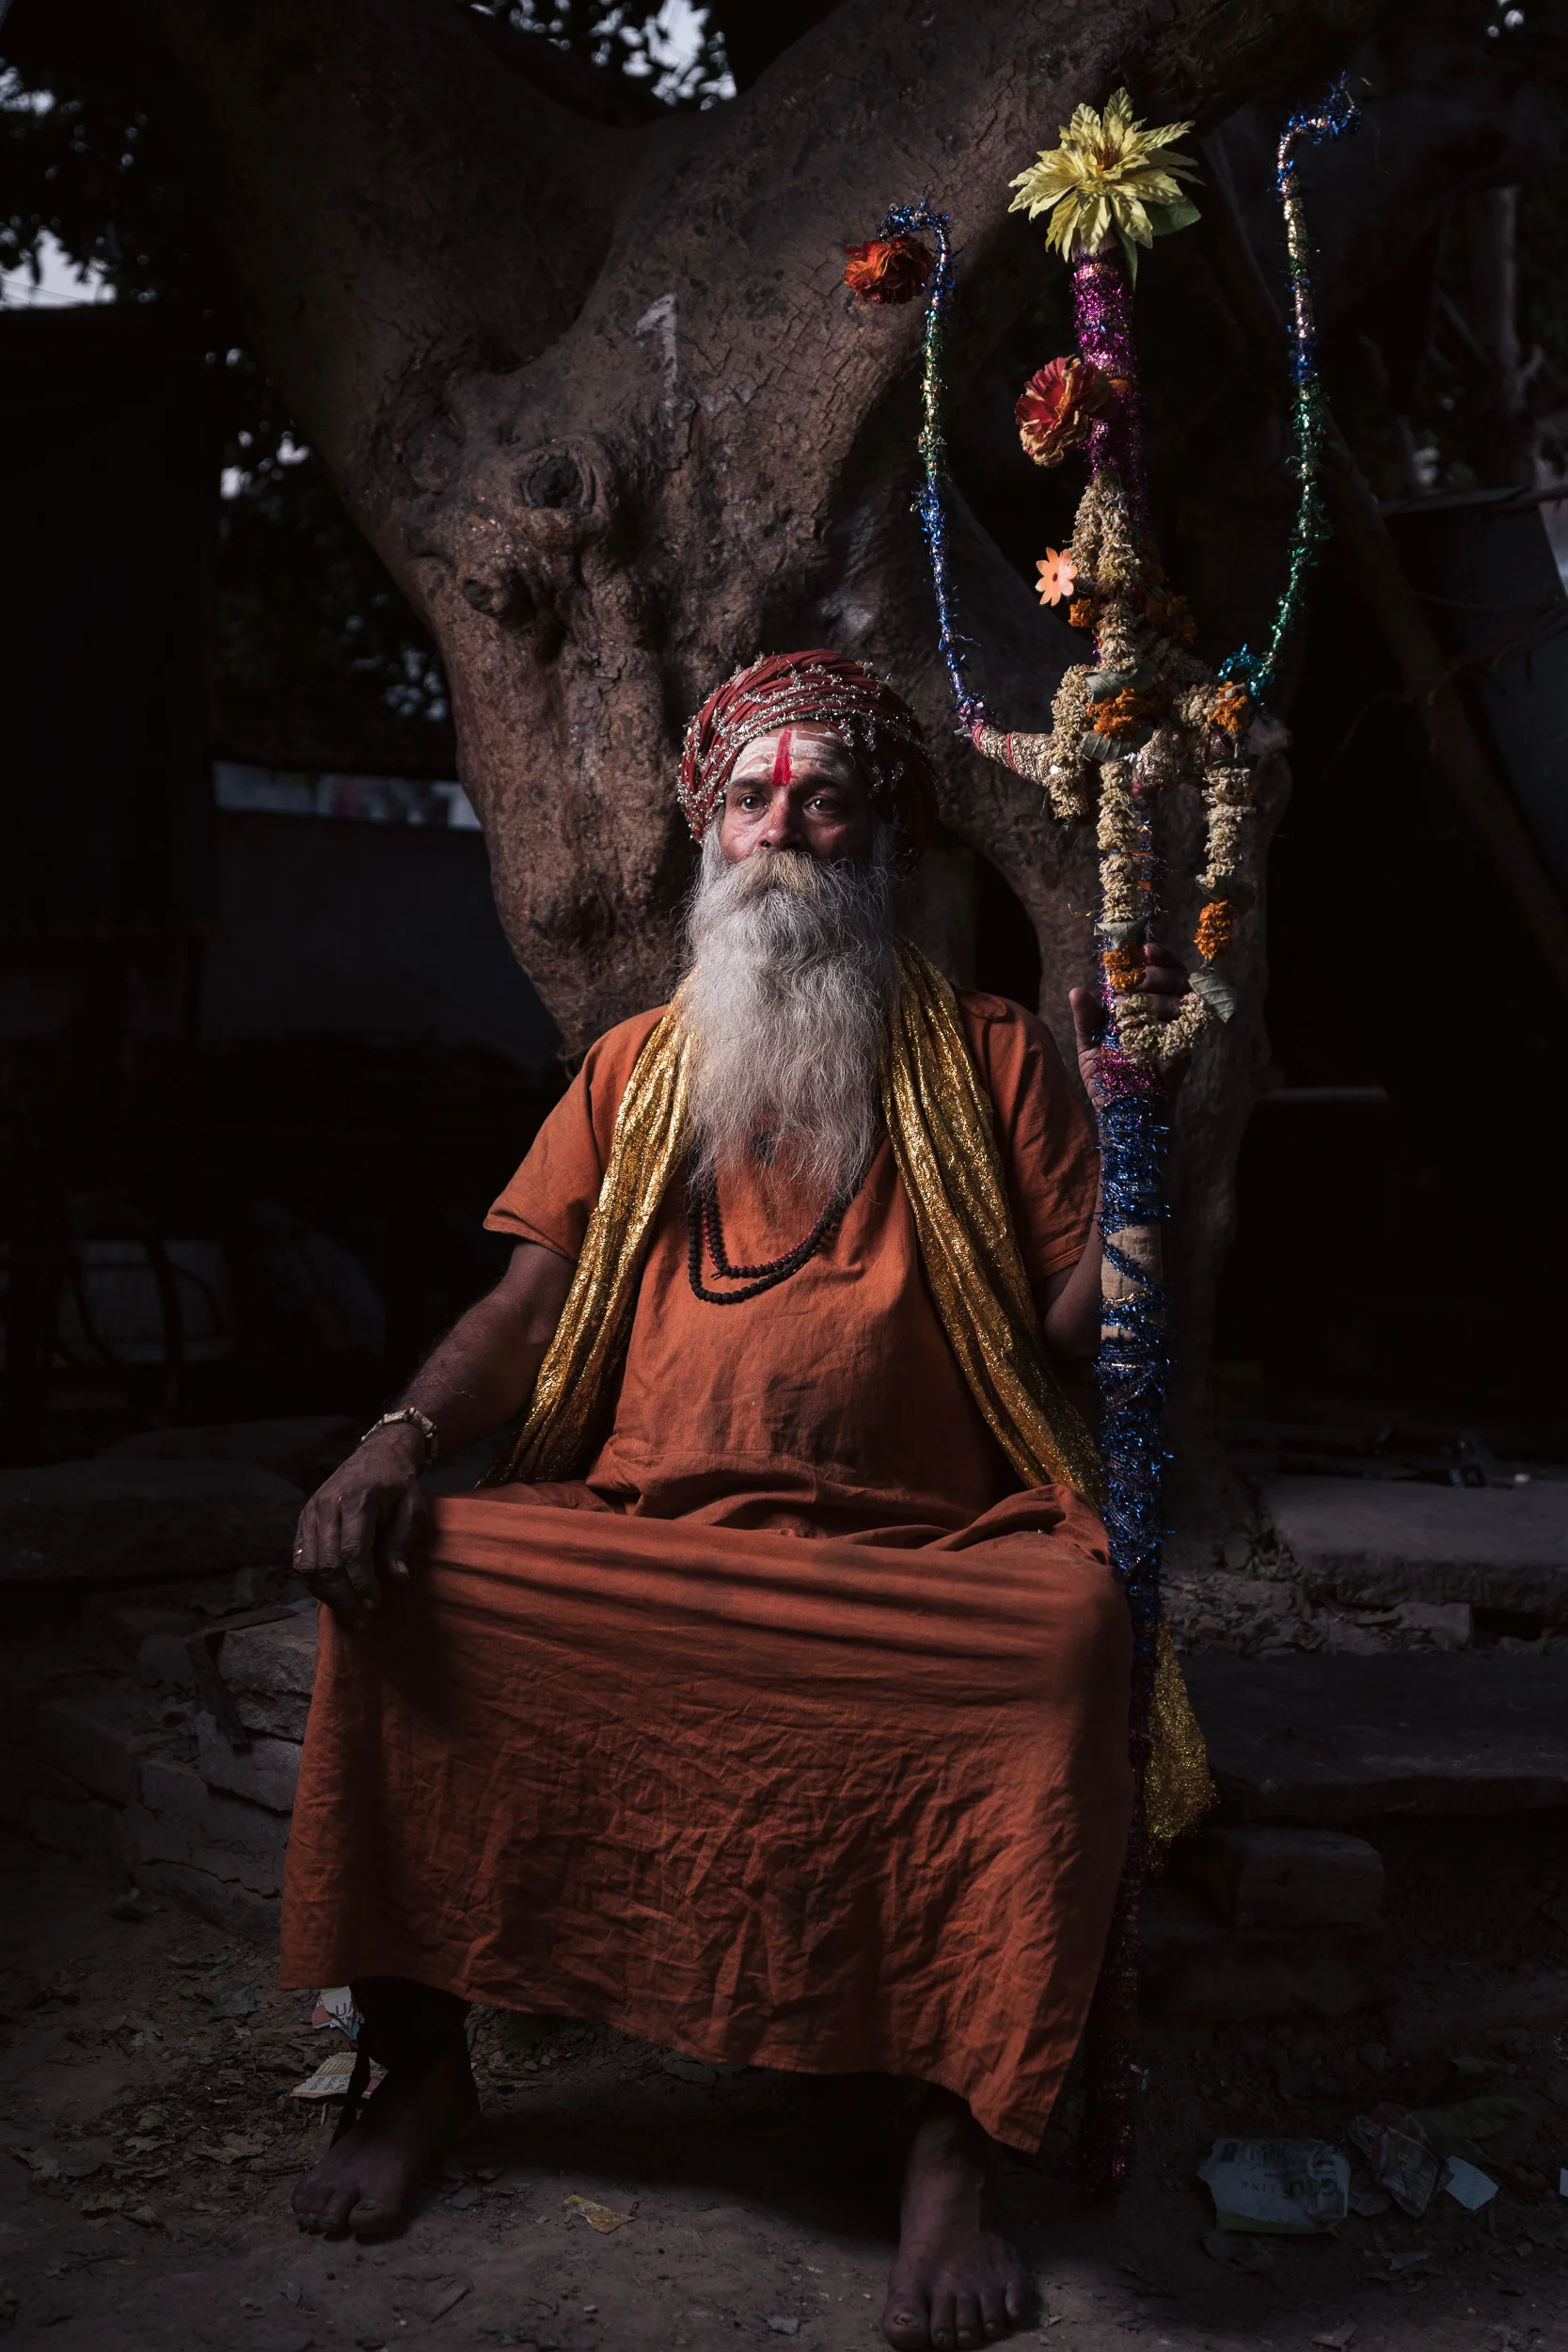












Of course, some will point out, you also lose a stop of light. That’s indeed a factor to consider. As I’m shooting primarily in rather sunny conditions, I tend not to worry too much about this. A stop less of light also means a little less possibility to blur the background in your images, but honestly, at these focal lengths, the difference isn’t that noticeable, I think, and for me doesn’t outweigh the flexibility advantage. And if I want super shallow depth of field, I just use the 110 mm, aka the bokeh monster and stitch a panorama with it to get a wider field of view.
Also, I love the fact that I only have to switch lenses between this zoom and the 110. Changing lenses on a GFX in the field is more difficult because of the size of the lenses: it’s hard to do single-handedly.
Now, having said all of the above… If Fujifilm ever produces a 30 mm f/2 prime, I’d probably walk to Japan to pick up a copy :-)
Panorama shot with the 110 mm f/2 and stitched in Lightroom to give a broad field of view and a shallow depth of field.
All of these images were edited in Lightroom and/or Photoshop, often with my Creative Profiles Starter Pack or my Power Presets Pack. So they’re not straight-out-of-camera files. In fact, the gigantic dynamic range (and therefore tremendous postprocessing options) of the GFX is one of the main reasons I love working with that camera. You can do just about anything with these files! In a lot of images, flash was used. In fact, I prefer taking only two lenses and a flash than more lenses at the expense of having to leave my flash gear at home. In my ebook ‘Light It Up!’, I explain all you need to know to produce these kinds of images yourself.
Subscribe to the newsletter and get 10 Lightroom presets free!
Want to join me on one of my future photo workshops or just receive my weekly free Lightroom or Photography trip? Subscribe to the newsletter... You’ll be rewarded with a set of ten free Lightroom presets!
What's new in Lightroom Classic CC 8.2
Hello folks, I’m currently traveling to explore some new photo workshop options, so I don’t have access to my regular video tools, but I quickly wanted to drop this video of the new features in the just-released Lightroom Classic CC 8.2. Apart from the usual bug fixes and new camera support, there’s two interesting new features. The first is improved and faster tethering for Nikon users, bringing the tethering experience on par with the one Canon shooters could already experience a while back. The second (starting at 1’50”) is the new Enhance Details option, which lets you extract even more details from a RAW file. In the video, I show you an example and I talk a bit about the pros and cons of the new feature.
I would be interested to hear your thoughts about this new feature. Do you have examples of where it truly shines, where it doesn’t? Let me know!
IMPORTANT: if you are a Windows user, please be advised that in order for the Enhance Details feature to work, you’ll need the October 2018 version of Windows 10. As I understand it, this update isn’t necessary to run the rest of the 8.2 update, only the Enhance Details part as it uses some technology that was only introduced in that particular Windows update.
In other news, if you are interested in joining the Omo Valley Portraits Workshop, there are only two spots left.
Save $10 until February 28 with code CLASSIC10
Fujifilm GFX 50S | GF23mmF4 R LM WR @ 23 mm | 1/60 sec. @ f/8 | ISO 800
The Steampunk Sessions, part 1
I’m connected to a lot of photographers on Facebook from all over the world. And as much as I like these virtual interactions, I like it even more when I get the chance to meet one of these Facebook friends in real life. This happened last week with David. David’s a Belgian photographer who lives in Thailand most of the year. He’s an amazing travel photographer and he popped over to Belgium for a couple of weeks. So we decided to go on a shoot together. I like doing these kinds of spontaneous, last-minute freestyle shoots with other photographers because I think we can all learn from each other.
Steampunk @ the factory
I love shooting in abandoned factories and lately, I’ve been into photographing steampunkers, too. These two subjects are a match made in heaven. So I called up Major TC Theodoricus, one of Belgium’s most passionate steampunkers and we all met up in an old paper factory about an hour’s drive from where I live. Another friend, Frank, came along to make some BTS shots.
Gear-wise, I brought the Fujifilm GFX 50S, the GF 110 mm, GF 32-64 mm and the GF 23 mm. As for lights, I packed my three trusted Godox AD600B flashes, my SMDV Alpha 110 gridded softbox and my two Nicefoto strip lights, which have become an essential part of my lighting kit. Last noteworthy item was my Scotty II portable smoke machine. No steampunk shoot should happen without a smoke machine :-)
I was immediately struck by the vast hall with the cast iron pillars and thought they’d make great compositional elements in the frame. Now I’m a slow shooter and I prefer to get a couple of images that I’m really happy with.
In total, I got seven images I like in about five hours of shooting.
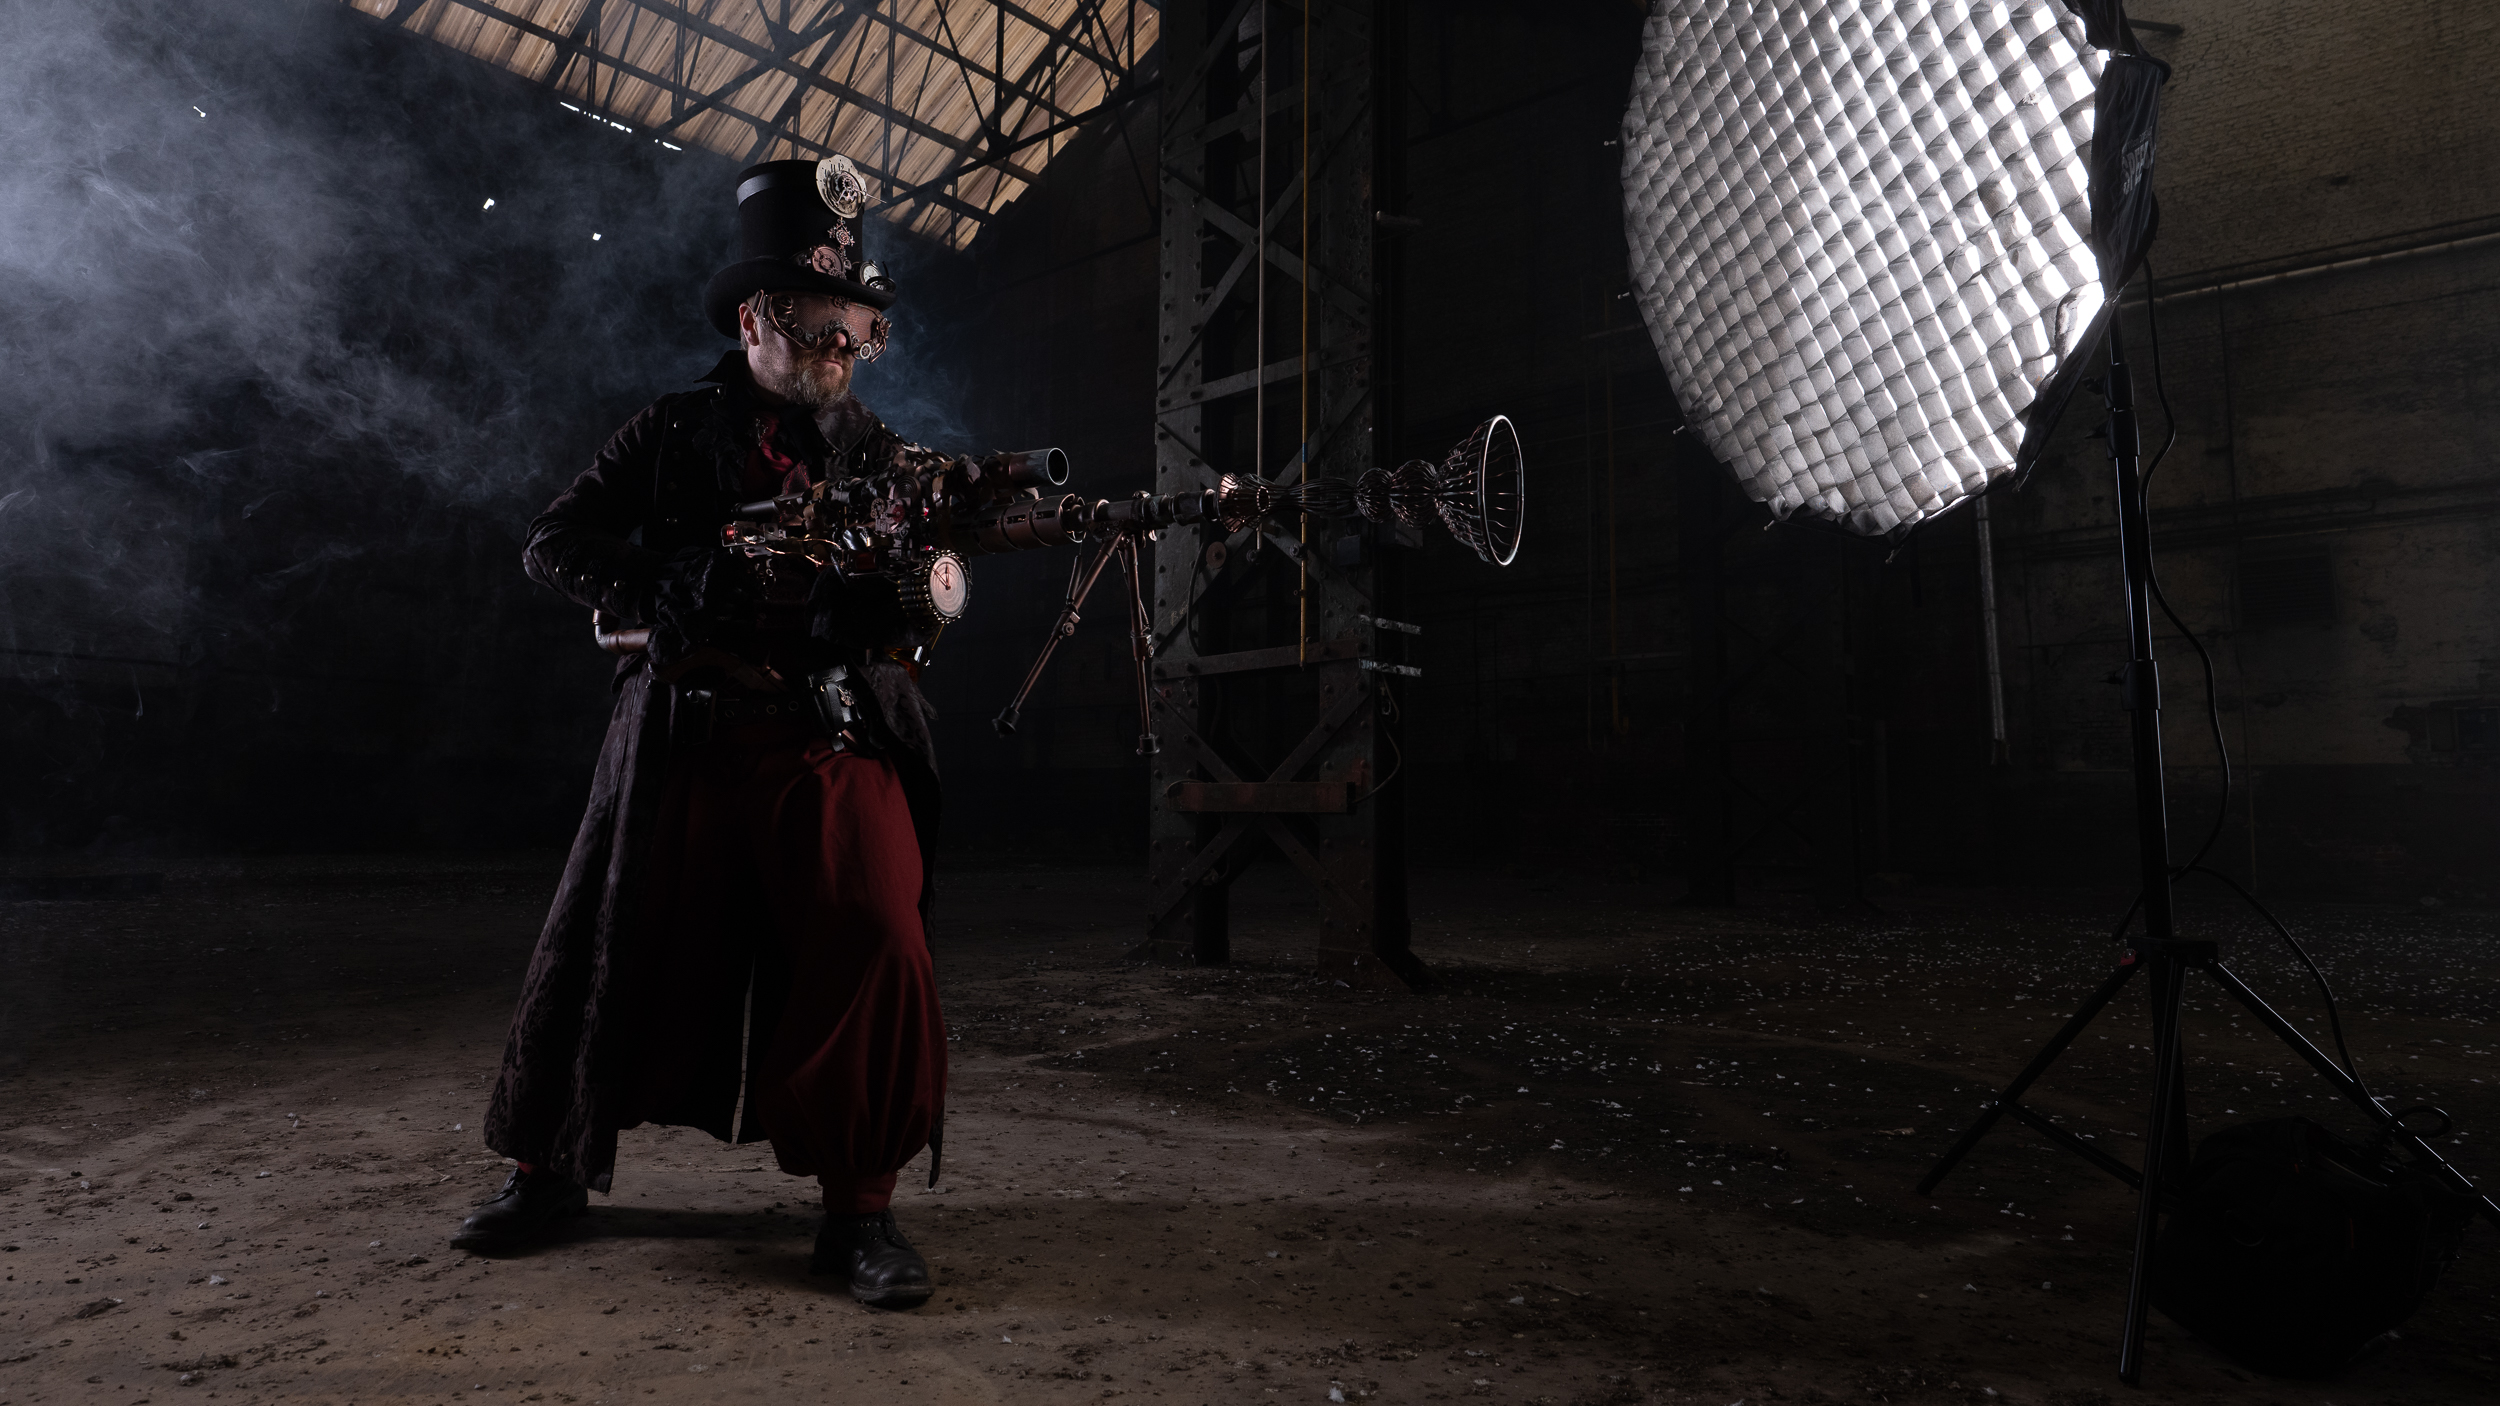
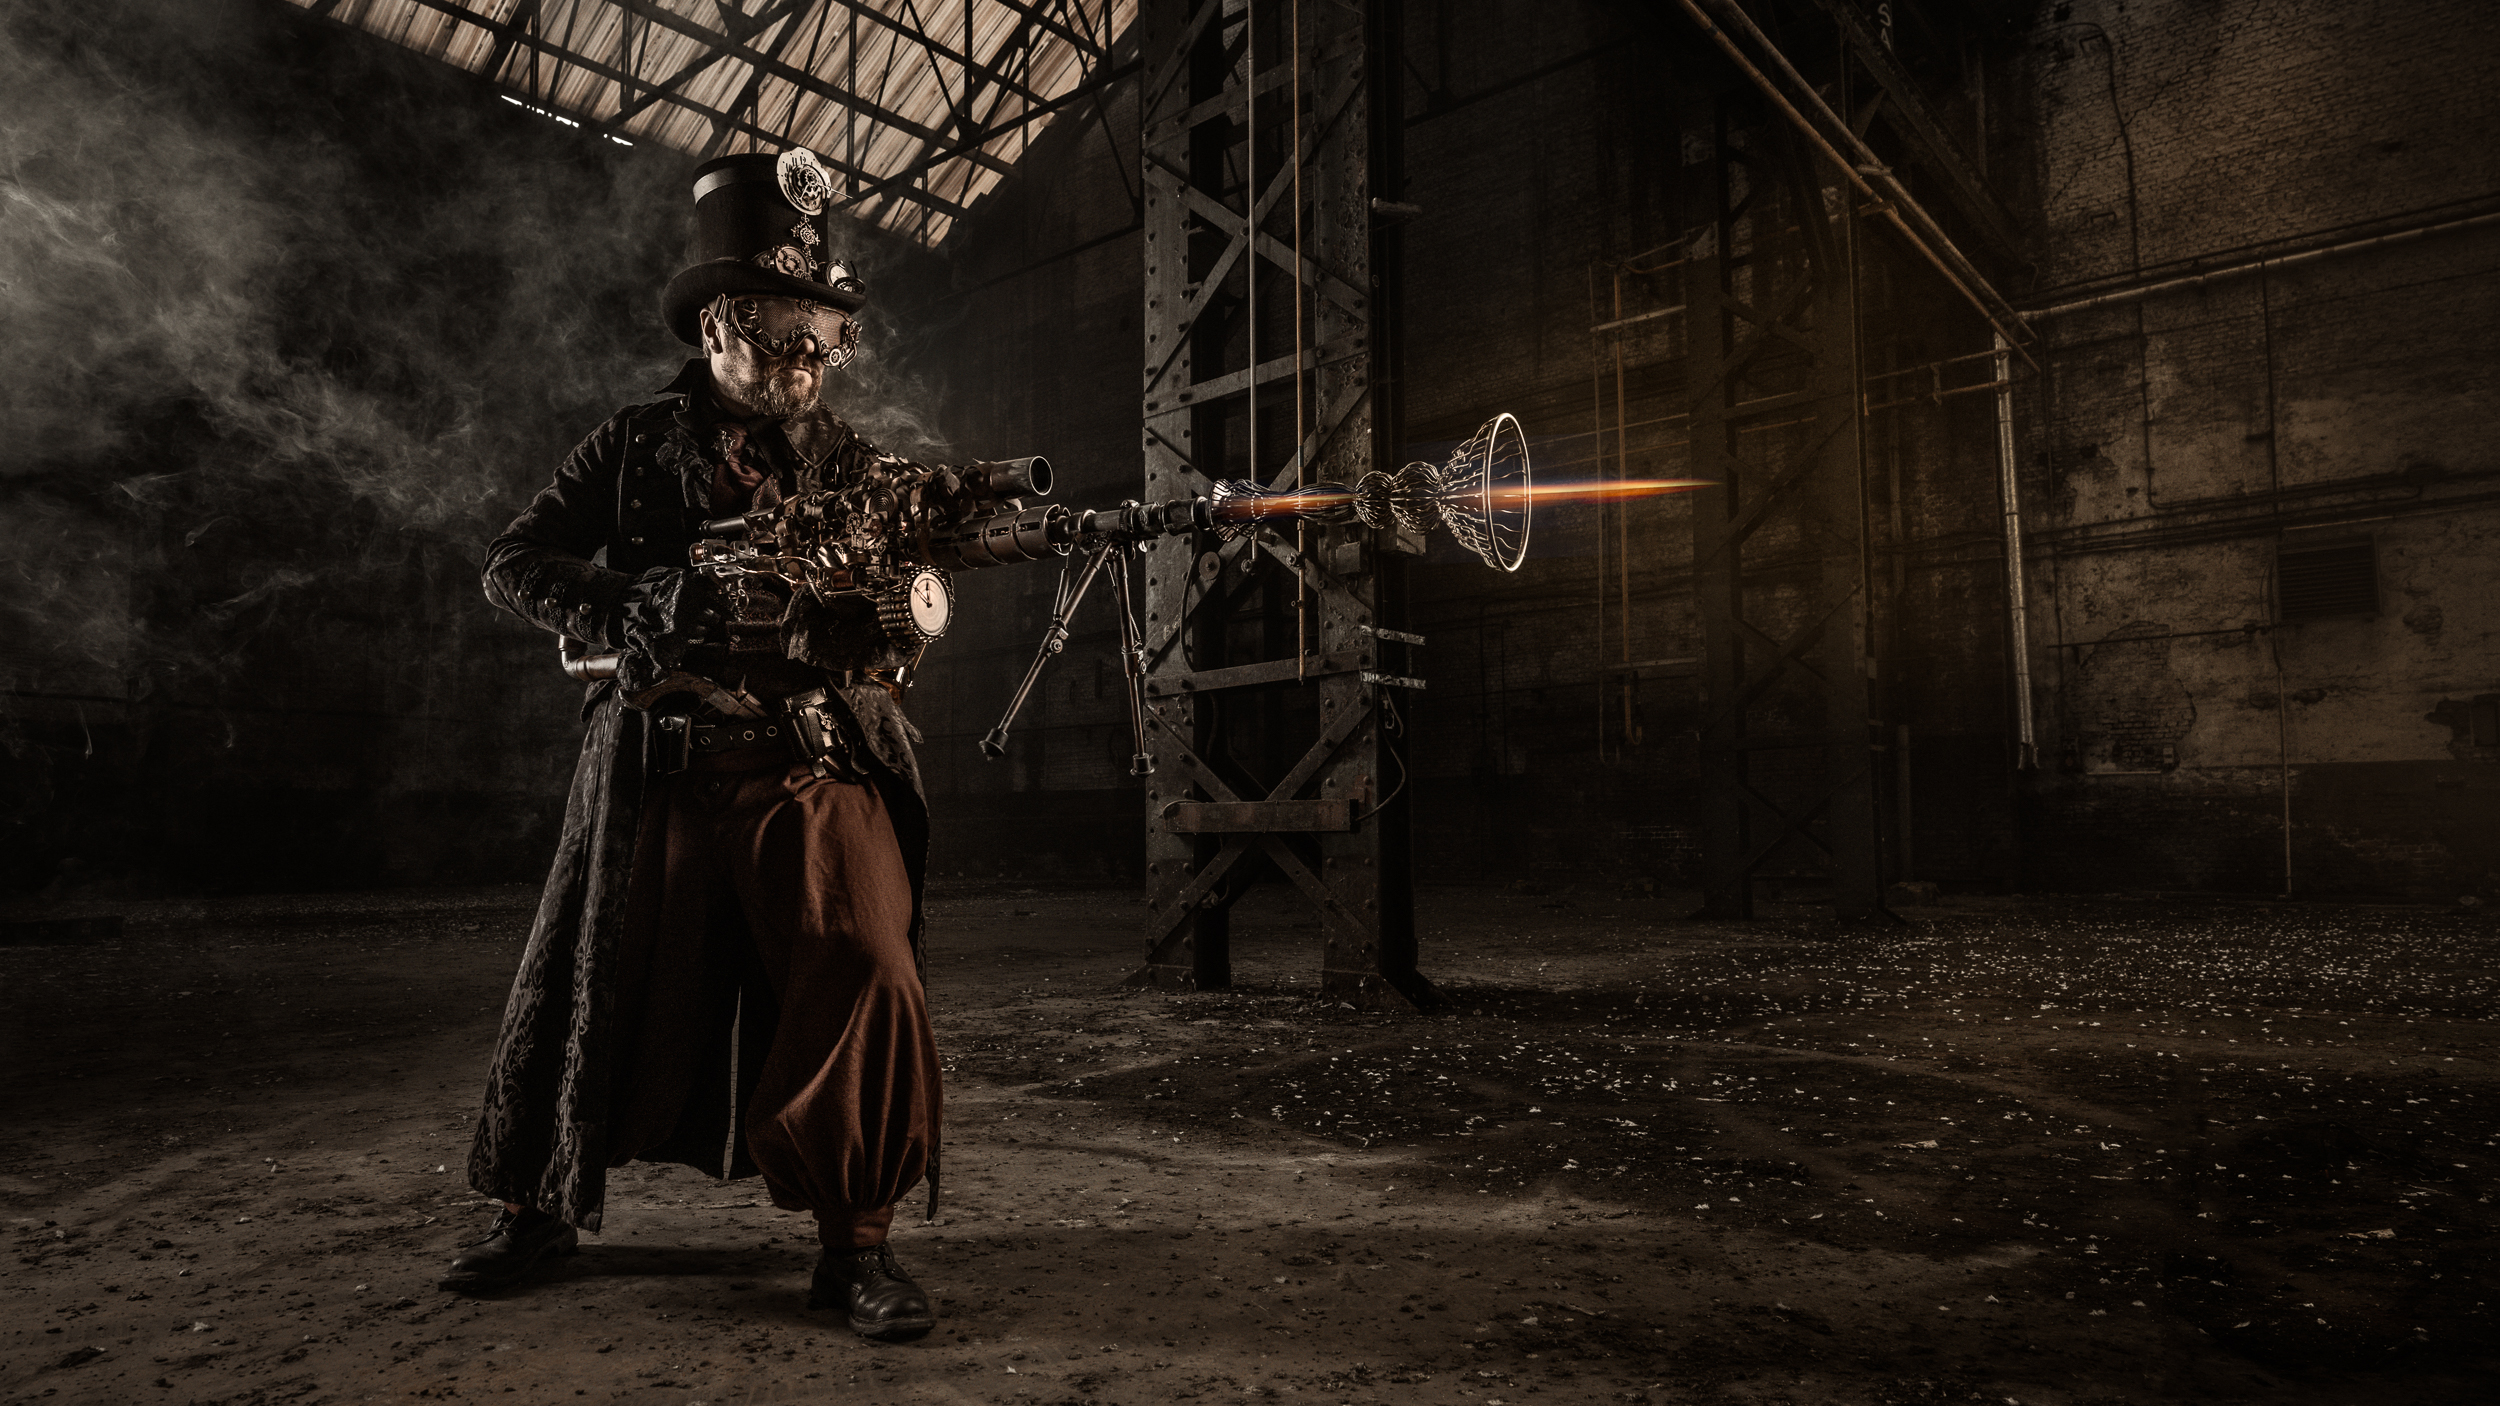
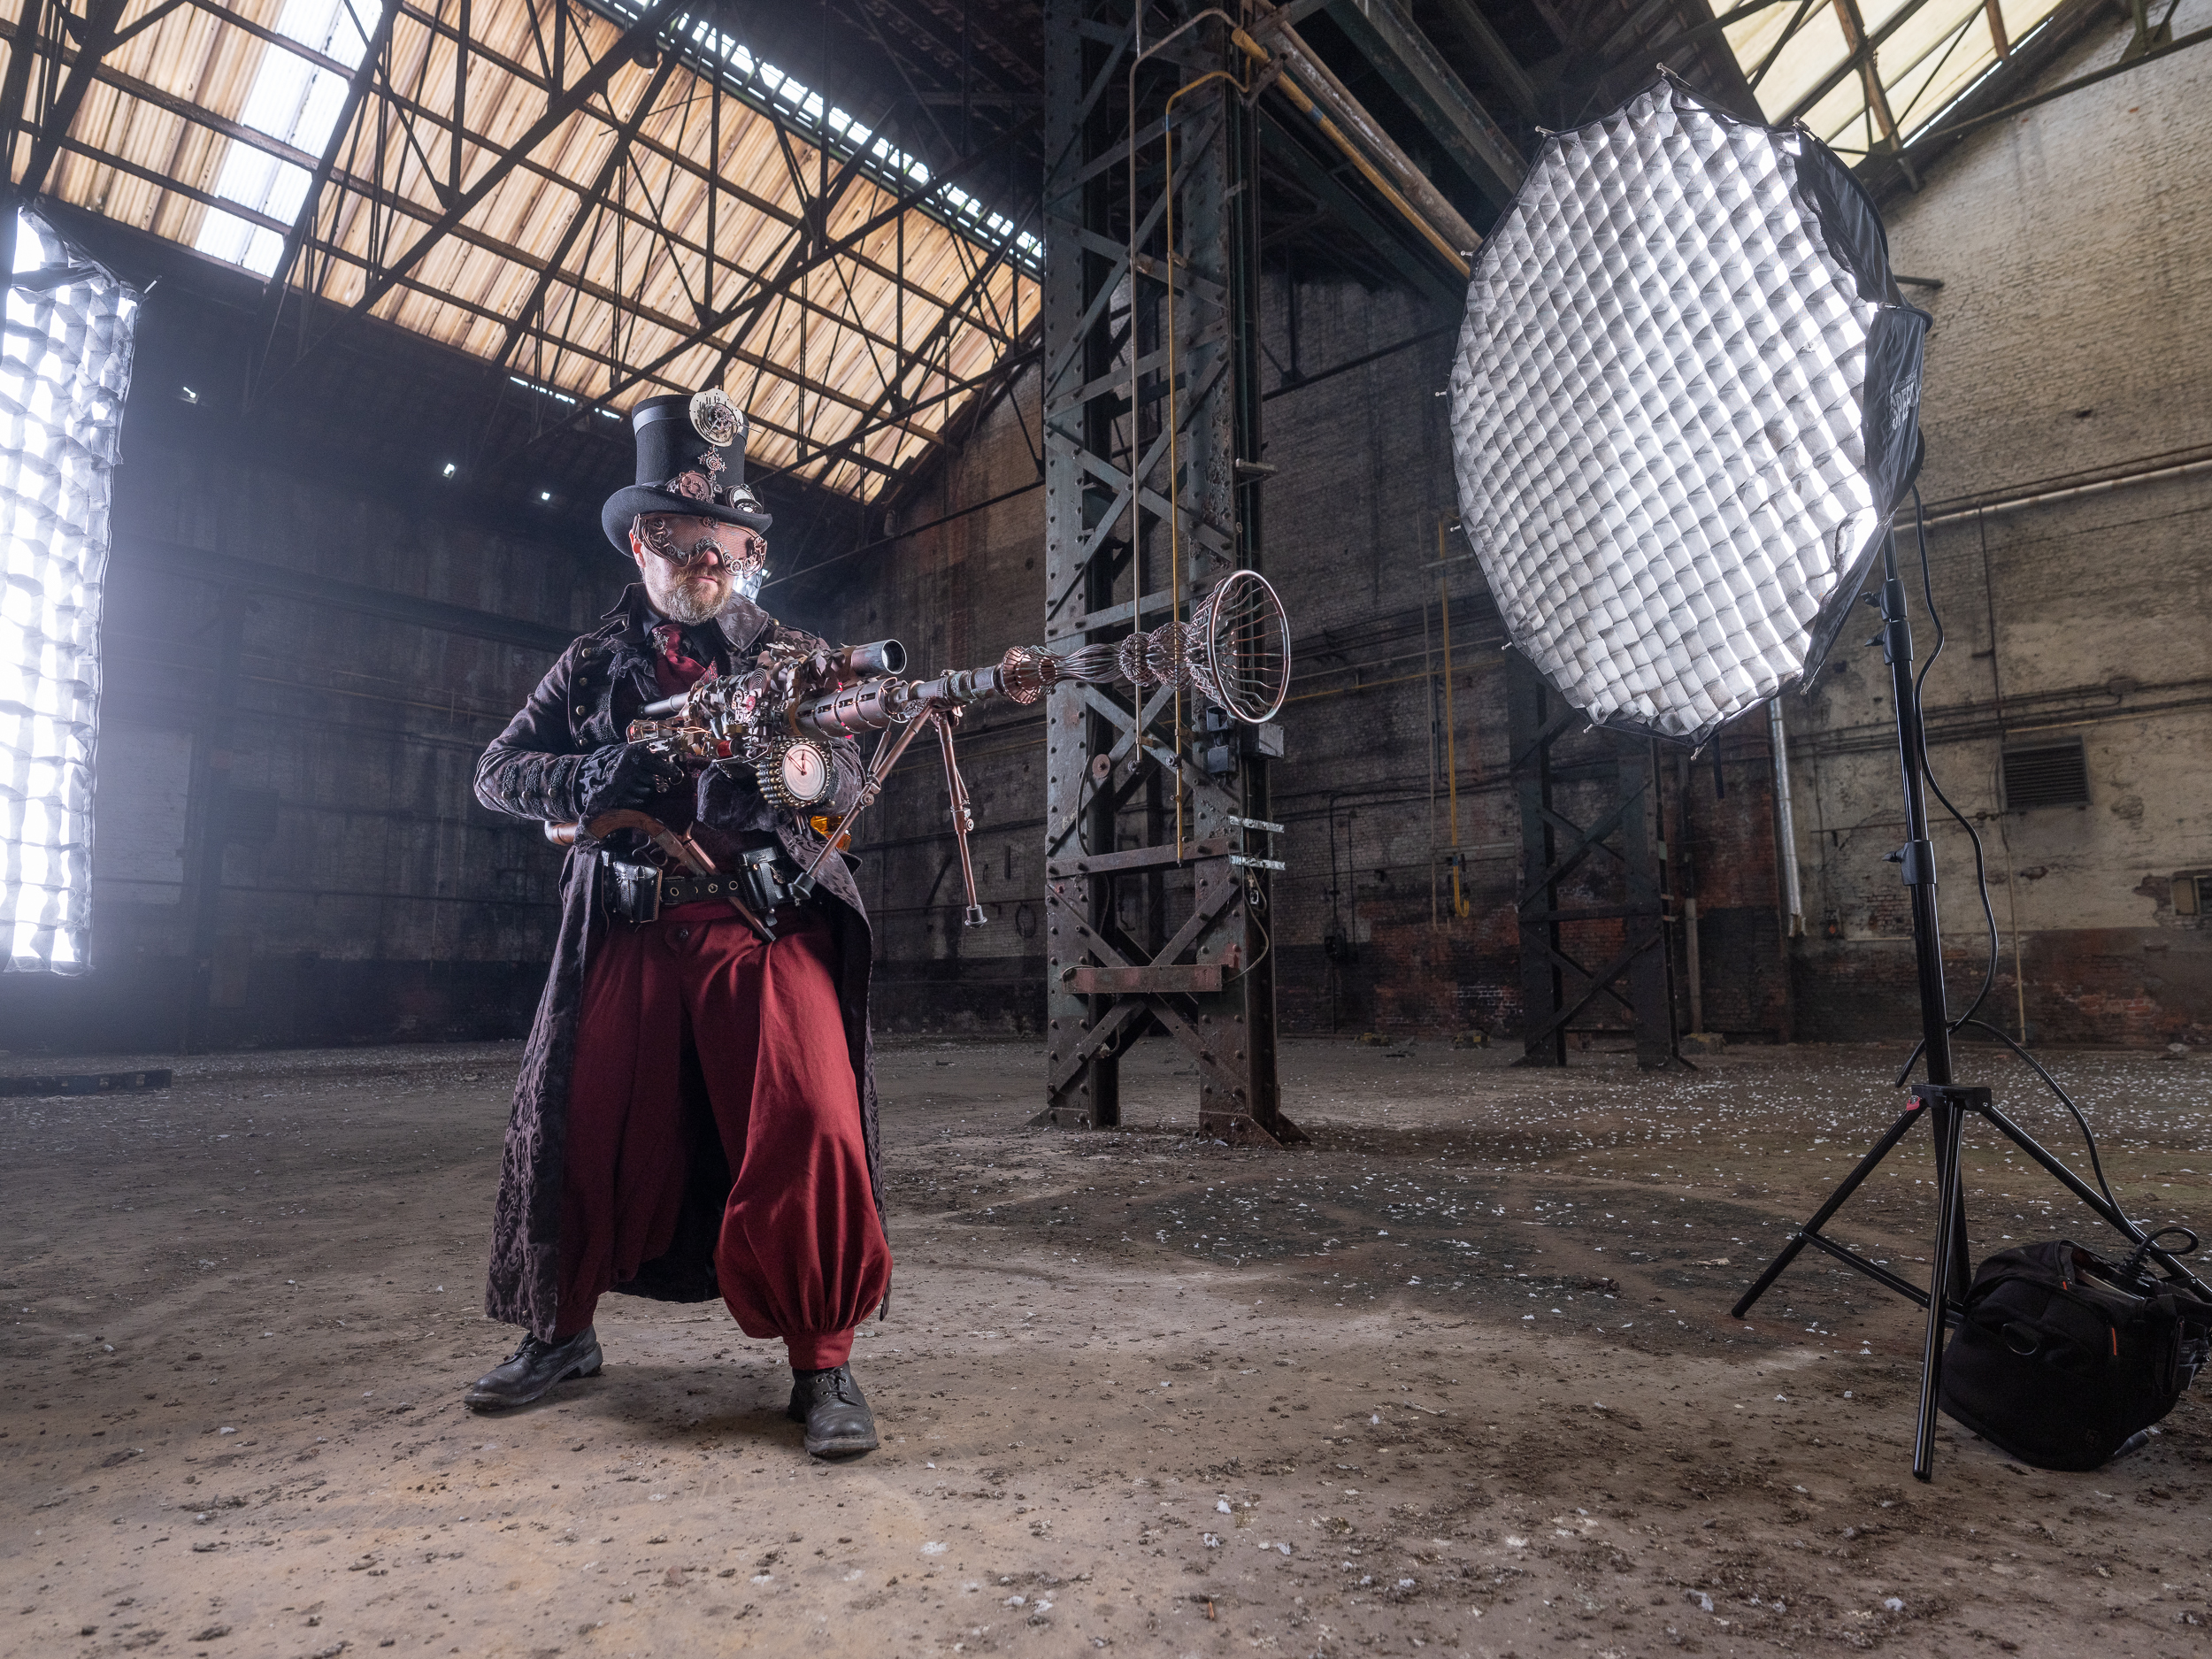
That’s actually a nice harvest for me. Here’s the first two in this blog post. With a dramatic subject and a dramatic backdrop like this, I think the lighting and the postprocessing needs to be dramatic, too. So I used a cross lighting setup and I positioned my main light in a way that The Major would be short-lit. I also wanted a moody, atmosphere so although I could have made the entire scene a lot brighter (I was only at 1/32nd power on the flashes), I went for a low-key look.
As you can see from this setup shot, there are two more lights in this shot: one strip light to the left of The Major, just out of frame and a second one behind him, pointed at the steel pillar. I did that to make the lighting more coherent. Apart from editing out the softbox on the right and adding the flame coming out of the gun in Photoshop, the complete styling and color-grading was done in Lightroom, using the profiles in my Creative Profiles Starter Pack.
The Fujifilm GFX, the ideal camera for this sort of work
Two things I love most about the GFX are the incredible dynamic range, which lets me do quite nice things in postproduction as you can see from the before & after above, and the resolution. In fact, this is a 16:9 crop from the 4:3 original and it is still over 36 megapixel! Having more flexibility in choosing your aspect after the fact is also one of the reasons I’m secretly already lusting for the GFX 100S…
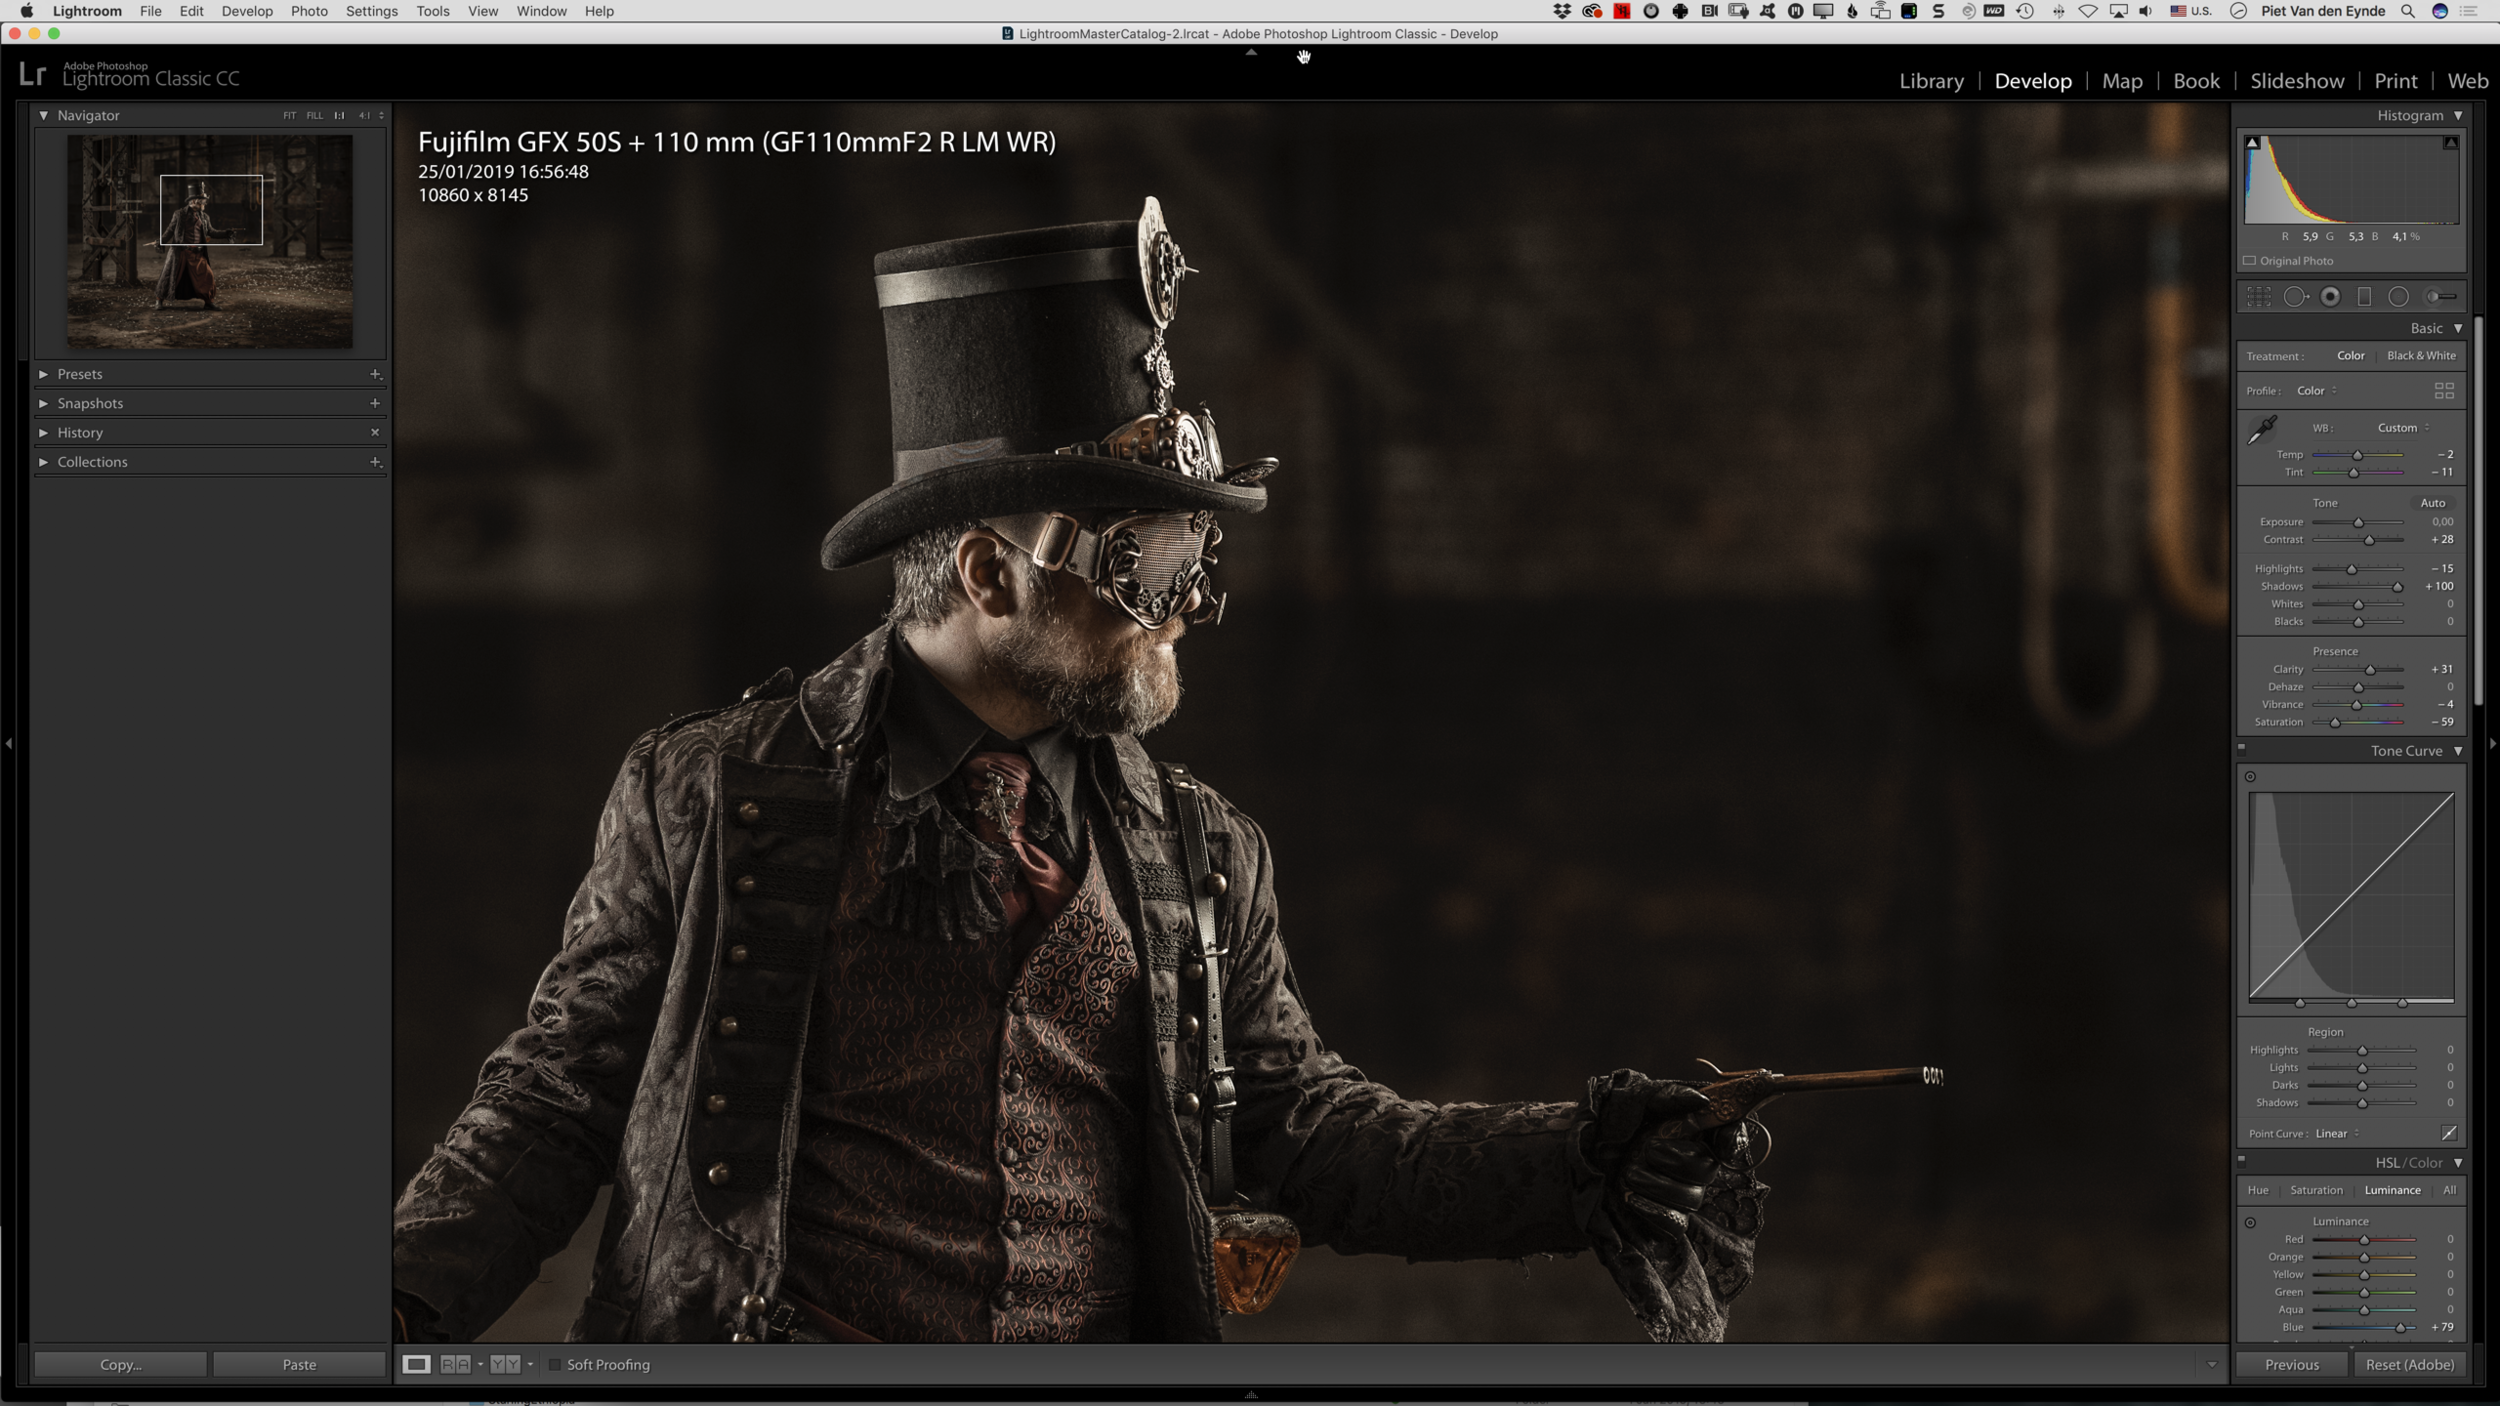
Here’s a 1:1 crop in Lightroom. The detail of the GFX is simply amazing. I just love that camera.
Smoking gun
I personally like the version with the understated gunfire best, but I also played around with a more extreme version, as you can see below. Adding fire like that is simpler than you might think. I used an image from Adobe Stock. If the fire’s been photographed on a black background, in Photoshop, just change the blending mode of the layer to Screen, and you’re good. If you still see some artefacts around the fire, that’s a telltale sign that the background isn’t pure black. Just add a Levels adjustment and click with the black eyedropper on the black of the flame’s background to turn it completely black and in the Screen blending mode, the black will magically vanish!
The image above was shot with the 23 mm, which corresponds to an 18 mm on a fullframe camera. That’s a super wide lens so it takes in a lot of the environment. However, because of it being so wide, and having a relatively slow maximum aperture of f/4, it’s difficult to use shallow depth of field to separate your subject from the background. That’s why I also brought the 110, the bokeh monster of the GF lens lineup.
In the image below, I stitched a couple of vertical shots I took with the GF 110 wide open at f/2 into a panorama using Photoshop. I then colorgraded the image in Lightroom. If you’re on a fullframe camera system, try using an 85 mm 1.4 or 1.8. If you’re on a crop camera, try something like a 50 mm 1.4 or, in the case of Fujifilm, the 56 1.2.
With the GFX, I tend to underexpose more than I used to because there’s so much leeway in bringing up shadow detail.
The result is an image with a wide angle of view but at the same time the super shallow depth of field of a portrait lens. And as a bonus, you get an even crazier resolution. The image below is a whopping 10.860 x 8.145 pixels! That’s almost the resolution of the upcoming GFX 100S!
Fujifilm GFX 50S | GF110mmF2 R LM WR @ 110 mm | 1/125 sec. @ f/2 | ISO 250
Again, other than the merging of the panorama which I had to do in Photoshop because it offers more control, the entire look of the image was created in Lightroom. Below is a 1:1 screenshot.
The controlled lighting and the super shallow depth of field really make the subject stand out from the background.
That’s it for this blog post. If you live in or near Belgium, speak Dutch and you’d like to photograph The Major yourself, you might be interested in the next edition of the Epic Steampunk Workshop, which is held on March 8, 2019. More information here (in Dutch). Ticket sales start January 31, 8 PM Brussels time. Below’s a 90 second impression of that workshop.
Also, don’t forget that until the end of January, you can save 25% on my brand new ‘Learn Lightroom Classic in 2.5 hours’ video course. Check it out here.
Save 25% on my new Lightroom Classic Tutorial:
Lightroom Classic Before & After Tutorial
left to
• save 25% on my brand new Lightroom Classic course
+
• receive a bonus set of 10 Lightroom Color Grading Creative Profiles valued at $14.95
As you may know, I just launched a new premium tutorial called Learn Lightroom Classic in 2.5 hours.
Below’s a free bonus before & after video that shows you what you can do with the tools and techniques I teach in the premium tutorial.
Some of the teaching points I touch on in this free bonus video:
why I process an image a certain way
how to apply a color grade through a Creative Profile
how to find the balance between global and local adjustments
how to guide the eye of the viewer through an image using selective local adjustments
why the HSL panel is one of my favourite tools
why the new Luminance Range Masks rock
If you’ve picked something up from this fifteen minute tutorial, imagine what you can learn from the full course, which has a total running time of two and a half hours and features another hour worth of bonus videos.
Learn Lightroom Classic
✔︎ Get your images into Lightroom
✔︎ Select your best shots
✔︎ Make them pop
✔︎ Share your results with the world
✔︎ Speed up your workflow
What's new in Lightroom Classic - Recap
Lightroom Classic CC has been out for about 15 months now, but there are still a lot of people using Lightroom 6. At the end of 2017, Adobe announced they would no longer continue to develop Lightroom 6 and although for many people it still works, there is no more support for new cameras or lens correction profiles. The first, you can get around by converting your images to DNG using the free DNG converter. The problem is that not only you’re not getting any new features anymore, however. Recently, Lightroom 6 users even saw a part of the original functionality removed, as the Map module is no longer working - it still is in Lightroom Classic.
Adobe Lightroom Classic on the other hand, has been updated several times. In fact, it’s easy to forget how many big and small features that have been added over the past 15 months. But I’ve got you covered: at the end of this post, there’s a link to all the ‘What’s new in Lightroom Classic video’s’ that I’ve been posting on this blog each time a new update to Lightroom Classic came out.
‘But I don’t want yet another subscription’
I read a lot of comments from people on forums that they don’t want yet another subscription and I get that - to some extent. If I weren’t using Lightroom on a daily basis, I might also prefer to buy it and maybe even skip an upgrade every once in a while. On the other hand, as far as subscriptions go, there are also advantages: new features can be rolled out immediately, rather than artificially ‘saved up’ for the mandatory annual (and often paid) upgrade. The company gets a more steady revenue stream and if you think that that’s only in the company’s best interest, think again. Because what happens to software that isn’t bringing in enough money? It gets killed off. Just look at what happened to Apple Aperture. And then, where do you stand? I’d rather have the choice to rent a piece of software or turn to the competition than being forced to go to the competition because the software I’m used to working with is no longer on the market at all.
“I’d rather have access to Lightroom on a subscription-basis than no access to Lightroom at all”
Speaking of rent, I think that 9.99 dollar or euro per month (+ tax) for Lightroom AND Photoshop isn’t excessive, on the contrary. Most of us - myself included - pay a lot more each year on camera gizmos, bags, filters and the like that won’t do our photography as much good as having access to two of the most-used image editing applications on the planet. In fact, I pay a lot more for subscriptions I use a lot less (my cable tv subscription comes to mind). Heck, even a newspaper subscription costs twice what Lightroom and Photoshop cost and most newspaper headlines aren’t exactly sources of joy, anyway…
An overview of the new features of Lightroom Classic vs Lightroom 6
So, at the start of the new year, I thought it would be a good idea to give a recap of my ‘What’s new in Lightroom Classic’ videos that I have been releasing on the blog every time a new update of Lightroom Classic came out. Sometimes I skipped a so called ‘dot-release’, because it contained mostly bug fixes.
All in all, there’s more than an hour of free Lightroom training here for you, showing you what you’re missing out on if you’re still on Lightroom 6.
Learn Lightroom Classic CC in 2.5 hours with my brand new video tutorial
Don’t forget, these videos are only about the new features. If you want to learn Lightroom Classic CC from the start, then I have some great news for you: I have just released a brand new section on my website called Lightroom University and a brand new tutorial ‘Lightroom Classic CC in 2.5 hours’. And guess what… you can simply buy it - I won’t lure you into a training subscription :-)
(offer expires Jan. 31, 2019)
An overview of the ‘What’s new in Lightroom Classic’ videos posted on this blog since October 2017
Lightroom Classic CC 7 Introduction
At first sight, the main feature here was probably the - rather confusing - name change. But if we look beyond that, this update had a lot of fantastic new features. My absolute favourite, which I use almost daily, and which I find to be almost worthy of the upgrade by itself, are the Range Mask features. These things make creating photographically accurate selections a breeze. A massive time-saver! The same can be said about the new Embedded Preview workflow, which lets you separate the wheat from the chaff a lot faster after a photoshoot because Lightroom uses the embedded previews rather than insisting on building its own 1:1 previews when you zoom into an image to check if it’s sharp.
2. Lightroom Classic CC 7.2
This update was mainly focused on - admittedly much needed - speed improvements!
3. Lightroom Classic CC 7.3
This was a major update because Lightroom Classic CC 7.3 completely changed the preset workflow. Presets are now compatible between Lightroom and Photoshop and this version also includes Creative Profiles, which are like presets on steroids. In fact, I think profiles are the presets of the future. I’ve even created a pack, Piet’s Creative Profiles Starter Pack, and there’s more to follow. The nice thing about Creative Profiles is that they have an Amount slider, so you can scale back or even up their intensity!
4. Lightroom Classic CC 7.5
The main improvements here were focused around the Book Module. A lot of Lightroom users rarely go beyond Library and Develop, and that’s a pity because one of the really nice features of Lightroom is that you can create a great looking book in a snap. One of the novelties in the 7.5 release was the addition of Blurb magazines, which I have now started to use as my portfolio. I just think they look a bit more contemporary than a regular book.
5. Lightroom Classic CC 8.1
The main new feature here is the ability to reorder the panels in the Develop Module, but there are other improvements worth mentioning too, such as the ability to create HDR Panorama’s in one go. Landscape and architecture photographers are going to love this feature.
Learn all about Collections in this free excerpt from 'Learn Lightroom Classic'
As I blogged here, I’ve just released my latest tutorial: Learn Lightroom Classic CC in 2.5 hours.
This tutorial is the culmination of 10 years of experience in not only using Lightroom but also teaching it. Throughout these years, I’ve trained hundreds if not thousands of photographers and I’ve also noticed that lot of - especially self-taught - Lightroom users really aren’t using Lightroom to its fullest potential - or I'd dare even say not to half of it’s potential.
I’ve also noticed that most tutorials focus a lot more on the ‘sexier’ Develop module than on the ‘boring’ Library module. Yet, it’s the latter that’s far harder to understand and it’s also that one that will bite you in the tail if you don’t completely understand how it works. That’s why in Learn Lightroom Classic CC in 2.5 hours, I focus equally on both modules.
I’ve put a lot of time and effort in this tutorial to make it one of the best introductory Lightroom Classic tutorials on the planet. But don’t take my word for it, instead, I’ll let you judge for yourself. For the next five days, you can watch one of the 16 chapters completely free. I’ve chosen to share the one about Collections with you, as this is in my experience one of Lightroom’s most underused features. Even if you think you know all about Collections, you might pick up a thing or two about Target Collections or working with the Quick Collection.
Save 25% on the tutorial until end of January
From Feb. 1, 2019, ‘Learn Lightroom Classic CC’ will be $79.95 but before that, you can get it at the launch price of $59.96. That’s a 25 percent discount. On top of that, you’ll also get a set of 10 Creative Profiles for Lightroom and more than one hour of bonus content!
Buy the tutorial before the end of January, 2019 and you receive these 10 color grading profiles for free.
Learn all about this brand new tutorial here.
Introducing my new premium tutorial 'Learn Lightroom Classic CC'
For me, Lightroom Classic CC is still one of the best, if not the best applications out there for serious amateur and professional photographers. There is simply no other piece of software that offers such a unique combination of being able to manage your images, process them in a quick and non-destructive way and also share them, whether it is via a print, a quick slideshow or a real printed book.
However, as I've experienced over the course of 10 years using Lightroom and training thousands of others to use it, Lightroom can be deceptively simple. The emphasis being on deceptive.
• "How does this Catalog thing work?"
• "I've moved my images and now Lightroom throws a fit!"
• "What's the difference between Lightroom Classic and Lightroom CC?"
• "Do I still need Photoshop?"
• "How 'bout backup?"
These are all questions I get almost daily and it's also the reason why I created 'Learn Lightroom Classic CC in 2.5 hours'. After all, I can only train so many people in real life. In this tutorial, for less than the cost of a 45 minute 1:1 Skype session with me, I not only cover the basics of working with Lightroom in 16 easily understandable chapters, but I also teach you a perfectly scalable workflow. In fact, it's the same one I've been using and refining myself for the past years.
Above is a short video about the course. On the course page itself, you can watch the entire first chapter for free! I already answer a couple of the questions I often get in that video.
From Feb. 1, 2019, ‘Learn Lightroom Classic CC’ will be $79.95 but before that, you can get it at the launch price of $59.96. On top of that, you’ll also get a set of 10 Creative Profiles for Lightroom and more than one hour of bonus content!
Preparing your review of your best photos of 2019 with Lightroom Classic CC
At the end of last year, I saw a lot of ‘My best shots of 2018’ posts on social media. The cool thing is that Lightroom can help you curate those lists. In this short video, I show you how to leverage the power of Smart Collections for that job.
Fujifilm GFX 50R | GF32-64mmF4 R LM WR @ 41.8 mm | 1/125 sec @ f/20 | ISO 100
My GFX 50R Review
A couple of weeks ago, I had the opportunity to test drive a preproduction model of the GFX 50R in Ethiopia. My buddy and fellow X-Photographer Matt Brandon came with me and documented our trip for a short video that will be released later. But because the shipping date of the GFX 50R is getting nearer, and because I get a lot of questions from people what it was like shooting the camera and if they should get it or rather the GFX 50S, I decided to make this video review.
3 disclaimers:
I’m a Fujifilm X Photographer and a Fujifilm ambassador so I’m probably not the most neutral judge. But on the other hand, I became an ambassador because I love the quality of the Fujifilm cameras. I have been shooting with them for almost seven years now, starting with the X-Pro 1. After trying out the GFX 50S in India, I bought one myself and I would not have done that if I did not love the system and believe in its potential.
All the images you’ll see in the video have been processed (many of them with my Lightroom Creative Profiles Starter Pack). They are not straight out of camera images. As much as I love the Fujifilm film simulations, for me they’re just a starting point. I love processing images, in fact I probably love it even more than actually making them. Through my processing, I try to convey the way the scene felt to me when I was there. In fact, one of the reasons I love the GFX system so much, is because these files can take a beating in postproduction. The dynamic range is stellar and the sharpness of the lenses incredible. I can do just about anything with a GFX50 raw file. In Lightroom! I love having that amount of flexibility.
Other than the fact that the GFX 50R has a 50 megapixel, 33 x 44 mm sensor inside, I won’t bother you with other technical specs. You can find those on the Fujifilm website.
So, with that in mind, here’s my review. I suggest you only watch it if you have some money to spend, because chances are you’ll either want a 50R or a 50S by the end of the video… Don’t say I did not warn you :-) I have included some sample images but the poor compression really does not do them much justice. If you have any questions or remarks, hit me in the comments.
By the way, this was also a scouting trip for a new photo workshop on location lighting and portraiture in Ethiopia. We’re currently working out the details for a 2019 trip. If you want to know more about that, sign up for the newsletter and you’ll be the first to hear. As a thank you for signing up, you’ll also get a set of 10 free Lightroom presets.
As you may have noticed in the video, I use a lot of flash in my travel images. I like the way how flash can amplify, modify or sometimes even downright overpower the available light and let me create my own lighting rather than having to deal with what the climate gods decide to throw at me on any given day - which in Ethiopia is a glaring, way too contrasty sun from early morning until late in the evening. If you want to learn more about using flash on location, have a look at my Light It Up! ebook: it’s loaded with advice on how to use flash for travel and location portraiture.
Fujifilm GFX 50R | GF32-64mmF4 R LM WR @ 64 mm | 1/125 sec @ f/8 | ISO 100
Fujifilm GFX 50R | GF32-64mmF4 R LM WR @ 32 mm | 1/500 sec @ f/8 | ISO 200
And here is a 1:1 crop of that image:
Special thanks to…
Special thanks to Fujifilm Belgium and Fujifilm Japan, Matt Brandon, Billy, Jan and the entire team at Starling travel and their Ethiopian counterpart for organising this trip. Also thanks to Lacie, Compagnon and Godox importer Disnet for providing us with some of the essential other tools we needed to make this trip happen. Could not have done it without all of you!
Have a look at this screenshot of the Lightroom Classic CC 8.1 Develop Module interface. Notice anything different?
What's new in Lightroom Classic CC 8.1?
Adobe just released the latest update to Lightroom Classic CC: 8.1. In addition to speed improvements (faster grid scrolling and faster switching between Library and Develop on 4K and 5K monitors), there’s also a couple of interesting new features, the most noteworthy of which is that you can now customise the order of the Develop Panel Modules!
The video below shows you how, and also talks you through the other new features.
5DayDeal 2018 Flash Sale: a free preview of my new Lightroom Library Beyond the Basics Tutorial
The 5DayDeal irrevocably ends in…
A big chunk of this year’s 5DayDeal bundle is Lightroom-related: there are a couple of tutorials and almost five hundred presets and of course there’s the Luminar plug-in, which I talked about extensively in yesterday’s blog post and video.
“How Piet expertly curates the information is what makes this program truly stand out as one of the best Lightroom training programs I’ve come across (and I’ve seen a lot).”
One of the Lightroom tutorials is a bit special for three reasons:
First of all, because it’s mine and it’s my very first full-blown English Lightroom tutorial, an accomplishment of which I’m quite proud :-).
Second because it’s a launch exclusive: for the moment, it’s only available as part of the 5DayDeal and you can’t get it anywhere else yet.
And lastly, because it focuses entirely on the Lightroom Catalog and Library. It’s an intermediate to advanced 3+ hour tutorial and I made it because every day, the workshops I teach and the emails I get in my inbox remind me that there are still a lot of people struggling with the whole concept of Lightroom.
Well, I made this tutorial for all of you: after watching it, you’ll be a full-blown Lightroom Library Ninja and you’ll leverage the advantages of Lightroom a lot better and avoid many of the pitfalls the program sometimes throws at its users, too.
Below is a 30 minute free preview of one of the chapters in the tutorial. I’ll leave it on the site as long as the countdown timer is running :-) This chapter’s about Collections and Smart Collections and although I personally consider that to be more of an entry-level feature, each workshop I teach there are quite a number of - even long term - Lightroom users that don’t (or hardly) use these powerful organisational tools. So I decided to include a video about them in the tutorial.
“Piet doesn’t throw a barrage of information at you, overwhelming you with useless data...instead, he’s taken that extra step to create an engaging curriculum that tells you exactly what you need to know.”
Even if you feel like you already know your way around collections, I’m pretty sure you’ll pick up a thing or two. For example, I hardly know anyone who uses Target Collections and yet they’re super handy! And if you want to know what else I cover in the full course, here’s a list of all the other chapters. This 3+ hour video tutorial is the culmination of 10 years of teaching Lightroom, writing about it and most of all, using it almost every single day!
Introduction: 14’ 35”
Importing: 41’
Tethered Capture: 15’ 16”
File & Folder Management: 37’ 39”
Two Lesser Known View Modes: 22’ 29”
Collections, Smart Collections & Filtering: 37’ 55”
Metadata & Keywording: 24’ 30”
Exporting: 21’ 23”
Publish Services: 10’ 52”
Exporting as a Catalog & Importing from Another Catalog: 26’ 19”
Working with an External Catalog Drive: 13’ 40”
Bonus Chapter: Back up or Back off: 14’ 40”
“If you learned something new in this free 30 minute clip, imagine how much you can learn from the 60+ hours of tutorials in the entire 5DayDeal bundle!”
Still on the fence? The 5DayDeal also includes Luminar 2018 (a $69 value), one of the most innovative Lightroom plug-ins out there. I did a free 30 minute video tutorial about it. You can watch that here.
And don’t forget, if you buy the 5DayDeal through the links on my MoreThanWords blog, you’ll receive a special bonus: my brand new high resolution Textures Pack, Vol. 01!**
*: + VAT for European citizens. If you have a valid VAT number, you can enter that upon checkout and you won’t be charged VAT.
** Texture pack will be sent out free of charge in the week after January 15 to those people who bought the 5DayDeal bundle via the links on the MoreThanWords blog or in the MoreThanWords newsletter.
The return of the 5DayDeal 2018: my free Luminar 2018 mini-course
When the 5DayDeal originally was released in October, I put up a this mini-course on Luminar 2018. With the flash-sale reprise of the 5DayDeal, only until Midnight, EST, November 25th, I thought it would be a good idea to put bring the mini-course back. Regardless of whether you want to buy the 5DayDeal or not, there’s some interesting information in there, I think :-)
The 5DayDeal irrevocably ends in…
“The inclusion of Luminar 2018 makes this year’s 5DayDeal an absolute no-brainer!”
So, the 5DayDeal is a bundle of high-quality resources for photographers: tutorial videos, Lightroom presets, textures, actions, you name it. It’s a whopping 50 gigabyte of goodies at a super steep discount. In yesterday’s blog post, I dug a little deeper into the training content that’s in this year’s 5DayDeal. But the 5DayDeal folks really outdid themselves this year, because there’s also two entire software packages included, the most important of which undoubtedly is Luminar 2018. My original plan was to make a quick three minute overview of what Luminar is but you know me: I don’t do quick very well. So it turned out to be a 25 minute mini-tutorial full of cool processing tips in general and Luminar tips in particular.
Unlike with some other bundles, this version of Luminar 2018 is exactly the same as the $69 retail version that you can buy directly on Skylum’s (makers of Luminar) website, but you’d be crazy not to pay the extra $20 and get it as part of the 5DayDeal bundle!
“Buy the 5Deal through the links on my blog and you’ll receive my High Resolution Texture Pack, Vol. 01 for free* !”
This year’s bundle includes a Luminar 2018 license, an interesting Lightroom and Photoshop plug-in that some people even use as a complete Lightroom alternative. In one of the next blog posts, I’ll go a little deeper into the unique features of Luminar that make it stand out, especially when used in conjunction with Lightroom. Until Sunday, November 25th, a copy of Luminar 2018 is included in this year’s 5DayDeal bundle. Click here for more info.
*: + VAT for European citizens. If you have a valid VAT number, you can enter that upon checkout and you won’ be charged VAT.
** You will receive your bonus textures in the week after November 15, 2018

